How to sterilize jars with a pressure cooker, quickly and safely.
By following simple tips, you will get perfectly sterilized jars ready to be filled with sauces, gravies, jams, and marmalades.
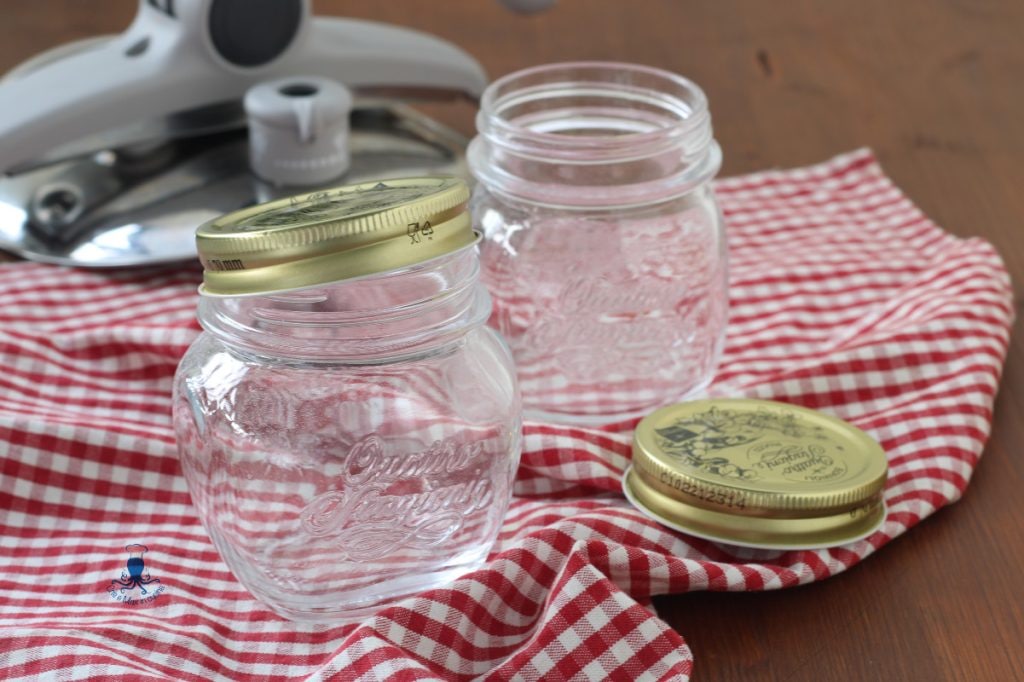
We used the Lagostina Irradial Control Lagoeasy’Up, 5 L, 8.66 inches pressure cooker.
- Difficulty: Very Easy
- Cooking methods: Stovetop
- Cuisine: Italian
- Seasonality: All Seasons
Ingredients
- 4 preserving jars (250 ml)
Tools for Sterilizing Jars with a Pressure Cooker:
- 1 Pressure Cooker
Steps for How to Sterilize Jars with a Pressure Cooker:
To properly sterilize jars for preserving jams, gravies, tomato sauces, you need to follow simple precautions to prevent the jars from being improperly sterilized, which could lead to spoiled prepared foods.
Wash the jars thoroughly with hot water and dish soap, rinse them well with hot water.
Place the jars with the opening facing up in the pressure cooker and fill the cooker with water until the jars are well covered (ensure water also goes inside the jars).
Arrange the jars so they do not touch each other during cooking to prevent them from clinking together.
Cover the pressure cooker with its lid, make sure the valve is aligned with the pressure cooker image, turn the gas on high, and when the lever rises, lower the flame and cook for 10 minutes.
After 10 minutes, turn off the gas, release the steam, and let it cool to room temperature. Then transfer the sterilized jars onto a cotton cloth (washed without fabric softener) with the opening facing down.
Once the jars are dry, they are ready to use.
For the lids:
– you can change them each time (as we do to ensure they seal perfectly and are not damaged)
– or wash them well and place them with the jars for sterilizing.
Warning: We advise you to carefully read these precautions to avoid damaging the pressure cooker:
– This sterilization method is suitable for small jars up to 250 ml because with larger ones, you would exceed the recommended water level (there is a line indicating the maximum water level in the pressure cooker).
– Freshly sterilized jars are very hot, so we recommend letting the water cool before removing them from the cooker. If you need to use them urgently, use tongs to take them out.
– Let them dry thoroughly before use.
You can also use jars with glass lids and follow the same procedure, in which case you should sterilize 2 jars at a time.
WITH THE MULTICOOKER:
Place the jars in the multicooker, then add water (covering the jars well), put on the lid, close the valve, and turn on the electric cooker. Set the pressure cooking program to 248°F for 10 minutes. Once done, turn off the cooker and open it when the water is cold, then proceed with the same procedure as the classic pressure cooker.

Tips:
If you have larger jars to sterilize, you can:
– Sterilize them in a large pot by placing a dishcloth at the base, placing the jars with the opening facing up, covering them with water up to two fingers over, bringing the water to a boil, and boiling for 30 minutes. In the last 10 minutes, you can add the lids if they are still usable, let the water cool, place the jars on a dishcloth with the opening facing down, and let them dry thoroughly.
– Sterilize them in an oven, place the jars on the oven tray with the opening facing up, turn on the oven to 392°F and once at temperature, “sterilize” the jars for 15 minutes, turn off the oven and let them cool.
– Sterilize them in an oven, place the jars on the oven tray with the opening facing up, turn on the oven to 392°F and once at temperature, “sterilize” the jars for 15 minutes, turn off the oven and let them cool.
We used a 5-liter pressure cooker; if you have a larger one, check if it allows for sterilizing taller jars, just place a jar inside the pot and see that it does not exceed the marked line indicating the maximum liquid capacity.