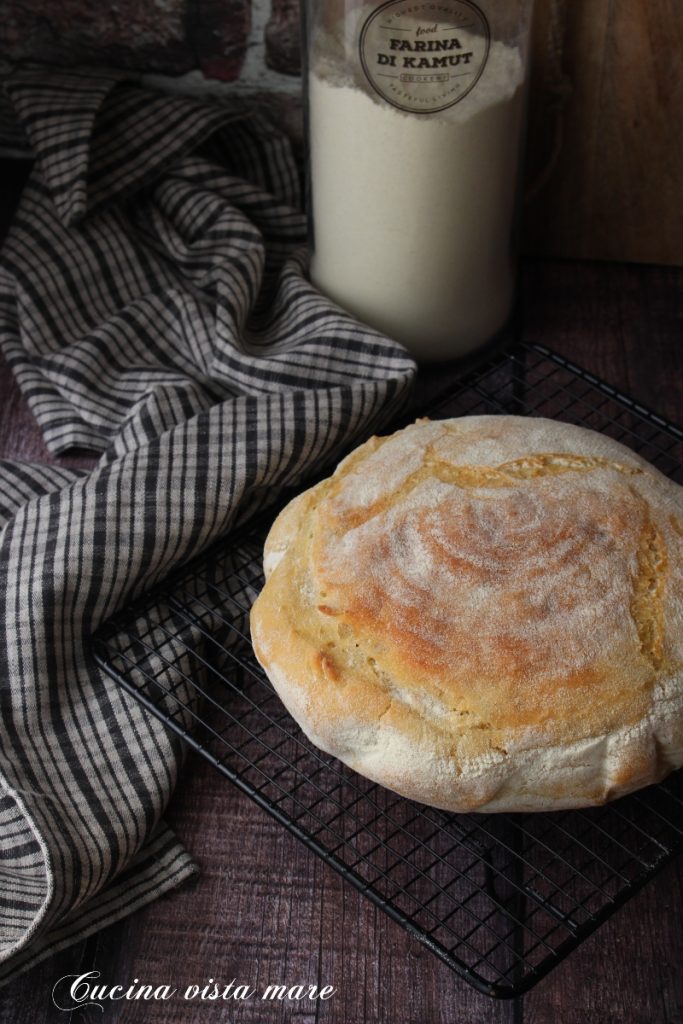
The kamut bread baked in a pot is soft, flavorful, digestible, and nutritious: it has an aromatic and ‘sweet’ taste and is perfect to accompany any dish. For this recipe, I chose the pot baking method ‘the oven within the oven’ and I liked the result very much, but of course, you can bake it in the traditional oven as well, so I am providing all the instructions to prepare the kamut bread baked in a pot or in the oven.
Don’t miss out
- Difficulty: Medium
- Cost: Affordable
- Rest time: 4 Hours
- Preparation time: 40 Minutes
- Portions: 1 small loaf
- Cooking methods: Oven
- Cuisine: Italian
- Seasonality: All seasons
Ingredients
- 2.5 cups Kamut® flour
- 1 cup cups water
- 1 1/4 tsp salt
- 1 1/4 tsp fresh yeast
Tools
- 1 Stand Mixer Kitchen Aid Artisan
- 1 Bowl
- 1 Proofing Basket
- 1 Reusable Fabric Cover
- 1 Ceramic or Cast Iron Casserole
Steps
In the bowl of the stand mixer, pour 220 grams of water, add the flour, and mix quickly without fully kneading: simply ensure there are no dry flour grains left. Let the dough rest for thirty minutes. This process is called autolysis: it breaks down the flour proteins into smaller segments, releases sugars, and promotes gluten formation. The fermentation will start sooner and the dough will bind better.
After the resting time, crumble the fresh yeast directly into the dough and start the stand mixer with the hook attachment on slow speed.
Dissolve the salt in the remaining water and add it to the dough, continuing to mix. Keep in mind that each flour absorbs water differently. Sometimes even from one brand to another makes a difference, and much depends on the flour’s own humidity level. Therefore, watch the dough because more water might be needed than indicated in the recipe. You can add a little more if necessary, a little at a time, until you get a nice smooth, homogeneous, soft but not sticky dough.
Form a nice round dough ball and transfer it into a covered bowl. Let it rest for an hour.
After the rest time, transfer the dough onto the work surface and give it a round of reinforcing folds. Let the dough rest for 45 minutes on the work surface with the bowl inverted over it. Repeat the folds two more times, letting it rise for 45 minutes between each fold.
After the last fold, form a ball and place it inside a well-floured proofing basket with the seam side up. Cover and let rise until doubled: it might take an hour or two. It depends a lot on the temperature in your home, so keep an eye on it.
Half an hour before the rise is complete, preheat the oven to 430 °F with the rack in the lowest position. Place an enamel-coated cast iron or ceramic pot with a lid, 24 centimeters in diameter, into the oven to heat thoroughly.
When the oven reaches temperature, gently flip the bread onto a parchment paper sheet. Take the hot pot out of the oven (careful not to burn yourself), remove the lid. Transfer the bread with the parchment paper into the pot. Cover with the lid, place in the oven, and bake for thirty minutes. Remove the lid and continue baking for another 15/30 minutes until the bread is nicely golden.
Remove the bread from the oven and let it cool on a rack before slicing.
For traditional oven baking: bake on a hot tray at 430 °F preheated (better if with steam function or a small pot of water at the bottom). Bake for twenty minutes, then lower the temperature to 390 °F and bake for another ten minutes. Lower the temperature to 355 °F and bake another twenty minutes. Move the bread to a rack and let it cool.
Also, remember that every oven is different, and it’s important to refer to your knowledge of your oven for bread baking. It might bake faster or might take longer.
Notes
This content contains one or more affiliate links.
The recipe for this bread was among my notes in the intolerance notebook. One of those recipes I saved and set aside, I think more than ten years ago, when kamut, spelt, and rice were the only flours I could use. I can’t tell you exactly where it came from because I didn’t have the habit of noting it. Anyway, the bread is delicious. Try it!
