Marbled cocoa bundt cake is one of my family’s favorite pantry cakes, a perfect mix of two flavors that doesn’t get boring and makes breakfast and snack time even tastier.
Soft, very soft, and fabulous for dipping in milk or enjoying with a nice tea.
A special cake, with an enveloping taste, enriched with the scent of vanilla and chocolate, makes breakfast a special moment.
It’s one of those cakes that, once you’ve tried it, you won’t be able to do without. Perfect for breakfast or snack, we can also serve it at the end of a meal, maybe filled or accompanied by some cream.
A simple and quick dessert, great for both breakfast and snack. The chocolate part was made by mixing the batter with 2 tablespoons of unsweetened cocoa powder.
Among the ingredients, we do not find butter, which has been replaced with oil to make the recipe lighter and more wholesome.
This version makes the cake even more delicious.
Once dipped in milk, it soaks perfectly without creating that annoying “slush”.
Let’s see together how to prepare it.
On this cold day, I hope my two-tone bundt cake wraps you like a cuddle and helps you face this Saturday better, a little kiss, and have a good day.
Try this version too and let me know if you liked it. See you soon!

- Difficulty: Very easy
- Cost: Economical
- Preparation time: 15 Minutes
- Portions: 12 People
- Cooking methods: Electric oven
- Cuisine: Italian
- Seasonality: All seasons
Ingredients for the Marbled Cocoa Bundt Cake
- 5 eggs
- 4 cups cups all-purpose flour
- 1 1/4 cups cups sugar (or 250 erythritol)
- 1 cup cups milk (warm)
- 3 tbsps tbsps unsweetened cocoa powder (+ 2 tbsps of milk)
- 1/2 cup cups sunflower oil
- 1 packet packet vanillin
- 1 tbsp tbsps baking powder
- 1 pinch pinch salt
Tools
- Electric whisk
- Kitchen scale
- Sieve
- Manual whisk
- Mold 10 inches
Steps for the Marbled Cocoa Bundt Cake
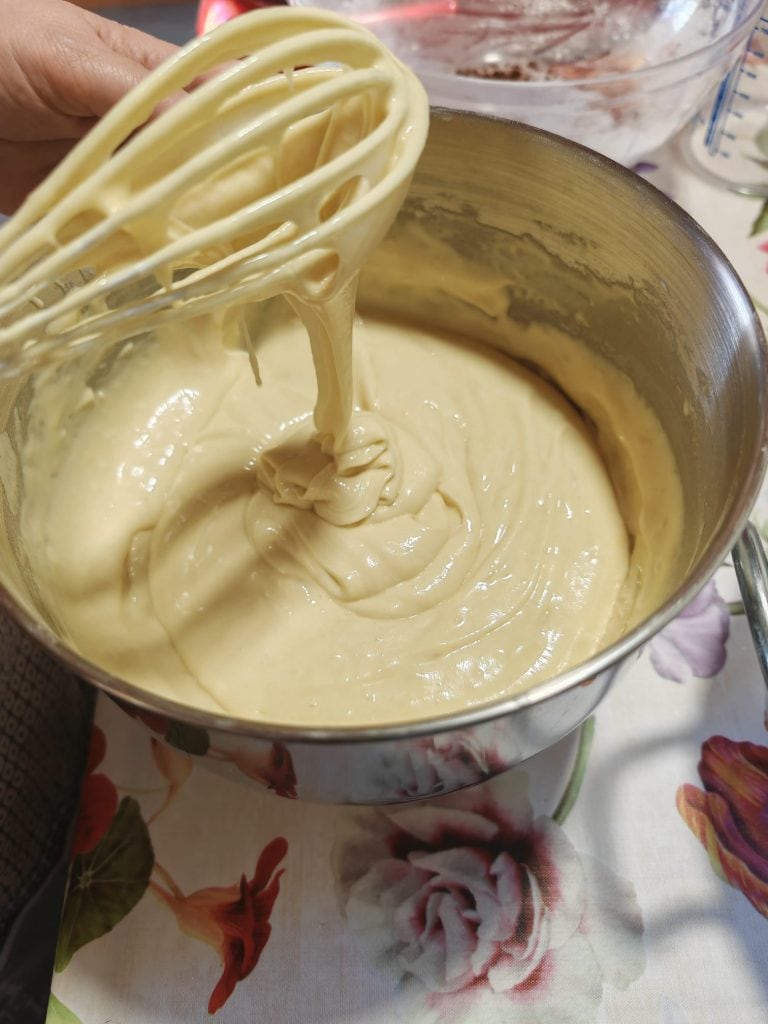
First, break the eggs into a bowl and start mixing with the electric beaters with the sugar and vanillin.
(Electric beaters or a stand mixer will do just fine).

Continue working while pouring the oil and incorporating it into the mixture.
Pour the milk in a thin stream.
Add the previously sifted flour and baking powder.
For this step, use a manual whisk and mix from bottom to top.
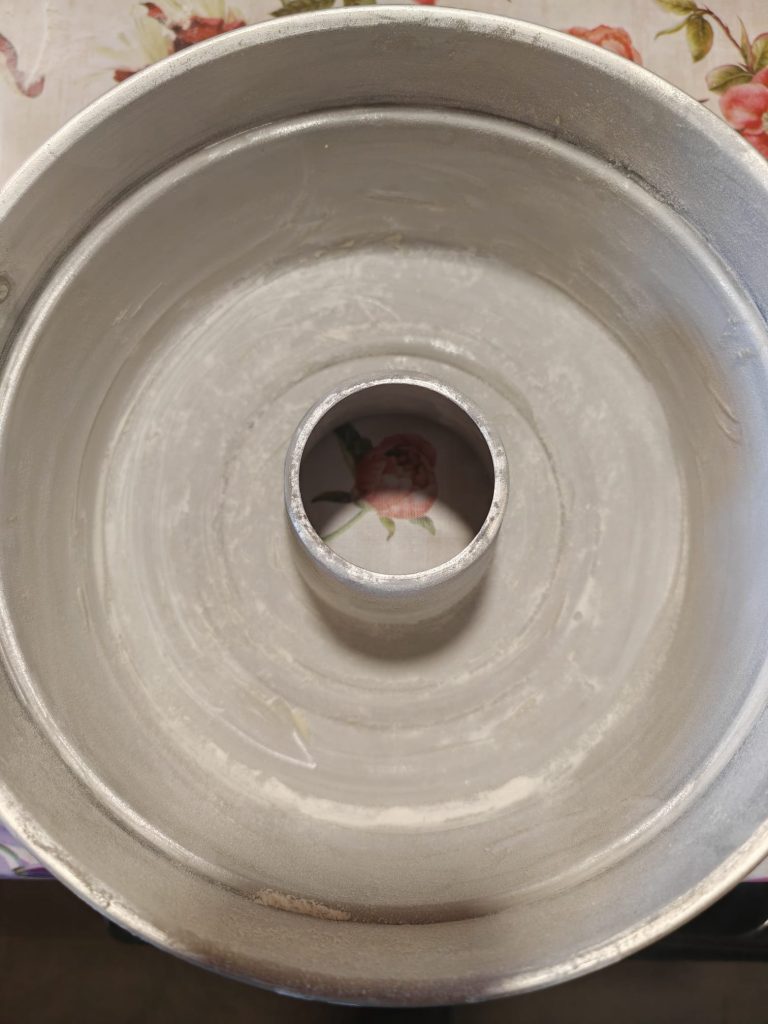
Grease and flour a 10-inch bundt cake mold and pour half of the batter inside.
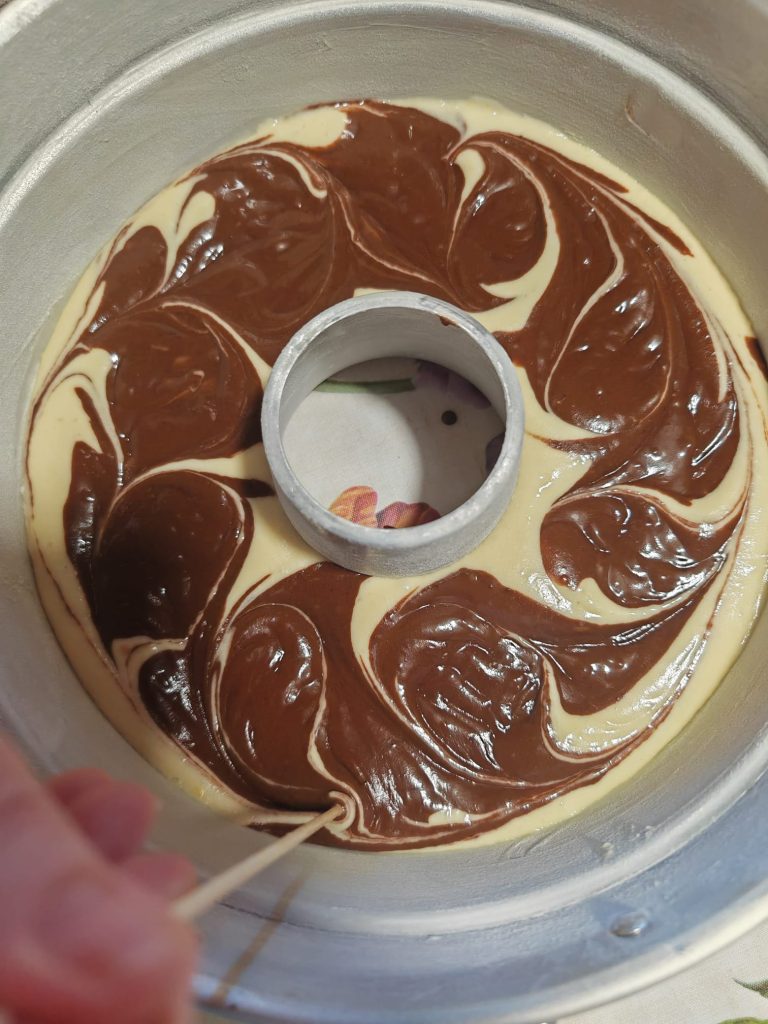
In the remaining half of the batter, add the unsweetened cocoa and milk and mix well.
Then pour the cocoa mixture into the bundt mold.
With a skewer, swirl the batter a bit to marble the cake.
Bake the bundt cake in a static oven, preheated to 356°F for 40-45 minutes, or in a fan oven preheated to 338°F for about 40-45 minutes.
The toothpick test is valid. Check the baking times because they may vary based on your oven.

Once baked, let it cool, remove it from the mold, and enjoy it for breakfast, maybe dipped in a nice cup of milk!
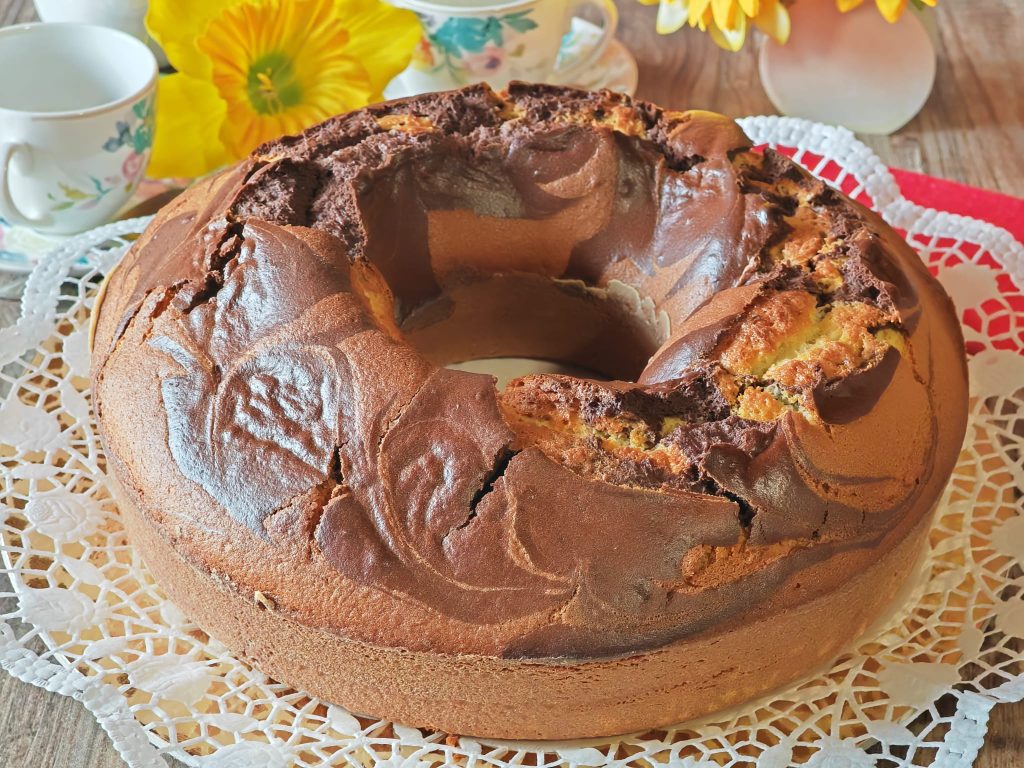
If you like, a sprinkle of powdered sugar.
Enjoy your meal.

Tips
The cake stays fresh for three to four days; store it in a cake container in a cool, dry place.
To make the two-tone bundt cake soft again, just heat the individual slices in an air fryer or microwave for a few seconds.
The two-tone cake can also be made zebra-style; in that case, divide the batter and mix the cocoa into one of the two halves from the start, so you can pour them together into the mold, alternating the two colors by spoonfuls.
If you liked this recipe, click on many stars, thank you so much.
I’m waiting for you in my group: https://www.facebook.com/groups/488624465780860
or on my page: https://www.facebook.com/gustoamoreefantasie
Return to Home page
