Rectangular Fruit Cake is a cake as simple to prepare as it is delicious. It’s the one that always pleases everyone!!
I dedicated it to a granny who returned home with a warm welcome with lots of fruit as she likes it.
It seems difficult or complicated, but believe me, it’s more complicated and longer to write the procedure than to make it!
It is a refined and elegant dessert, but at the same time very simple to prepare.
Have patience not to get anxious and follow the times, follow my steps, then for the decoration, do as you like.
The sponge cake is a classic of Italian pastry. With its delicate and light taste, it’s the perfect dessert for birthdays and ceremonies.
I often find myself attending lunches or dinners with many guests and being tasked with thinking about the dessert for the end of the meal. Not that I mind! However, the number of people complicates things and forces me to think of a practical cake to slice with generous dimensions to satisfy everyone.
The classic round cake is not enough because it allows at most to get 16 slices, so the solution is a large rectangular cake.
Today’s cake is one of the options I use on these occasions.
It’s easy, practical to cut, delicious, and allows you to get 20-30 slices (depending on the size). It’s scenic and will make a good impression.
This cake is customizable in every part. You can change the filling cream using a chocolate one, for example, change the decoration and the soaking.
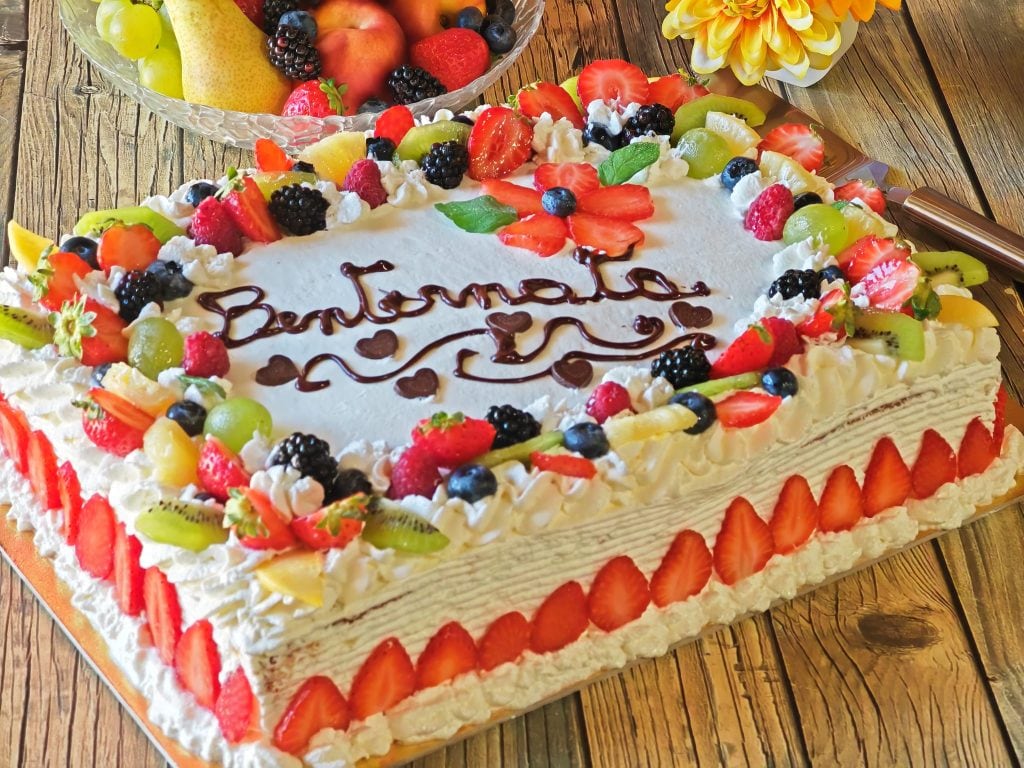
On this cake, I wrote welcome back, but it can be changed according to needs or the celebration.
It is a tall sponge cake, sized 12×16 inches.
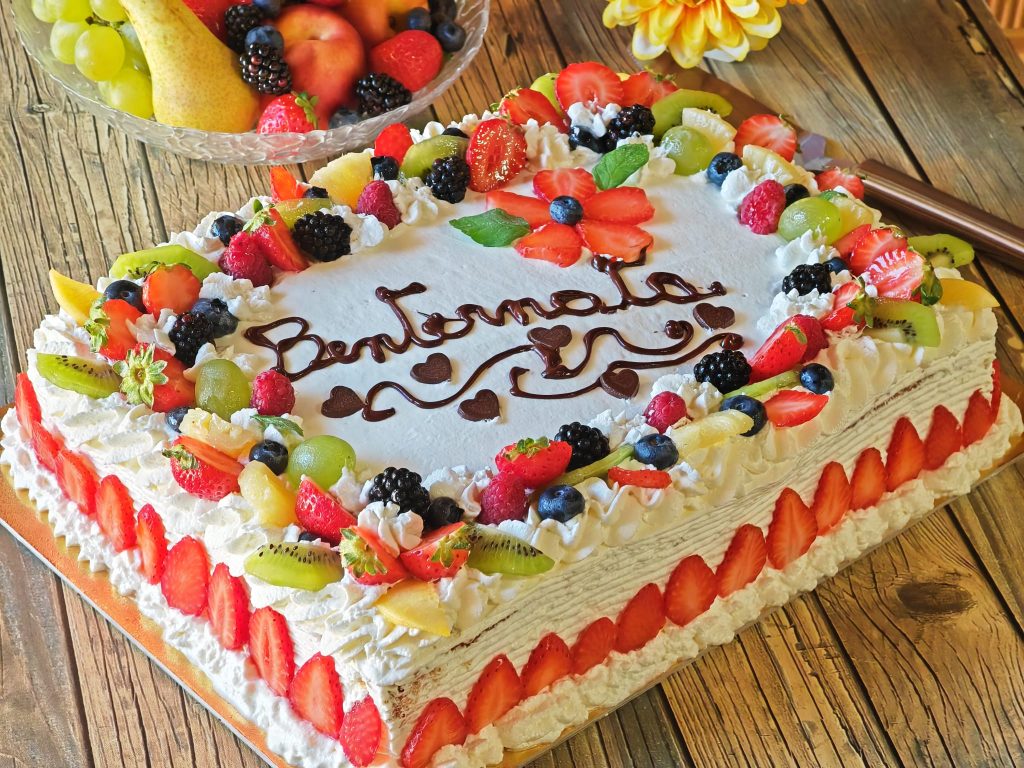
It’s moistened with a soaking, enriched with a layer of pastry cream. The external decoration was made with whipped cream and lots of fresh fruit.
I recommend preparing the sponge cake and the cream the day before and filling the cake the same day, so the fruit and cream stay fresh.
It’s a really simple dessert but always works!

- Difficulty: Medium
- Cost: Medium
- Rest time: 2 Hours
- Preparation time: 2 Hours
- Portions: 25 People
- Cooking methods: Electric Oven, Stove
- Cuisine: Italian
- Seasonality: All Seasons
Ingredients
Rectangular Fruit Cake
- 1 1/2 cups sugar
- 10 eggs
- 1 1/4 cups all-purpose flour
- 1 1/4 cups potato starch (or corn starch)
- 1 lemon (organic, grated zest, or a packet of vanillin)
- 1 pinch salt
- 4 cups milk
- 1 cup all-purpose flour (or corn starch)
- 4 eggs (whole)
- 1 cup sugar
- 1 lemon (organic zest)
- 1 cup water
- 1/4 cup sugar
- 2 tbsps rum (or fruit juice etc.)
- fresh fruit (mixed as you like)
- 4 cups heavy cream (mine was already sweetened)
- to taste gelatin spray
Tools
- Baking Pan
- Stand Mixer
- Kitchen Scale
- Sieve
- Piping Bag
- Saucepan
Steps
Rectangular Fruit Cake
Pour the milk into a saucepan, then bring it to a boil with the whole lemon zest, making sure to get only the yellow part.
(I used lemon zest, but a vanilla bean or a tablespoon of vanilla extract works just fine).
In a separate saucepan, beat the eggs with the sugar (whole eggs, both yolk and white).
Then add the flour, mix with the whisk to remove any lumps.
(If you wish, you can replace the flour with cornstarch).
Temper the mixture with a bit of milk poured in a stream, being careful to avoid the lemon peel ending up in the cream, use a strainer, and after adding all the milk, put it back on moderate heat.
Put it back on the heat, and always stirring, you’ll see the pastry cream thicken in seconds.
Turn off the heat and cover the quick pastry cream with cling film placed in contact.
Before using it, let it cool very well.
(A tip, make it much earlier, organize yourself hours in advance so that once it is cold you can keep it in the fridge).
To prepare the rectangular sponge cake, first, sift the flours twice on a parchment paper sheet and set them aside.
“Flour + cornstarch (or potato starch) should be well sifted.
(This operation will incorporate a lot of air and make the cake very soft).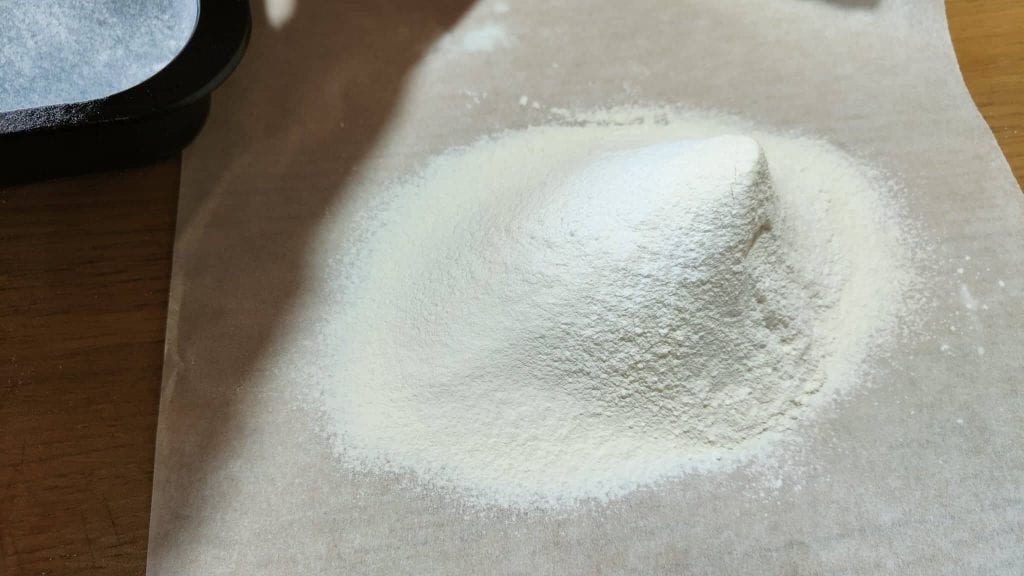
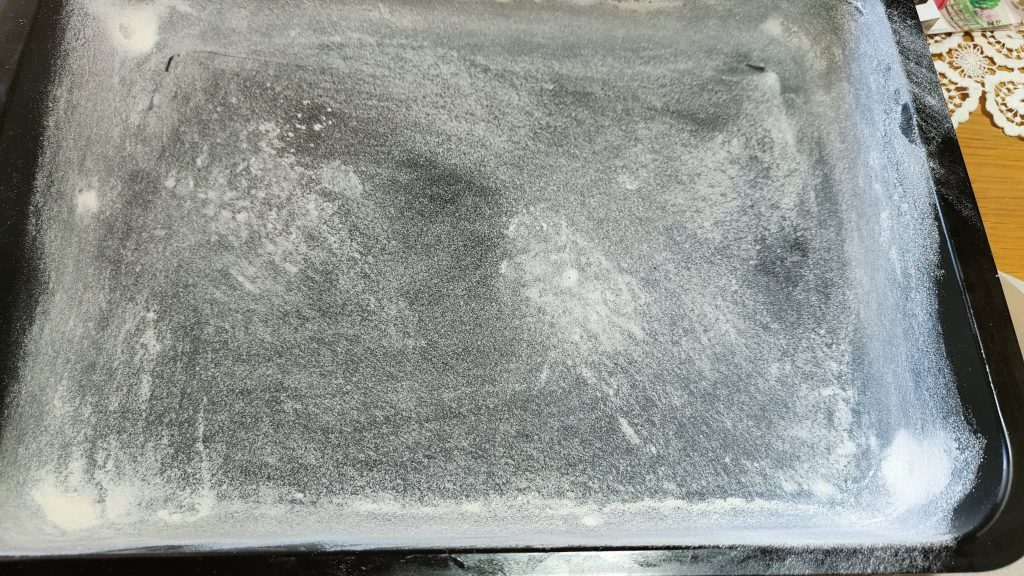
Butter and flour the mold, preheat the oven to 350°F.
Place the whole eggs in the bowl (the eggs must be at room temperature).
Add the sugar and a pinch of salt (optionally, vanilla aroma or grated lemon zest).
Start the whisk and beat the mixture.
The mixture must be fluffy and soft.
(To achieve this result, the beaters must work for 10/15 minutes.)
Gently add the previously sifted powders.
Mix with the spatula from bottom to top.
Pour the obtained batter into the buttered and floured mold.
(12 x 16 inches mold).
Level it gently.
Bake in a preheated oven, static mode, at 350°F for about 35/40 minutes, or you can use a ventilated oven at 340°F for about 35/40 minutes.
My advice is always to check the baking with a toothpick to avoid the cake drying out too much or remaining undercooked.
Wait for it to cool before removing it from the base.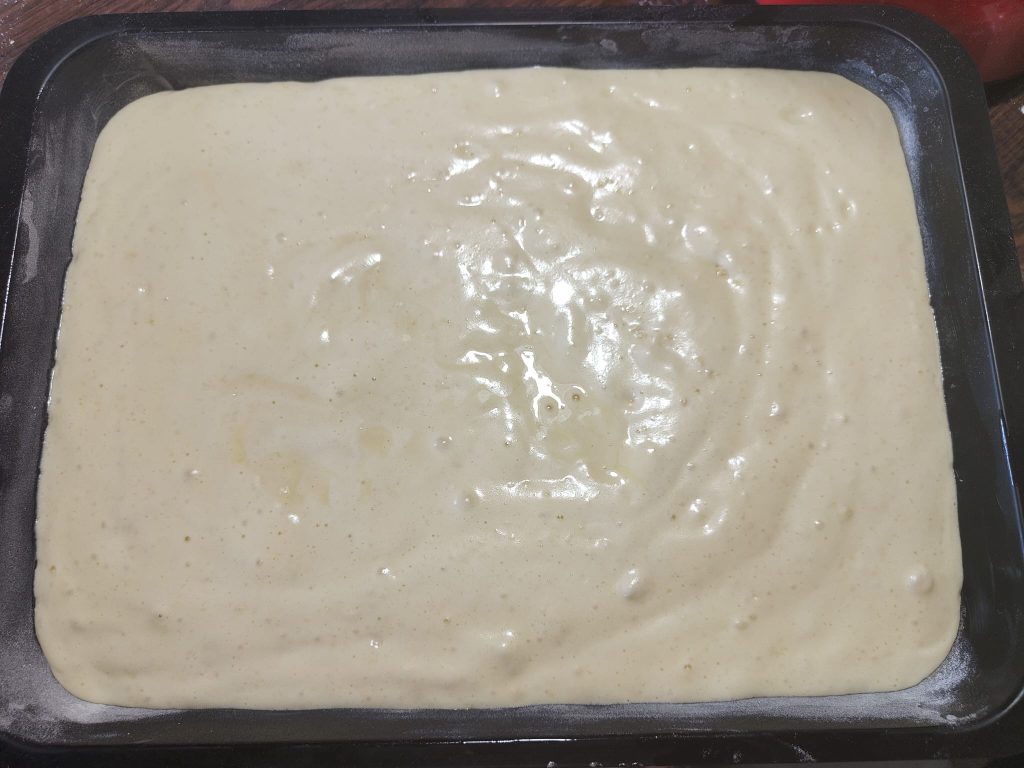
Once lukewarm, remove the sponge cake from the mold and let it cool on a rack.

Meanwhile, prepare the soaking for the cake.
In a saucepan, put the water, granulated sugar, and whole zest of 1 untreated lemon (organic).
Turn on the heat to medium-low and let it boil for about 15 minutes until you get a syrup.
After this time, remove the saucepan from the heat and let it cool completely.
(If you want an alcoholic base, add it at the end off the heat).
Now wash, dry, and cut some fruit for the internal filling. Add a little lemon juice to prevent it from oxidizing.
(Not all, leave some whole fruit for decorating the cake at the end).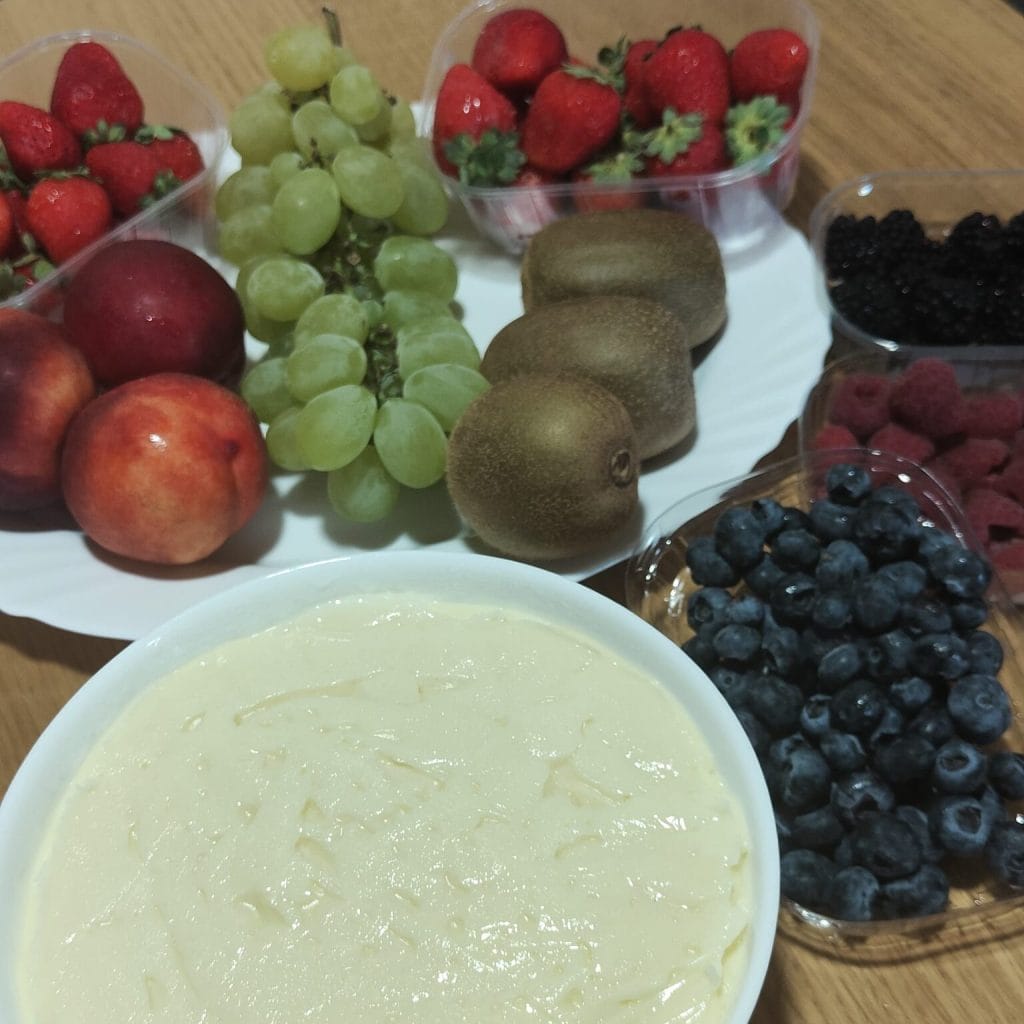
Whip the cold cream from the fridge.
Transfer half of the cream into the piping bag. Transfer everything to the fridge to keep cool.
(The cream in the bowl is for the coverage, the one in the piping bag is for decorating).

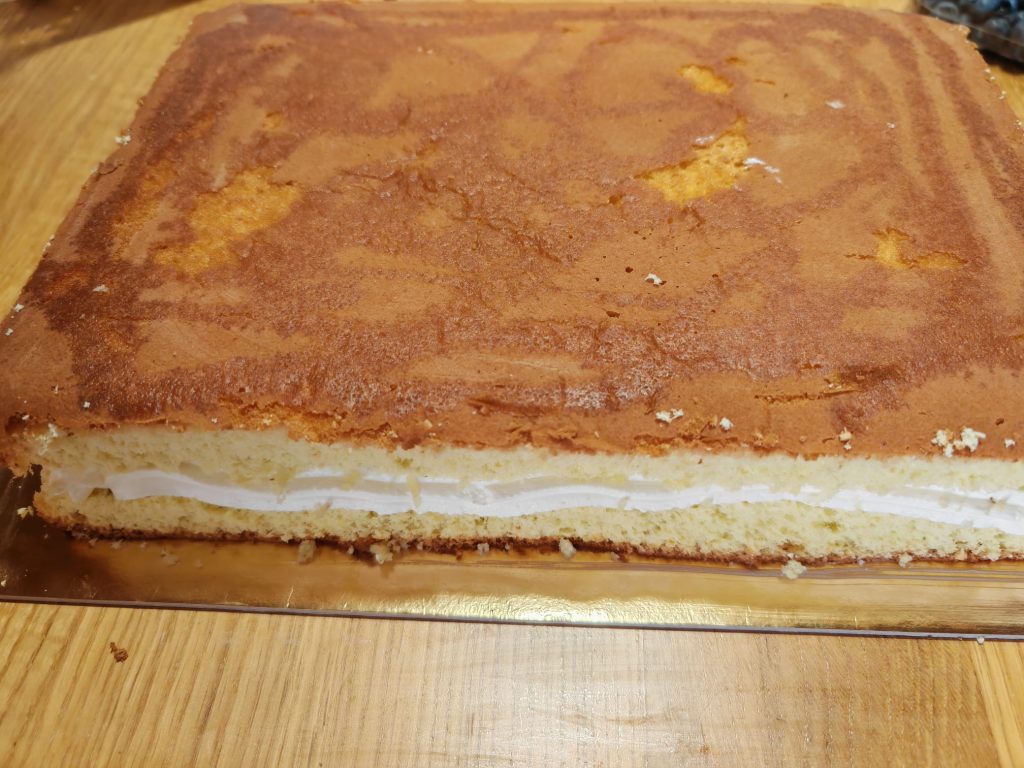
When the sponge cake is cold, cut it into 2 layers.
Soak the first layer of sponge cake.
Spread plenty of pastry cream and fill with fruit.
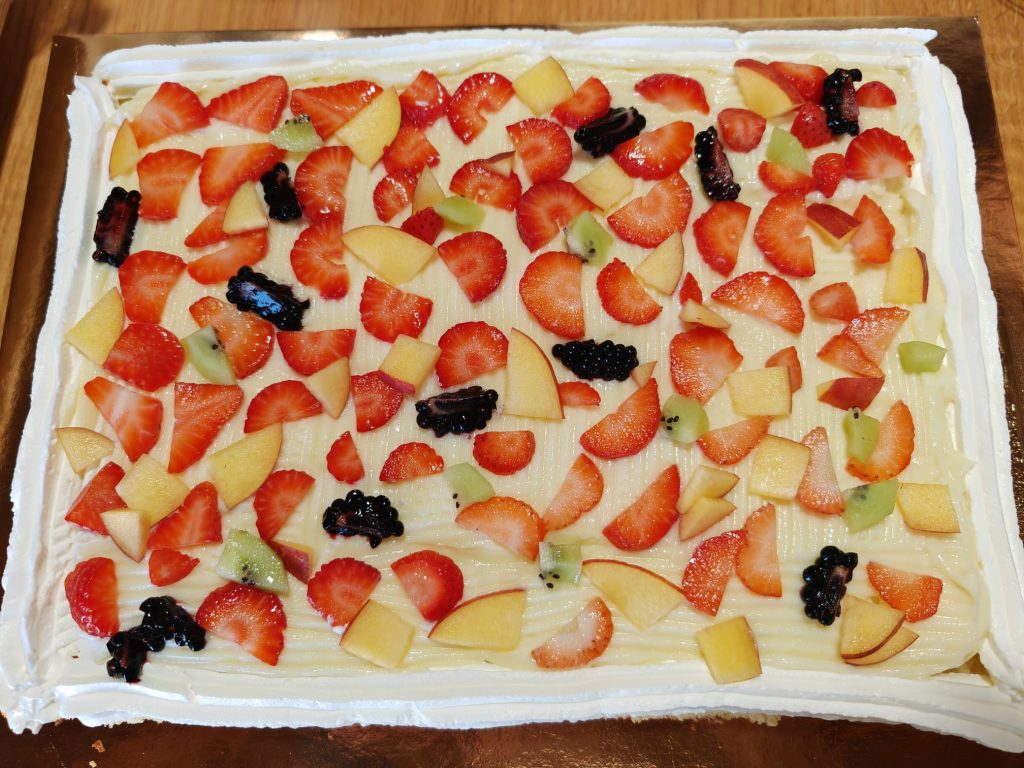
Close with the last layer of cake, brush the surface with the soaking, and cover with the remaining whipped cream.
To make decoration easier, I put the cake in the fridge for a few hours.
Finally, I picked it up and decorated with whipped cream dollops, placed strawberries all around the sides.
Decorate on top as you like and with your preferred fruits.
Spray a bit of gel spray so the fruit doesn’t turn dark and ugly but stays nice and shiny.
Place the cake back in the fridge until serving time.
Enjoy your meal
Advice and Variations
For optimal baking, make sure the oven is hot before placing the cake inside.
At that point, avoid opening the door until the end, and to be sure it’s well cooked, do the toothpick test.
The nice thing is that it stays good for a long time, and we can prepare it in advance. If we need to organize our time, for example, we can make it the day before and keep it in the fridge well-sealed with cling film.
How to write on cakes.
To make a perfect chocolate writing, you only need a few ingredients and accessories: obviously, the first element is dark chocolate, which must be melted. And then we must prepare the tools to spread our writing on the cake, therefore a pastry bag or a parchment paper sheet to make a cone and fill it with melted chocolate. Hold the cornet at an angle like when writing with a pen, almost touching the surface to be decorated, then apply pressure to release the mixture. Adjust the width of the line by modifying the pressure exerted on the cornet.
It keeps in the fridge for 2-3 days.
If you liked this recipe, click on many stars, thanks a million.
See you in my group: https://www.facebook.com/groups/488624465780860
or on my page: https://www.facebook.com/gustoamoreefantasie
Back to the Home page
