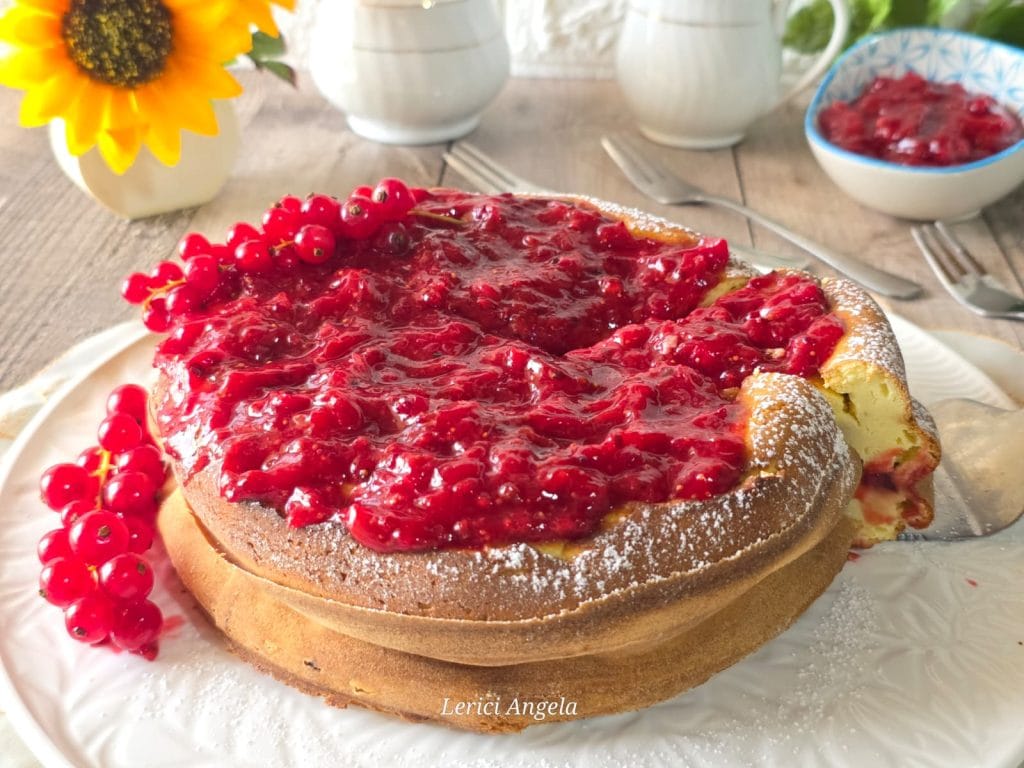
Ricotta and Red Berry Cake. A soft cake that will please everyone, not just those with a sweet tooth. Perfect for both breakfast and snack time, offer it to friends with a coffee or enjoy a slice… every excuse will be good!
A fresh, delicious, and beautiful dessert to serve, without flour or yeast, perfect to bring to the table at the end of lunches and dinners with company.
It’s a dessert with the texture of a firm cream, very simple and quick to prepare, gluten-free, with cornstarch or rice flour, also suitable for those following a gluten-free diet, and very importantly, without fats, there’s no butter, no oil, and no yeast.
Today, I’m sharing the recipe for the creamy Ricotta and Red Berry Cake. An irresistibly good dessert that combines the softness of ricotta with the intense flavor of a red berry coulis topping.
Perfect for a sweet break at any time of the day, from breakfast to snack time. Once cooked and completely cool, you can cut it into squares and serve it at a dessert buffet.
This cake is really very easy and quick to prepare: you will only need a few simple ingredients and 15 minutes to prepare the dough.
If you like ricotta, you can read the recipe for the creamy ricotta and orange tart on my blog, a creamy and fragrant dessert, equally good and simple that you can find by clicking here.
For the preparation of this cake, I recommend using a ricotta that is quite soft and creamy, not too dry. This way, once the cake is cooked, it will be melt-in-your-mouth and velvety.
The creamy Ricotta and Red Berry Cake is without butter and oil, made only with ricotta, eggs, sugar, (you can substitute sugar with erythritol as I did), in my case, I used cornstarch.
Enjoy the recipe and let me know if you liked it.
- Difficulty: Very Easy
- Cost: Economical
- Preparation time: 15 Minutes
- Portions: 8 Servings
- Cooking methods: Electric Oven
- Cuisine: Italian
- Seasonality: All Seasons
- Energy 221.83 (Kcal)
- Carbohydrates 44.48 (g) of which sugars 2.93 (g)
- Proteins 14.71 (g)
- Fat 12.55 (g) of which saturated 7.39 (g)of which unsaturated 4.63 (g)
- Fibers 1.06 (g)
- Sodium 127.93 (mg)
Indicative values for a portion of 120 g processed in an automated way starting from the nutritional information available on the CREA* and FoodData Central** databases. It is not food and / or nutritional advice.
* CREATES Food and Nutrition Research Center: https://www.crea.gov.it/alimenti-e-nutrizione https://www.alimentinutrizione.it ** U.S. Department of Agriculture, Agricultural Research Service. FoodData Central, 2019. https://fdc.nal.usda.gov
Ingredients
Ricotta and Red Berry Cake
- 750 g ricotta (cow or sheep)
- 4 eggs (room temperature)
- 180 g erythritol (or granulated sugar)
- 1 lemon (zest)
- 1 packet vanillin
- 40 g cornstarch (or rice flour, or all-purpose flour or low glycemic index flour)
- 400 berries (red strawberries, raspberries, red currants)
- 70 g erythritol (or sugar)
- 1 tsp cornstarch
- Half lemon (juice)
Tools
- Pan
- Electric Whisks
- Sifter
- Bowl
Steps
Ricotta and Red Berry Cake
Put the sifted ricotta and erythritol or sugar and the grated zest of one lemon and a packet of vanillin in a bowl.
Beat everything with electric whisks until smooth.
At this point, add the 4 eggs and continue whisking until you get a light and fluffy mixture (alternatively you can use a stand mixer with a whisk attachment).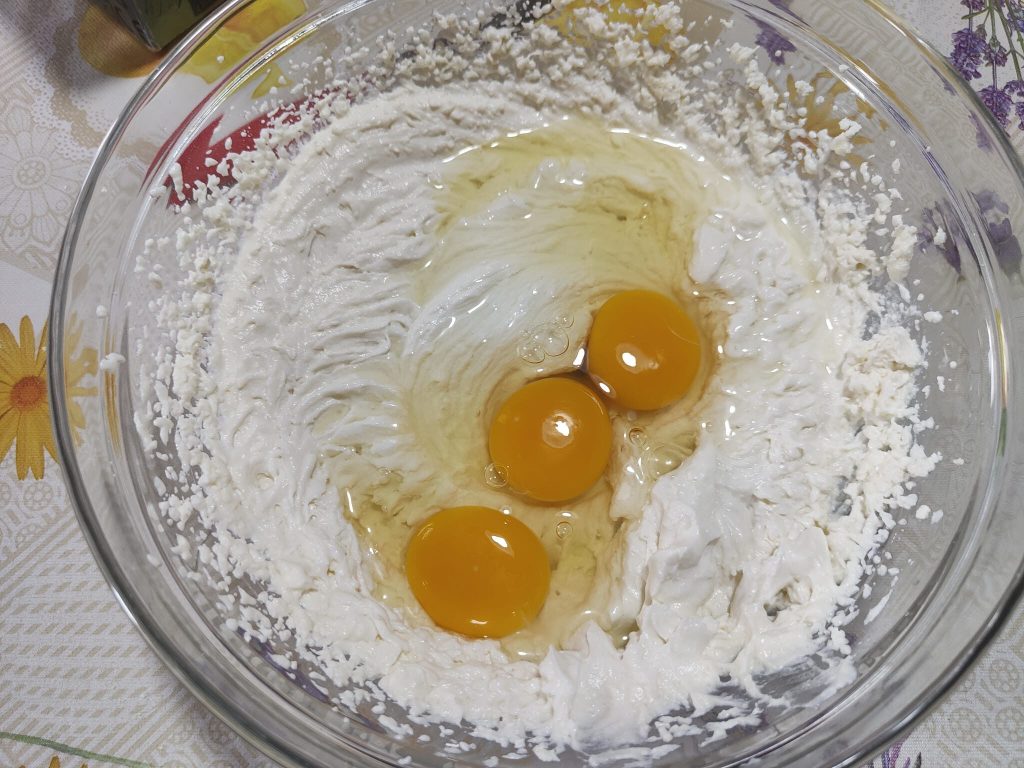
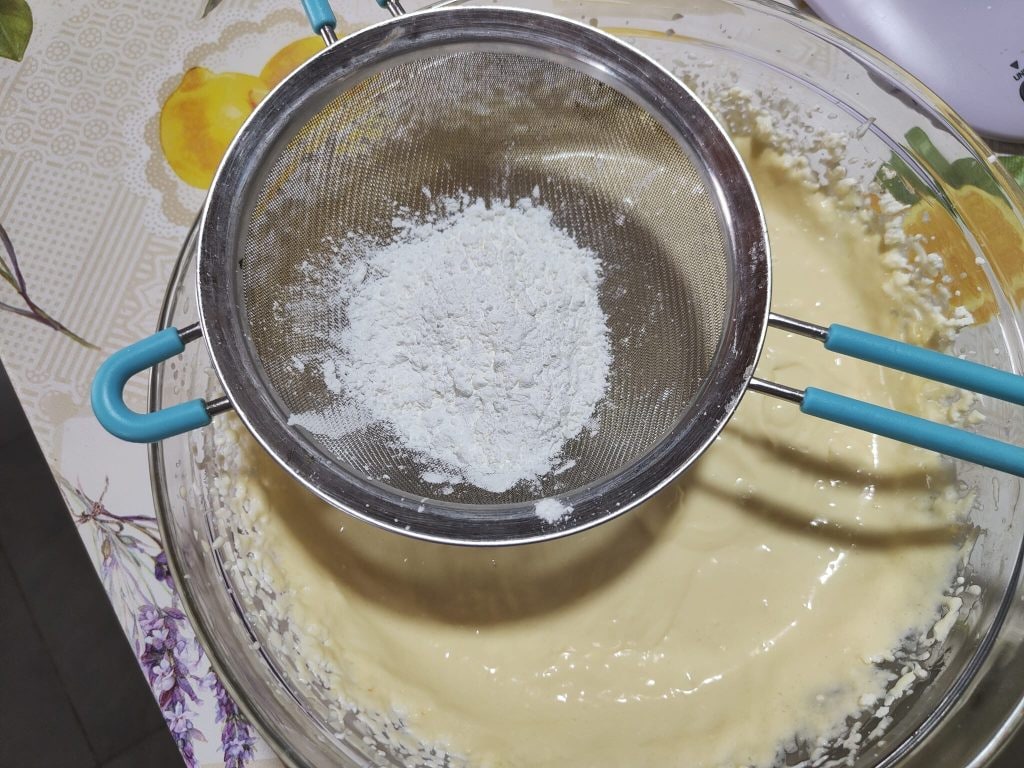
Sift the cornstarch into the mixture and gently fold it in with a spatula to incorporate.
Grease the cake pan (or use non-stick spray) and place a circle of parchment paper on the bottom and a strip on the sides that extends a few inches beyond the mold.

Pour the batter into the pan. Decide the height you desire from 20/22 cm.
Place the pan in the fridge just while the oven preheats so that the chocolate chips hold during baking.
Bake at 180°C (356°F) for 50/60 minutes.
Check until golden brown.Once the cake is baked, remove it from the oven and let it cool completely in the mold.
Meanwhile, prepare the red berry compote: clean the raspberries, strawberries, and red currants and cut them into pieces in a saucepan.
Add the erythritol (or sugar) and bring to the heat, cooking for about 5-6 minutes.
Squeeze the juice of half a lemon and pour it into a small bowl.
Add the cornstarch and mix well with a spoon.
Add the mixture to the berries and continue cooking until thickened. Then turn off the heat and let it cool.
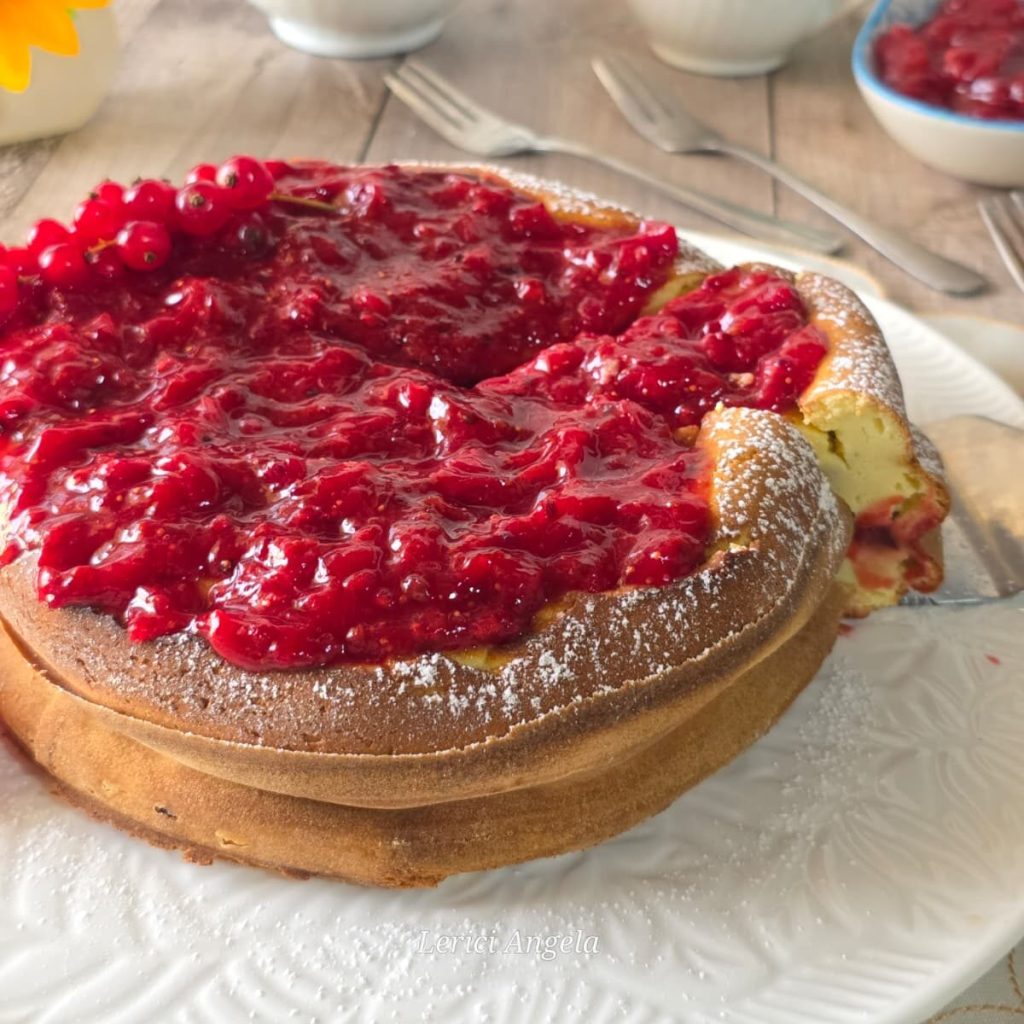
Remove the cake from the mold, transfer it to a serving stand (or plate), and spread the red berry compote on top
Here is our delicious and show-stopping ricotta and red berry cake! It will be a hit!
Advice
If you prefer to use cow’s milk ricotta, I recommend choosing the ‘Roman’ type, which you can find in delicatessens, as it is drier than the packaged kind.
Alternatively, you can use the tub variety, but you will need to let it drain overnight in the fridge in a strainer suspended over a bowl and covered with plastic wrap to lose its whey.
Otherwise, it would be too watery and compromise the success of the recipe.
In place of rice flour, you can use cornflour, cornstarch, or even regular flour.
It keeps in the refrigerator.
It lasts for a couple of days in the fridge, but I’m sure it won’t last more than 10 minutes, ours was gone in 5.
Great to eat cold.
If you don’t have electric whisks, you can also mix the batter with a spoon and fork, it’s just as good.
If you enjoyed this recipe, click on many stars, thank you very much.
Join my group: https://www.facebook.com/groups/488624465780860
or on my page: https://www.facebook.com/gustoamoreefantasie
Return to the Home page
