The homemade plum jam is one of the summer preserves I am most fond of. It’s my absolute favorite: its fragrance immediately takes me back to my childhood, when my aunt would make a tart with her homemade plum jam that I’ve never forgotten.
Every year, in September, when the plums are ripe and juicy, I seize the opportunity to make this easy, genuine, and flavorful recipe. You only need three ingredients: purple plums (I choose the “coscia” variety), sugar, and lemon juice.
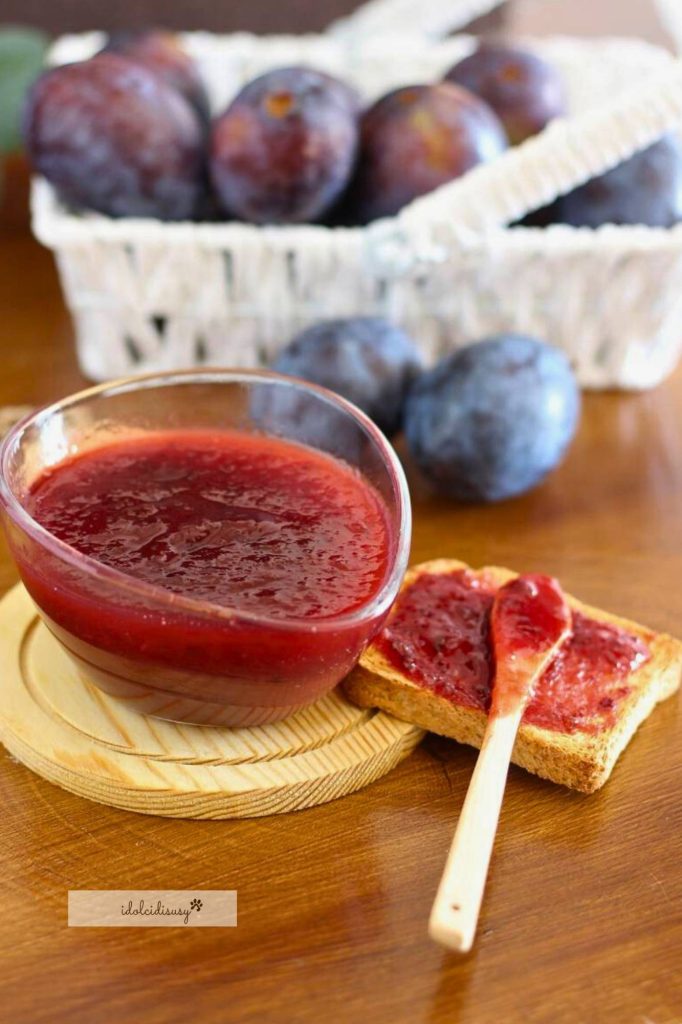
The result? A thick, not too sweet, slightly tangy jam, perfect for spreading on a slice of bread or for filling cakes and tarts.
I always prepare a few jars to keep in the pantry for winter: it’s my homemade sweetness reserve.
Jars should be glass, clean, and sterilized. If you want to learn more about the correct preparation of food preserves at home, [click here].
Let’s see how to prepare it, both with the Bimby and on the stove.
See you soon,
Susy
You might also be interested in:
- Difficulty: Very Easy
- Cost: Economical
- Preparation time: 10 Minutes
- Portions: 4
- Cooking methods: Stovetop, Boiling, Other
- Cuisine: Italian
- Energy 507.03 (Kcal)
- Carbohydrates 133.06 (g) of which sugars 129.31 (g)
- Proteins 1.75 (g)
- Fat 0.70 (g) of which saturated 0.04 (g)of which unsaturated 0.45 (g)
- Fibers 3.50 (g)
- Sodium 1.01 (mg)
Indicative values for a portion of 250 g processed in an automated way starting from the nutritional information available on the CREA* and FoodData Central** databases. It is not food and / or nutritional advice.
* CREATES Food and Nutrition Research Center: https://www.crea.gov.it/alimenti-e-nutrizione https://www.alimentinutrizione.it ** U.S. Department of Agriculture, Agricultural Research Service. FoodData Central, 2019. https://fdc.nal.usda.gov
Ingredients for Homemade Plum Jam
- 2.2 lbs plums (pitted)
- 2 cups sugar
- to taste lemon juice (1 lemon)
You will need for the homemade plum jam
- Food Processor
- 4 Jars 8.5 oz
- Skimmer
- Ladle
Preparing Homemade Plum Jam
First, I wash the plums well, remove the stalk, and cut them in half to remove the pit.
I put them in the Bimby bowl, close the lid, and blend for 20 seconds at speed 5.
I open the lid, gather the mixture with the spatula, and blend again for another 20 seconds at speed 5.
I add the sugar and lemon juice, then set the cooking: 30 minutes, Varoma temperature, speed 1, with the basket instead of the measuring cup.
At the end, I check if the density is what I want. If it’s still too liquid, I continue cooking for a few more minutes.
I immediately pour the hot jam into sterilized jars, seal with the lid, and turn them upside down. I let them cool like this, to create a vacuum.I wash the plums, remove the stalk and the pit, then cut them into pieces and put them in a pot with the sugar and lemon juice.
I bring everything to the heat on low flame and stir until the sugar begins to dissolve.
I let it cook for about 40–50 minutes, stirring occasionally. During cooking, I remove the foam that forms on the surface with a skimmer.
To see if the jam is ready, I do the plate test: I pour a small amount on a cold plate, wait a few seconds, and tilt. If it doesn’t run, the jam is ready.
I pour the hot jam into already sterilized glass jars, seal immediately, and turn them upside down until completely cooled to create a vacuum.
Storage
You can store the plum jam for about 3 months, provided the vacuum was done correctly.
Place the jars in a cool, dry place, away from light.
Susy’s Tips
If you prefer a smoother jam, you can slightly blend the fruit even if you cook it on the stove. I do it when I want a more velvety texture.
– For a more aromatic variant, you can add a piece of fresh ginger or a pinch of cinnamon: I often do it when I prepare jars as gifts.
– Always label the jars with the date: it’s a small habit that helps a lot, especially when I prepare different types.
– If you want an even thicker jam, let it cook a few more minutes, but always do the plate test to avoid it becoming too dense.