Spelt soup in an electric pressure cooker, thick and creamy, just the way I like it. Those who have followed me for a long time and know me well know that I don’t like broths and soups. Vegetables are not my passion, but since I’ve not been a child for quite some time now, every now and then, and I swear, without fussing, I eat soup and stews. However, they must be thick and creamy, disguised as dry first courses. This spelt soup is excellent and is prepared in a jiffy with that fantastic tool that is the electric pressure cooker. Don’t have one yet? I would think about it…
- Difficulty: Easy
- Cost: Very cheap
- Portions: serves 4 people
- Cooking methods: Instant pot
- Cuisine: Italian
Ingredients
- 18 oz pearled spelt
- 1 carrot
- Half stalk celery
- 1 shallot
- 1 clove garlic
- 1 oz bacon
- 2 tbsps extra virgin olive oil
- 8 1/2 cups water
- 1 tsp coarse salt
Tools
- Pot electric pressure cooker
- Blender / Mixer
- Knife
- Wooden spoon
- Ladle
- Colander
Preparation
Clean and wash the vegetables, peel the shallot, and garlic clove. Chop everything in a mixer along with the bacon.
Place the spelt in a colander and rinse thoroughly with cold water. Drain well.
Set the Saute program of your electric pressure cooker to normal mode and lightly sauté the vegetable and bacon mixture in a couple of tablespoons of extra virgin olive oil. Stir with a wooden spoon to avoid burning.
Add the spelt, toast for a few seconds, stirring continuously.
Add the water and salt. Close the lid, set the valve to Venting Position, and set the cooking time: 20 minutes at maximum pressure.
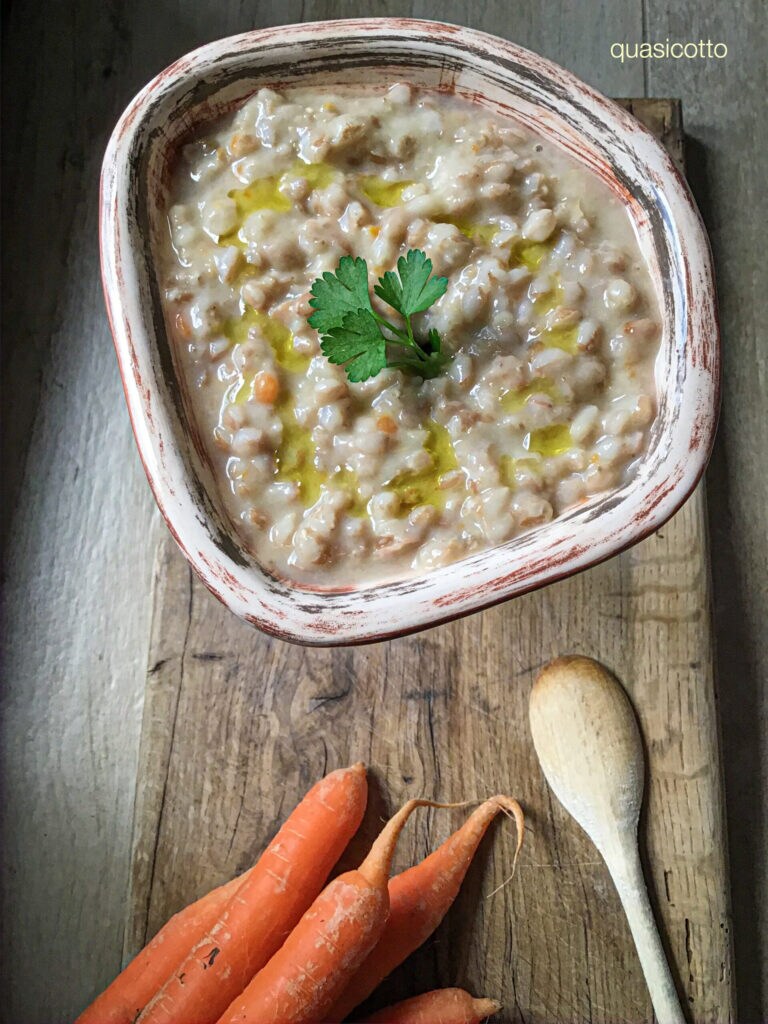
Adjust salt once cooked, add a drizzle of raw oil to flavor this excellent spelt soup in an electric pressure cooker.
Creamy Spelt Soup in Pressure Cooker.
If you don’t have an electric pressure cooker, you can naturally use a classic pressure cooker. In this case, I recommend just adding a little more water.
