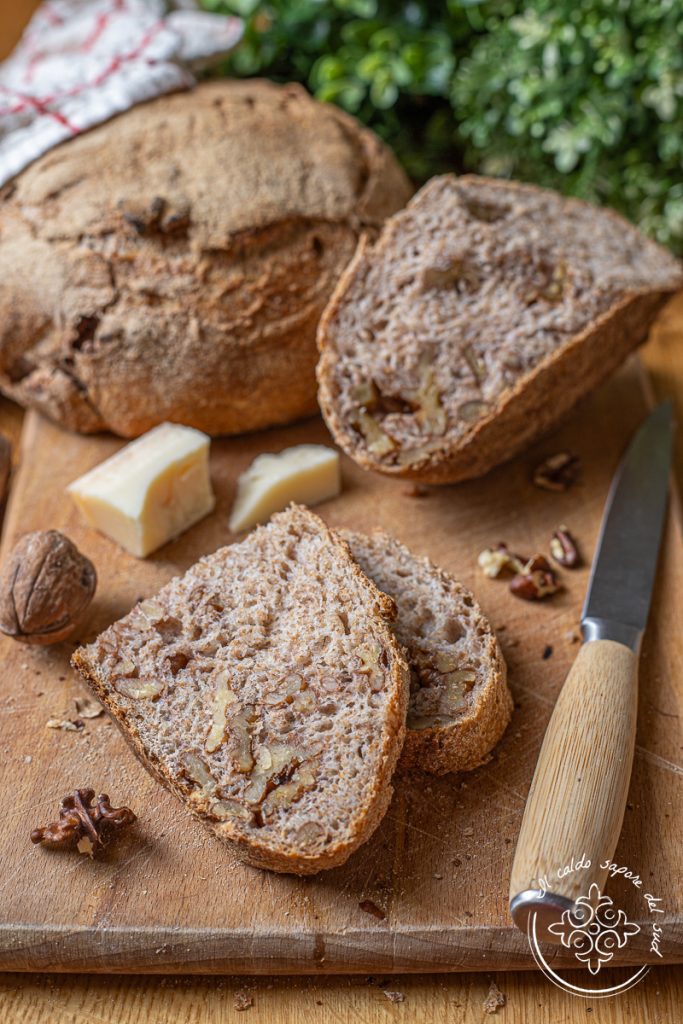
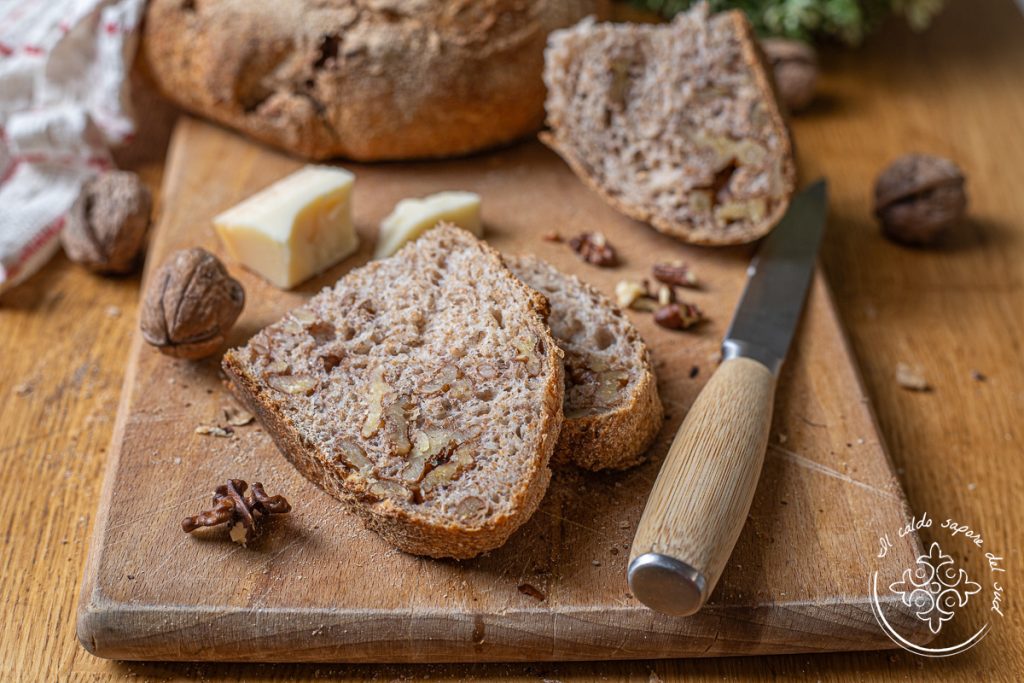
Homemade walnut bread, soft with a crunchy crust, made with sourdough starter. Baking bread at home is my passion; it relaxes me and gives me a lot of satisfaction, so I gladly move from French baguettes and mafalde, to soft milk rolls and rustic loaves like this walnut loaf or olive rolls. Flour, water and yeast mixed together have produced a miracle for millennia that repeats from generation to generation, and I am always enchanted by such beauty, so homemade bread is part of my weekly menu. Getting your hands into the dough is a natural anti-stress that allows me to have fresh bread on the table every day, knowing I am giving my family a wholesome, genuine bread made with ingredients I trust. Today, to enrich my collection titled “All the homemade bread you want“, we’ll prepare together a crunchy and flavorful whole wheat walnut bread, complementary to my walnut bread recipe made with re-milled semolina, a preparation that enhances the bread basket and is a nice variation from the everyday classic loaf. Curious to discover this whole wheat walnut bread recipe? Let’s get into the kitchen and you’ll see what a show it is. Before rolling up our sleeves, if you want to stay updated on my recipes you can follow my Facebook page (here) and my Instagram profile (here).
You may also like:
- Difficulty: Easy
- Cost: Budget-friendly
- Rest time: 16 Hours
- Preparation time: 30 Minutes
- Portions: 10
- Cooking methods: Electric oven, Oven
- Cuisine: Italian
- Seasonality: All seasons
Ingredients
- 5 cups whole wheat flour (store-bought (supermarket) whole wheat flour will work fine)
- 1 7/8 cups water (or a little more)
- 4 1/2 cups walnut halves
- 2/3 cup sourdough starter (ripe)
- 2 1/4 tsp salt
Tools
- Stand mixer
- Bowl
- Oven
- Enameled cast-iron pot
- Proofing baskets (bannetons)
How to make whole wheat walnut bread
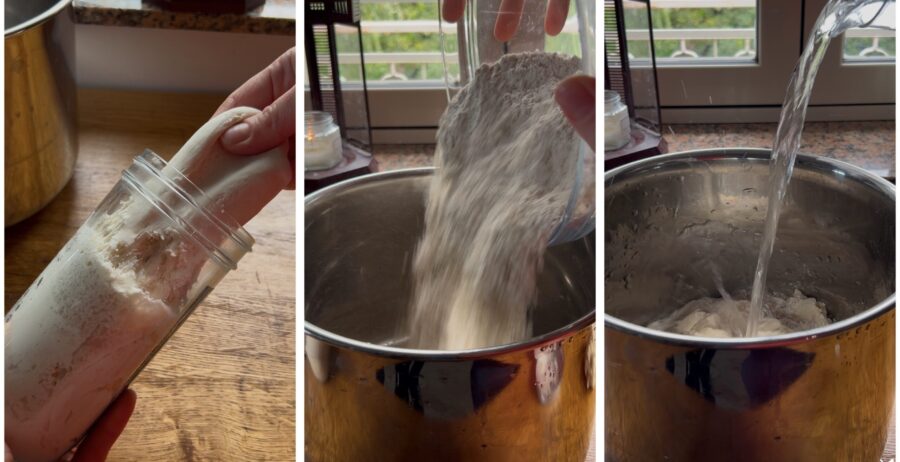
To make the walnut bread, place the whole wheat flour (store-bought), the water, the salt and the well-fed, mature sourdough starter in the bowl of your stand mixer or planetary mixer.
Work the dough for about 20 minutes, or until you obtain a well-developed, elastic dough.
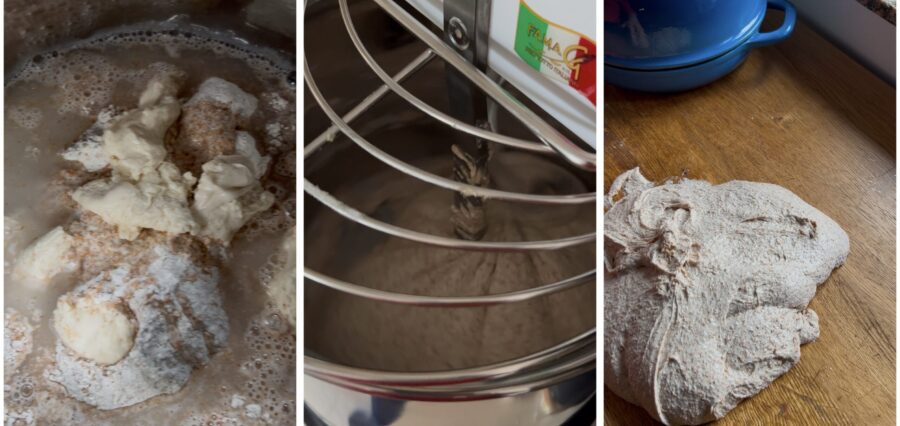
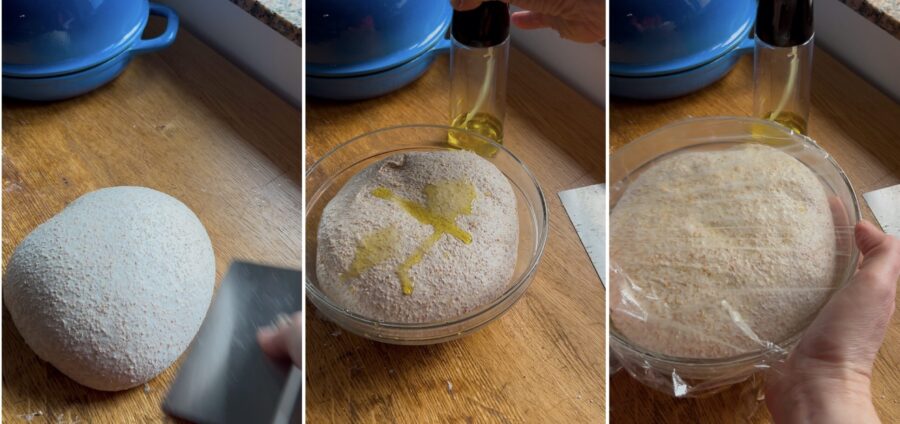
Turn the dough out onto the work surface, perform a few slap-and-fold turns (lift the dough and let it fall onto itself), shape it into a ball and place it in a lightly oiled bowl, cover with plastic wrap and set the dough in a warm place to rise for 4 hours.
Take the dough back out and place it on a lightly oiled work surface. Stretch it with your hands as much as you can until you form a rectangle less than 3/8 inch thick.
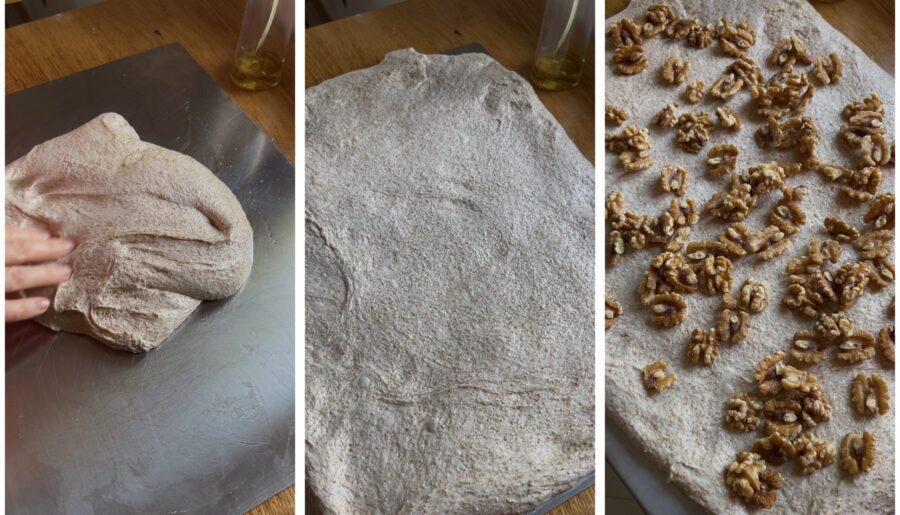
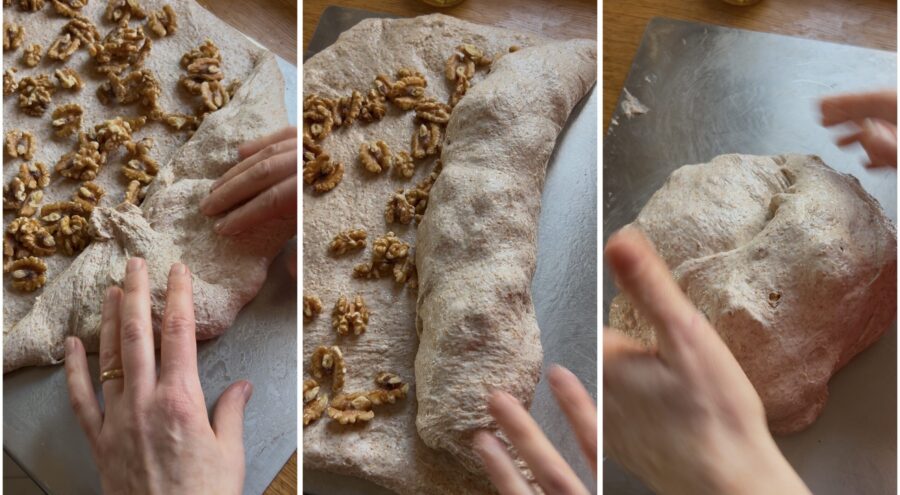
Cover the surface with the walnut halves evenly distributed, then fold the dough over them, rolling into a cylinder. Fold the cylinder onto itself and tighten to form a round loaf.
Divide the ball into two equal pieces and tighten each into two small rounds.
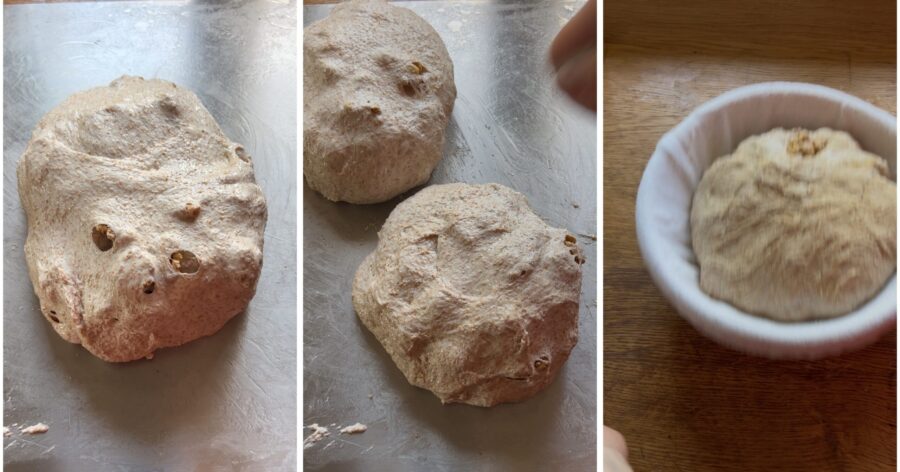
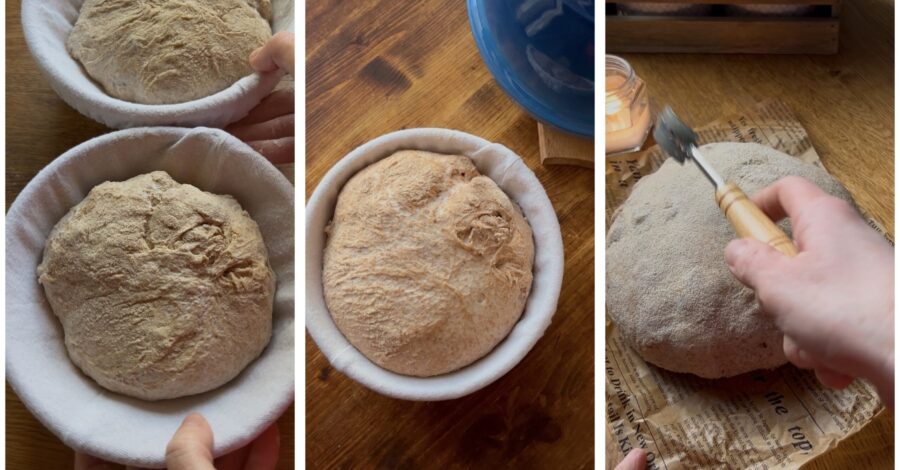
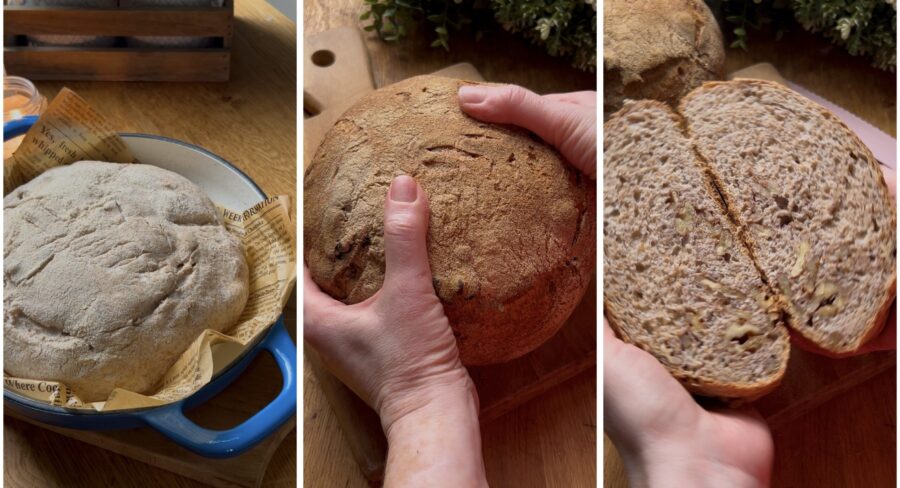
Place them in well-floured proofing baskets with the seam facing up and set them in a warm place for another 4 hours, then move them to the refrigerator for 6–8 hours (overnight). After that time, if the loaves are well risen proceed directly to baking; otherwise allow them to finish proofing at room temperature. Preheat the oven to 428°F or to its highest achievable temperature and also heat the cast-iron pot inside the oven simultaneously. Turn the first loaf onto a piece of parchment paper, score the surface with a lame so the loaf doesn’t open unpredictably while baking, and place it into the already hot pot.
Cover with the lid and bake for 45 minutes, then remove the lid and brown to the desired color. Remove from the oven and let cool slightly before enjoying.
Our whole wheat walnut bread made with sourdough starter keeps well for up to 3–4 days, especially in winter if stored in a cotton bag. In summer the shelf life is much shorter, as it tends to dry out quickly unless stored in a food-safe plastic bag.
Storage and tips
If you want to stay updated on my recipes, follow me also on:
pinterest; twitter, you tube and tiktok.
From here you can return to the HOME and discover new recipes!
Proofing times are indicative: when working with sourdough there are no certainties, as everything depends on the ambient temperature and the strength of your starter. You will need to manage the proofing according to your conditions, independently from the times I indicate.
If you don’t have sourdough starter, mix 5/6 cup (about 100 g) of flour with 1/4 cup (60 g) of water and about 1 2/3 teaspoons of fresh baker’s yeast. Let it ferment in the fridge overnight and then proceed as above, using this dough in place of the sourdough starter. Proofing times will be faster and you’ll need to organize accordingly.
You can substitute the pot baking with traditional baking on a preheated baking stone or tray; you’ll get a less crisp crust but still an excellent bread.