Homemade clarified butter is an ancient and valuable ingredient, widely used in the traditional cooking of many cultures. It is simply butter from which water, lactose and milk proteins are removed, resulting in a pure, golden fat that is much more stable at high temperatures.
Preparing clarified butter at home is very easy and requires only one ingredient: butter. With a gentle, slow cooking the different components naturally separate, giving a product with a delicate, slightly nutty flavor.
This type of butter is perfect for frying, seasoning vegetables, preparing sauces, and for lactose-free cooking.
Indeed, during clarification lactose is almost completely removed, making it often more tolerable for those who are lactose intolerant.
Clarified butter is a fat obtained by slowly melting butter and separating its components.
Traditional butter is composed of about: 80% fats, 15–18% water, milk proteins and lactose.
When butter is melted slowly the water evaporates, the milk proteins separate and only the pure fat remains.
The result is a clear, golden and very fragrant butter, with a higher smoke point than regular butter.
The smoke point of regular butter is about 302°F, while clarified butter can reach 392–482°F. This means you can use it to brown meat, sauté vegetables, fry and cook without it burning easily.
To make homemade clarified butter you need very few ingredients: only butter, preferably organic, made from fresh cream, and unsalted.
The quality of the starting butter will greatly influence the final flavor.
If you don’t want to miss all the new recipes follow me also on my FB page, on my IG profile and on my YouTube channel.
Also discover other basic recipes
- Difficulty: Very easy
- Cost: Medium
- Preparation time: 2 Minutes
- Cooking methods: Stovetop
- Cuisine: Italian
- Seasonality: All seasons
Ingredients
- 18 oz butter
Tools
- 1 Saucepan
- 1 Strainer
- 1 Cheesecloth
- 1 Jar
Steps
Cut the butter into cubes and put it in a saucepan.
This will help it melt evenly.
Place the saucepan over the lowest possible heat.
The butter should melt slowly without frying.
During cooking you will see: white foam on the surface, golden yellow liquid, and white residues on the bottom.With a spoon, remove the foam that forms on the surface.
This foam is mainly composed of milk proteins.
After about 15–20 minutes you will see the butter separate into three parts:
surface foam, golden fat in the middle, white residues on the bottom.
The central part is the pure clarified butter.Carefully strain the golden liquid using a cheesecloth placed inside a strainer.
Pour it into a clean jar.Be careful not to stir up the residues settled at the bottom.
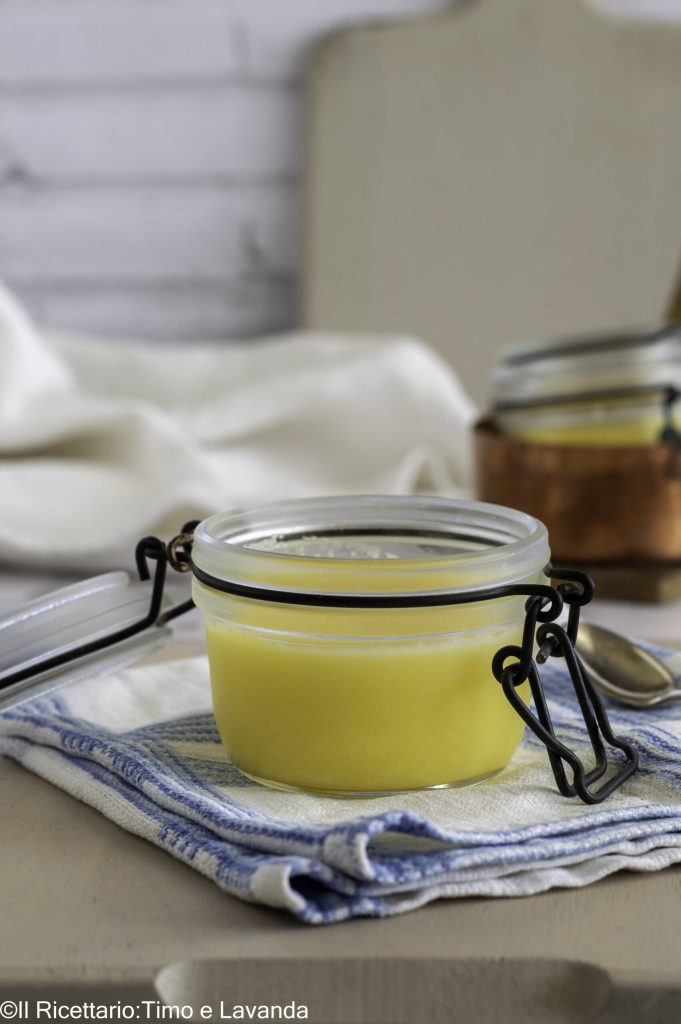
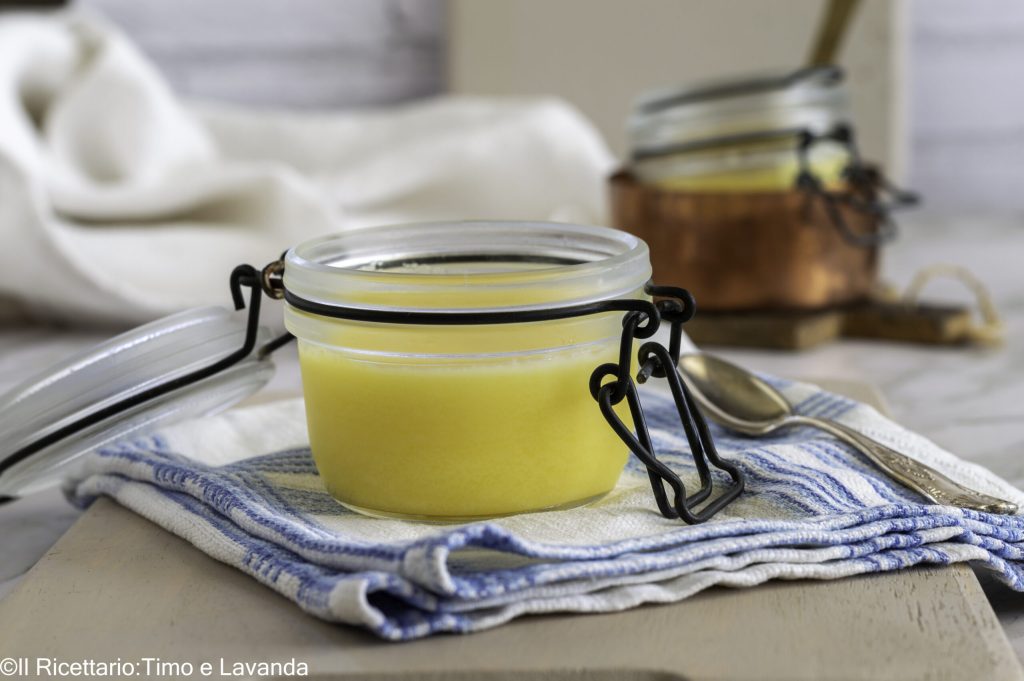
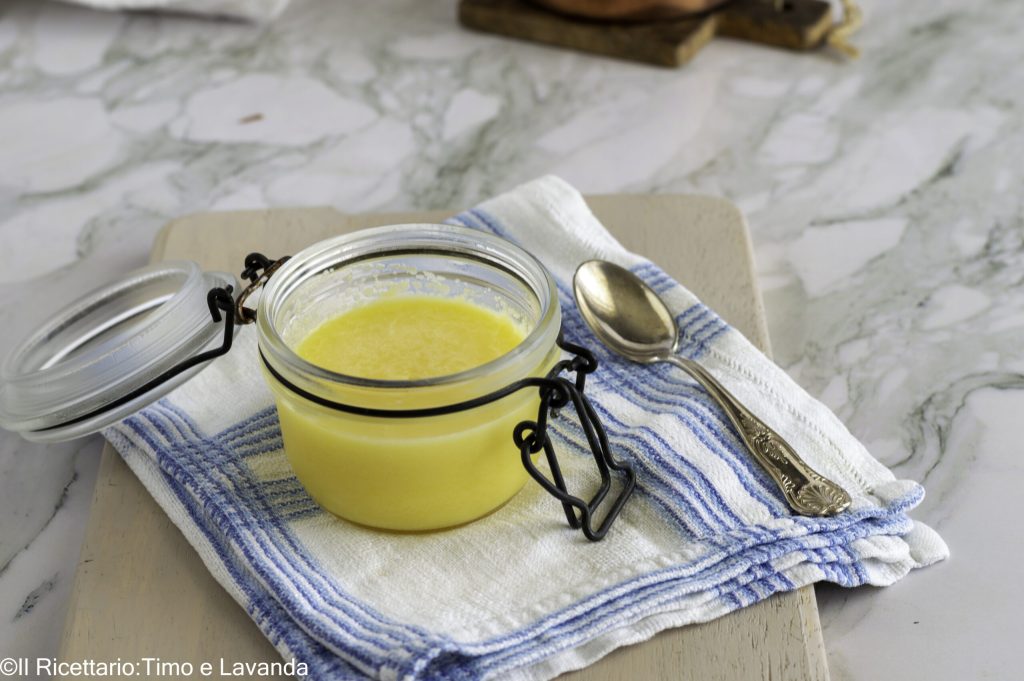
You will obtain a clear, golden clarified butter with a slightly toasted aroma.
Once cooled it will solidify and take on an intense yellow color.During clarification you lose about 20% of the initial weight. For example, 500 g of butter (about 18 oz or roughly 2 1/4 cups) will produce approximately 400 g of clarified butter (about 14 oz or roughly 1 3/4 cups).
Storage
Clarified butter keeps much longer than regular butter.
In the refrigerator up to 3 months. It is important to always use clean spoons to avoid contamination.
Clarified butter stores well, but can spoil if contaminated.
Signs to check for: rancid smell, sour taste, altered color.
If you notice any of these signs, it’s better not to use it.
Benefits of clarified butter
Clarified butter offers several advantages over regular butter.
1. More digestible: being almost free of lactose and milk proteins, it may be more easily tolerated by those with lactose intolerance.
2. Ideal for high temperatures: thanks to its high smoke point, it is perfect for frying and searing.
Many people who suffer from lactose intolerance are able to tolerate clarified butter because lactose is almost completely removed during preparation.
However, tolerance may vary from person to person, so it’s always best to try it in moderation.
Around the world
Clarified butter is used in many culinary traditions.
In Indian cuisine it is called ghee and is a fundamental ingredient in Ayurvedic cooking.
In French cuisine many chefs use it to cook fish, shellfish and meat.
In Middle Eastern cooking it is used in numerous traditional preparations.
FAQ (Questions and Answers)
Is clarified butter lactose-free?
It contains very low amounts of lactose, often tolerated by those with intolerance.
Can it be made with any butter?
Yes, but it’s best to use unsalted, good quality butter.
How long does it last?
In the refrigerator it can last up to 3 months.
Can you fry with clarified butter?
Yes, clarified butter is perfect for frying because it has a higher smoke point than traditional butter and withstands high temperatures better.
What is the difference between clarified butter and ghee?
Ghee is a variant of clarified butter typical of Indian cuisine. It is cooked longer, developing a more intense, slightly toasted flavor.
Making homemade clarified butter is a simple yet very useful technique in the kitchen. With a few minutes of work you will obtain a versatile ingredient, more stable at high temperatures and with a delicate flavor.
Perfect for frying, searing or seasoning, clarified butter is a valuable ally for those who love to cook and want to enhance their dishes with a purer and more aromatic fat.
Once tried, it will surely become one of the essential ingredients in your kitchen.
