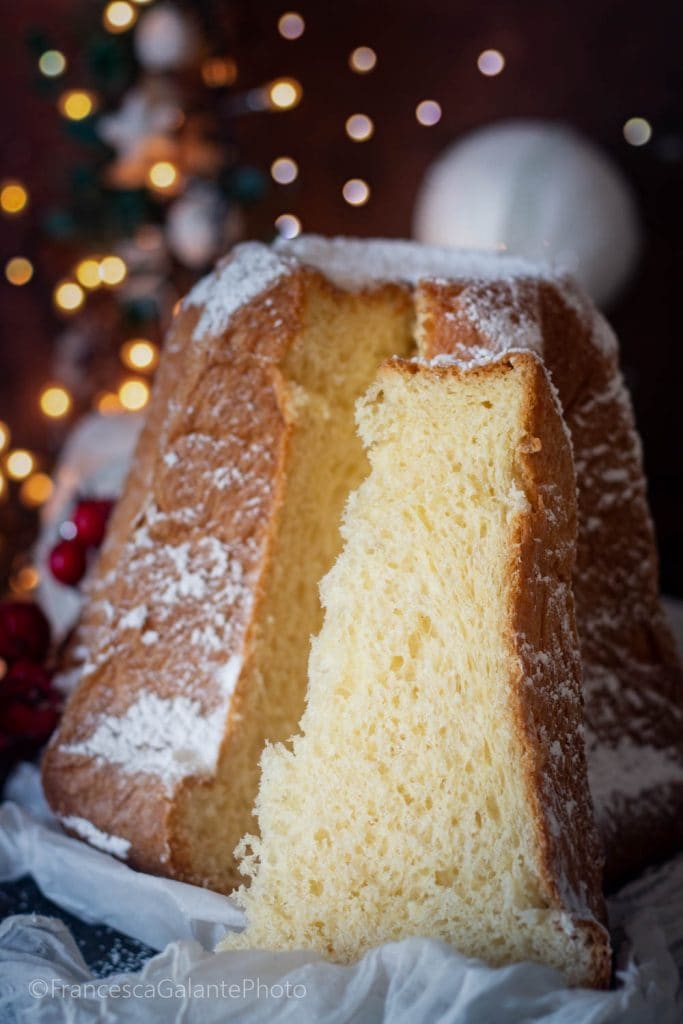
Kick off the holiday season with this Quick Pandoro Recipe in 8 Hours with a Single Dough. I must be honest, on this blog, you will find many types of Pandoro with sourdough, brewer’s yeast with two doughs, pistachio, chocolate, etc., etc., but let me say that this pandoro really surpassed them all, it is easy, quick, and most importantly soft like a cloud. All with a single dough in the mixer. This recipe is by the very skilled pastry chef Simone Esposito and I recommend taking a look at his YouTube channel which is very interesting. Usually, we see pandoros online with very long rising times and the use of sourdough, I am one of those people who love baked goods with sourdough and use it almost in everything, but this time I wanted to try something different and I think I will not leave this dough anymore, I will make it often. What speeds everything up is the famous ‘lievitino’, not to be confused with ‘polish’, as the latter differs because it uses less yeast to lengthen the rising times, around 12-14 hours, compared to the 4 hours of the lievitino. It’s a pre-dough that makes baked goods soft, fragrant, and aromatic. If you prefer, you can also fill it by making holes at the base of the pandoro, I usually use an apple corer for this, and with a piping bag insert the cream. Below is the recipe with step-by-step photos. If you like Christmas recipes, also take a look at my Red Velvet Pandoro
READ ALSO
- Difficulty: Easy
- Cost: Very cheap
- Rest time: 7 Hours
- Preparation time: 8 Hours
- Portions: 8
- Cooking methods: Oven
- Cuisine: Italian
- Seasonality: Christmas
- Energy 505.25 (Kcal)
- Carbohydrates 55.53 (g) of which sugars 18.26 (g)
- Proteins 10.65 (g)
- Fat 26.64 (g) of which saturated 15.76 (g)of which unsaturated 10.26 (g)
- Fibers 1.34 (g)
- Sodium 252.76 (mg)
Indicative values for a portion of 125 g processed in an automated way starting from the nutritional information available on the CREA* and FoodData Central** databases. It is not food and / or nutritional advice.
* CREATES Food and Nutrition Research Center: https://www.crea.gov.it/alimenti-e-nutrizione https://www.alimentinutrizione.it ** U.S. Department of Agriculture, Agricultural Research Service. FoodData Central, 2019. https://fdc.nal.usda.gov
Ingredients
- 3/4 cup Manitoba flour
- 2 tsp compressed yeast
- 1/4 cup water (warm)
- 2 3/4 cups Manitoba flour
- 1/4 cup water
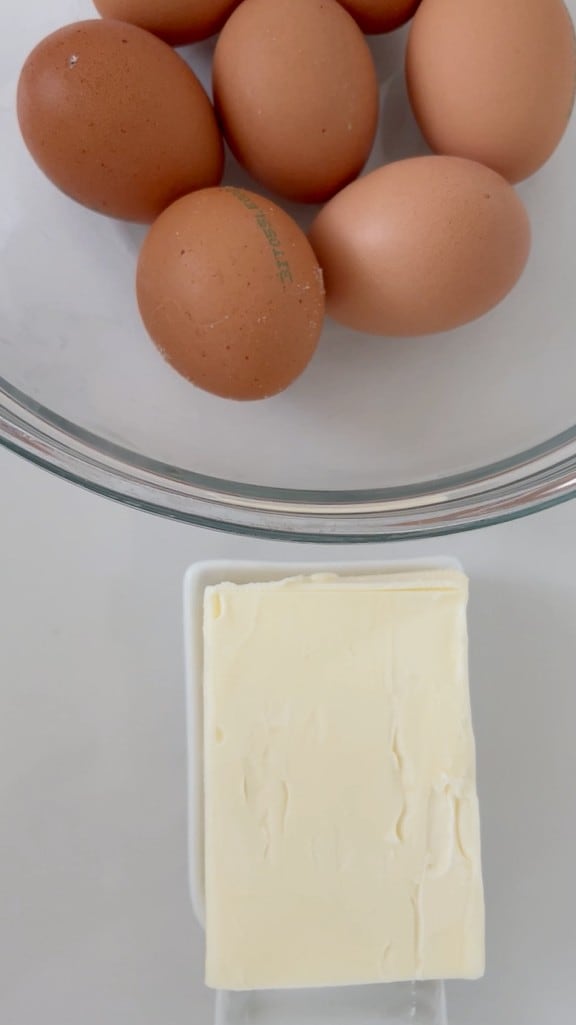
- 7 egg yolks egg yolks (about 7)
- 2/3 cup sugar
- 1 cup butter (centrifuged cream)
- 1 tsp salt
- 1 tbsp vanilla extract (I use vanilla paste)
Tools
- Mixers
- 1 Mold
Steps
Begin by making the ‘lievitino’. In a bowl, pour the flour, make a well in the center, crumble the yeast with your fingers, and pour in the warm water. Start working with your fingers until the flour, water, and yeast are well blended.
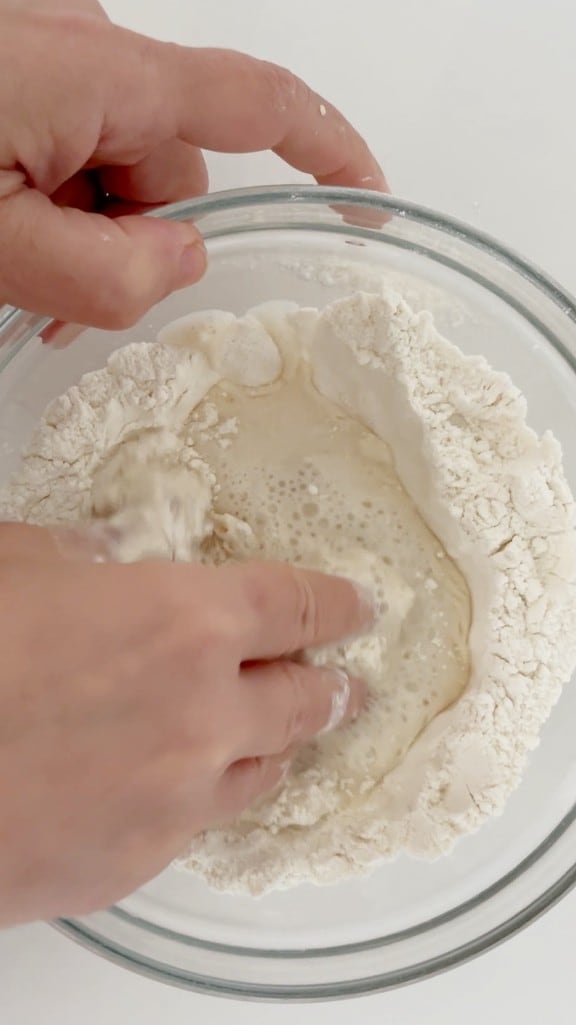
Transfer to the work surface and knead with your fingers
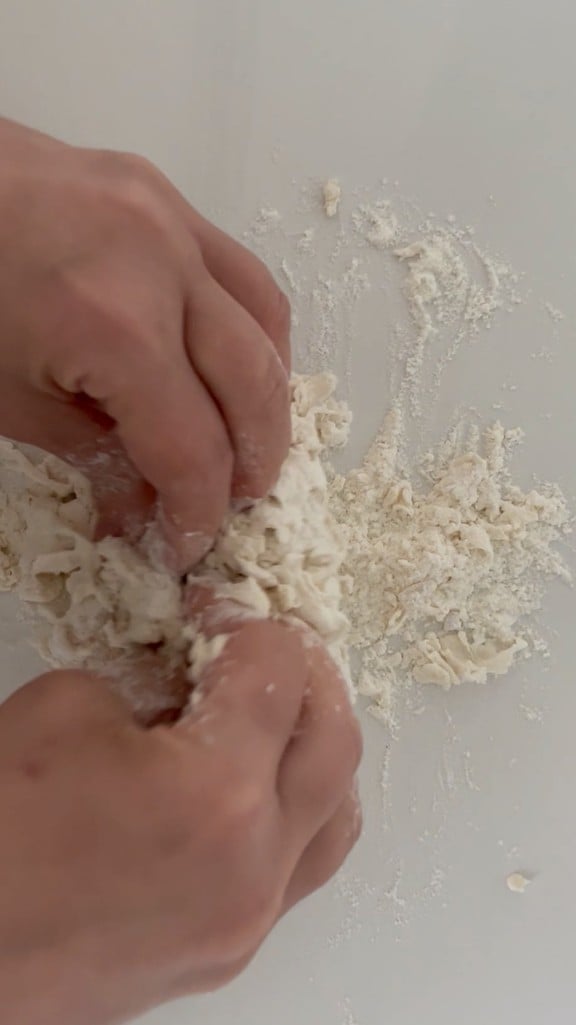
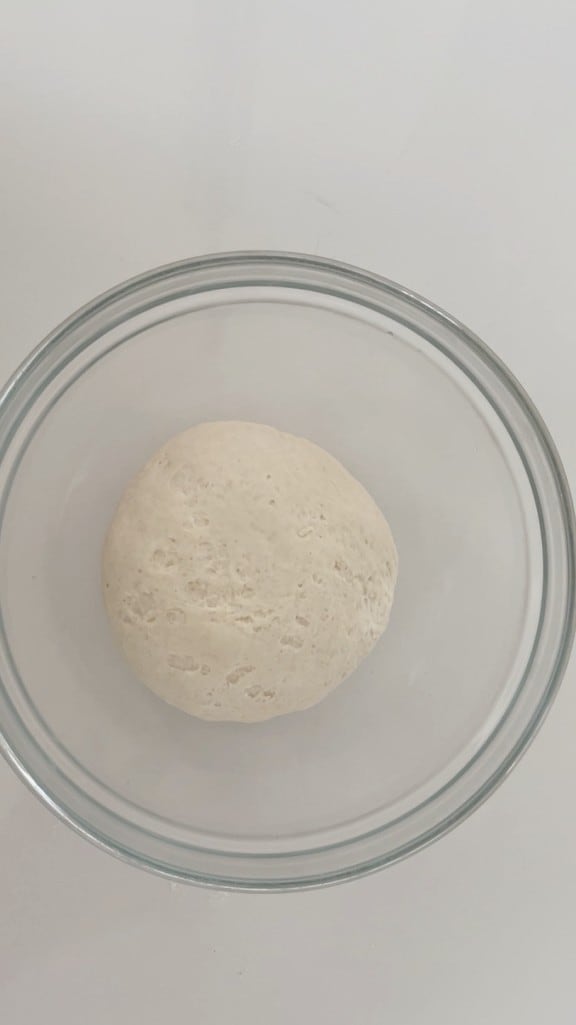
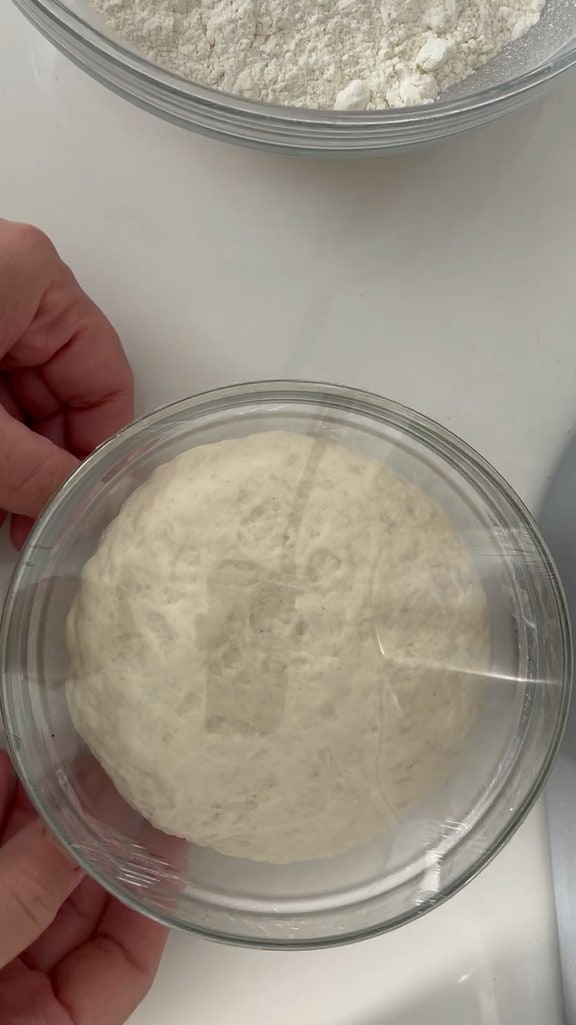
until you get a smooth dough ball that we will let rest covered with plastic wrap for 1 hour. If the room temperature is high, even 30 minutes.
Remove the eggs and butter from the fridge; they should not be cold when added to the dough.
Meanwhile, the ‘lievitino’ has doubled well.
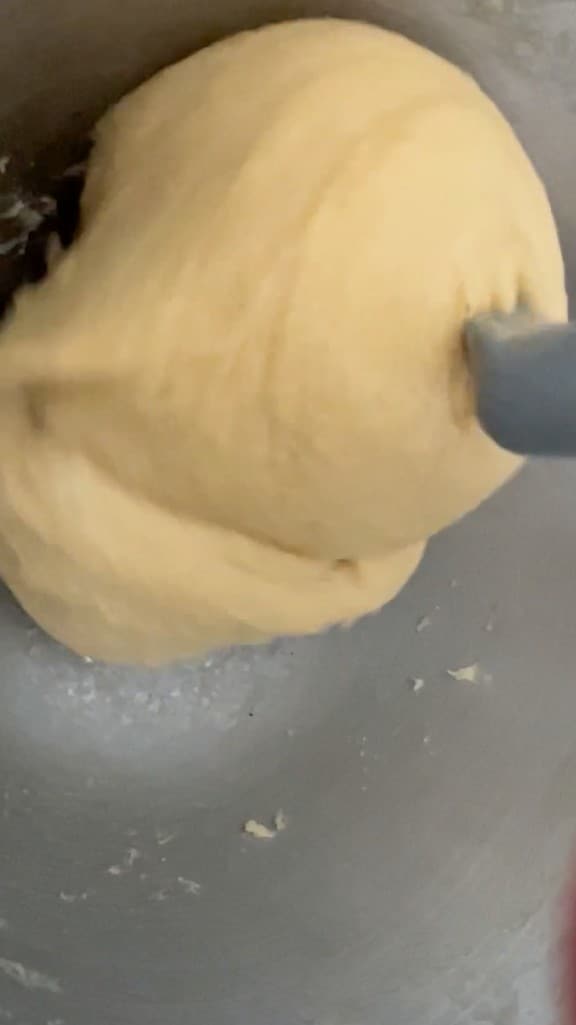
Insert it into the mixer
Add the Manitoba flour.

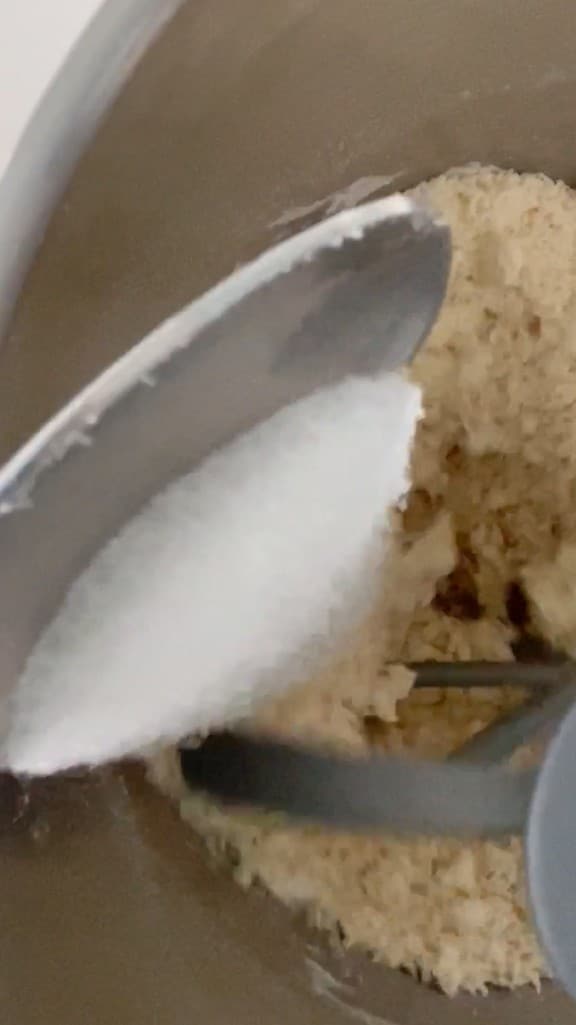
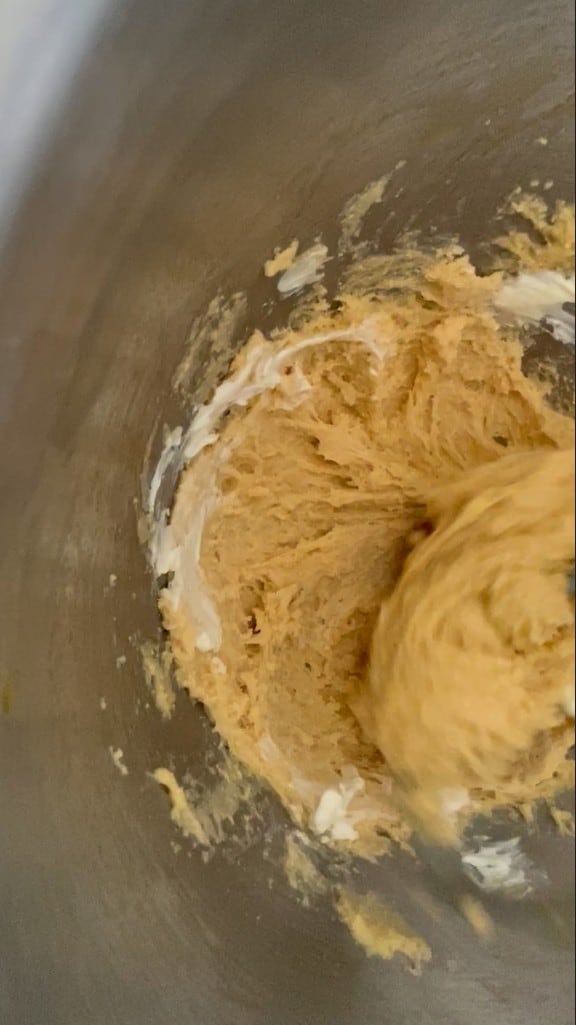
Start the mixer with the K hook and add the sugar in two parts
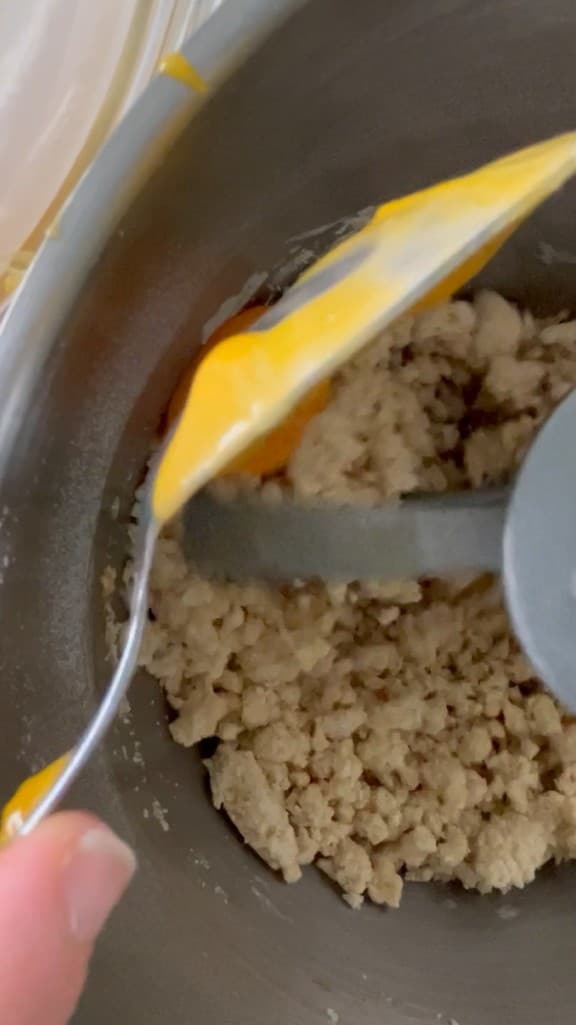
After adding the sugar, add the egg yolks two at a time; do not add the second yolks until the first ones have been absorbed by the dough.
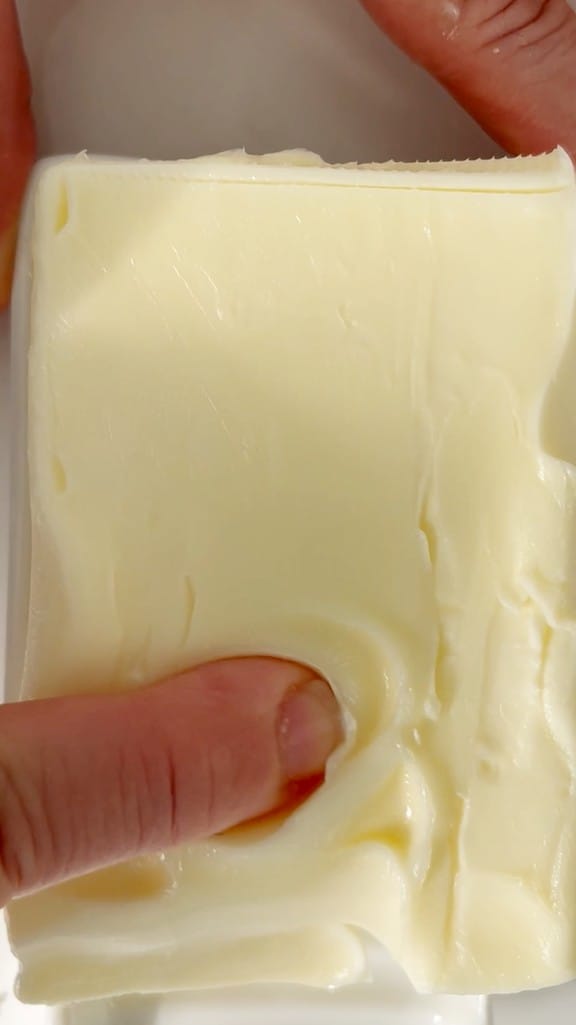
The butter should be soft like a pomade, meaning it should be soft when pressed with a finger.
Change the mixer’s hook to the spiral one. Start adding the butter one piece at a time. This operation lasts about 10 minutes
Add the next piece when the dough has almost absorbed the first.
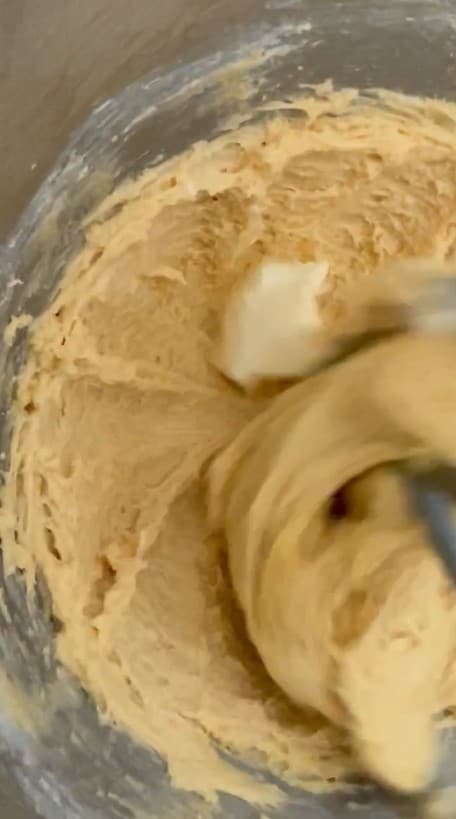
As you add the pieces of butter, you will see the dough cling to the hook.
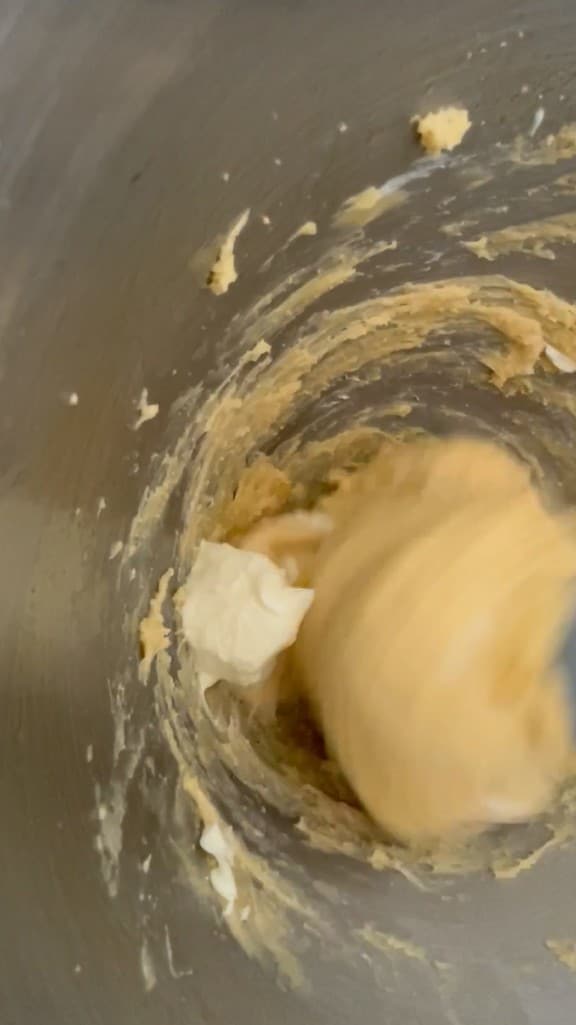
Continue working with the mixer until the last piece of butter is added.
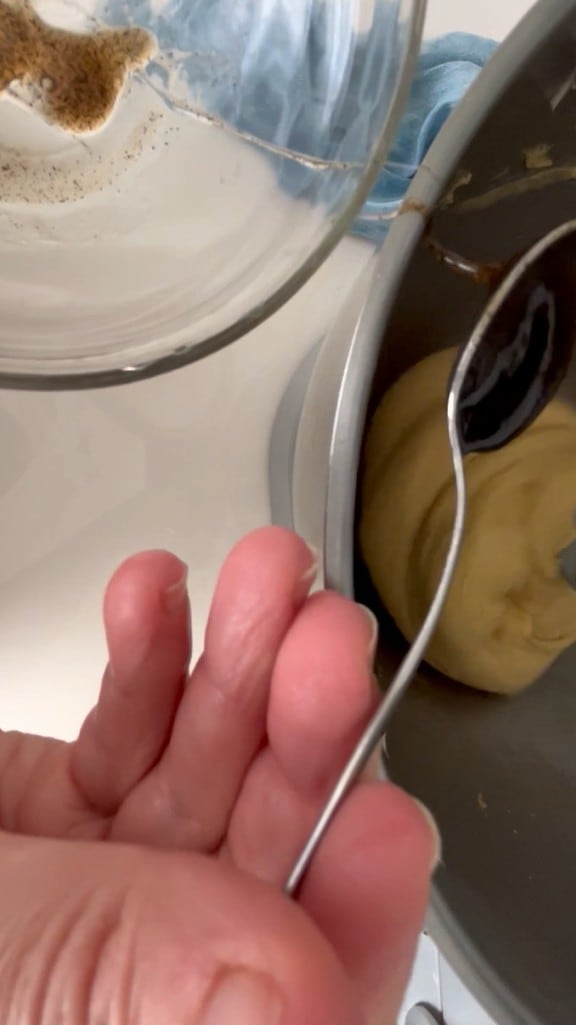
At this point, add the salt.
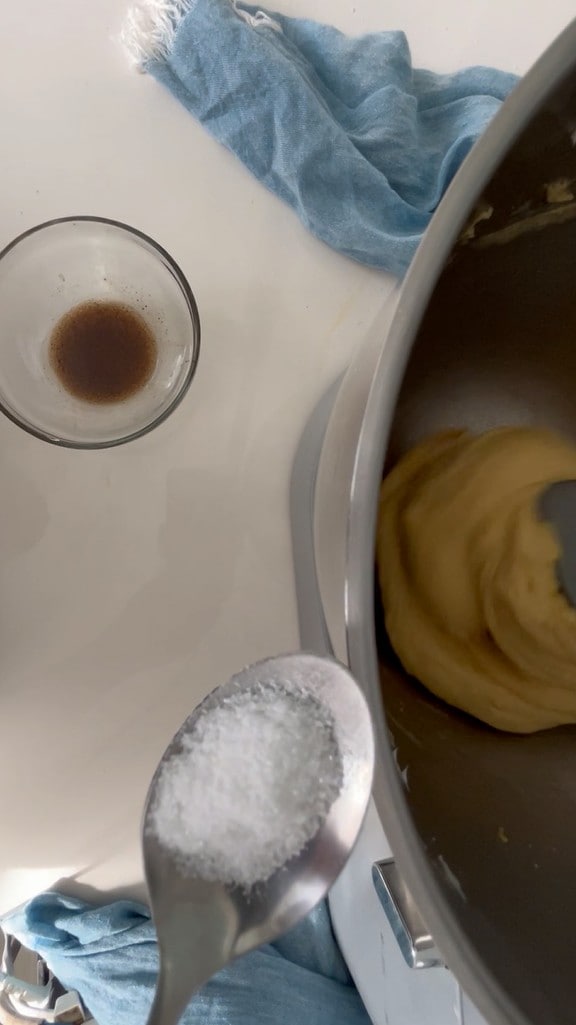
The vanilla aroma, I used natural vanilla paste as I find it more intense and fragrant. You can also use vanilla bean seeds.
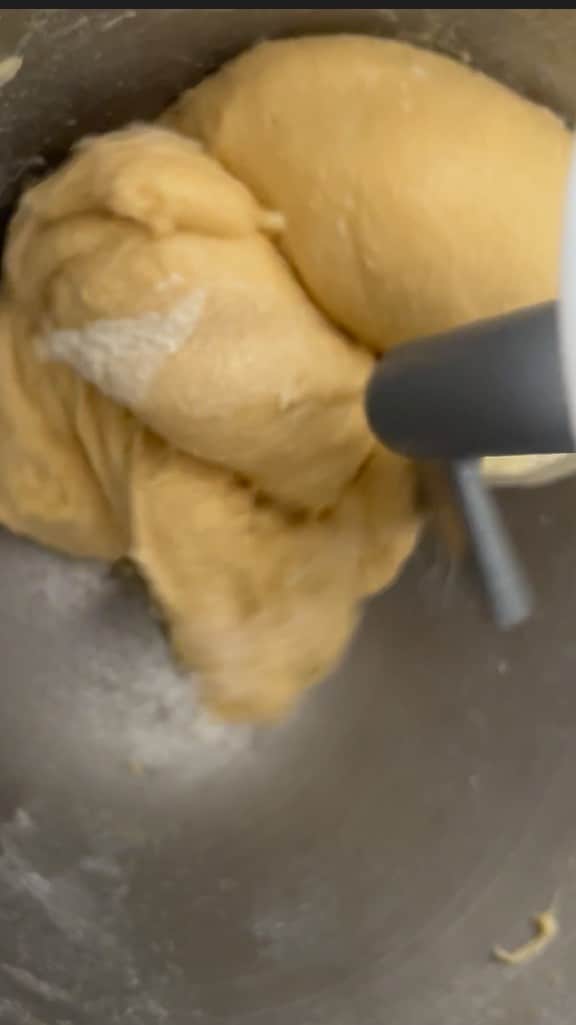
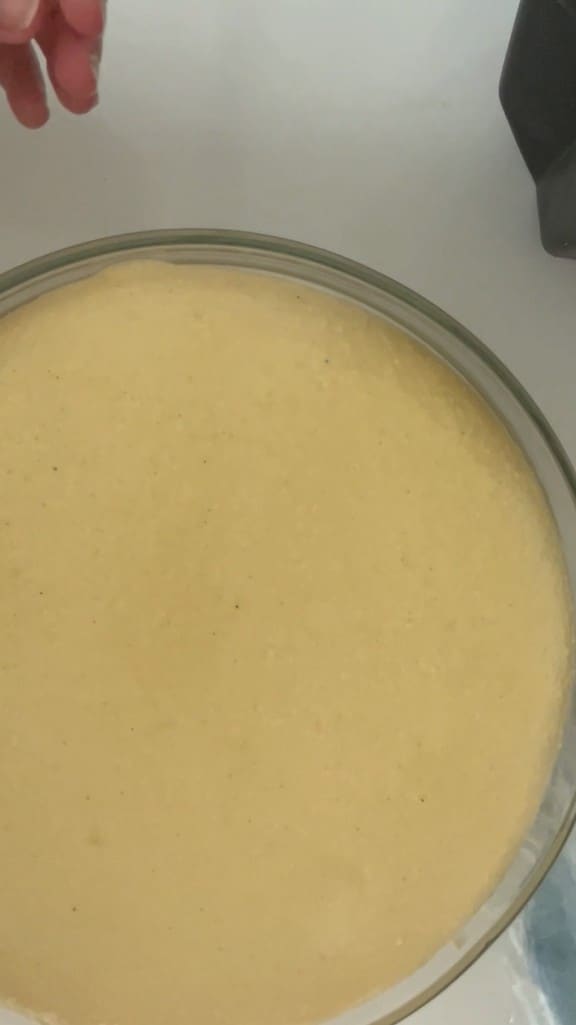
Now that the ingredients have been added, we will have a smooth dough in the mixer that clings well to the hook and clean mixer sides.
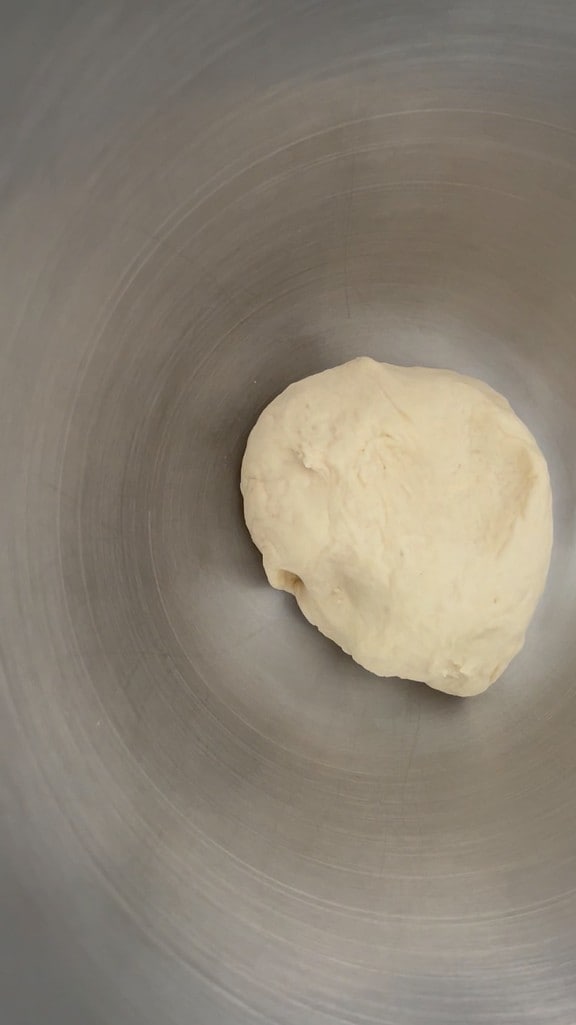
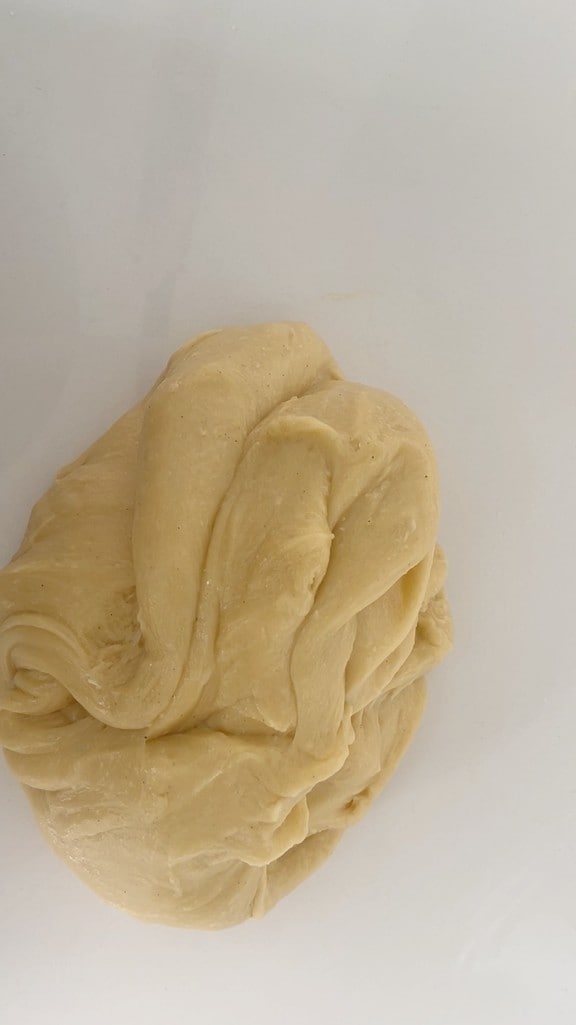
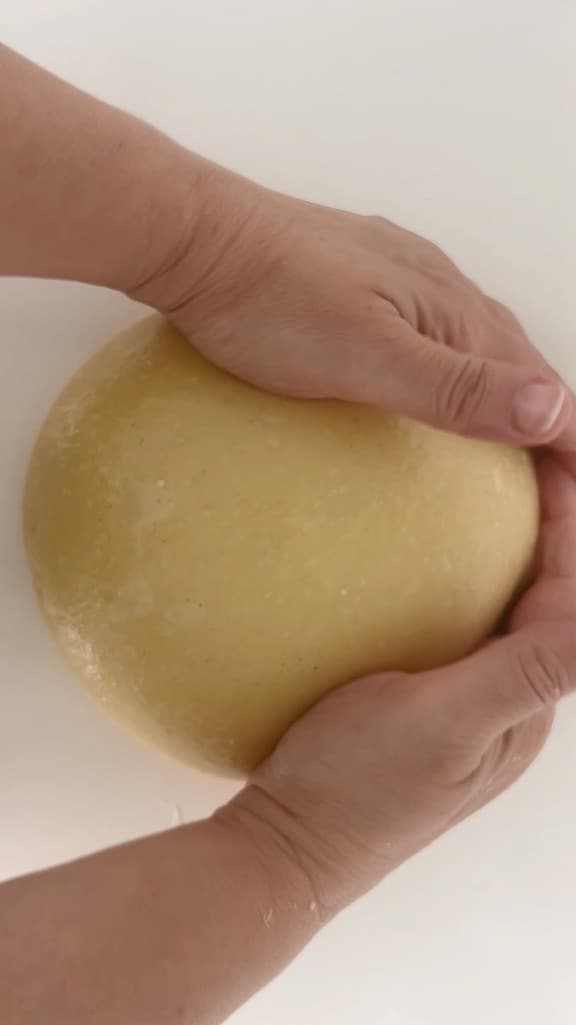
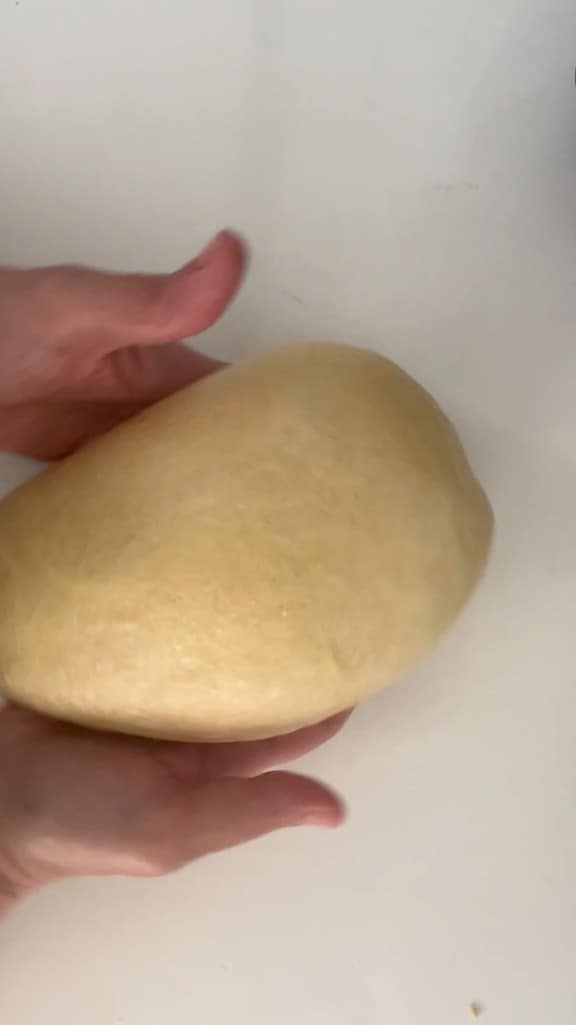
Transfer now to the work surface and lightly work the dough, making the classic folds
Shape it into a smooth ball
which we will place in a bowl to rise, covered with plastic wrap, for about 3 hours; it should almost triple
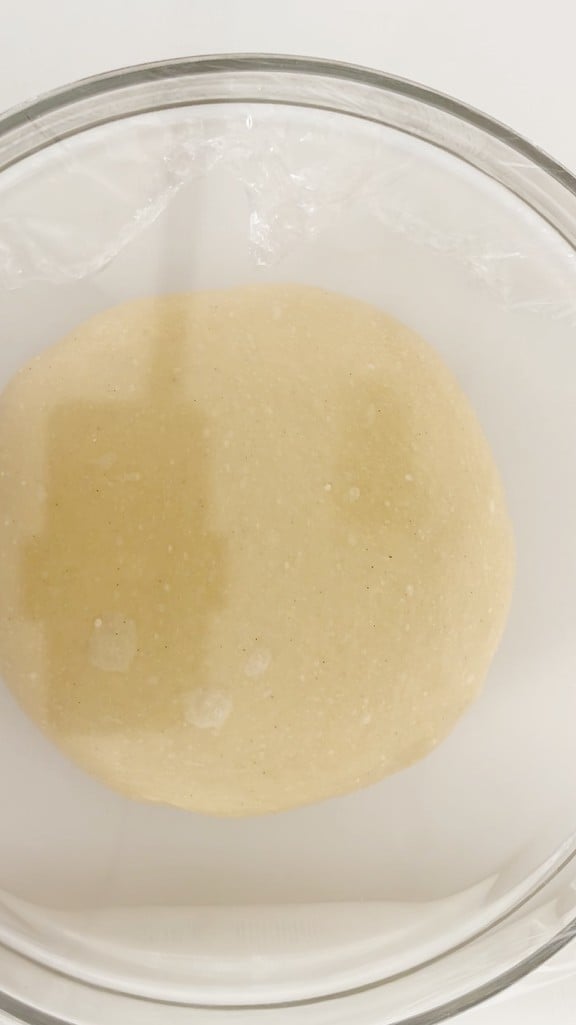
just like in the photo.
Remove the dough from the bowl and lightly work the dough, making the classic ‘slap and fold’ folds meaning slap, stretch, and fold the dough until it is closed and shaped into a very smooth and well-closed dough underneath. This technique helps strengthen the dough, make it smooth and homogeneous, lengthen the gluten network, and incorporate air to favor the formation of the alveoli.

Thus, we will obtain a smooth dough
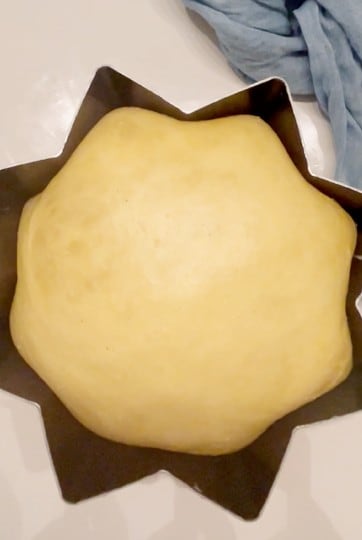
Grease the pandoro mold well and gently insert the dough.

Let it rise in the oven turned off with the light on until the dough reaches the surface. Mine took about 4 hours
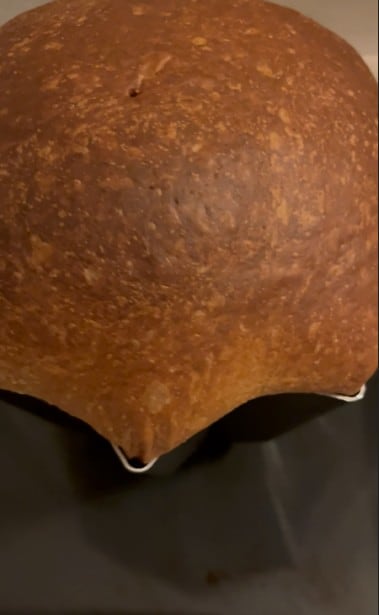
Bake in a preheated traditional oven at 340°F (170°C) for 45 minutes. It will turn dark on top.
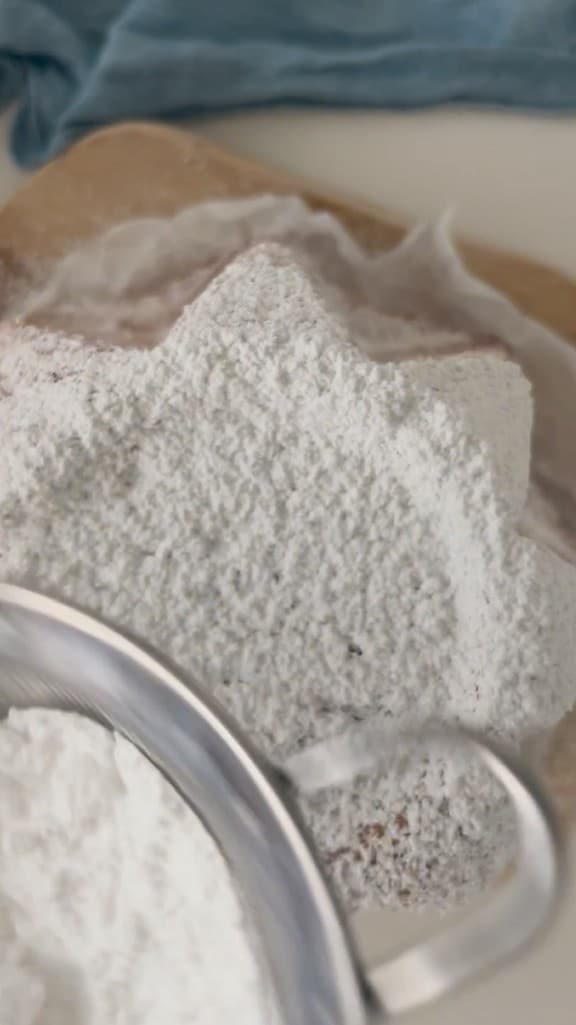
Let it cool well, flip it, remove the mold, and dust with plenty of powdered sugar
Our quick pandoro is ready to be enjoyed

STORAGE.
Homemade Pandoro, not having preservatives, obviously has a different shelf life from industrial ones, that is, a maximum of 20 days. The advice is to store them in food bags and make sure to close them tightly to let the air out properly. Another tip is to bag your pandoro after 12 hours.
FAQ (Frequently Asked Questions)
Why is Manitoba flour used?
Why is Manitoba flour used?
The difference between all-purpose flour and Manitoba flour lies in its ‘strength’. Manitoba flour is strong because it contains more gluten than all-purpose flour, making it more elastic, allowing more rising, and preventing breaking during baking
How many calories are in a slice of pandoro?
One hundred grams of pandoro provide about 360 calories
How do I know how much dough goes into my pandoro mold?
Place your mold on a scale and zero the tare. Then completely fill it to the brim with water and note how many grams of water fit into your mold. Divide the result by 3, and you will have exactly the amount of dough to place in your mold. Naturally, if the dough you made is more than you should put in the mold, remove the excess and make a mini pandoro or a pandoro muffin or whatever you prefer.
