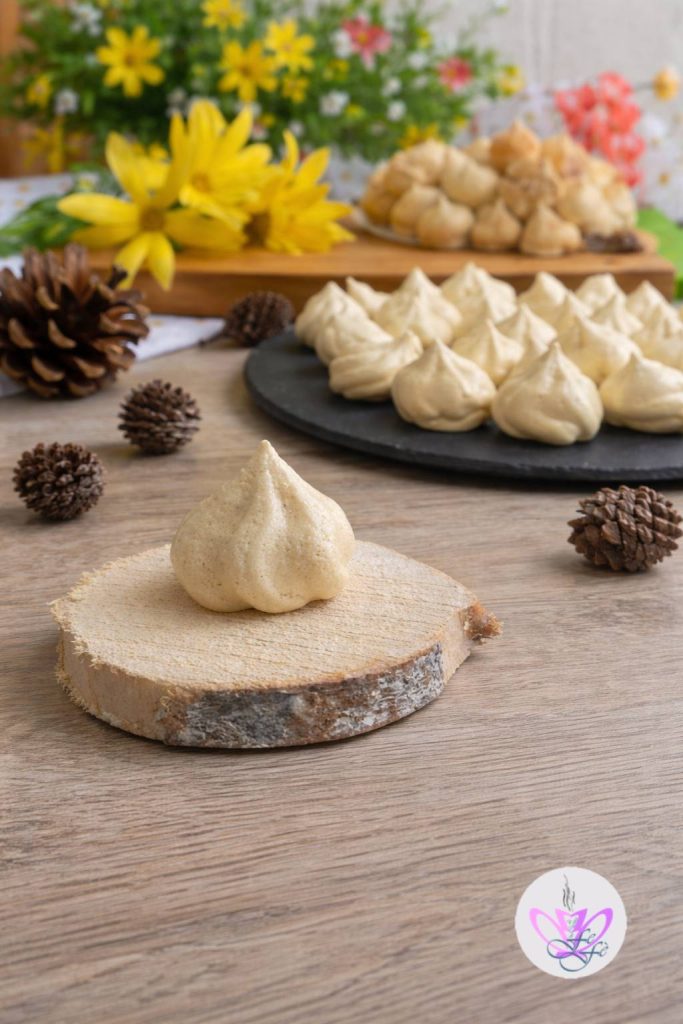
Homemade Meringues: The Foolproof Recipe with Only 2 Ingredients
Sometimes you might have some leftover egg whites and have no idea what to do with them! The perfect solution is to make some small mini meringues: crisp, light, and beautiful to look at. This zero waste recipe allows you to create delicious treats that literally melt in your mouth, ideal to enjoy pure or use as professional decorations for your cakes.
The Secret to the Perfect Meringue: The Sugar Mix
To achieve very white and crack-free meringues, the technique suggests using a combination of two types of sugar (granulated and powdered). This combination is essential for two reasons:
The granulated sugar helps to give initial stability by achieving a firm and glossy mass.
The powdered sugar then ensures lightness, providing that airy and melt-in-your-mouth texture that distinguishes an artisanal meringue from an industrial one.
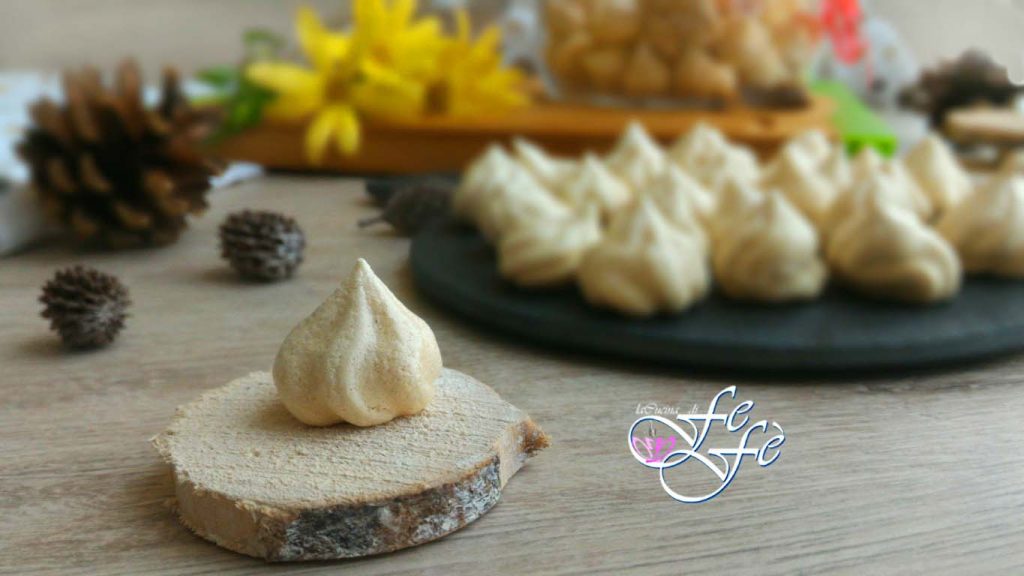
Why Make Them in Mini Size?
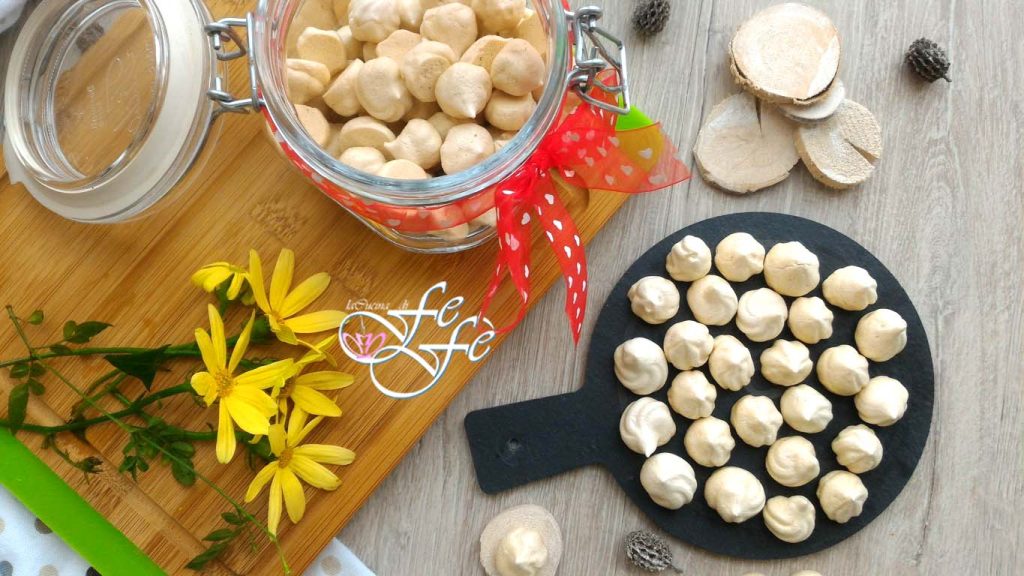
The “snack-sized” meringues are perfect for those looking for a small sweet treat without excess. Being made only of egg whites and sugar, they are naturally fat-free. Stored in a glass jar, they remain crisp for days, ready to garnish semifreddos, cupcakes or simply to accompany coffee.
Try my recipe to use them creatively for Valentine’s Day or for Mother’s or Father’s Day:
- Difficulty: Very Easy
- Cost: Very Cheap
- Preparation time: 15 Minutes
- Portions: 100
- Cooking methods: Electric Oven
- Cuisine: Italian
Ingredients
- 1 egg white
- 38 g granulated sugar (equal weight to the egg white)
- 38 g powdered sugar (equal weight to the egg white)
Tools
- 1 Bowl
- Electric Whisk
- 1 Sieve
- 1 Spatula
- 1 Pastry Bag
Preparation
In a bowl, start to foam the egg white strictly at room temperature with electric whisks for a few seconds.
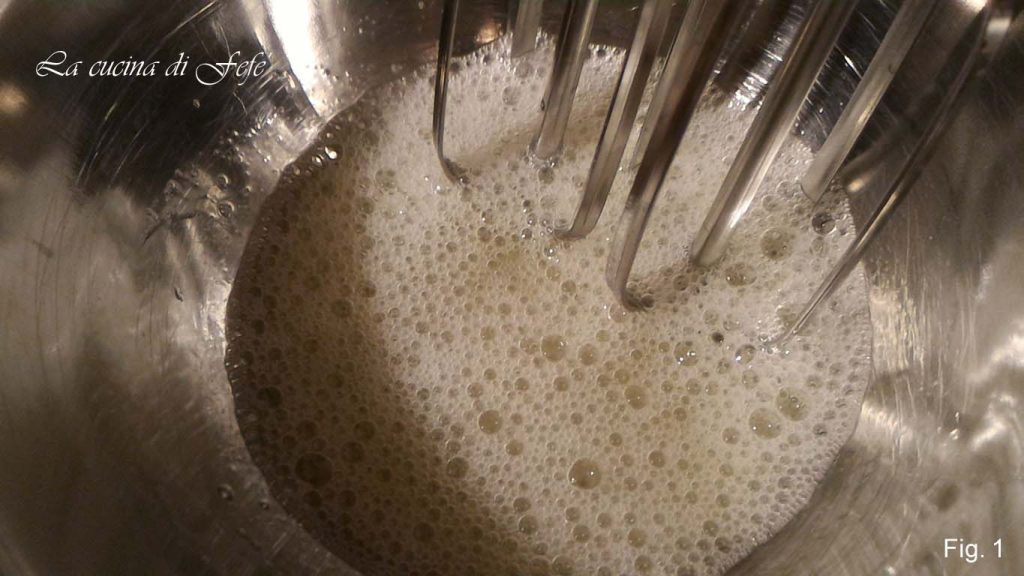
Then add the granulated sugar and whisk at maximum power for 10′.
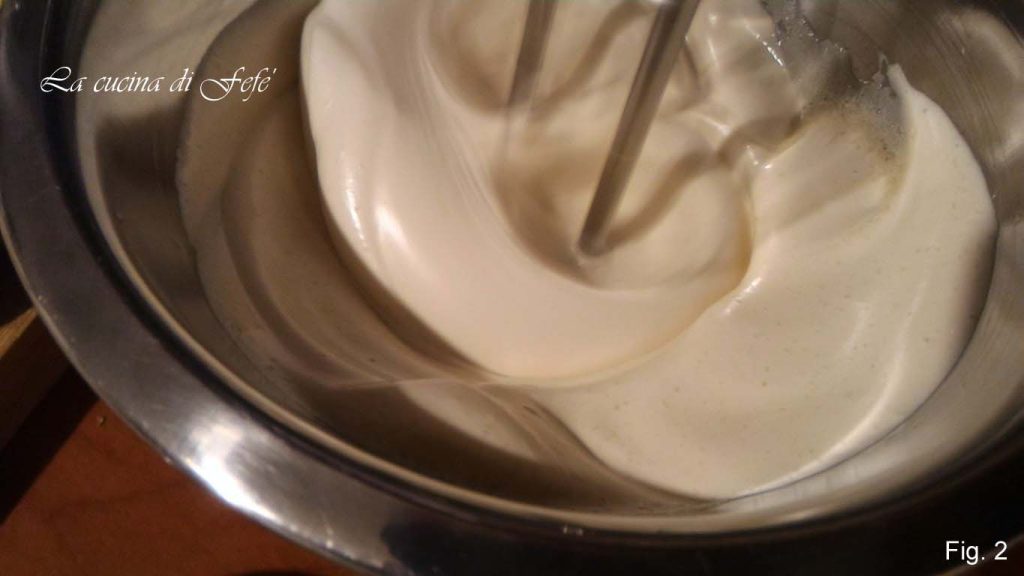
It should reach a rather solid, glossy, and foamy consistency.
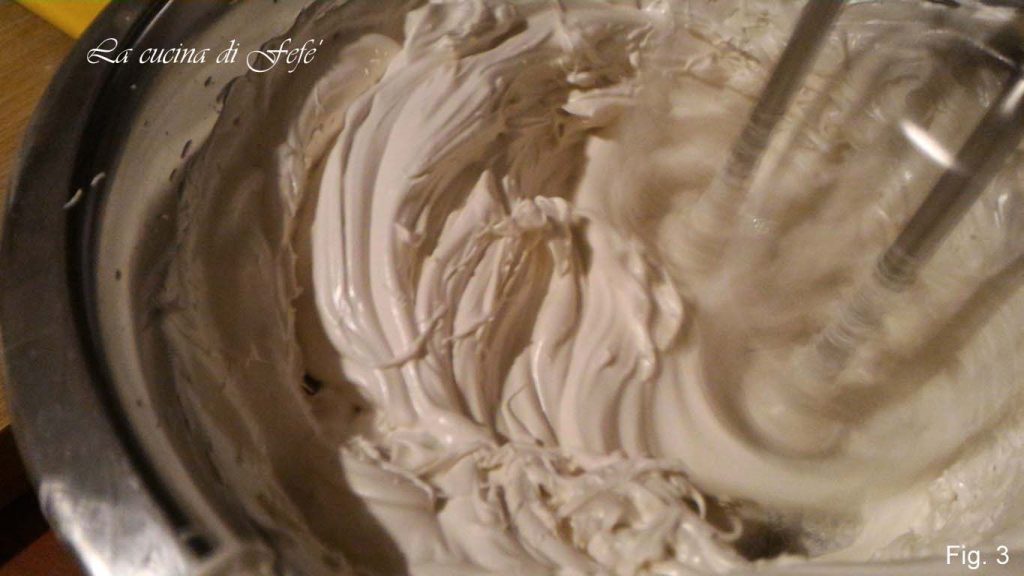
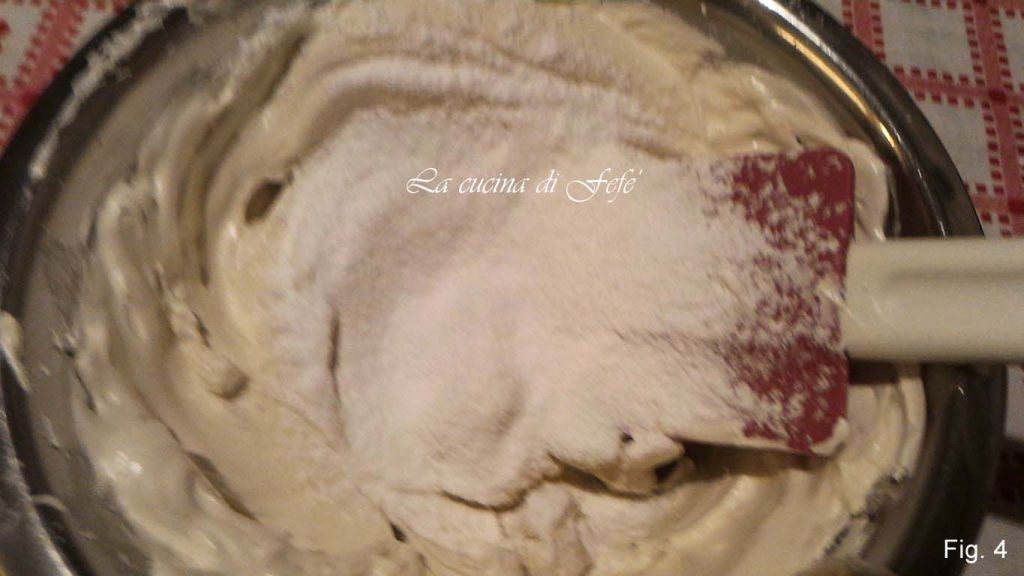
At this point, incorporate the sifted powdered sugar, in two additions, trying to mix with the help of a spatula through slow movements from the bottom up, to avoid deflating the mixture.
Line a baking tray with parchment paper, adhering it well to the corners with some oil so that it remains firm. Transfer the meringue mixture into a pastry bag with a star tip, and create small dollops with a base 3/4 inch Ø.
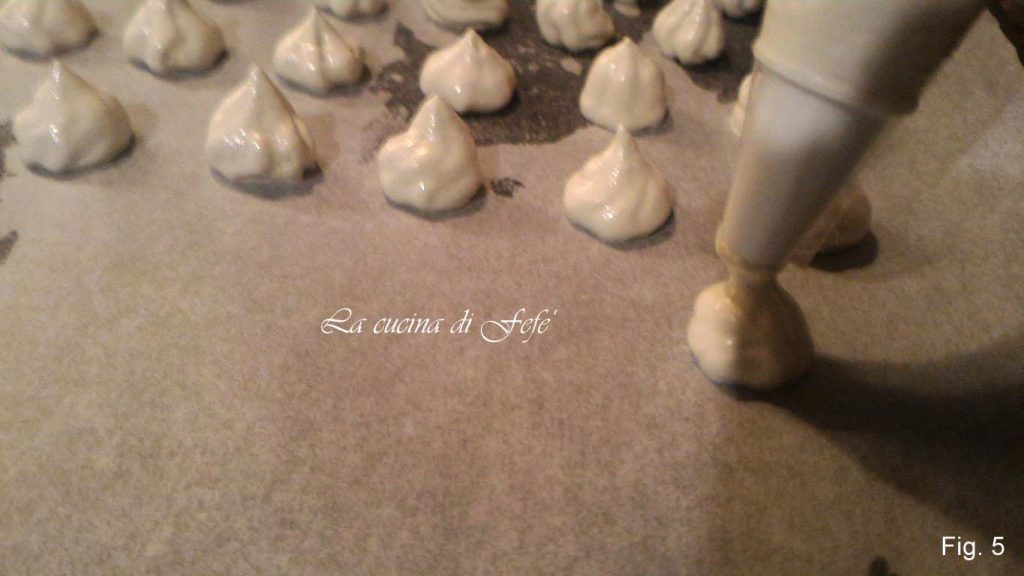
Space them just enough to prevent them from sticking together. I managed to fit 100 on my baking tray.

Place in a preheated static oven at 212°F for the first 20′, then lower to 194°F* and bake for about 1h 30′. Then open the oven door and hold it with a wooden spoon to leave an air gap and extend the baking for another 40′.
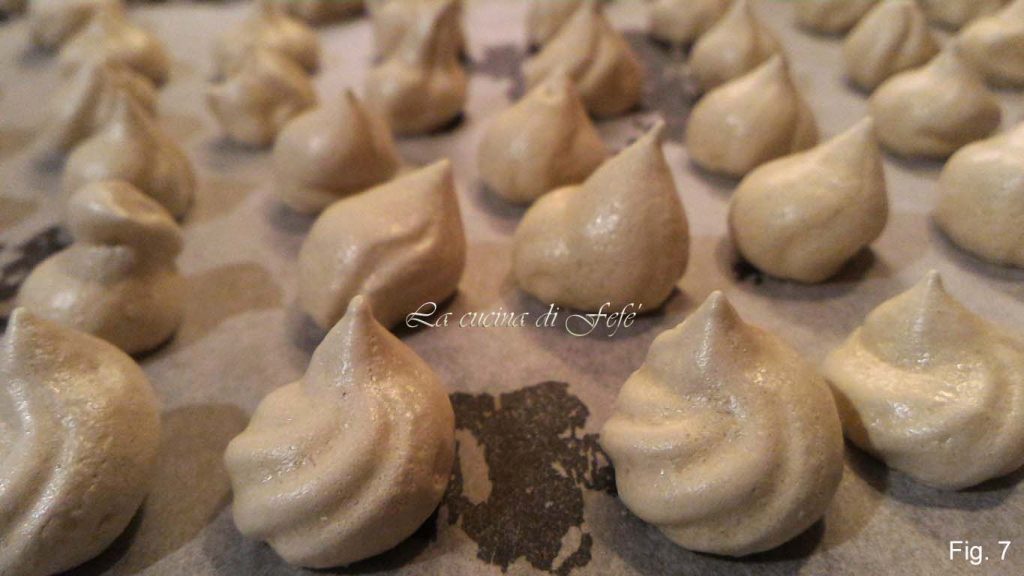
Remove from the oven and allow to cool completely before using them in cooking or storing them in an airtight container.
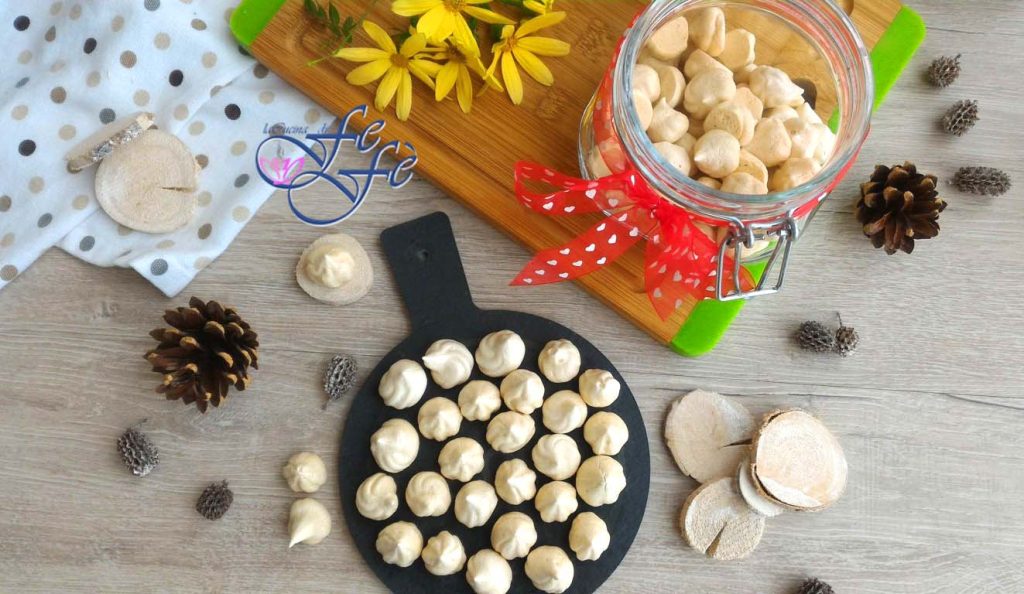
And voilà… the homemade mini meringues are ready to be enjoyed!
Enjoy them plain for a sweet treat or decide how to use them in your desserts with creativity! I used them to garnish my mini glazed apple cake, an incredible delight!

Photo of the internal texture of the meringues.

Bon Appétit from La Cucina di FeFè!
Storage
👉 Humidity is the number one enemy. Indeed, if stored in a humid place, they will tend to lose shape. Therefore, store them in an airtight glass jar in a cool and dry place for up to 2 months. If they become damp, you can refresh them by putting them in the oven at 176°F for 10 minutes.
Tips, notes, variations, and suggestions
🟣*Often home ovens do not maintain the temperature consistently, so it’s always better to lower the temperature, because the risk is that the meringues become browned with cracks on the surface!
🟣 Always use dry and meticulously clean whisks without any traces of fat. There must be no trace of yolk in the whites, otherwise, the whip will be compromised.
🟣 It is crucial that the meringues are baked immediately as soon as they are made, so they do not lose shape.
🟣 It is crucial that the meringues are baked immediately as soon as they are made, so they do not lose shape.
🟣 It is crucial that the meringues are baked immediately as soon as they are made, so they do not lose shape.
FAQ (Questions and Answers)
1. Can I whip the egg whites cold from the fridge?
For a more voluminous mass, it’s better to use egg whites at room temperature. If the egg white is leftover from a previous preparation, leave it out of the fridge for at least 30 minutes before starting to whip.