Homemade Roman Pinsa: Step-by-step Recipe for Beginners
The Roman pinsa is much more than just a pizza: it’s an experience of unique lightness, crispness, and digestibility. A leavened product originating from the Lazio tradition, it stands out for its typical oval shape and incredibly ‘bubbly’ dough.
After years of trying the best packaged pinsas for convenience, I decided to take on the challenge: making homemade pinsa. The result? A goodness that far exceeds any industrial product. If you are looking for the ultimate recipe for your Saturday night, you are in the right place!
The Secret of Pinsa: Mix of Flours, High Hydration, and Long Fermentation
The magic of pinsa lies in its mix of flours (wheat, rice, and soy). This combination of ‘weak’ flours allows for a bubbly and fragrant structure. But the real protagonist is time, that is, long maturation. The pinsa requires a rest in the refrigerator that ranges from 24 to 60 hours. I chose a maturation of 48 hours (kneading on Thursday afternoon to bake on Saturday evening), ensuring unrivaled digestibility. Finally, the high hydration of the dough makes it technical but extremely rewarding.
Two Versions: For Experts and Beginners
I love challenges, but I know that approaching high hydration doughs can be daunting. For this reason, I have decided to offer you two types of dosages: a smart version, ideal for those with less familiarity with soft doughs, easy to handle but with guaranteed results; and a professional version, for those who want to dare with the original hydration and achieve spectacular bubbles. Also, if you can’t find the specific pinsa flour mix that I still recommend, don’t worry: I’ll give you the doses to mix alternative flours directly in your kitchen.
Other leavened recipes you might be interested in:
- Difficulty: Hard
- Cost: Medium
- Rest time: 2 Days 5 Hours
- Preparation time: 20 Minutes
- Portions: 3 small pinsas or 2 large
- Cooking methods: Oven
- Cuisine: Italian
- Seasonality: All seasons
Ingredients
- 500 g flour (for pinsas or mix*)
- 1 3/4 cups cold water (cold)
- 1.4 tbsp extra virgin olive oil
- 2 g dry brewer's yeast
- 10 g salt
- 500 g flour (for pinsas or mix*)
- 1 1/4 cups cold water (cold)
- 1.4 tbsp extra virgin olive oil
- 2 g dry brewer's yeast
- 8 g salt
- 450 g type 0 flour
- 30 g rice flour
- 20 g soy flour
Tools
- 1 Stand Mixer
- 1 Ladle
- 1 Container
- 1 Dough Scraper
- 3 Plastic Wrap
- 1 Baking Tray
- Parchment Paper
Steps
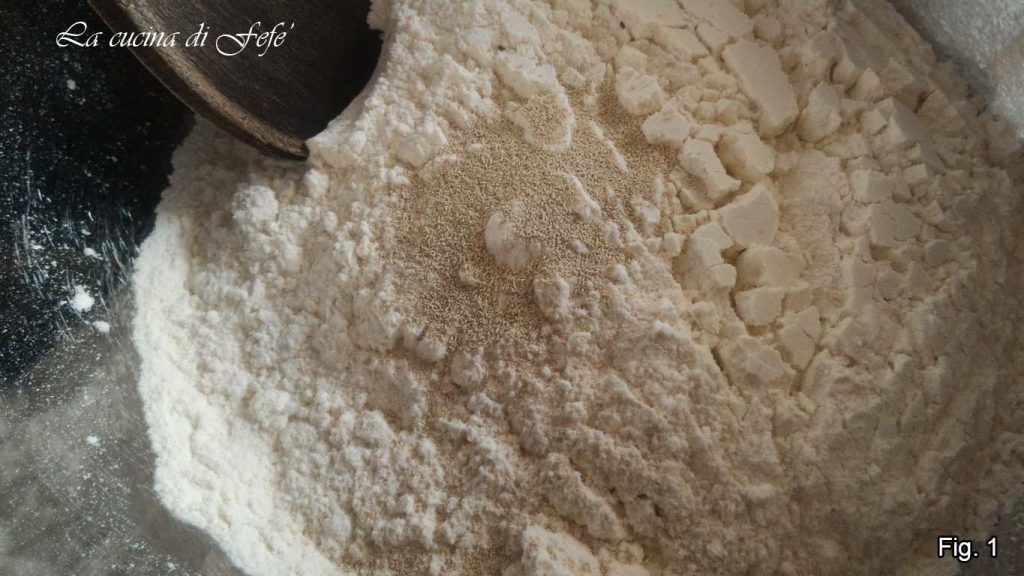
First, I recommend starting on Thursday afternoon to have the pinsa ready by Saturday evening. In a bowl or the stand mixer bowl, add the pinsa flour or the mix of alternative flours along with the dry brewer’s yeast and mix well.
Create a well in the center and slowly pour in the first 1 1/4 cups of cold water. Mix first with a ladle and then by hand, or at medium speed with the hook attachment if using a stand mixer, until fully absorbed.
At this point, add the extra virgin olive oil and the salt.
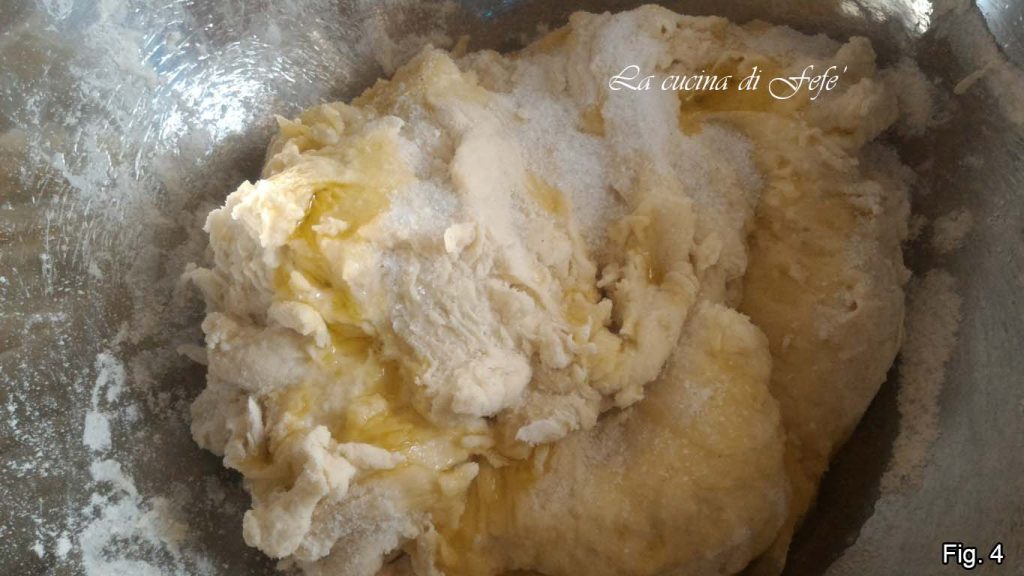
Knead again or continue working with the stand mixer until you get a firm and elastic dough. Gradually add the remaining 1/2 cup of water, allowing each portion to be absorbed before adding the next*.
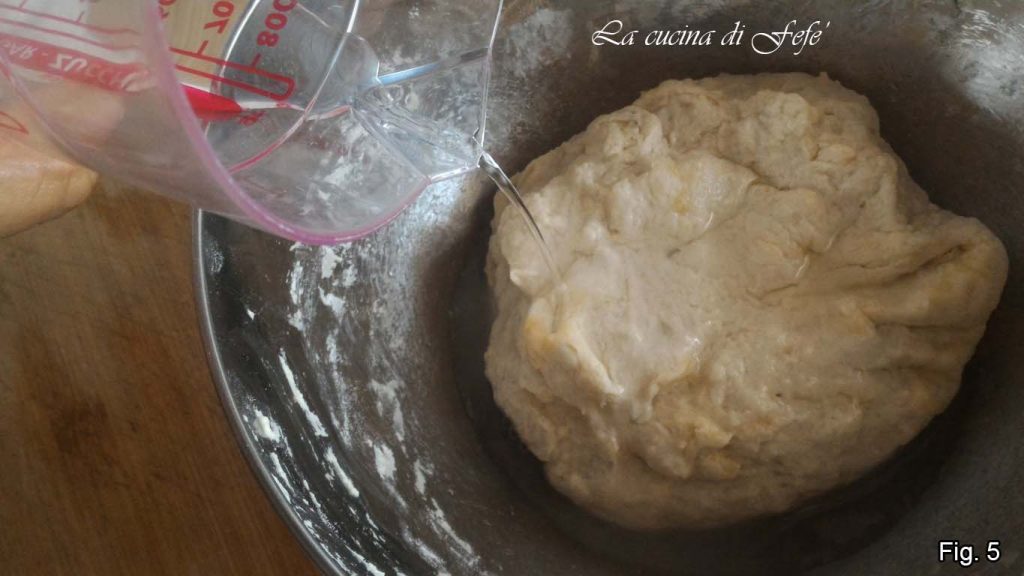
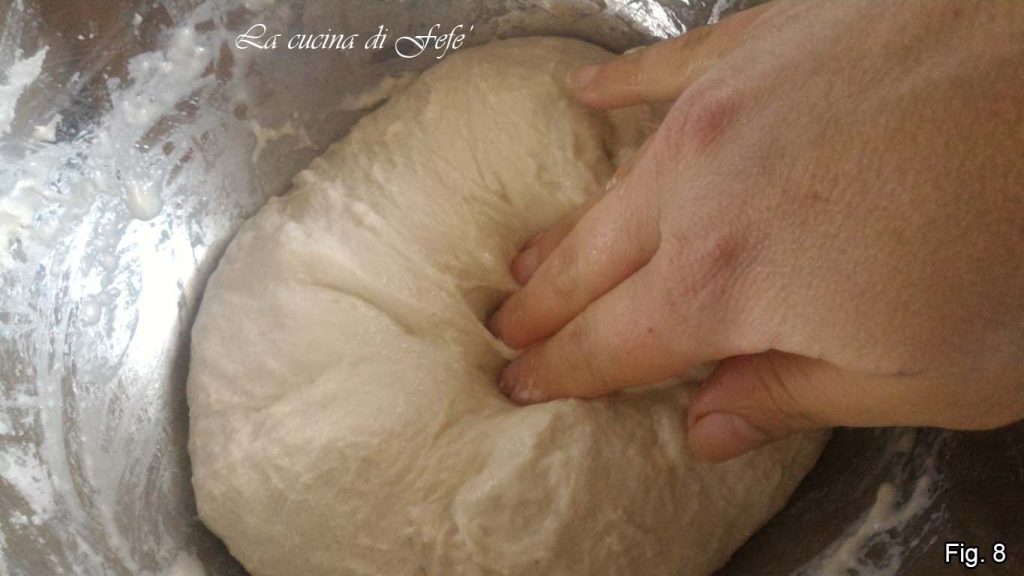
Once all the water is absorbed, you will have a rather coarse and sticky dough, don’t worry. With your hands always well damp or oiled, perform a few rounds of folds on itself in the bowl.
You will notice that the dough will gradually take on a smoother and more homogeneous appearance. At this point, cover with a lid or plastic wrap and let rest at room temperature for 1 hour.
After this time, always with oiled hands, perform a round of stretch and fold** in the bowl, that is, lifting the dough with both hands until stretched and folded on itself on all 4 sides. Rest for 30′, then repeat this operation two more times with an intermediate rest of 30′ until the dough has acquired a more structured consistency. Transfer to a well-oiled bowl, cover and let rise in the refrigerator on the lowest shelf for 48 hours.
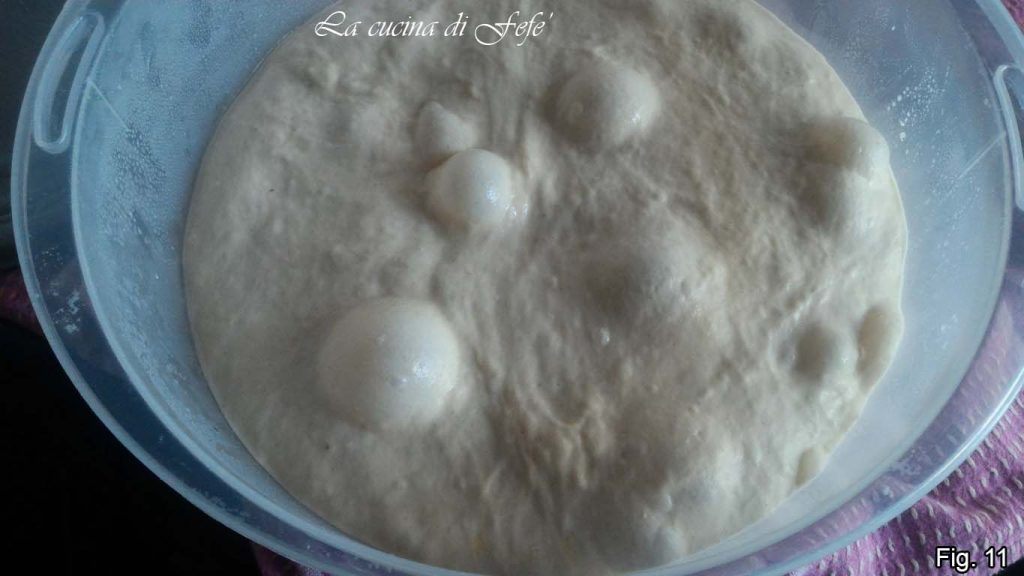
After the 48-hour fermentation, remove the dough from the refrigerator and let it acclimate for 1 hour at room temperature. You will notice that bubbles have formed on the surface, which means that fermentation has been perfect.
Transfer the dough to a greased work surface, and proceed to perform another round of stretch and fold, then shape it into a smooth and rounded dough ball***.
With the help of a dough scraper, divide the dough into three dough pieces to obtain 3 small pinsas****.

Fold them onto themselves, shape them into smooth balls, and cover them with plastic wrap. Let them rise for about 2 hours or until they double in volume, then place the first dough ball on a baking tray lined with parchment paper sprinkled with a little rice flour, and with oiled hands spread it out giving it the classic oval shape.
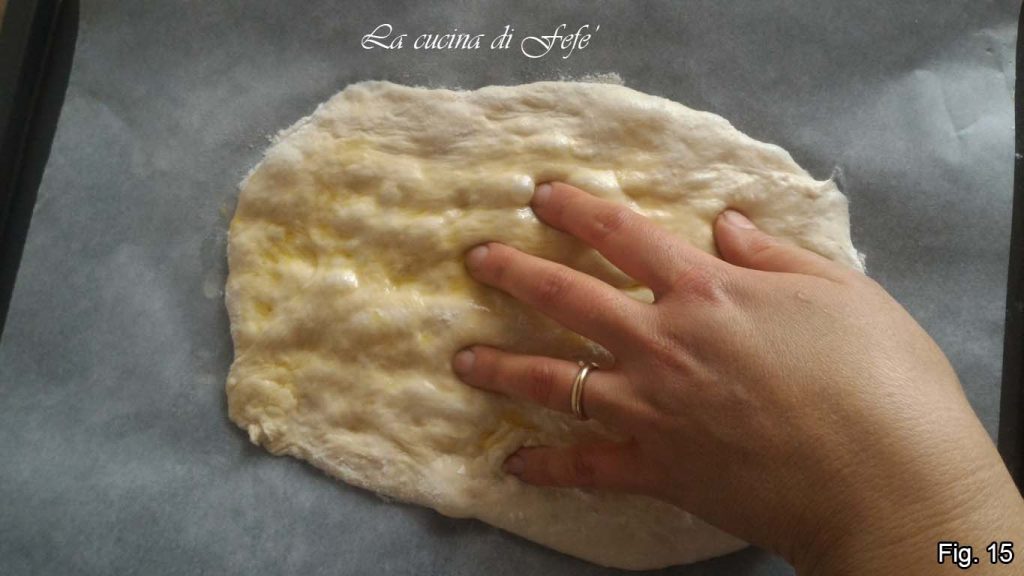
Let rise one last time for 30′ or 1 hour. Then oil the surface and press your fingers to create large holes in the dough (without touching the bottom of the tray).
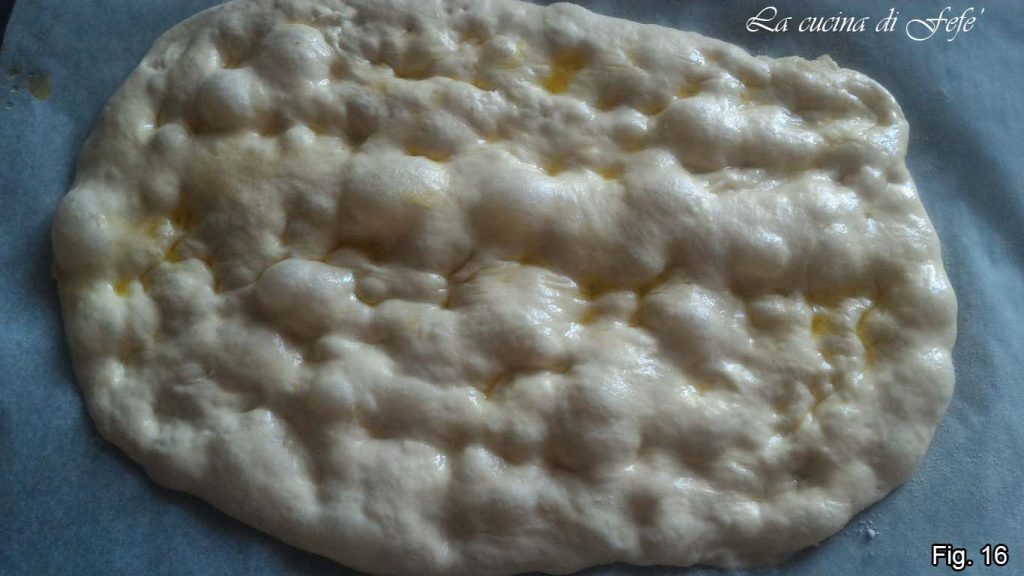
Bake in a preheated static oven at 428°F for 15′ or until lightly golden. Turn off and remove from the oven.
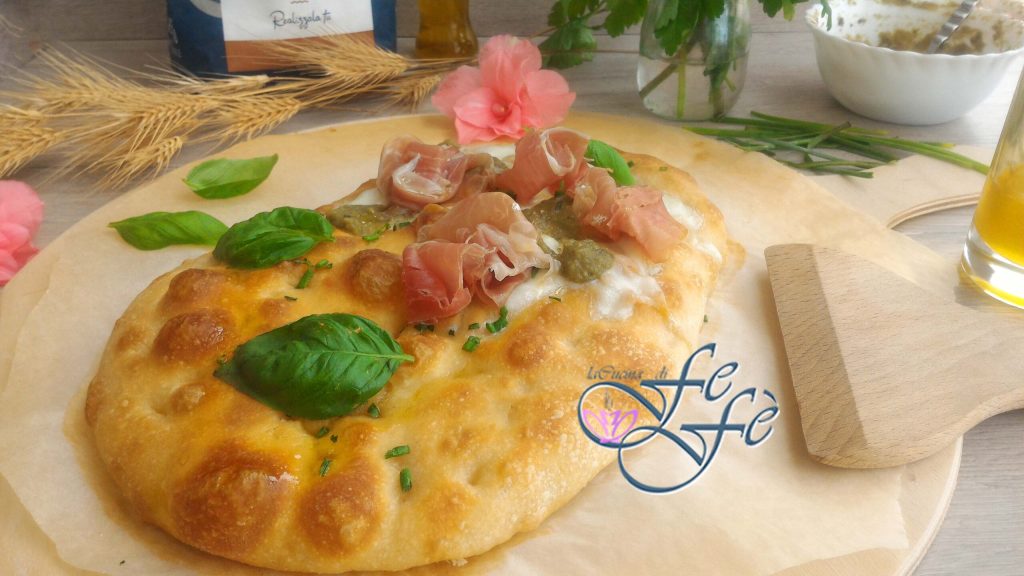
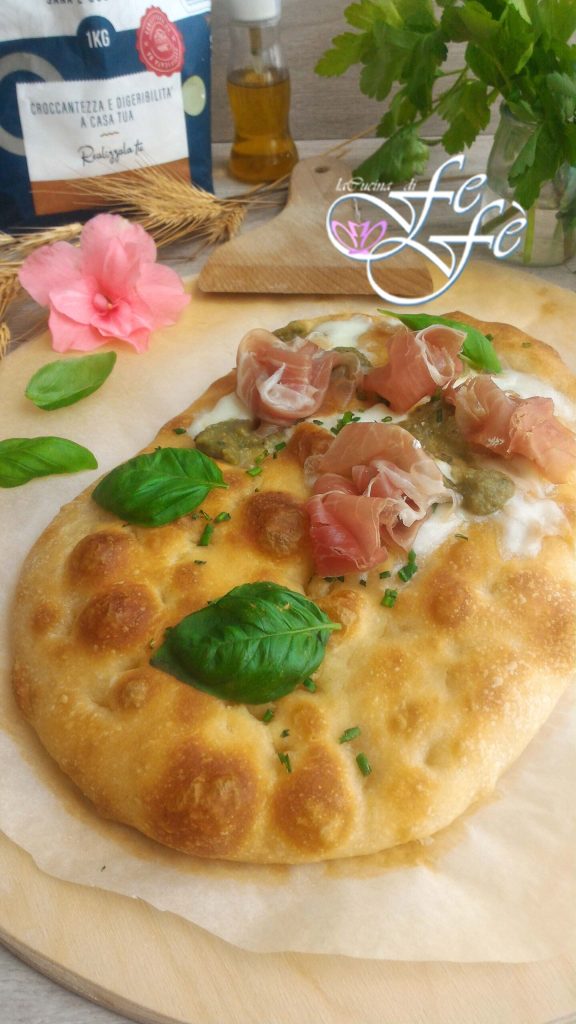
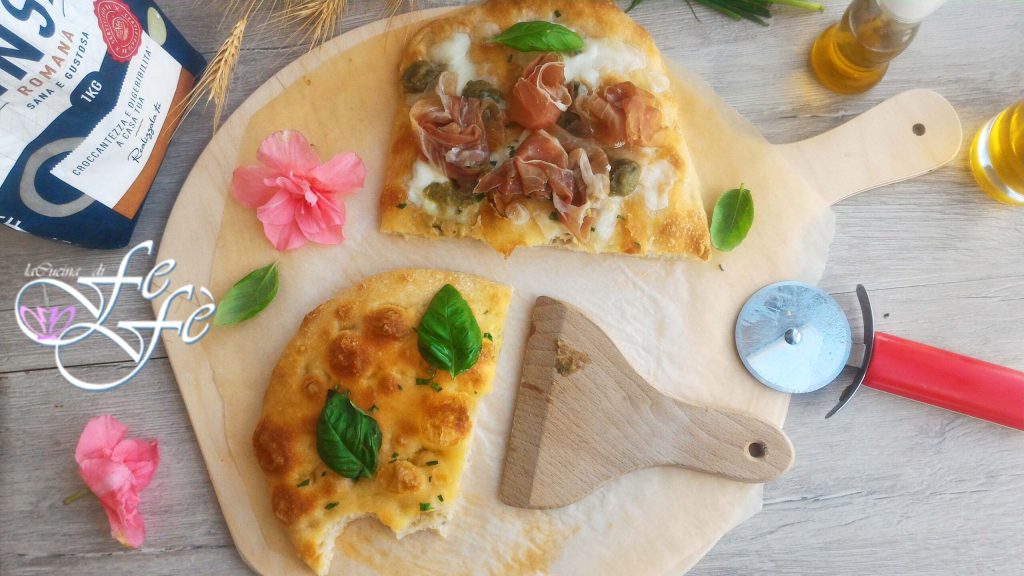
I garnished with mozzarella fior di latte, broad bean pod pesto, prosciutto roses, oil, basil, and fresh chives.
Even simply with oil and basil or fresh chives is really delicious!

Serve immediately. And voilà…the homemade Roman pinsa is ready to be enjoyed!
Enjoy from La Cucina di FeFè!
Storage
👉 Once ready, Roman pinsa should be consumed hot on the spot to enjoy it at its best. However, you can store it for up to 1-2 days in a well-sealed bread bag, obviously without any toppings.
Tips
🟣* It’s important not to add the remaining water all at once but gradually. For those choosing to make medium hydration dough, this recommendation is not needed. Simply pour the expected water as explained in figure 2.
🟣** Stretch and fold, literally stretch and fold, serves to give structure especially to highly hydrated doughs and strengthen the gluten network to better retain the gases of fermentation. They can be repeated several times depending on what you want to achieve.
🟣*** What does it mean to shape? It’s a phase of baking that gives form and structure to the dough: through simple but precise movements, the dough becomes a smooth, tight, and homogeneous sphere, perfect for rising correctly. How to do: take the dough divided into pieces and transfer it to a slightly floured surface to prevent it from slipping. At this point, perform rotating movements, with hands positioned on the sides, slightly cupped like a shell, gently pushing the dough towards the center as it turns on itself. If you’re a beginner, a dough scraper can help, positioning it slightly under the dough and making a rotation as if writing a backward C.
🟣**** If you wish, you can divide the dough into two to get two larger pinsas. I preferred three smaller ones to season them in three different ways.
THE COLUMN
Il Granaio – Baking time, is the column that every first and third Thursday of the month offers a basket full of incredible and irresistible ideas, many recipes that you can go to see, by visiting the official pages of Facebook, Instagram and also Pinterest
 If you’re a food lover like us, we invite you to put on your apron and replicate our recipes! If you do, don’t hesitate to write to us for advice and suggestions, and let us know if you enjoyed them, please! Now I’ll leave you with the other interesting and delicious proposals from my talented colleagues:
Sabrina: Brioche with Honey
Simona: Leavened Savory Pie with Prescinsêua, Artichokes, and Wild Garlic
Zeudi: Loaf Bread with Kefir and Poppy Seeds
FAQ (Frequently Asked Questions)
1. What is the difference between Pizza and Pinsa?
The main difference lies in the mix of flours (pizza usually only contains wheat) and the much higher hydration in pinsa, which makes it lighter and with a more crumbly crust.
2. How to manage fermentation in the refrigerator?
Cold fermentation slows down the action of the yeasts and allows enzymes to make the dough lighter. It’s crucial to respect the resting times: don’t rush, the flavor benefits!
3. Can I top the pinsa like a classic pizza?
Absolutely yes! Pinsa is versatile: excellent ‘white’ with oil and oregano, or topped with gourmet ingredients like mortadella and pistachios post-cooking. As for mozzarella, many chefs prefer to add fresh dairy (such as buffalo, stracciatella, or fior di latte) completely raw.
Procedure: Bake the pinsa base until crispy and ‘bubbly’. Once out of the oven, add the mozzarella sliced or shredded by hand. The residual heat from the pinsa will just warm the cheese without melting it completely, preserving the flavor of fresh milk. If making a red pinsa, put the tomato first, bake, and add the mozzarella only in the last minutes by placing the baking tray at the top of the oven to encourage gratination.