Hello everyone, lovers of fresh desserts and summer treats! Today I bring you a real delight that smells of sun and nature: pear ice cream. Forget industrial ice creams and get ready to create a masterpiece of taste and genuineness right at home. This ice cream is so creamy and tasty that it will win over everyone, from the youngest to the greatest gourmets!
The best part? You can easily make it with or without an ice cream maker and, moreover, I’ll reveal a trick to make it even healthier and lighter by using yogurt instead of cream. Perfect for refreshing yourself on a hot day or as a light dessert after a dinner with friends. Are you ready to transform simple pears into a dream of freshness? Let’s get to work!
- Cuisine: Italian
Ingredients
- 10.5 oz pears (Peeled)
- 3.5 oz sugar
- 0.4 cups milk
- 0.6 cups cream (or 1 jar of whole plain yogurt (5.3 oz))
- 1 tbsp lemon juice
Step by Step Preparation
Pears ready: Wash and dry the pears well. Carefully peel them, remove the core, and cut them into coarse pieces.
Tip: Choose ripe but firm pears, like Williams or Abate, for a more intense flavor and perfect texture.
Blend and season: Put the pear pieces in a blender. Add the sugar and lemon juice. Blend everything until you get a smooth and homogeneous puree.
Why lemon? Lemon juice not only enhances the sweet flavor of the pears but is also essential to prevent the fruit from oxidizing and turning dark, keeping a nice light color.
Add the liquids: At this point, incorporate the fresh cream (or yogurt if you choose the light version) and the milk. Blend again for a few seconds, just enough to mix all the ingredients and obtain a liquid and velvety mixture.Cold shock (recommended!): Pour the pear and liquid mixture into a bowl and place it in the freezer for about 30 minutes.
Why this step? This trick is a real joker! It reduces the mixture’s temperature before putting it in the ice cream maker or freezer, shortening preparation times and ensuring a creamier and less crystallized texture.
Churning with Ice Cream Maker: Pour the cold mixture into the basket of your ice cream maker (already cold and running, according to your model’s instructions).
Let it churn for 20-30 minutes, or until the ice cream reaches the desired consistency: creamy but not too solid.
Once ready, you can enjoy it immediately for a softer consistency, or transfer it to a container and store it in the freezer for about 30 minutes to firm it up further.
Churning Without Ice Cream Maker (a bit of patience, but worth it!): Pour the cold mixture into a metal or plastic container with a lid (metal cools faster).
Place the container in the freezer. After about 30-40 minutes, take it out and stir vigorously with a whisk or spatula to break the ice crystals forming on the edges.
Repeat this operation every 20-30 minutes for 2-3 hours, until the ice cream reaches a creamy and homogeneous consistency. The more you stir, the fewer ice crystals will form, and the more velvety your ice cream will be!Ready to serve: Once the pear ice cream has reached the perfect consistency, it’s ready to be enjoyed!
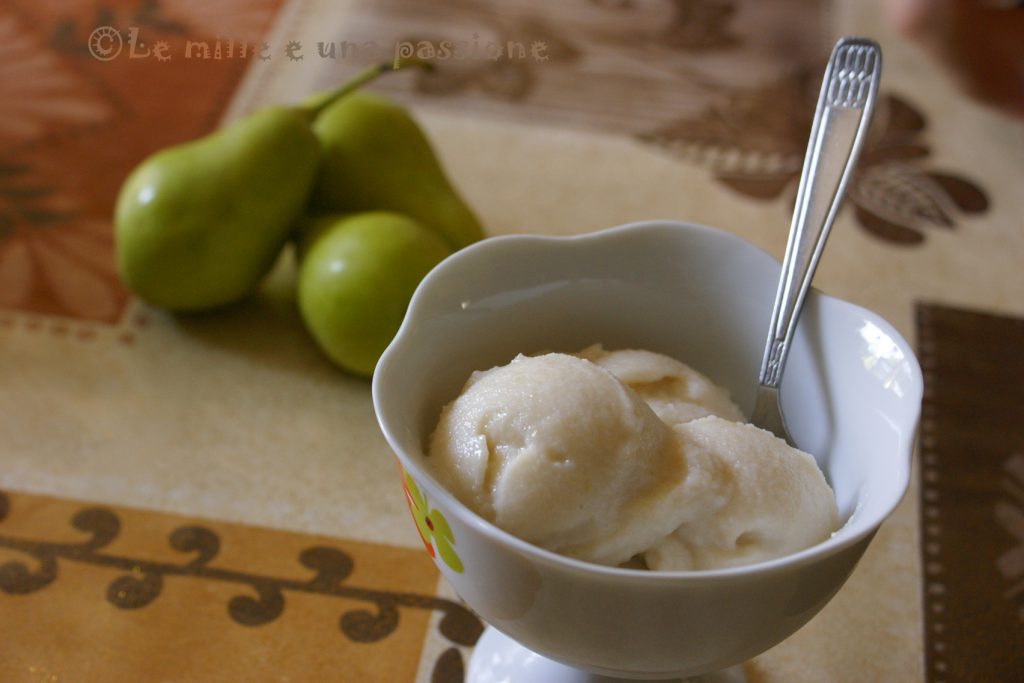
Serving and pairings: You can serve it in cups, perhaps garnished with a few pieces of fresh pear, a mint leaf, or a sprinkle of cinnamon. It also pairs wonderfully with chocolate sauce or toasted hazelnut crumbs!
Tips
The choice of pears: For an ice cream with an intense flavor, choose perfectly ripe pears, fragrant and juicy. If the pears are very sweet, you can slightly reduce the amount of sugar.
Extra aroma: For an extra touch, you can add a pinch of cinnamon powder to the mixture before blending; it goes divinely with pears! Or a pinch of grated ginger for a more exotic note.
Ideal consistency: If, once removed from the freezer, the ice cream is too hard, let it soften at room temperature for 5-10 minutes before serving.
Storage: Store the pear ice cream in an airtight container in the freezer. It will keep best for about 1 week. After that, it may lose some of its creaminess.
Creative Variations for Your Ice Cream
Unleash your creativity and personalize your pear ice cream!
Pear and Chocolate Ice Cream: Add dark chocolate flakes to the mixture towards the end of churning, or serve the ice cream with a cascade of melted chocolate.
Pear and Ginger Ice Cream: For a spicy and aromatic touch, add a piece of fresh ginger (about 1-2 cm) peeled and blended with the pears.
Pear and Nuts/Almonds Ice Cream: Add a handful of coarsely chopped nuts or almonds to the mixture for a crunchy touch.
Pear and Gorgonzola Ice Cream: For the bold and lovers of contrasts, try serving pear ice cream with a small quenelle of sweet gorgonzola. A true explosion of flavors!
FAQ – Pear Ice Cream
Can I use unripe pears?
It is not recommended. Unripe pears will have less flavor, and the ice cream texture might suffer. Always choose well-ripened pears for maximum taste.
Can I make the ice cream without sugar?
Sugar is important not only for taste but also for the texture of the ice cream (it helps keep it soft and prevents ice crystals from forming). You can reduce the amount or partially replace it with natural sweeteners like maple syrup or honey, but keep in mind that the final texture might vary slightly.
My ice cream is too hard, what can I do?
It’s normal for homemade ice cream, without additives, to become harder once frozen. Let it sit at room temperature for 5-10 minutes before serving; it will soften perfectly. Stirring well during the “without ice cream maker” phase helps reduce hardness.
How long does homemade ice cream last?
Homemade ice cream keeps best in the freezer for about 1 week in an airtight container. After this period, it may start to lose freshness and creaminess.
And here you are, with a fantastic pear ice cream made with your own hands! You have seen how easy it is to create such a delicious and genuine dessert, perfect for refreshing your summer days or to conclude any meal with sweetness.
Whether you used the ice cream maker or prepared it with a bit of patience in the freezer, the result is a creamy, fragrant ice cream with the unmistakable taste of fresh pears. It’s proof that homemade desserts have an extra flavor and soul!
I’m curious to know how your pear ice cream turned out! Leave a comment below and share your experience. Until the next refreshing recipe!