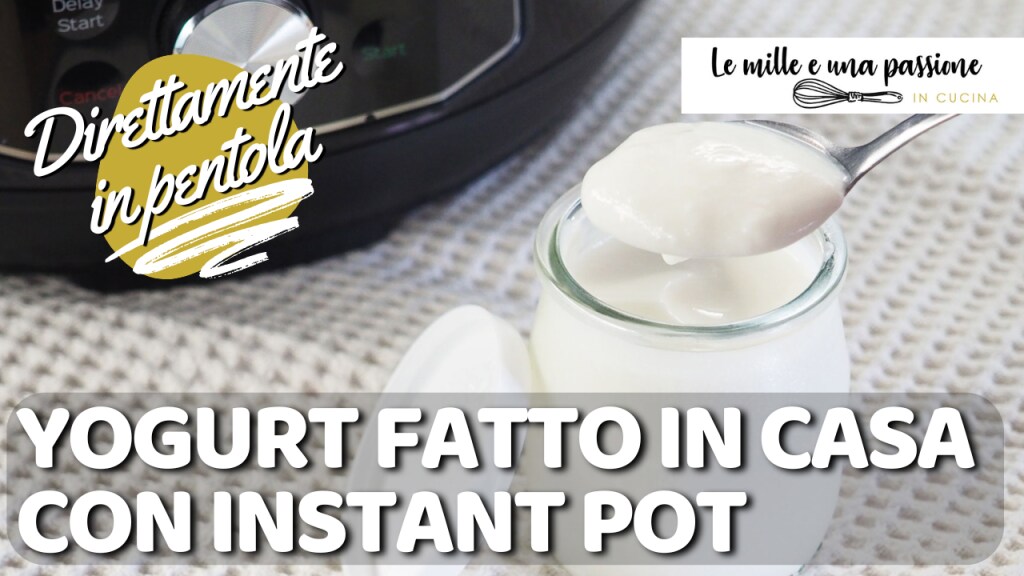
Making yogurt at home with the Instant Pot is one of the easiest things to do! I have shown that it can be done with both the Monsieur Cuisine Smart and the Silvercrest bread machine. But in a yogurt video made with the Instant Pot, I was asked: ‘Can I do it without using all those jars? Can’t it be done directly in the pot?’
Well yes, I filmed the ‘single pot method’. The final result is absolutely the same in terms of taste and texture.
I must be honest: personally, I prefer the version with the jars. The work is much cleaner, and the convenience of having the jars already ready to put in the fridge is priceless. With the pot, in fact, there’s the added step of having to transfer the yogurt, and I admit it’s a bit inconvenient.
However, the pot method is absolutely doable and perfect if you want to reduce cleaning!
I decided to update this guide to give you the freedom of choice. Choose your path and let’s make a creamy and thick yogurt that beats the store-bought one!
JARS vs. SINGLE POT: THE GUIDE TO CHOICE
When deciding which preparation method to use with your Instant Pot, consider these aspects:
Convenience & cleaning:
Jars: The method is cleaner, as the yogurt ferments and cools directly in its portions. You have a finished jar, less to wash.
Single pot: The method is less clean at the end. You have to wash the inner pot and pour the yogurt into separate jars (a bit inconvenient operation).
Whey management:
Jars: Very low risk of whey separation or the yogurt becoming too acidic.
Single pot: Slightly higher risk of whey formation (but it is easily resolved by slightly tilting the pot and removing the yellow whey that has formed on the surface with a spoon. It must be put in the fridge as soon as possible, or in cold water bath, to stop over-fermentation).
Final result:
Both methods: The final consistency and taste are identical, provided the times and temperatures are respected.
- Difficulty: Very easy
- Cost: Very cheap
- Rest time: 6 Minutes
- Preparation time: 5 Minutes
- Portions: 7 pieces
- Cooking methods: Instant pot
- Cuisine: Italian
- Seasonality: All seasons
Ingredients
- 25.36 oz whole milk (UHT)
- 4.23 oz plain natural yogurt
Tools
- 1 Instant pot pro
- 1 Rack of the Instant Pot
- 7 Glass jars
- 1 Spatula
- 1 Bowl
Steps
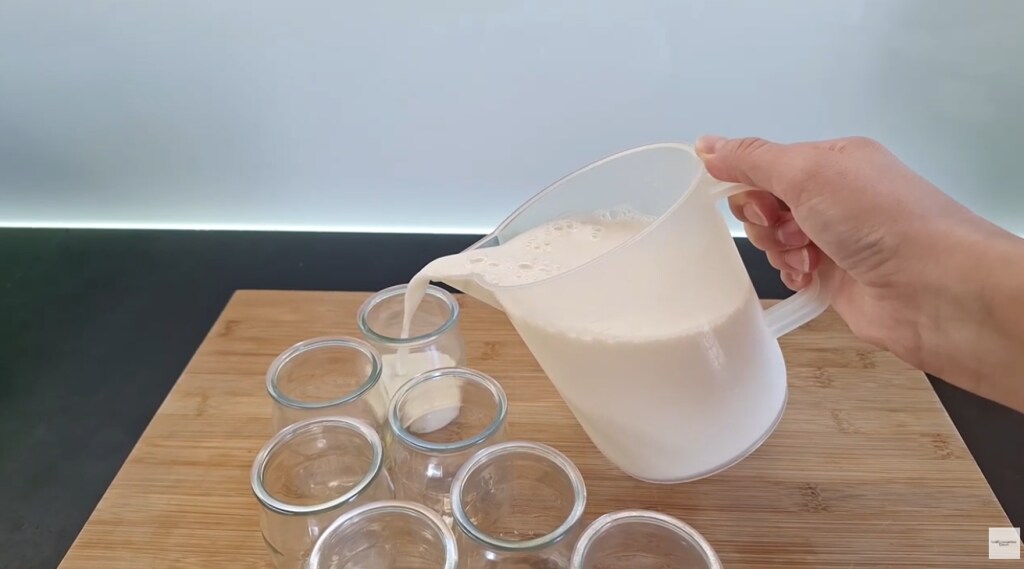
Take the 750 ml of milk and the 125 ml of yogurt starter (even if they are cold from the fridge, the Instant Pot will handle everything). Mix them gently but thoroughly in a separate bowl until the yogurt is well blended.
IP Pro Advantage: Don’t waste time heating the ingredients! The power of your Instant Pot will compensate for the starting cold, making the process incredibly quick.
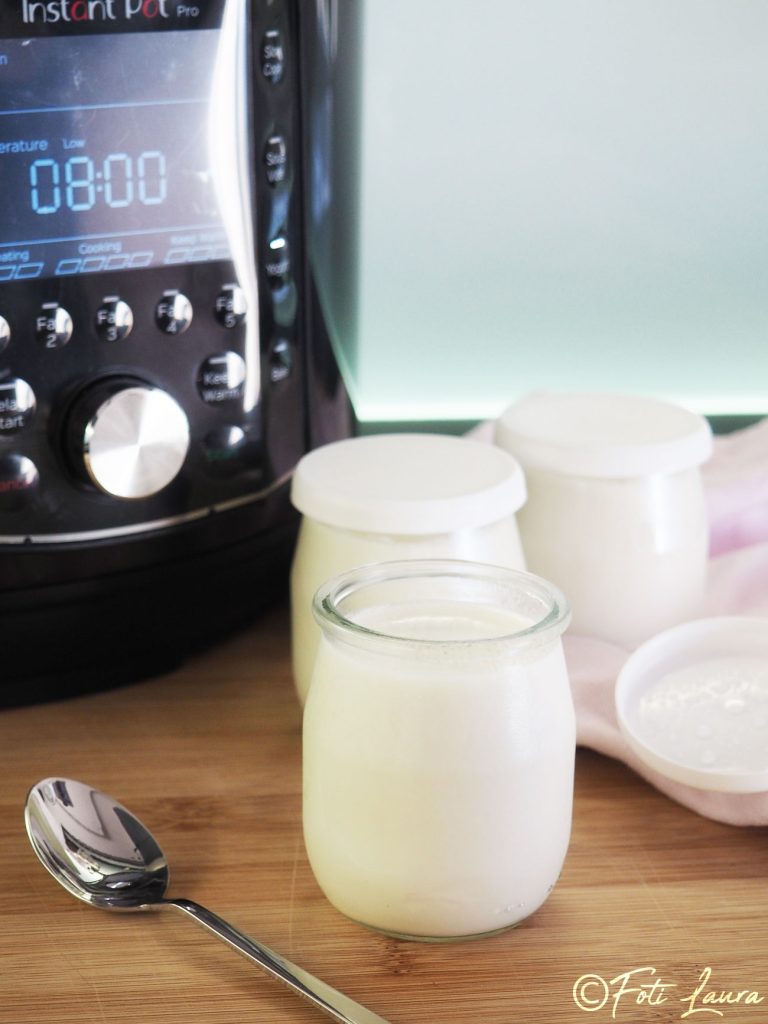
Fill the jarsImmediately pour the mixture into the sterilized glass jars. The jars must remain open for fermentation.
Incubation
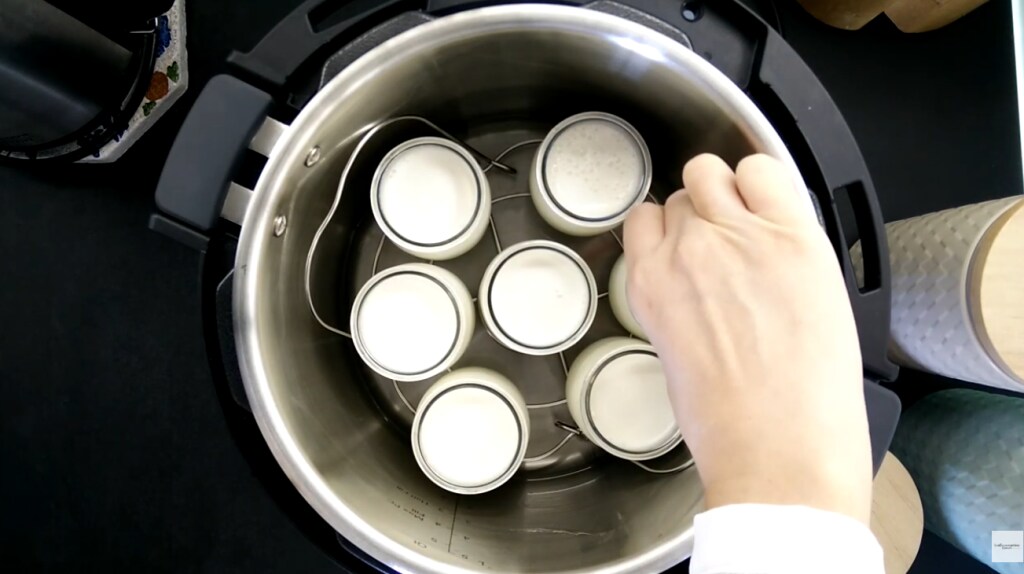
Pour about 8.45 oz of water into the bottom of the inner pot.
Insert the steam rack and place the open jars on top of the rack.Start the YOGURT program:
Close the Instant Pot lid securely.
Press the “YOGURT” button and set the timer to 8 hours (the ideal time for good consistency).
Press Start.It is crucial not to open the lid during the 8 hours. Maintaining thermal stability is the secret to creaminess.
Refrigeration
When finished, you will hear the signal. Open the lid with extreme caution, try not to tilt the lid, keep it straight to the sink and tilt it there, so that the condensation water does not fall into the jars.
The yogurt will appear very soft, but this is normal. Immediately close the jars with lids and put them in the fridge for at least 6-8 hours (overnight is ideal).
The cold will fully thicken it, transforming it into the thick and creamy yogurt you desire.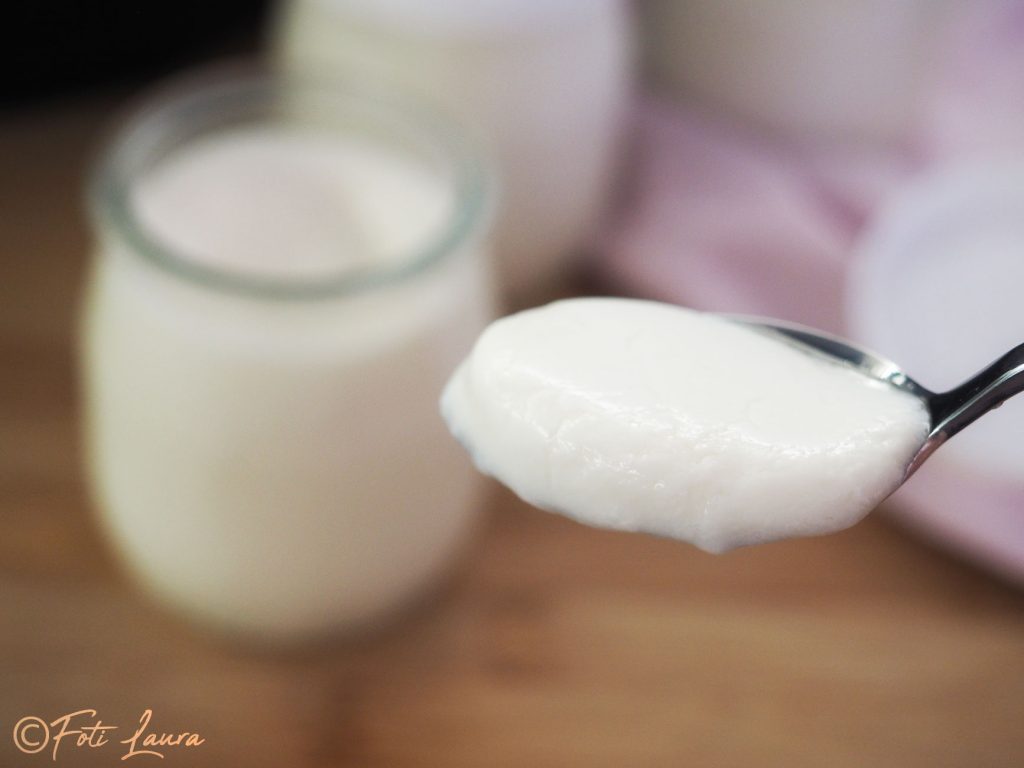
Take the 750 ml of milk and the 125 ml of yogurt starter (even if they are cold from the fridge, the Instant Pot will handle everything). Mix them gently but thoroughly in a separate bowl until the yogurt is well blended.
IP Pro Advantage: Don’t waste time heating the ingredients! The power of your Instant Pot will compensate for the starting cold, making the process incredibly quick.Pour into the pot
Pour the liquid into the Instant Pot, close the lid, and select Yogurt, confirming the 8-hour fermentation.
Refrigeration
When finished, you will hear the signal. Open the lid with extreme caution, try not to tilt the lid, keep it straight to the sink and tilt it there, so that the condensation water does not fall inside the yogurt.
The yogurt will appear very soft, but this is normal. Fill the jars and immediately close them with lids and put them in the fridge for at least 6-8 hours (overnight is ideal).
The cold will fully thicken it, transforming it into the thick and creamy yogurt you desire.Click HERE to watch the video on YouTube
Useful Tips
Denser? More Acidic? You decide!
The best starter for the next batch is your yogurt! Set aside 125 ml: it is more active than any purchased product.
If you prefer a thicker yogurt with a slightly more tangy flavor, set an incubation time of 10 hours next time.
FAQ – Yogurt with Instant Pot Pro
Can I use cold milk from the fridge?
Yes, absolutely. This is one of the great advantages of the Instant Pot Pro! Many methods require bringing the milk to room temperature, but the efficiency of the Instant Pot allows you to mix milk and yogurt starter directly from the fridge. The machine will handle the slow and steady heating to the ideal incubation temperature (40-43°C).
Should I use UHT or fresh milk?
I recommend UHT (long-life) milk for maximum simplicity. Having already undergone pasteurization, it allows you to make the process quicker (only 5 minutes of active preparation). If you use fresh milk, you must first boil it and then cool it, which lengthens the preparation time significantly.
Can I use fruit yogurt as a starter?
No, I strongly advise against it. You must use only plain natural yogurt that does not contain gelatin, flavors, or added sugars. These ingredients alter the growth of the cultures and can compromise the consistency of your yogurt. Use only pure starter.
How long does homemade yogurt last?
If stored in sterilized jars and tightly closed in the refrigerator, it remains good for 8-10 days. Always ensure that all your tools are very clean.
Whether you chose the jars method for its hygienic convenience or the single pot method for speed, you are now officially capable of producing perfect yogurt with your Instant Pot.
The true value of this process goes far beyond the recipe itself. It is a choice of quality and awareness:
Let’s see the costs and benefits of your homemade yogurt
1. Quality at an economic cost
You are producing Artisanal/Organic quality yogurt. When compared to the supermarket equivalent, the final cost is 40-60% lower. You are getting the best while spending less than half.
2. Savings continue
After the first batch (in which you use store-bought yogurt starter), your homemade yogurt itself serves as the starter for the next cycle. This means that the cost of cultures becomes zero forever.
3. Control and health
The greatest benefit remains health: your yogurt does not contain stabilizers, added sugars, or preservatives. You have maximum control over your ingredients and the family’s well-being.
Remember: making yogurt at home is not just a savings, but an investment in taste and health that lasts over time.
Now that you have your ready yogurt, what will you do with it?
Will you use it for a dessert? Cheesecake mimosa with yogurt and ricotta
Or for a savory recipe? Potato salad with hard-boiled eggs and creamy yogurt sauce
If you found this guide useful, share it and let me know in the comments which method you tried first!