For me, pasta with peas is the epitome of comfort food. It’s that simple dish, with a reassuring and delicate flavor, that warms the heart and instantly brings you home. Although it’s a classic of our tradition, my version is incredibly quick, perfect when you’re short on time but don’t want to give up the genuine taste.
The secret? Use frozen peas and cook the pasta directly in the sauce, a bit like a risotto. I promise you a creamy, tasty first dish ready in less than half an hour!
And in less than 10 minutes you can also make pasta with peas using an Instant Pot. Read the post to find out how.
- Difficulty: Easy
- Cost: Economical
- Preparation time: 5 Minutes
- Portions: 4 People
- Cooking methods: Stovetop
- Cuisine: Italian
- Seasonality: All Seasons
Ingredients
- 11 oz pasta (short type like farfalline, ditali rigati etc. Substitute the type of pasta for a gluten-free version)
- 10.5 oz frozen peas
- 1/2 onion (medium or a shallot)
- 4 tbsp extra virgin olive oil
- 4.2 cups water (boiling)
- 2 tbsp chopped parsley (frozen or fresh)
- to taste salt
- to taste pepper
Tools
- 1 Pot
- 1 Kettle
- 1 Knife
- 1 Spoon
- 1 Instant Pot
Steps
Chop the onion (or shallot) very finely.
Put the oil in a heavy-bottomed pot. Heat the oil over medium heat and add the onion. Sauté it gently until it becomes translucent, without browning.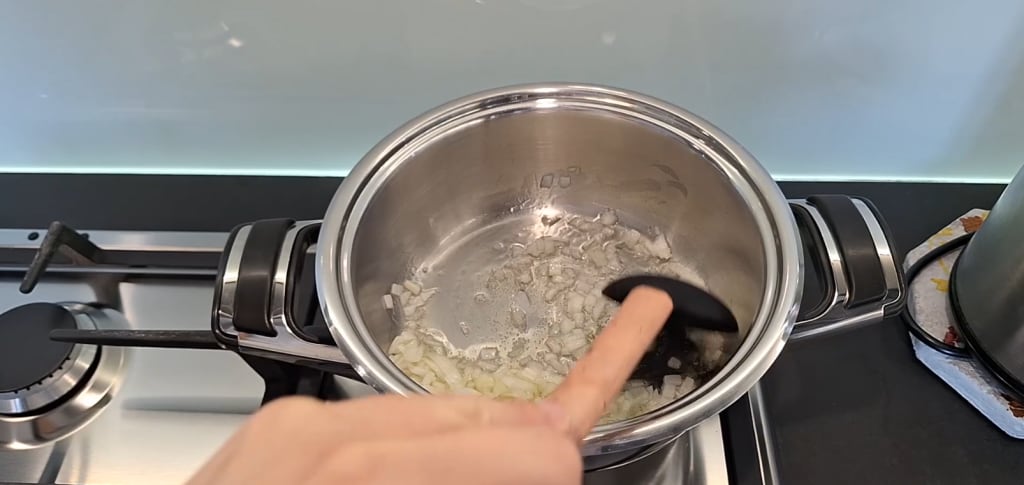
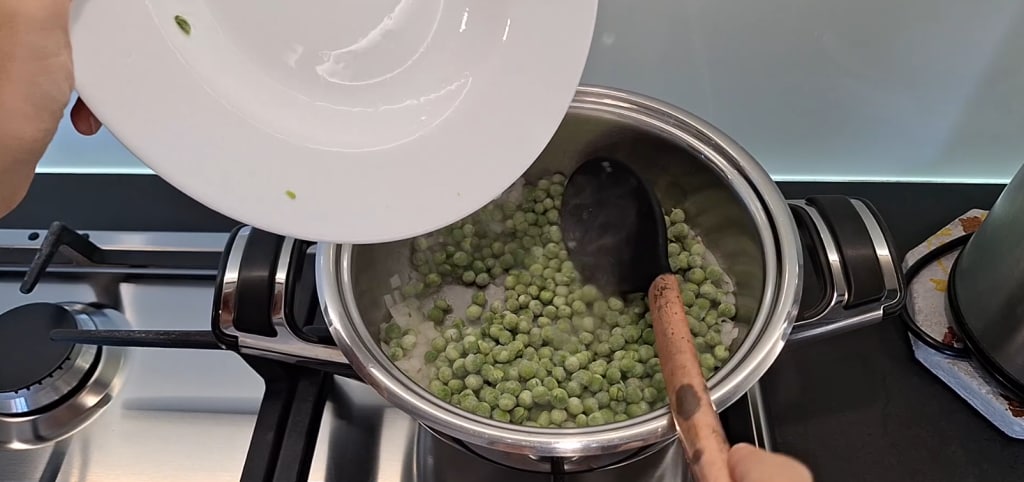
When the onion is halfway cooked, add the frozen peas. Sauté them for 2-3 minutes, stirring.
Pour the boiling water (about 3.4 cups) over the peas. Add a pinch of coarse salt and pepper.
Cover the pot and let it cook for about 20 minutes over very low heat. This way, the peas will soften and create a flavorful, concentrated broth.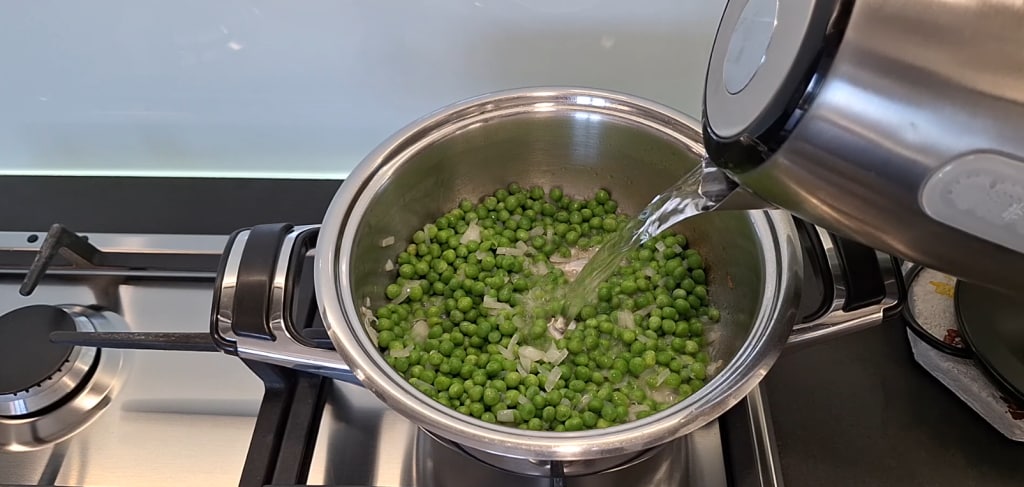
Turn up the heat to high. As soon as the broth starts to boil vigorously, add the short pasta.
Check that the broth is enough to cover the pasta. If necessary, add more boiling water. Flavor with parsley (I added my frozen parsley that I prepare in batches).
Stir and let it cook for the time indicated on the pasta package (usually 8-10 minutes), stirring often to prevent sticking. The pasta will absorb the starch, making the sauce super creamy.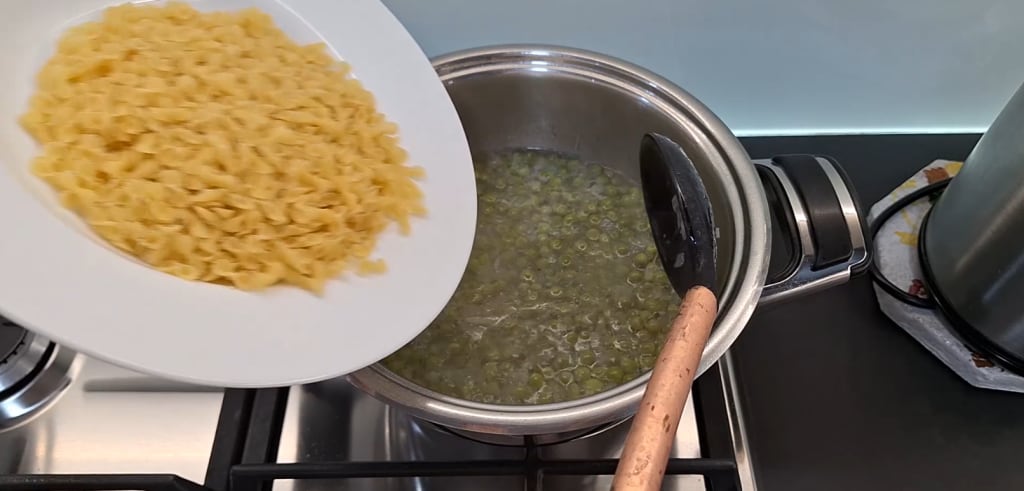
When the pasta is al dente, turn off the heat and add a final sprinkle of pepper (and, if desired, grated Parmesan cheese).
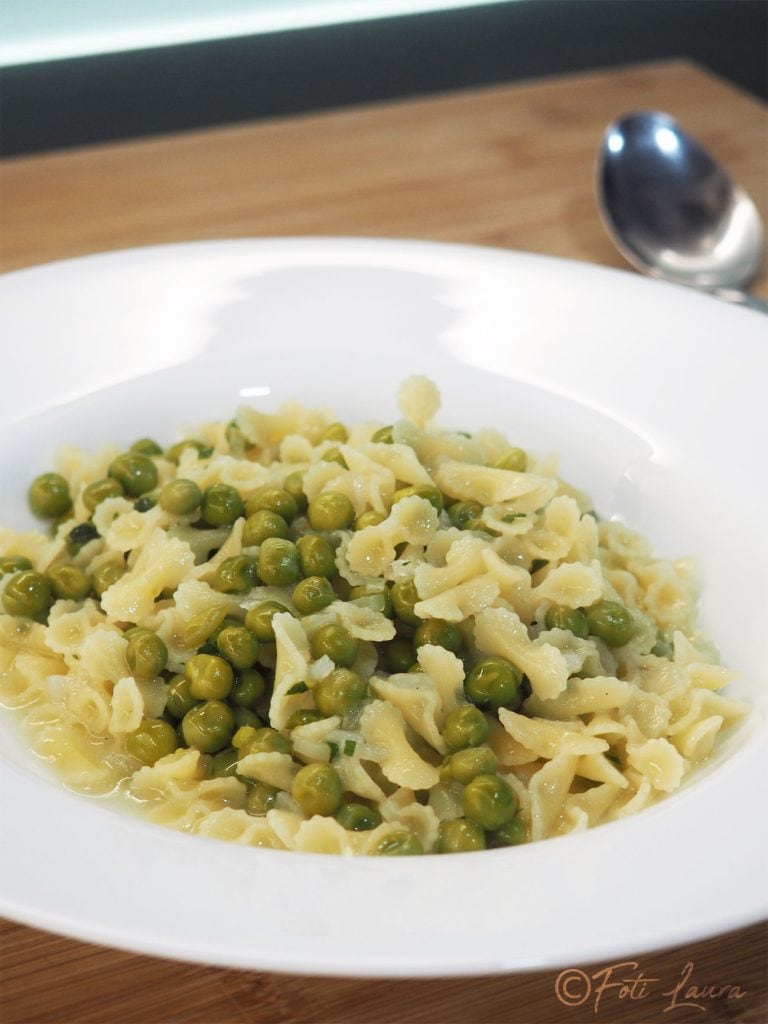
Serve immediately on plates. Enjoy this simple dish that warms the heart!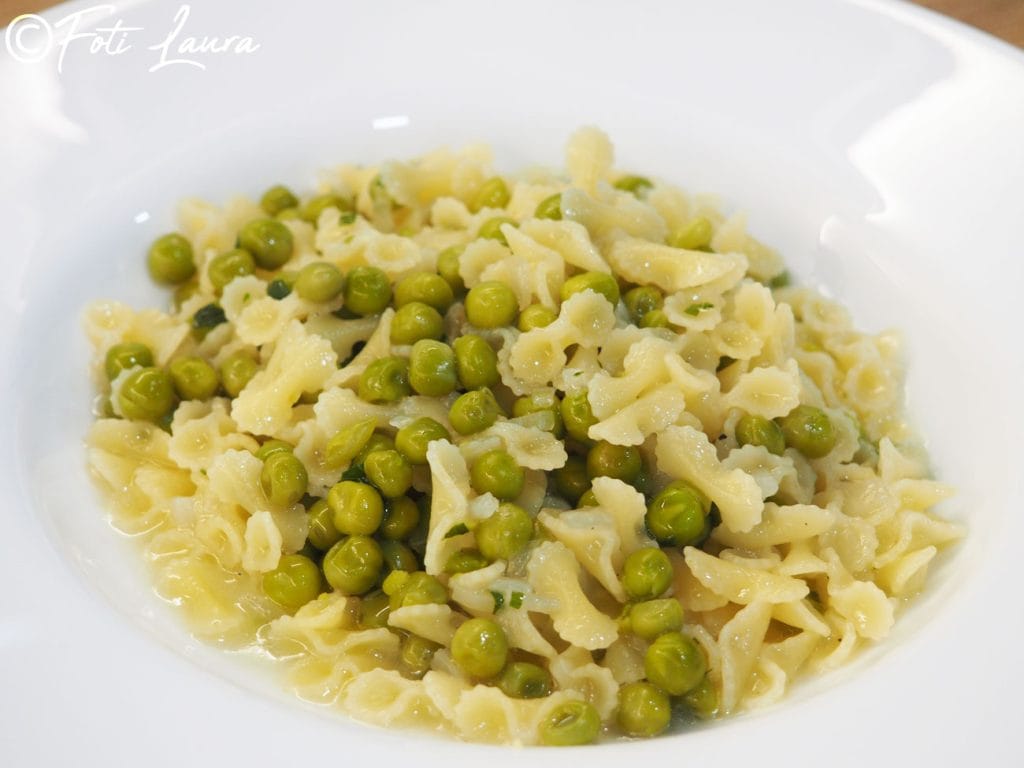
Turn on the Instant Pot and activate the Sauté function. Pour a drizzle of oil into the pot, add the chopped onion, and let it sauté. Halfway through the sauté, add the frozen peas and continue to let them flavor for a few minutes.
Meanwhile, heat some water in the kettle: it helps to shorten the times and not interrupt the cooking of the peas. Pour the hot water into the pot (about 3.2 cups for 4 people), add salt, pepper, and then the pasta. Mix well.
Press Stop to exit Sauté, close the lid and set Pressure Cook to High for 2 minutes if the pasta cooks in 6 minutes. If your pasta takes 12 minutes, only 5 are needed. Press Start.
When cooking ends, perform a quick release by moving the valve to Vent. As soon as the valve drops, you can open the lid. Add chopped parsley, stir, and serve.Link to the VIDEO RECIPE https://youtu.be/_3VdBYO-LVI

Tips, Tricks, and Variants
For a salty touch: Add 50g of pancetta or diced cooked ham to the pot along with the onion, browning them well.
The creaminess: The creaminess is achieved by stirring the pasta at the end of cooking, thanks to the starch released with the “risottato” method. No extra fats needed!
Advance preparation: You can prepare the pea sauce in advance and store it. When you’re ready to eat, bring it to a boil and add the pasta.
FAQ – Pasta and Peas
Can I use fresh peas?
Absolutely! If using fresh peas, increase the initial cooking time slightly (25-30 minutes) to ensure they are tender.
Why don’t I drain the pasta?
The “risottata” technique involves cooking the pasta directly in the broth. This way, it releases the starch, which acts as a natural binder and makes the dish incredibly creamier.
Can I use fresh parsley?
Absolutely yes, even better! Fresh parsley, added at the end, will give an even more intense aroma.
And voilà, your plate of pasta and peas is ready!
I wanted to share this simple and risottata version with you because I believe the truest flavors are often the fastest to prepare. There’s nothing more comforting than this creamy sauce provided by the starch that wraps the pasta, with no need for additional fats!
I hope this recipe warms your heart as much as it warms mine. Let me know in the comments if you also have any little secret tricks for pasta and peas!