How is panko made? What is the difference between panko and breadcrumbs? Let’s find out together the recipe for homemade panko for crispy and dry fried foods! This bread typical of Japanese cuisine has become very popular on our tables: first in restaurants, then sold pre-packaged in supermarkets and finally made at home. Panko bread is light and makes frying crispy, from meat to fish, and of course vegetables!
If you’re wondering: what is panko? What is the difference with breadcrumbs? And why choose it? Know that I can help by explaining everything. Japanese panko bread is made with white bread, usually sandwich bread, from which the crust is removed, then ground and baked to make it crispy and dry before being used for breading.
You’ve probably already realized that the main difference between panko and breadcrumbs lies in the bread used. Breadcrumbs come from dry bread, with crust, which is then ground into powder, almost like flour. This bread, due to its texture, retains the frying oil, so when a dish is enjoyed hot, it is still crispy, but it tends to soften later.
Panko remains lighter, because it has larger flakes, thus incorporating air, for crispier and drier frying results. You can make gluten-free panko by using a gluten-free sandwich bread, also lactose-free, as these are now available on the market. Be careful not to use sandwich bread: it is white too, but has a completely different texture and is not suitable for this preparation. You risk getting a sticky mixture that clings to the blades of the food processor.
Now that we understand what Japanese panko is, we can appreciate its qualities and understand its uses. Obviously, I recommend trying it with meat, fish, and vegetables. In the coming weeks, I will present recipes specifically designed to use panko as a breading. For this reason, I introduced the batter recipe for crispy fried foods a few days ago, so you can have the breading base first and then decide whether to use breadcrumbs or panko!
An example of use could be preparing fried sausages which we will see soon and currently available in the version with breadcrumbs. I recommend following the Facebook page of Le Ricette di Bea so you don’t miss any new recipes!
Below, I will explain and illustrate, with the video recipe of homemade panko, how to prepare it starting from the basic preparation. You have greatly appreciated the batter recipe from my grandmother, so it seemed only right to present you with some different breading from the classic. Fortunately, my grandmother left me many basic recipes like homemade bechamel with butter or the batter just mentioned.
Here are some more of her basic Italian cooking recipes and more!
- Difficulty: Very easy
- Cost: Very cheap
- Rest time: 30 Minutes
- Preparation time: 5 Minutes
- Portions: 14 oz
- Cooking methods: Oven
- Cuisine: Japanese
- Seasonality: Autumn, Winter, and Spring, All Seasons
- Energy 26.80 (Kcal)
- Carbohydrates 5.95 (g) of which sugars 0.20 (g)
- Proteins 0.81 (g)
- Fat 0.05 (g) of which saturated 0.00 (g)of which unsaturated 0.00 (g)
- Fibers 0.38 (g)
- Sodium 29.30 (mg)
Indicative values for a portion of 0 g processed in an automated way starting from the nutritional information available on the CREA* and FoodData Central** databases. It is not food and / or nutritional advice.
* CREATES Food and Nutrition Research Center: https://www.crea.gov.it/alimenti-e-nutrizione https://www.alimentinutrizione.it ** U.S. Department of Agriculture, Agricultural Research Service. FoodData Central, 2019. https://fdc.nal.usda.gov
Ingredients for Making Homemade Panko
- 14 oz white sandwich bread
Done! Shopping list to make homemade Japanese panko bread is very short, only one ingredient is needed to make homemade Japanese panko!
Tools for Making Panko Bread Recipe
- 1 Food processor
- 1 Parchment paper
- 1 Baking sheet
- 1 Oven
- 1 Cutting board
- 1 Knife
How to Make Homemade Panko Recipe
As you might have guessed from the list of ingredients needed to make Japanese panko at home, we don’t need anything except a few essential tools. Get a food processor, preheat the oven in grill mode to 250°F in advance, and have a cutting board with a knife.
This Japanese bread, perfect for crispy coatings, must rest for 30 minutes before being used for any recipe. So, take your time to prepare it well in advance before proceeding with frying meat, vegetables, or fish.
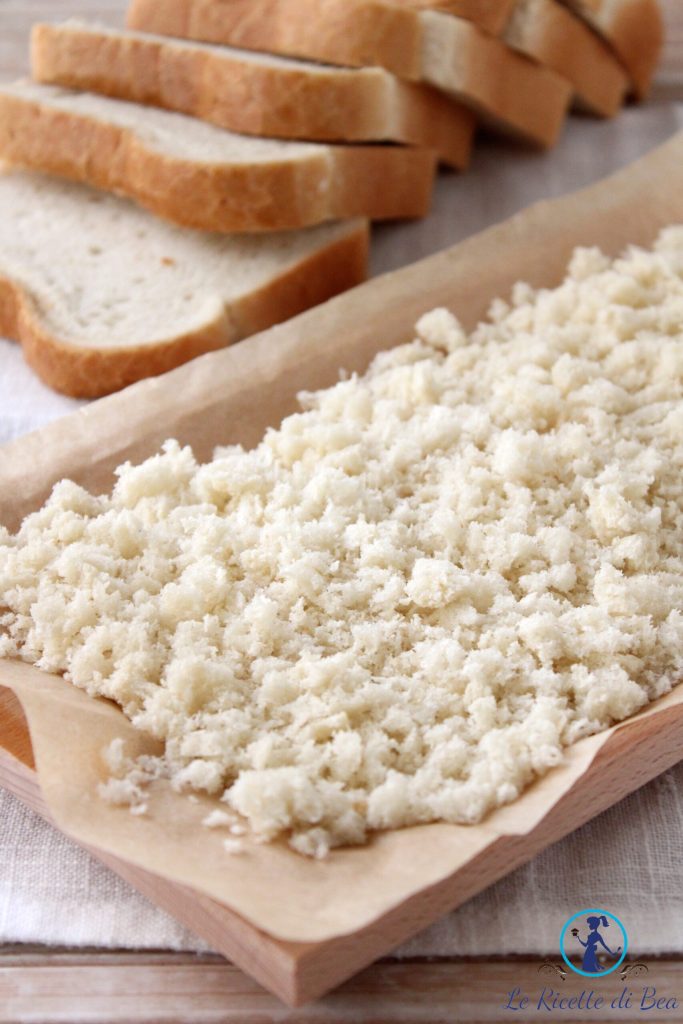
That said, let’s start with the white sandwich bread. Place the slices on a cutting board and take a sharp, non-serrated knife. The amount of bread obviously varies based on the quantities of meat, fish, or vegetables you need to fry. With this recipe, we will make about 14 ounces of panko bread.
Preheat the oven in grill mode to 250°F: it must be hot for the panko bread.
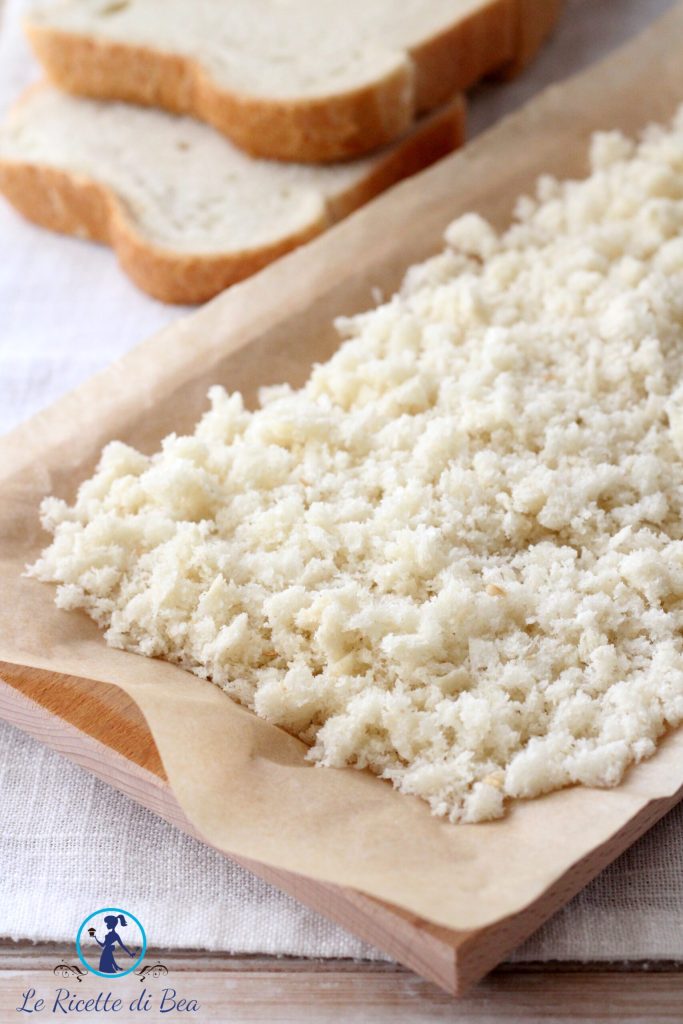
Cut off the crust of the sandwich bread with the knife. Set it aside to make meatballs, dumplings, or grate with other dry bread. I hate waste in the kitchen and always look for other recipes to use leftovers.
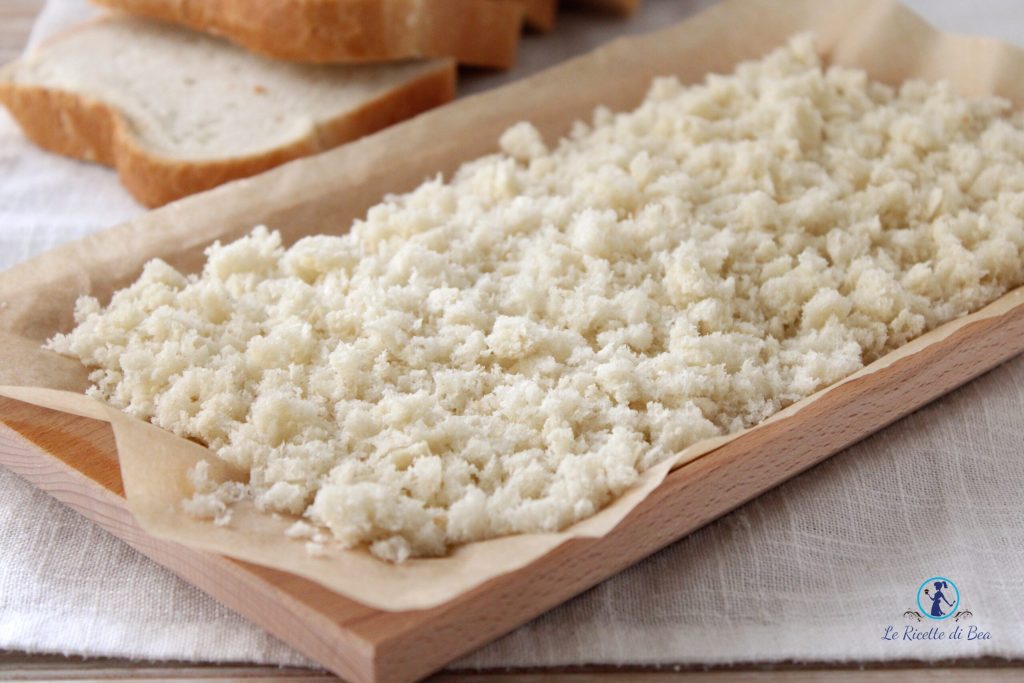
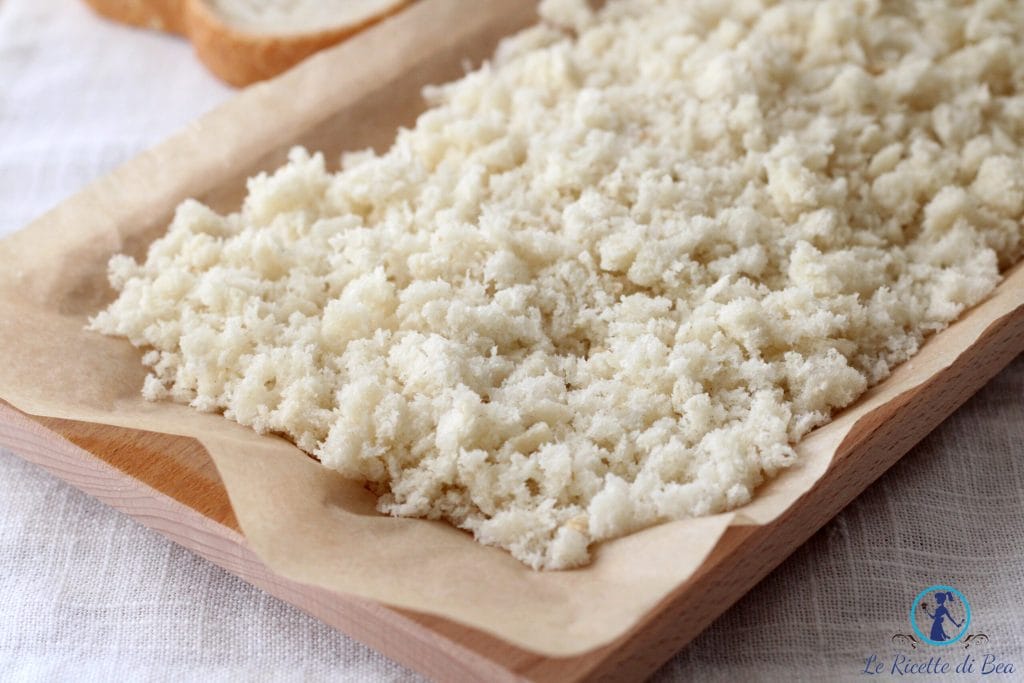
Cut the white bread into cubes and place them in the bowl of the food processor. Turn on the machine and let it work until you get not too small bread flakes; the peculiarity of panko is its coarse, fluffy texture. These bread flakes should be large and airy.
Take a baking sheet or a baking tray, cover the bottom with a sheet of parchment paper, and spread out the white bread flakes. Don’t add anything, no salt, no pepper, not even oil. Place the baking tray with the panko bread on the highest rack of the oven and let it bake for 5 to 6 minutes on grill mode.
The bread should not become too golden, dark, or too crispy: these three things should not happen to get good homemade panko bread. Then place the baking tray on the kitchen counter, thus at room temperature, and let it cool for at least 30 minutes before using it for breading.
Proceed with the use following the recipe you have chosen. In the coming weeks, we will prepare some delicious appetizers with this specific breading and then proceed with the related frying.
I just have to wish you a good appetite and remind you that I look forward to seeing you every day here on my cooking blog with lots of easy, quick, and delicious recipes like this one!
Advice and Storage of Panko Bread Recipe
Recipe Advice: as mentioned, the size of the white bread flakes is very important because once cooled and especially when we go to use the panko bread, it will tend to crumble. So, if we have flakes already too small, we won’t get the crispy coating we desire. Important is the resting time, for the same reason just mentioned.
Storage of panko: once completely cooled, we can store panko in an airtight container with a lid in a cool, dry place. It can be stored for about a month. Note that with this recipe we will make about 14 ounces of bread for breading, enough for frying for 3-4 people. It might not last, but if there are leftovers, you can keep it this way and for this time without risking it going bad.