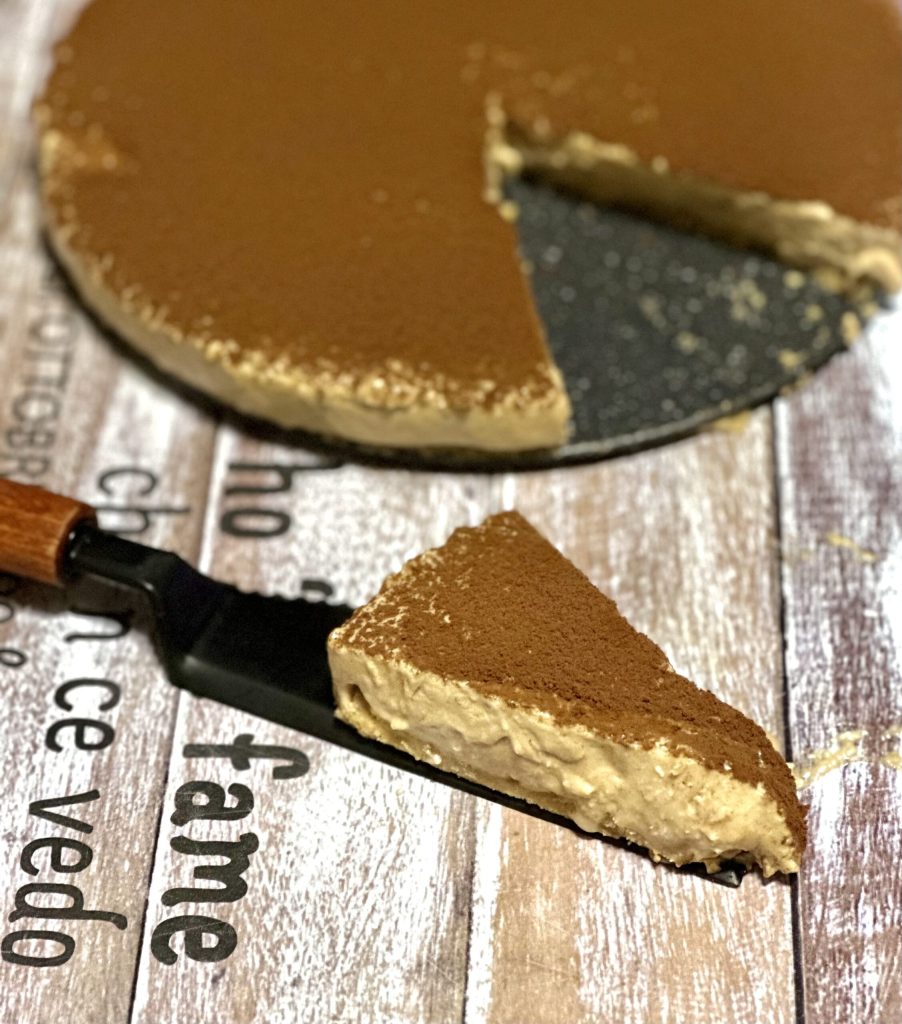
Coffee Cheesecake ☕, quick and easy to prepare without baking and egg-free. With this recipe, you will prepare a cake with a bold coffee flavor, using classic moka coffee and no need to whip the cream, soft to eat with a spoon. I decided not to whip the cream before adding it to the recipe despite the very liquid presence of moka coffee to achieve a creamy consistency, but if you prefer a firmer cheesecake, you can whip the cream and add it to the rest of the ingredients at the end, mixing it by hand with circular movements from bottom to top to keep it fluffy.
If you love the bold taste of coffee like I do, I suggest trying these recipes as well
- Difficulty: Easy
- Cost: Cheap
- Rest time: 4 Hours
- Preparation time: 15 Minutes
- Portions: 12
- Cooking methods: No Bake
- Cuisine: Italian
- Energy 324.99 (Kcal)
- Carbohydrates 29.16 (g) of which sugars 16.06 (g)
- Proteins 4.75 (g)
- Fat 20.59 (g) of which saturated 4.21 (g)of which unsaturated 2.29 (g)
- Fibers 7.35 (g)
- Sodium 101.34 (mg)
Indicative values for a portion of 80 g processed in an automated way starting from the nutritional information available on the CREA* and FoodData Central** databases. It is not food and / or nutritional advice.
* CREATES Food and Nutrition Research Center: https://www.crea.gov.it/alimenti-e-nutrizione https://www.alimentinutrizione.it ** U.S. Department of Agriculture, Agricultural Research Service. FoodData Central, 2019. https://fdc.nal.usda.gov
Ingredients
For convenience, I will divide the ingredients into base and cream
- 5.3 oz digestive biscuits
- 6.3 tbsp butter (melted)
- 6.2 oz cream cheese
- 3/4 cup sugar
- 6.7 oz coffee (from the moka)
- 3/4 cup whipping cream (liquid)
- 1 tsp gelatin sheets
- as needed unsweetened cocoa powder (optional)
Tools
To prepare the coffee cheesecake, I recommend using a 9.5-inch springform pan to easily remove it from the pan.
- 1 Springform Pan Baroni
- 1 Electric Whisk Moulinex
Preparation
The preparation of this cheesecake is very quick and easy as you can see from the video above, for convenience I still divide it into two sections. The first step I recommend to everyone is to soak the gelatin, which will be needed in the cream, in water before starting the base so it will be ready when needed for the cream.
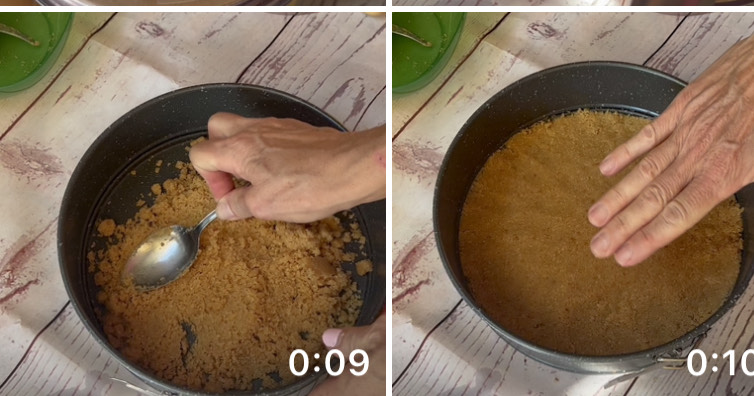
Place the biscuits in a food processor with the blade to finely chop them. Melt the butter in the microwave or in a bain-marie and only when it is melted add it to the chopped biscuits. Now mix the biscuits well with the butter and cover the base of the cake tin with this mixture. If you use a 9.5-inch non-stick springform pan you won’t need anything else and you will be able to remove the cake well when it’s cold, but if you prefer to simplify the operation, you could line the pan with parchment paper (dampen and wring it out, it will adhere better to the cake tin) or with acetate sheets for food.
Now that the base is ready, I recommend letting it rest in the freezer while you prepare the cream.
While the base is resting in the freezer, take a part of the cream needed for the cream, about 1/4 cup, put it in a glass and heat it in the microwave or in a bain-marie; squeeze the gelatin that you had soaked in water at the beginning and pour it into the hot cream, mix well, and set aside.
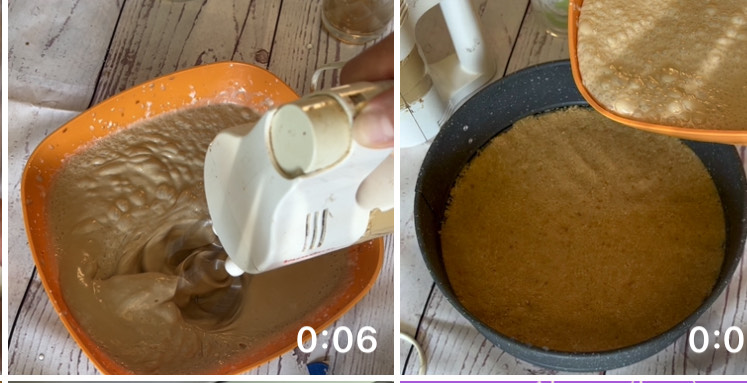
In a large bowl, put the cream cheese with the sugar, start mixing with the electric whisk at maximum speed, always mixing add the rest of the cream provided in the recipe and mix for about a minute. Now, still mixing, add ALL the gelatin dissolved in warm cream and finally the coffee. To add the coffee, I recommend lowering the speed of the whisk because the mixture will become quite liquid.
As the last step, all you have to do is take the biscuit base and pour all the cream over it and let the cheesecake rest in the refrigerator for at least 4 hours until it sets. There will be no need to level the cream because being quite liquid it will settle by itself
Once set, I remove the opening ring from the pan and use a knife or spatula to lift the biscuit base from the bottom of the pan.
Before serving, dust the coffee cheesecake with a light layer of unsweetened cocoa, but this is simply because we like it that way; if you don’t like cocoa, you can omit this step.
NOTES
This cheesecake will be firm but still soft to enjoy with a spoon. The addition of cocoa is simply my suggestion, but you can skip it. You should store the coffee cheesecake in the refrigerator, as it is a no-bake dessert and contains dairy products, it will keep for a maximum of 2/3 days.
This recipe contains one or more affiliate links.
If you liked the recipe or have questions, feel free to comment here or on social networks Facebook, Pinterest, Instagram, and Twitter.
Frequently Asked Questions
Which cheese is best to use?
It’s important to use a spreadable cheese like Philadelphia, to be clear. We can also use protein or light types; obviously, the more fat it contains, the more consistent the cream will be.
Which cream should I use?
I prefer to use classic liquid whipping cream, but if you have intolerance issues, you can use lactose-free or vegetable preparations. In the latter case, remember that they are generally sweetened, so reduce the sugar in the recipe by about 10/20 g.
Can I increase the amount of gelatin to make it more firm?
I wouldn’t increase the amount because it shouldn’t seem like a pudding, but if you really want it slightly more consistent, I would add the whipped cream instead of liquid to the recipe.