Easy Mother Yeast Brioche col Tuppo, because yesterday evening I had my beautiful active and risen mother yeast, but I didn’t feel like making savory doughs, instead, I wanted a good breakfast for today. Browsing the internet, all the recipes were too long, with improbable rising times that almost made me want to put aside my beautiful creation to bring it back on other days, but as usual, my head is harder than marble and when I want something, there’s no way to change my mind. Therefore, armed only with my desire and modest experience with mother yeast, I took the stand mixer, decided on the ingredients to use and started kneading. Kneading the night before going to bed, leaving the dough at room temperature, I got up at dawn to shape them and went back to bed so I could bake upon waking and voilà, breakfast was served.
For those who love to knead at home and have always different breakfasts, I leave other instant and long-leavening recipes.
- Difficulty: Easy
- Cost: Economical
- Rest time: 8 Hours
- Preparation time: 15 Minutes
- Portions: 10 brioche
- Cooking methods: Stove
- Cuisine: Italian
- Energy 324.60 (Kcal)
- Carbohydrates 50.58 (g) of which sugars 12.95 (g)
- Proteins 8.40 (g)
- Fat 10.52 (g) of which saturated 6.30 (g)of which unsaturated 3.89 (g)
- Fibers 0.91 (g)
- Sodium 119.67 (mg)
Indicative values for a portion of 105 g processed in an automated way starting from the nutritional information available on the CREA* and FoodData Central** databases. It is not food and / or nutritional advice.
* CREATES Food and Nutrition Research Center: https://www.crea.gov.it/alimenti-e-nutrizione https://www.alimentinutrizione.it ** U.S. Department of Agriculture, Agricultural Research Service. FoodData Central, 2019. https://fdc.nal.usda.gov
Ingredients
- 5 1/4 oz Manitoba flour
- 8 3/4 oz all-purpose flour
- 7 3/4 oz mother yeast (active)
- 1/2 cup sugar
- 1 tbsp honey
- 3/8 cup milk (warm)
- 2 eggs
- 1 egg yolk (for brushing the surface)
- to taste lemon zest
- 1/2 cup butter (soft)
Tools
For kneading, I recommend using a stand mixer, but alternatively, with a bit of energy, you can knead by hand.
- 1 Stand Mixer
- 1 Baking Tray
Preparation
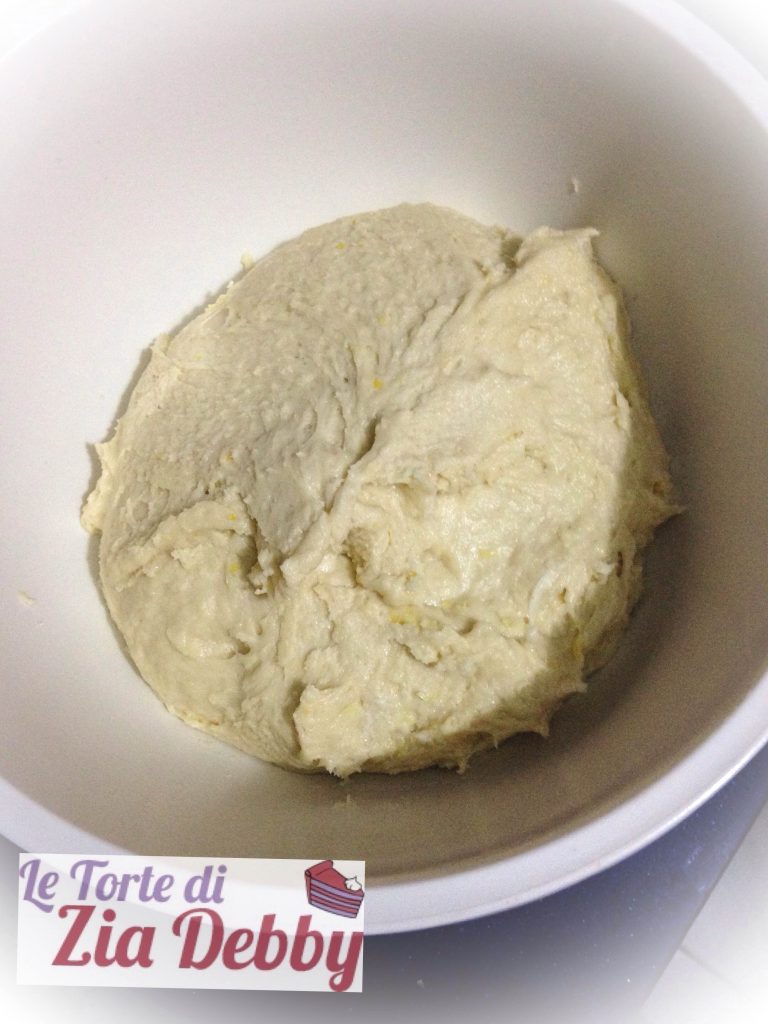
Knead all the ingredients at moderate speed, adding one at a time in the described order and leaving the butter for last, which should be added in several parts to avoid detaching the dough. You will get a soft and slightly sticky dough that you will transfer into a lightly oiled bowl to rise. To move the dough well, use oiled hands and a dough scraper.
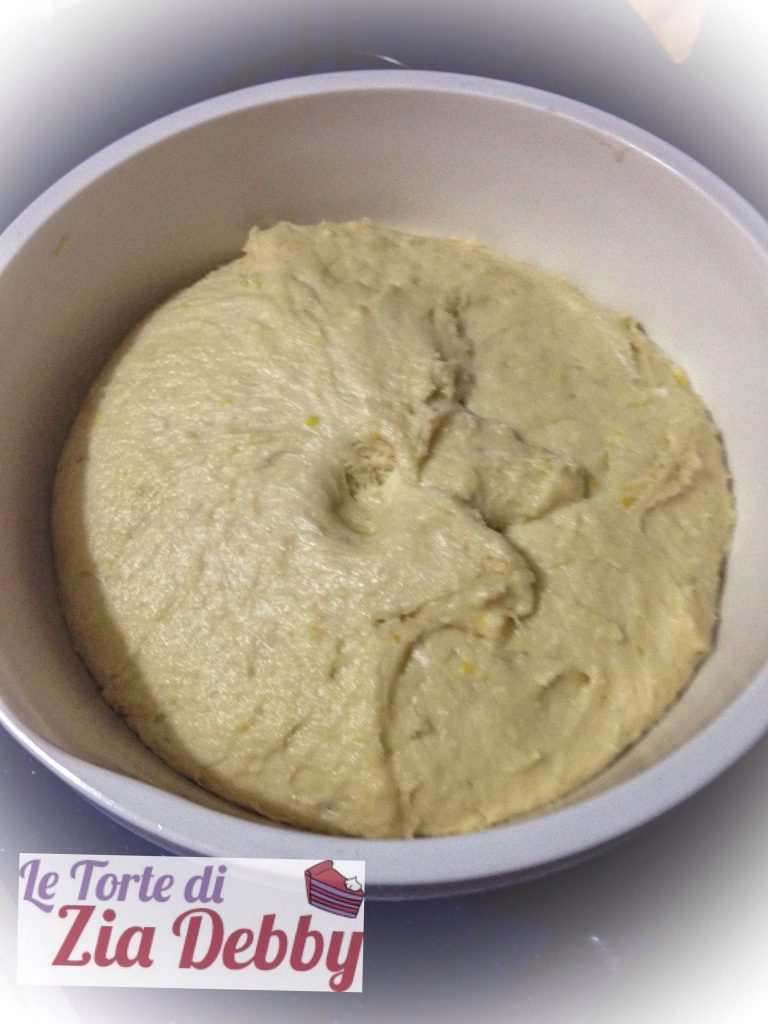
The dough should double; if you don’t find the dough risen and moved, it’s useless to proceed: wait for it to double. Remember that the beauty of natural leavening is precisely this: you are not the one who decides the times, but you have to respect the time of the dough.
I kneaded around 8 PM, then covered the bowl with a lid and rested it in the turned-off oven to avoid temperature changes. Around 4 AM (don’t be scared, you will only be awake for a few minutes, then you’ll go back to rest and wake up to a great breakfast waiting for you) I found the dough like this.
At this point, dust a work surface, because remember that the dough is soft. Dust it also on top and, without touching it much, cut it into as many pieces as you want to make (I made 9 pieces plus a tenth to be divided to make the “tuppo”). To cut, use a knife or a dough scraper, so you don’t touch the dough too much and it won’t be necessary to add more flour.

To make the brioche, turn the pieces on themselves as if to roll them and create the “balls” and small balls to overlap. To prevent the tuppo from escaping (as happened to me, you will see it in the photos), you can attach it with a little egg white. Place your brioches on a baking tray covered with parchment paper, a bit apart from each other as they rise a lot. Brush them with a little vegetable oil to store them again to rise, covered with a plastic sheet, and avoid that during the rising this sheet sticks to the brioches.
Put your covered brioches back in the turned-off oven and return to bed!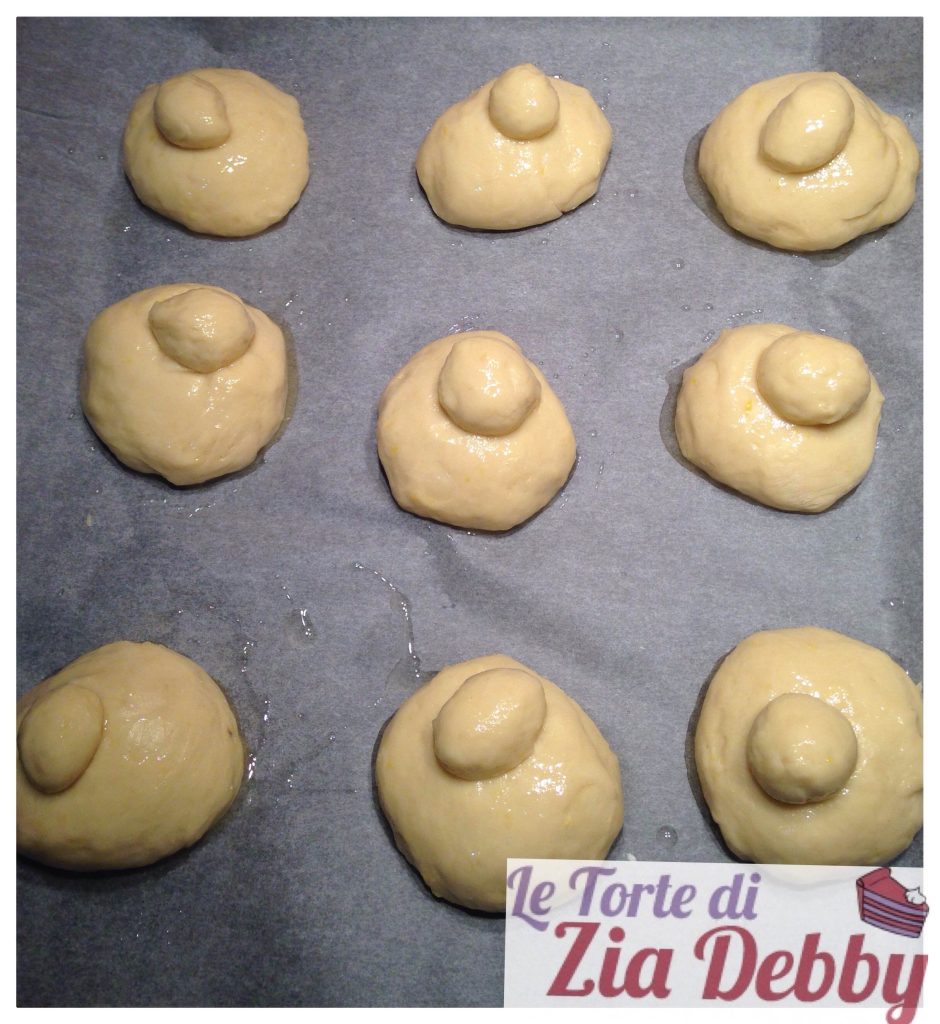
After about three hours, the brioches had grown as you see in the photo and were ready to be baked.
Turn on the oven and when it reaches 356°F, bake for about 20 minutes; however, check the browning of the surface. Before baking, brush the surface with the beaten yolk.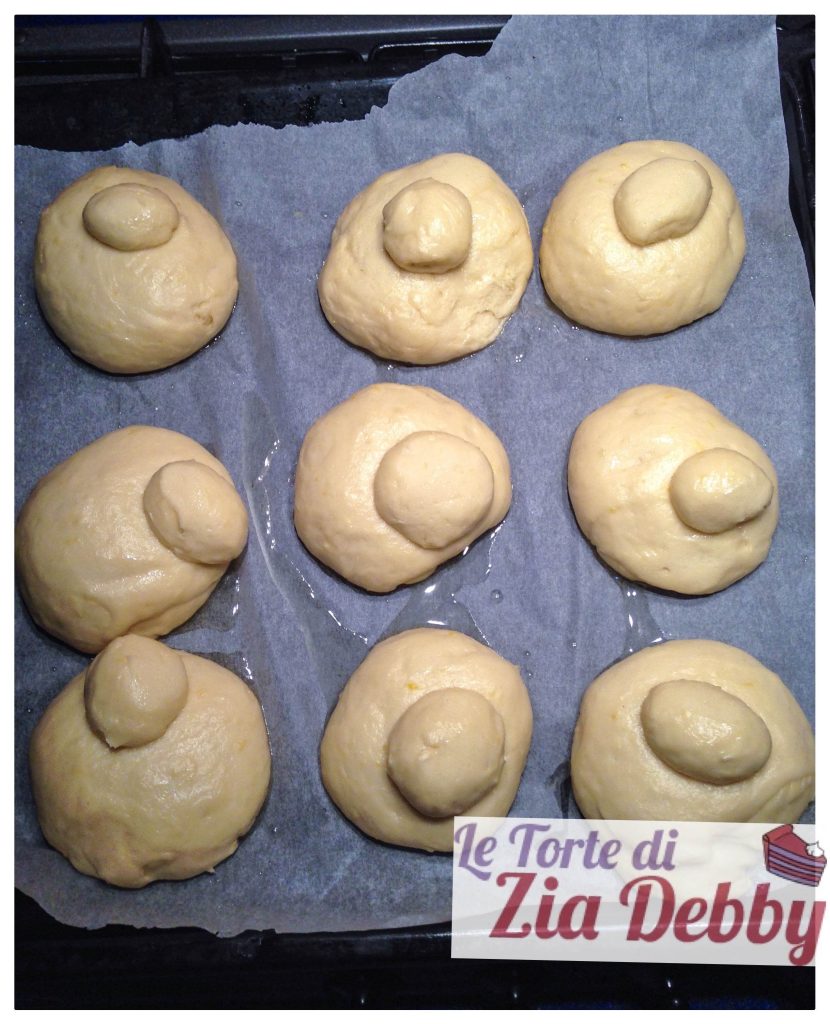
The brioches are ready when they appear golden, as you see in the photo. I would love for you to smell the aroma that spread throughout the house, but it’s not possible.

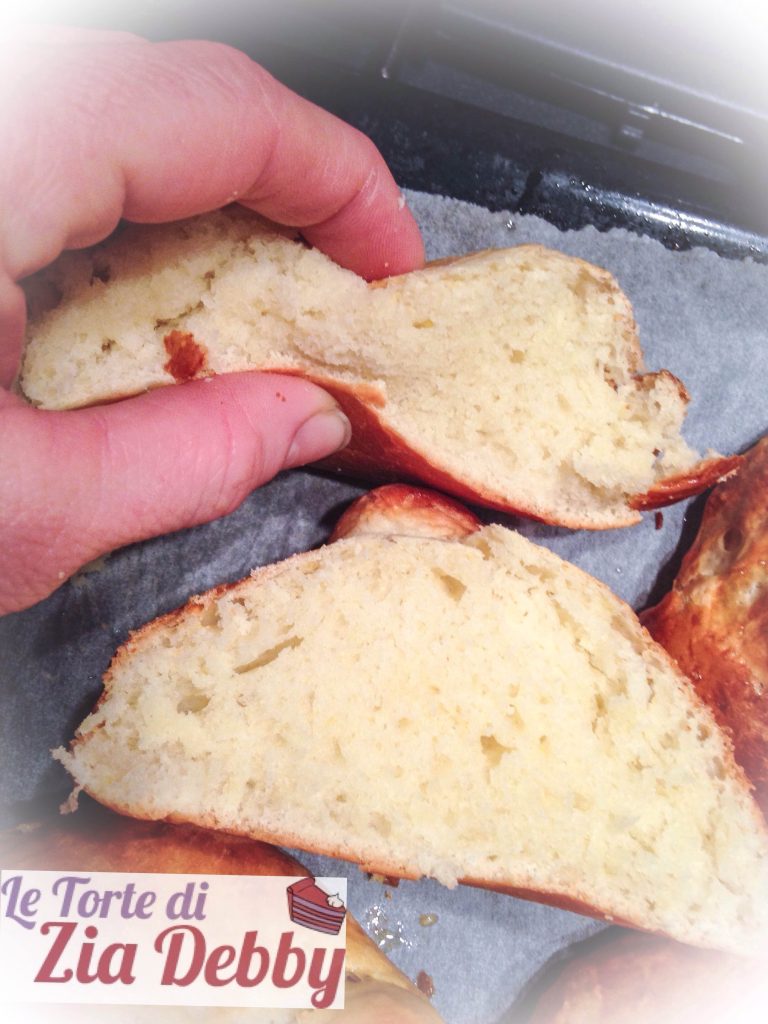
The inside of these brioches is super soft and the surface remains crispy. They are excellent on their own or filled with ice cream and creams.
NOTES
Brioche col tuppo are especially consumed in summer because they are perfect filled with ice cream and granita, but I assure you they are perfect all year round for breakfasts and snacks. Excellent plain and very tempting filled with creams or jam.
They stay soft for a couple of days, but my advice, if you don’t consume them all, is to freeze them and thaw at room temperature. A couple of hours will suffice to return them to perfection.
If you liked the recipe or have questions, feel free to comment here or on social media Facebook, Pinterest, Instagram and X.
