Preparing homemade croissants like those from the café might seem impossible, but give it a try because it’s a somewhat laborious recipe, but the final result will reward your effort.
Using sourdough in the preparation of croissants extends the processing times, but the aroma released during baking and the taste are unique and indescribable.
You can, however, replace the sourdough in this recipe with 100g of flour and 50g by adding 3g of fresh yeast and leave the process as described.
For those who love baked goods, I also recommend other valid recipes

- Difficulty: Medium
- Cost: Economical
- Rest time: 12 Hours
- Preparation time: 30 Minutes
- Portions: 12
- Cuisine: Italian
Ingredients for Pre-ferment
Lately, to use sourdough, I always use this method which I call pre-ferment, and I assure you the final results are always excellent.
- 5.3 oz sourdough (The sourdough must be very active)
- 100 ml water
- 150 g all-purpose flour
- 380 g all-purpose flour
- 150 ml water
- 2/3 cup sugar
- 2 tsp condensed milk (or whole milk)
- 1 pinch salt
- 2 egg yolks
- 2.5 tbsp butter (softened)
- 1 packet vanillin
- 1 cup cup butter (cold from the fridge)
- q.b. orange zest
Preparation of Croissants with Sourdough
As you may have read from the ingredients, in my recipe, I use simple ingredients that are easily available and you probably already have at home.
I don’t use special flour because I know there are more suitable ones for long and laborious doughs, but I’m a simple housewife and I wouldn’t even know which to recommend.
I don’t use vanilla pods, but vanillin. Of course, if you have a vanilla pod at home, it’s better, but for homemade recipes, vanillin is a great alternative, and all-purpose flour will allow you to achieve an excellent product, so let’s start preparing our croissants with sourdough.
As a first step, you need to prepare the pre-ferment and let it double in volume; it took me about three hours.
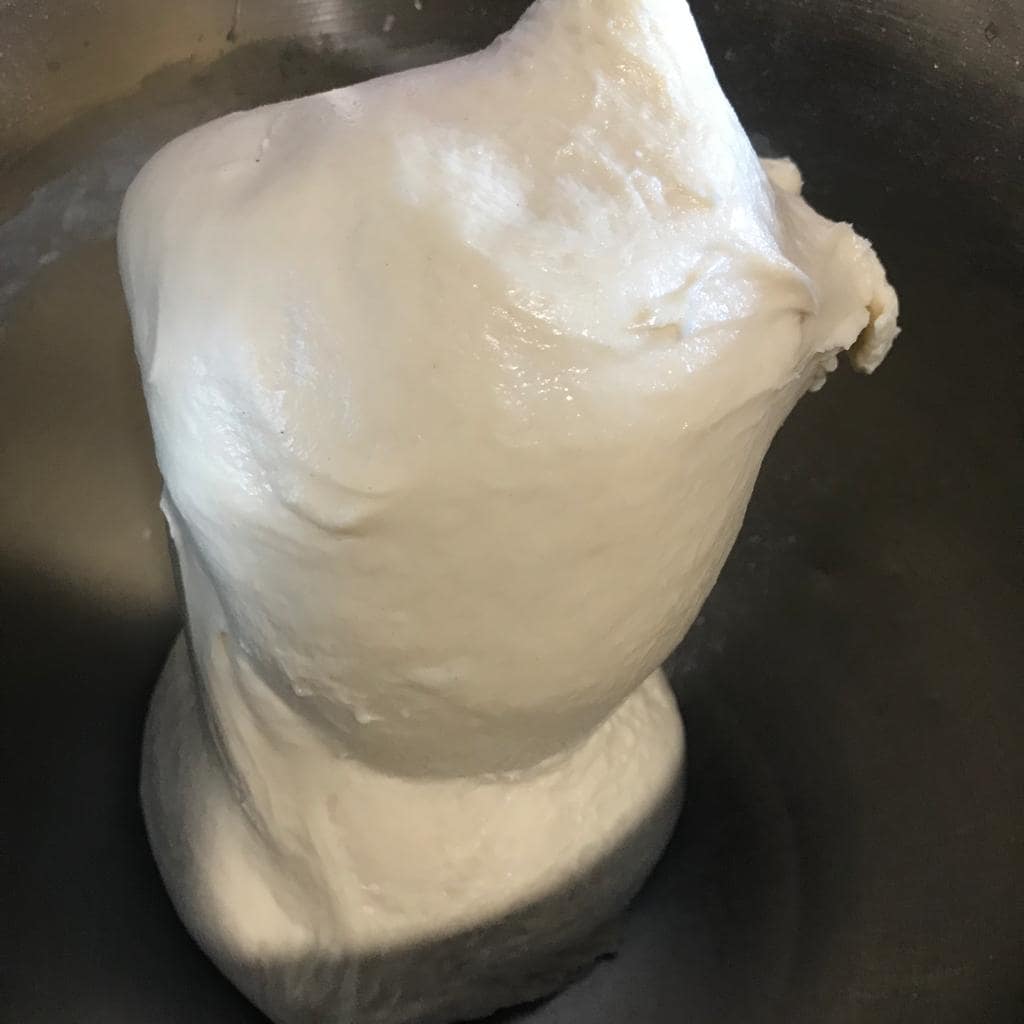
Take your pre-ferment, put it in the stand mixer with the dough hook and add the ingredients one at a time in the order I described to you.
Knead until you get a smooth and soft, almost “sticky” dough
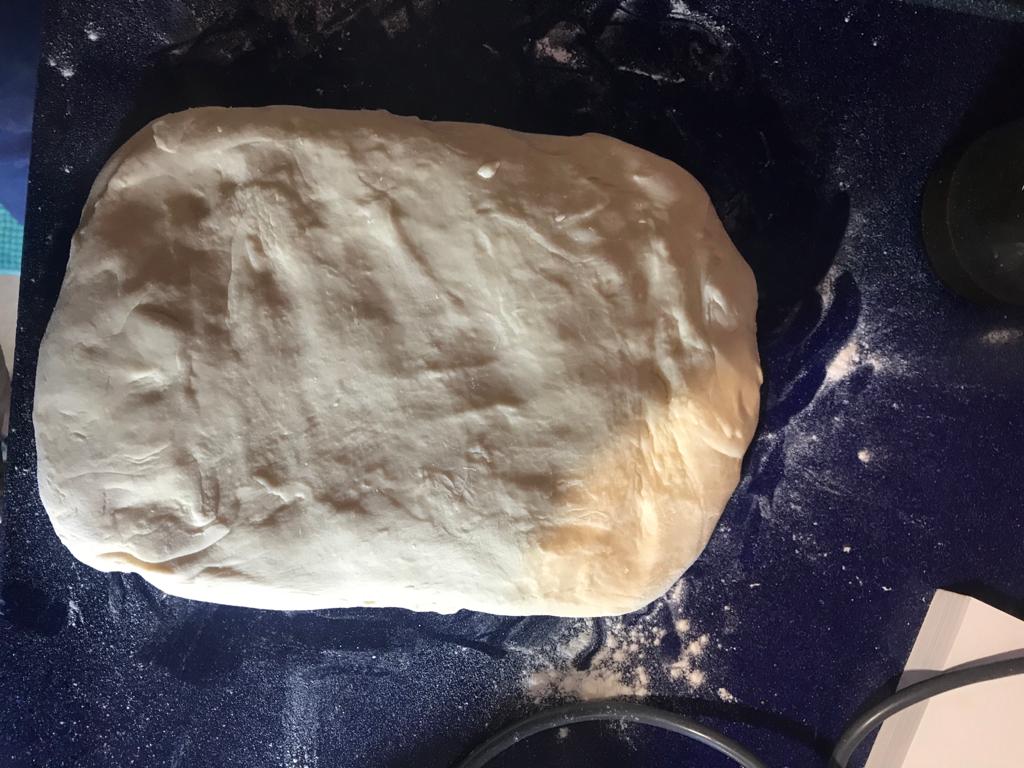
Transfer it to a lightly floured work surface and use your hands to flatten it into a small rectangle, cover with plastic wrap, and refrigerate for about 30 minutes.
Grate the orange zest on a sheet of plastic wrap where you will then roll out the 1 cup of cold butter needed for the layering using a rolling pin.
If you want to better understand the process, check this recipe

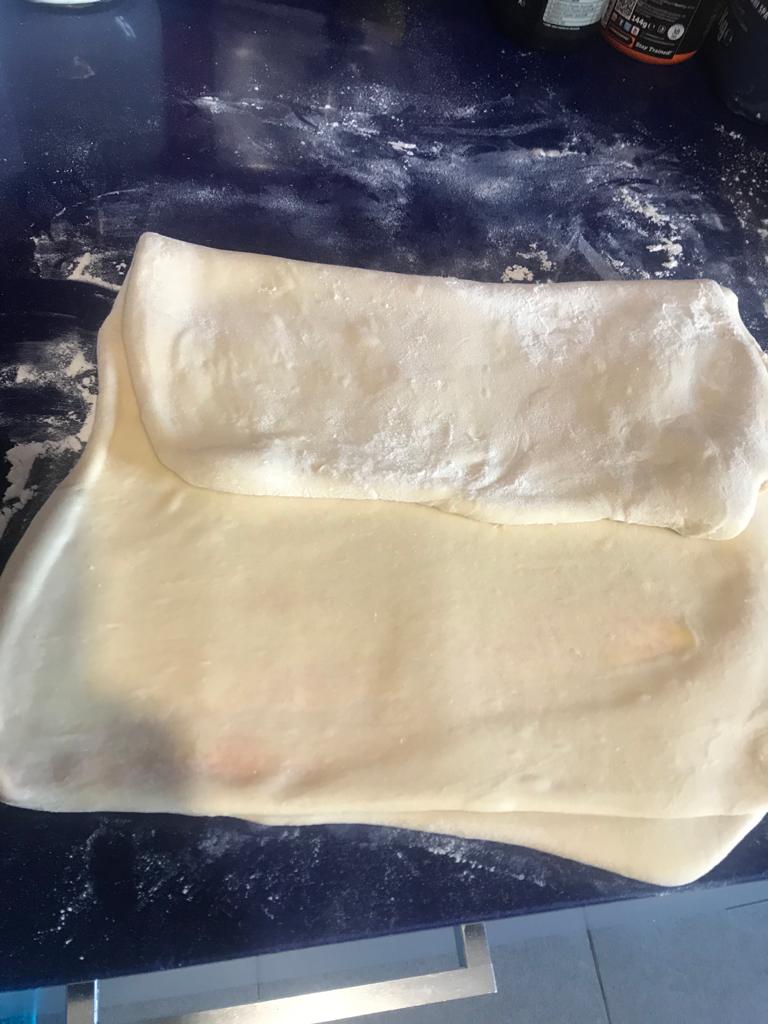
Take the dough from the refrigerator, transfer it to a floured work surface, widen the rectangle with the help of the rolling pin, and place the orange-flavored butter inside, closing the edges of the dough inward, as shown in the photo.

After sealing the butter well, roll out the square obtained into a rectangle and start making the “folds.”
Fold the rectangle into three and let it rest in the refrigerator for at least an hour; this will be the first fold.
You can always follow the process in this post.
You need to make three folds in total for this dough.
Each time you finish a fold, cover the dough with plastic wrap and let it rest in the refrigerator for about an hour.
After the third fold, I left the dough at room temperature for about three hours, still covered with plastic wrap. I recommend placing it in the turned-off oven, where I currently have about 68°F

After three hours in the turned-off oven, I put the dough back in the refrigerator for about 30 minutes, then rolled it out on a floured work surface into a large rectangle, using the rolling pin, and reached a thickness of about 1/8″.
From the rectangle, I cut as many triangles as the croissants I wanted to make and made an incision, as you can see in the photo, about 0.39 inches (1 cm) on the shorter side of the triangle. This will help you shape the croissant better.
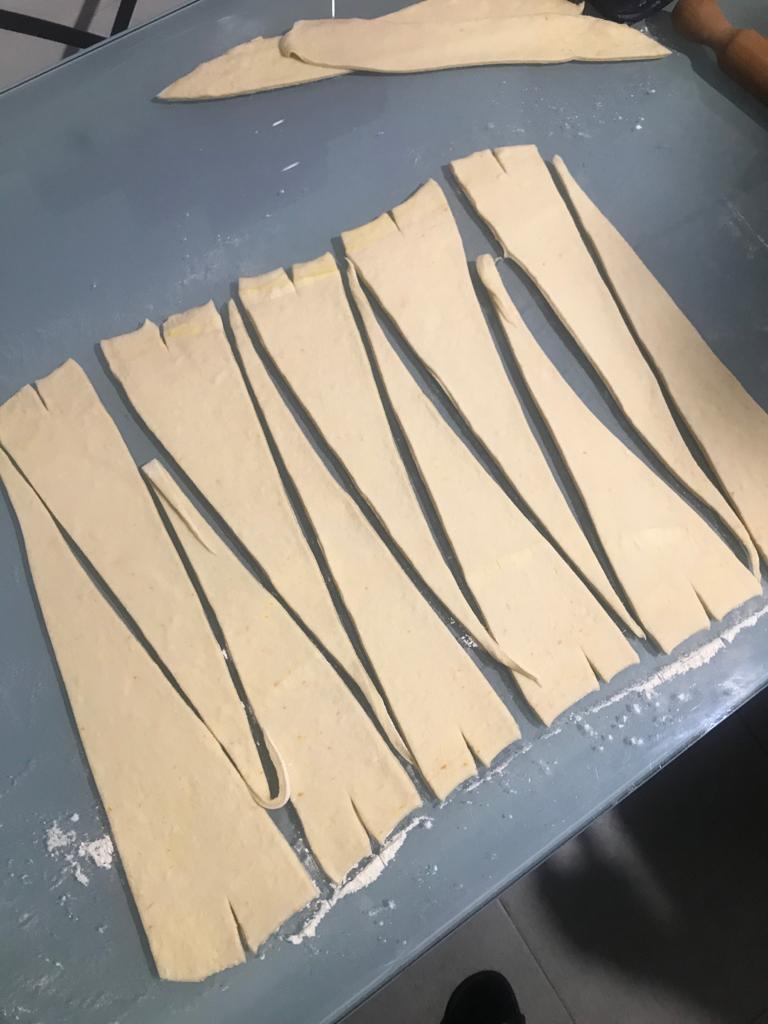
Starting from the base of the triangle, begin to roll up your croissant, trying to slightly stretch the dough with the help of your hands with each turn. Do not tear it, because the more turns the dough makes, the nicer the final result will be.
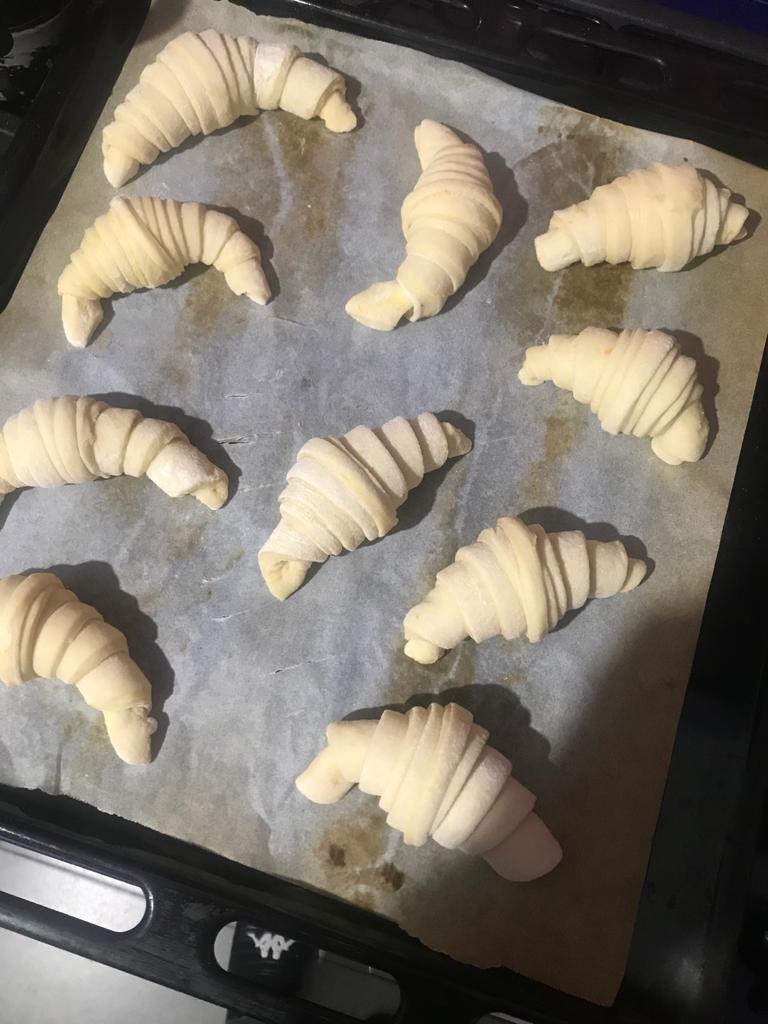
Place the obtained croissants on baking trays covered with parchment paper. I used two trays, and as you can see, I also made small bundles. I filled these with some chocolate using Easter eggs, so we have another way to use them.
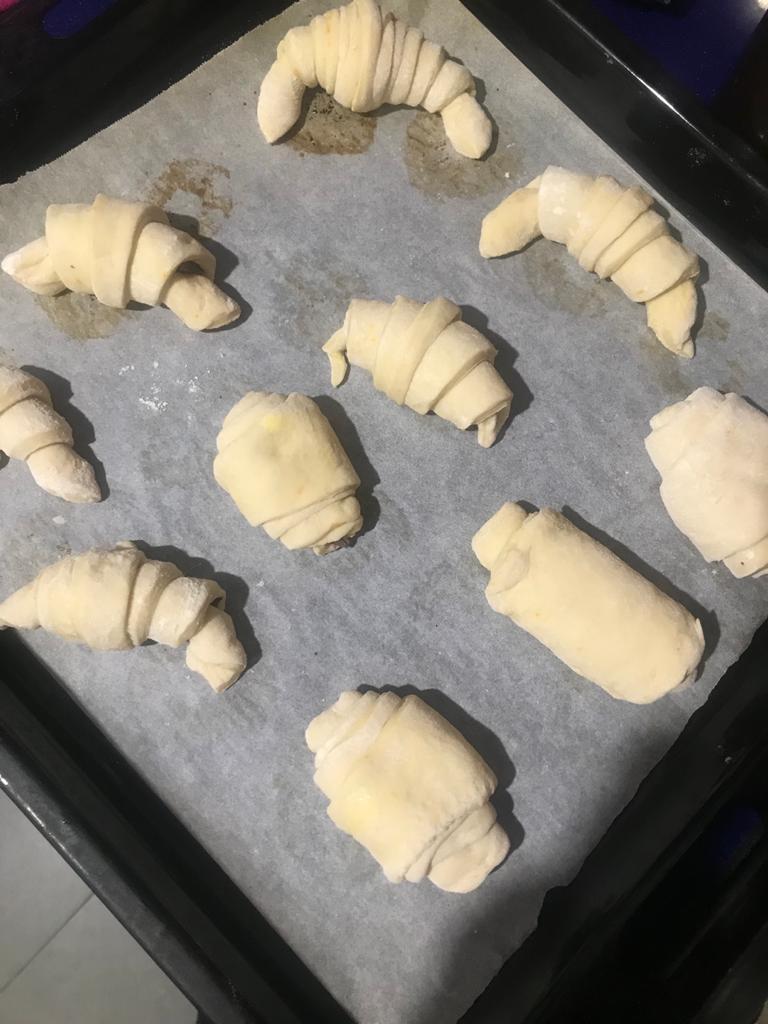
Let your croissants rise covered with plastic wrap, at least until they double in size.
Several hours will be needed, so I placed them in the fridge so I wouldn’t have to wake up at dawn. Around 7 a.m., I took them out of the fridge, and by 10 a.m., I baked them, but you can also keep them directly out of the fridge and bake them when doubled.
The rising time varies depending on the temperature where they are stored.

Before baking, I brushed them with the leftover egg white from the dough. I lightly beat it with a fork and brushed it on the croissants, then sprinkled with granulated sugar.
Bake in a preheated oven at 392°F for the first 5 minutes, then continue baking at 356°F for another 10/12 minutes. The timing difference depends on the power of your oven; check that they are golden on the surface.

Wait for them to cool slightly and enjoy!
If you don’t consume them all immediately, you can freeze them. Just take them out a couple of hours before you want to eat them, and they will be as fresh as just baked.

My Schedule
It is not possible to give precise timing for making your croissants with sourdough. There are too many variables to consider, including temperature and humidity present in the house.
I can tell you the schedule I followed considering that it is spring now and here in Rome the temperature in my house is about 68-70°F.
I made the pre-ferment around 2 p.m., started the folds around 5 p.m.
After the folds, I left the dough at room temperature from 7 p.m. to 10 p.m., then put it in the refrigerator for about 30/40 minutes.
I took the dough out, made my croissants, which I then covered and placed in the refrigerator.
Around 4 a.m., I took them out of the refrigerator and, still covered, placed them in the turned-off oven, and this morning around 10 a.m., I baked them and enjoyed them for breakfast.