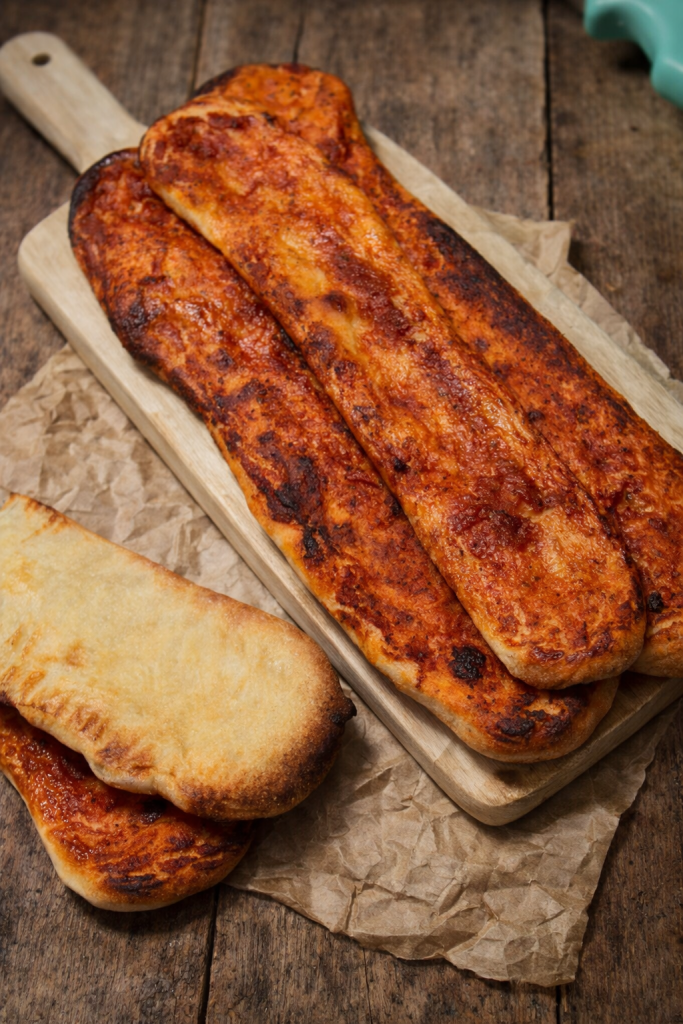
The red pizza fingers are the savory snack taking the web by storm! Perfect at any time of the day: as a snack, savory treat, quick meal, or to enhance aperitifs and appetizers.
They are prepared quickly with a soft dough that is easy to work by hand, or with the help of a stand mixer. After a short leavening, divide them into portions and roll them directly in the baking tray.
The topping? Simple and tasty: tomato sauce with salt, pepper, oregano, and a drizzle of extra virgin olive oil.
Quick and high-temperature baking gives a crispy surface and a crumbly interior… impossible to resist!
Before moving on to the recipe, let me remind you of other mouthwatering savory ideas
- Difficulty: Easy
- Cost: Very cheap
- Rest time: 3 Hours
- Preparation time: 10 Minutes
- Portions: 10
- Cooking methods: Oven, Electric oven
- Cuisine: Italian
- Seasonality: All seasons
- Energy 200.33 (Kcal)
- Carbohydrates 38.39 (g) of which sugars 0.98 (g)
- Proteins 6.06 (g)
- Fat 3.19 (g) of which saturated 0.43 (g)of which unsaturated 0.10 (g)
- Fibers 1.88 (g)
- Sodium 386.58 (mg)
Indicative values for a portion of 93 g processed in an automated way starting from the nutritional information available on the CREA* and FoodData Central** databases. It is not food and / or nutritional advice.
* CREATES Food and Nutrition Research Center: https://www.crea.gov.it/alimenti-e-nutrizione https://www.alimentinutrizione.it ** U.S. Department of Agriculture, Agricultural Research Service. FoodData Central, 2019. https://fdc.nal.usda.gov
Ingredients
- 3 1/4 cups all-purpose flour
- 3/4 cup semolina flour
- 1 tsp salt
- 3/4 tsp sugar
- 2 tsp fresh yeast
- 4 tbsps extra virgin olive oil
- 1 1/4 cups water
- 1 1/4 cups tomato pulp (blended)
- salt
- pepper
- oregano
- 1 drizzle extra virgin olive oil
Tools
- 1 Stand Mixer
Preparation
If you don’t have a stand mixer, you can easily knead by hand. Pour the flour onto a work surface forming a well, and gradually add all the ingredients in the center.
If using the stand mixer, place the flours, salt, sugar, and crumbled yeast in the bowl. Start at low speed and gradually add the water in a thin stream, little by little, to achieve a well-bonded and not too sticky dough.
In both cases, the dough should be soft. Transfer it to a lightly floured surface and briefly knead it by hand to form a smooth ball. Place it in a lightly greased container, cover with plastic wrap, and let rise until doubled in volume, in a draft-free place.
A great solution is a turned-off oven.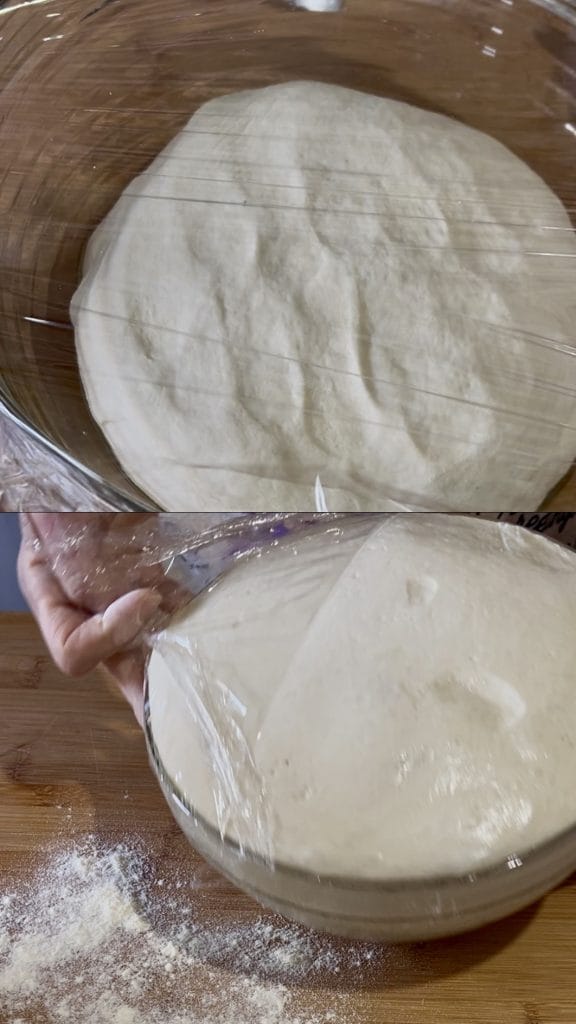
When the dough has doubled in volume, transfer it to a lightly floured work surface. Gently stretch it with your hands, forming a loaf, without pressing too much to avoid ruining the leavening.
With the help of a bench scraper, divide it into 10 more or less equal pieces. Take each piece and gently roll it with your hands, forming small loaves. Place them directly on a baking sheet lined with parchment paper, well spaced apart.
Cover the loaves with a clean cloth and let them rest for about 30 minutes, so they relax before being rolled out.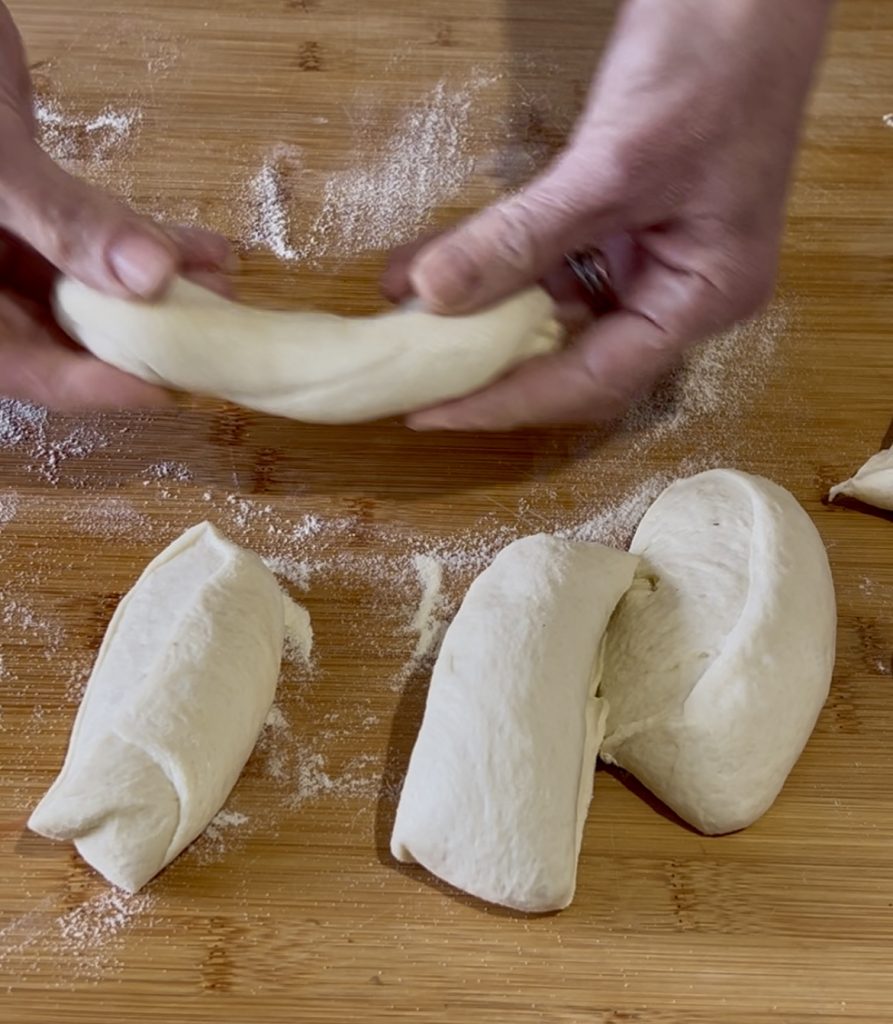
After the resting time, roll each loaf directly on the baking sheet. Using your fingers, gently stretch the dough to give it the typical tongue shape.
In the video above the recipe, you can see how I do this step.
Spread some seasoned tomato on each tongue: it should cover the entire surface, but not excessively. During baking, the tomato should dry well to keep the tongues nice and crispy.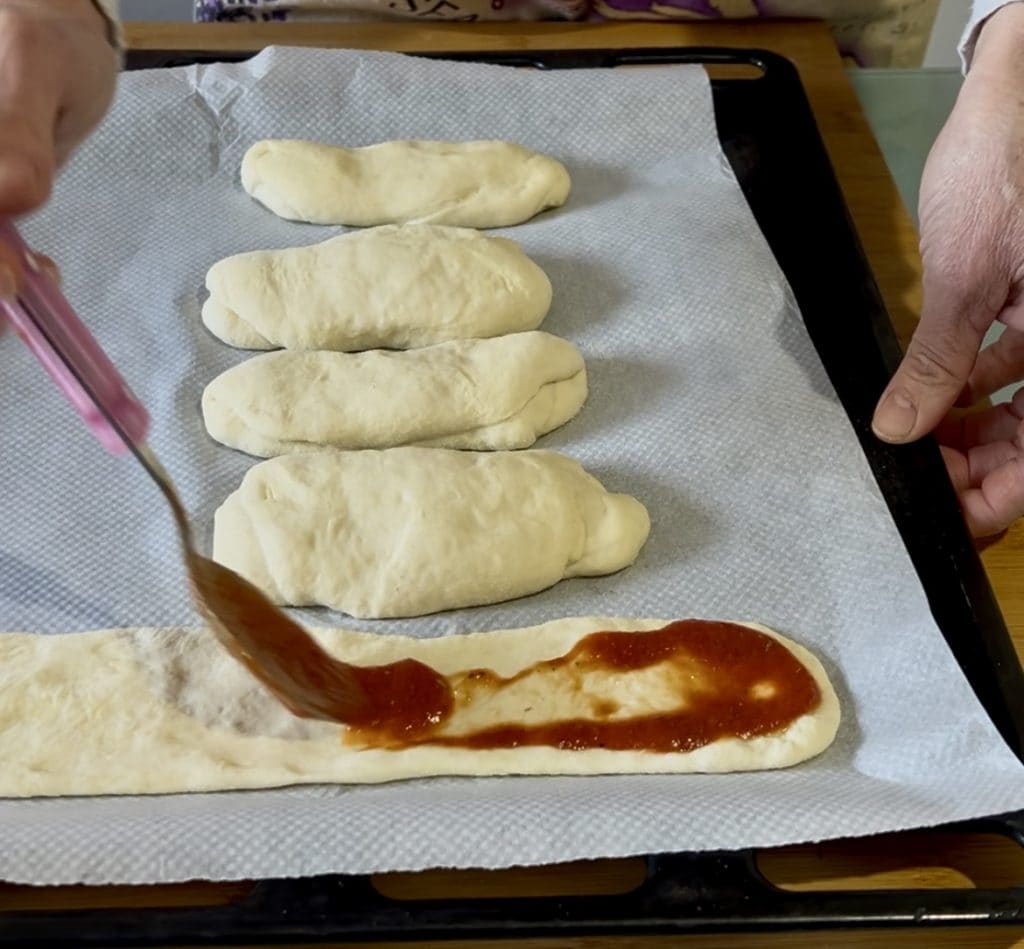
Bake the pizza tongues in a preheated oven at the highest temperature, about 464°F, and bake for about 15 minutes. After the first 10 minutes, check the baking: the tongues should be well browned and cooked, but not burned.
As soon as they are out of the oven, add a drizzle of extra virgin olive oil on each for enhanced flavor… and they are ready to enjoy!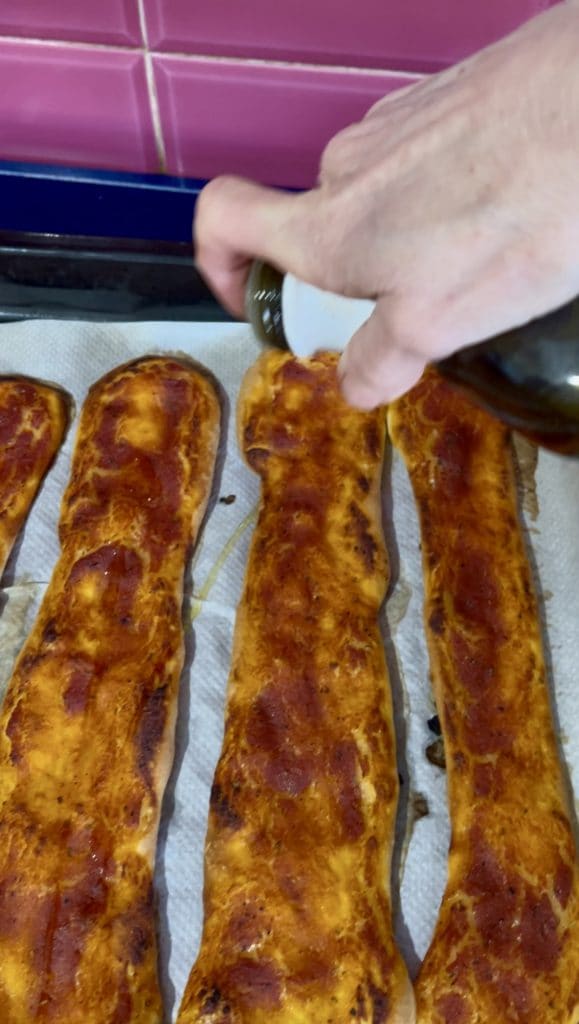
NOTES
If you want to change the topping, add black olives, anchovies, capers, or a bit of mozzarella at the end of baking.
The pizza tongues are also delicious cold or reheated the next day: ideal for snacks, outings, or buffets.
If you liked the recipe or have any questions, don’t hesitate to comment here or on social media Facebook, Pinterest, Instagram and X.
FAQ (Frequently Asked Questions)
Can I prepare the dough in advance?
Yes, you can prepare it the day before and let it rise in the fridge. I recommend taking it out at least 30 minutes before shaping the fingers.
Can I use whole wheat flour?
Sure, you can substitute part of the white flour with whole wheat flour, but keep in mind that the dough might be denser and less soft.