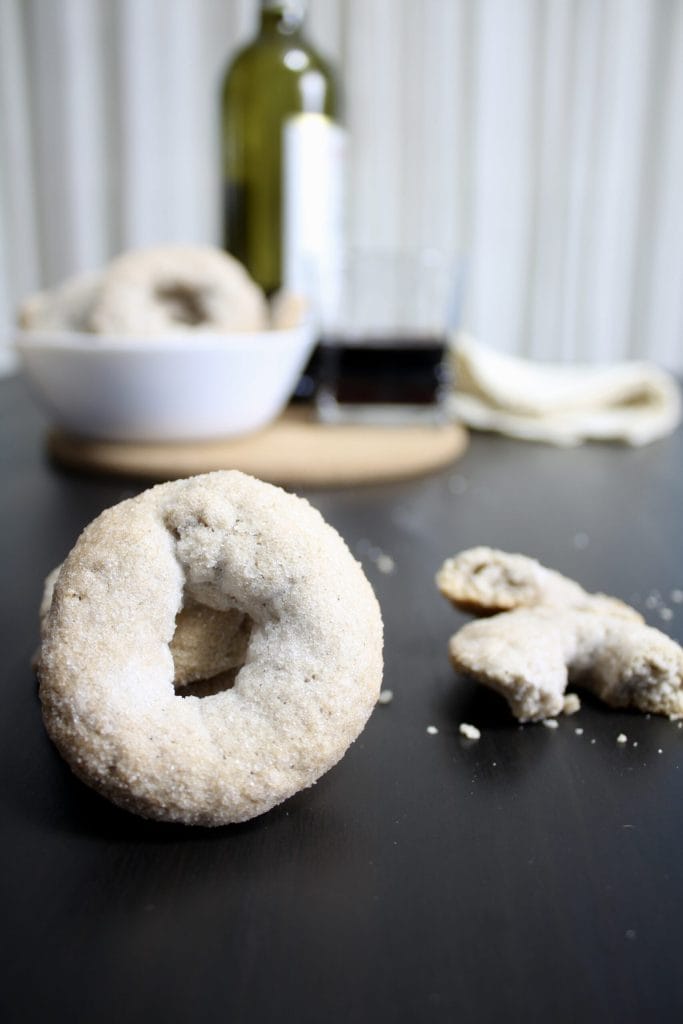
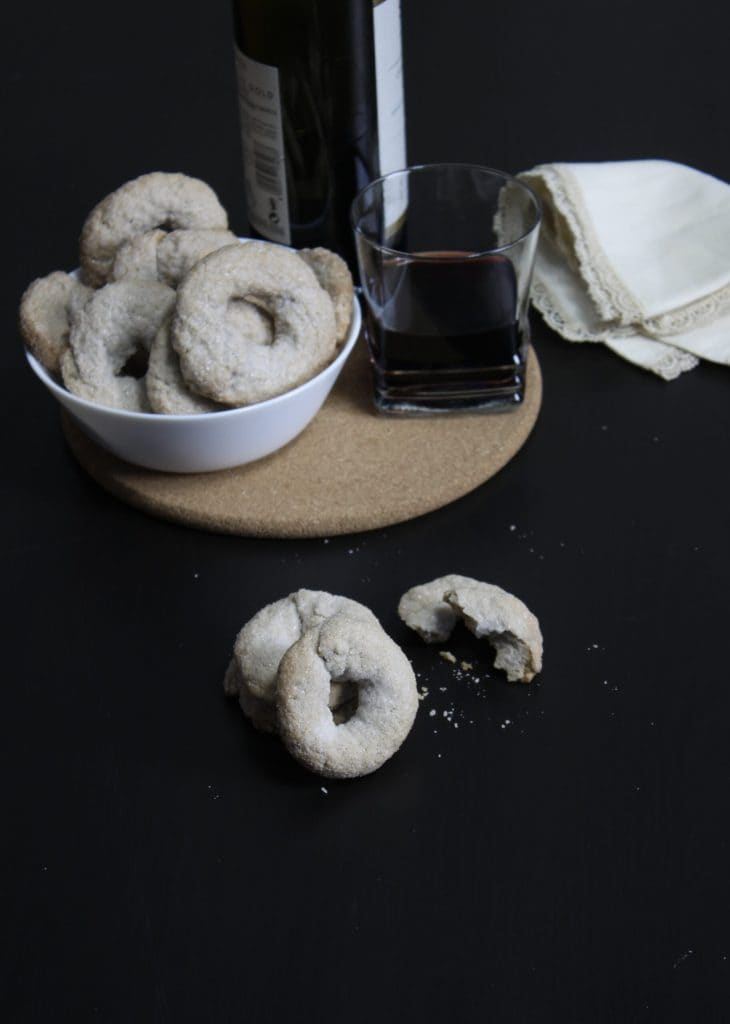
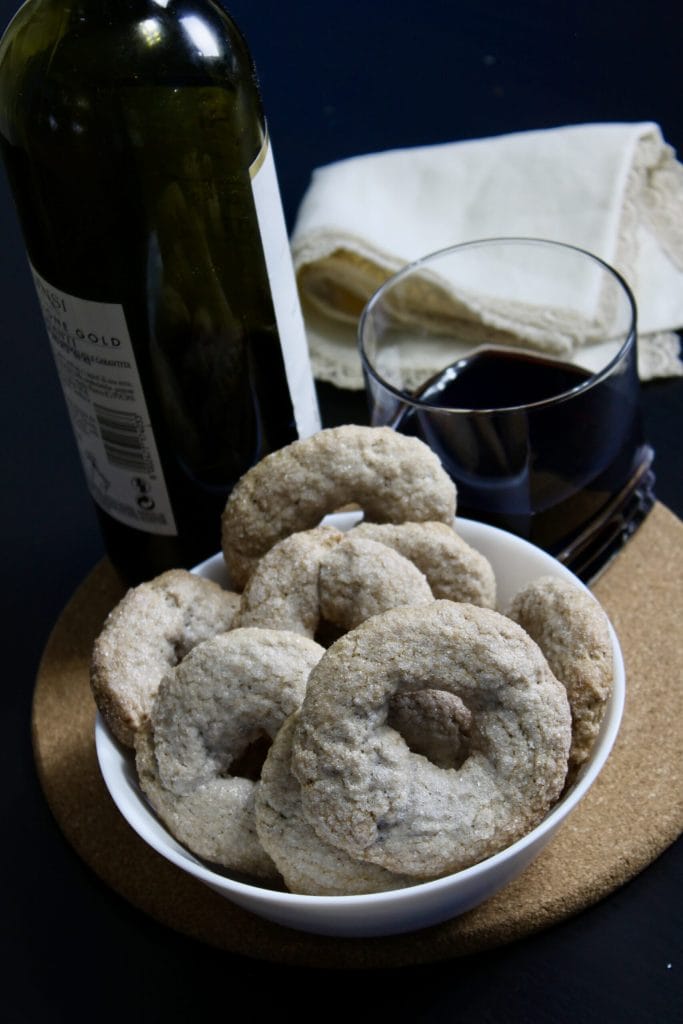
The wine doughnuts that my mom always made are a dessert that takes me back in time. She made them not only to give us the pleasure of tasting these fragrant delights but also to use up a bottle of wine that might have been left open after Sunday lunch. The original recipe calls for white wine, but don’t worry if you have something else available: they turn out great with red wine too, which can give them a delicate antique pink color.
The measurements, as used by women of the past, were given in glasses, without even weighing the flour; my mother simply said “as much as it takes,” a phrase that makes me feel the simplicity and lightheartedness of my childhood, when she was always there to solve every problem for me.
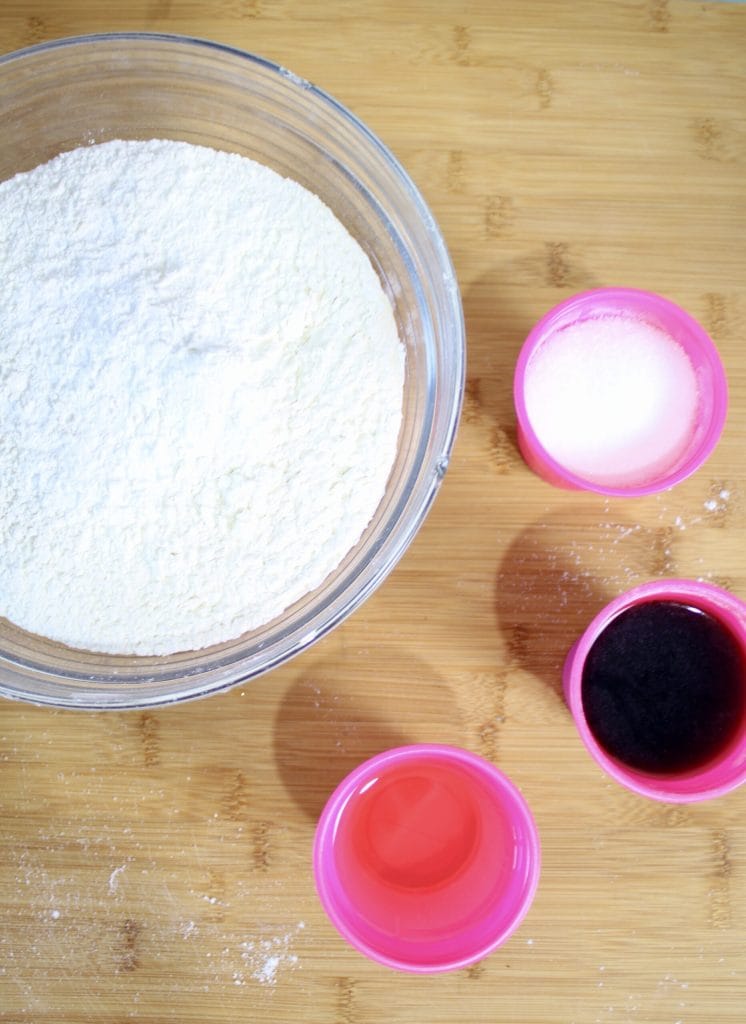
Regarding the recipe, I tried to make the quantities more precise. Let’s start with 500g (17.6 oz) of flour, to which we will add sugar, wine, and seed oil, using the classic 200 ml (about 7/8 cup) glass. If you use recyclable plastic cups, keep in mind that the measurement usually corresponds to the end of the engraved lines on the cup.
The dough for these doughnuts is very simple and can be prepared by hand, but if you want to speed up the process, you can use a stand mixer with the paddle attachment, the one usually used for shortcrust pastry or choux pastry. This is a perfect dessert to involve children, as the dough is easy to work with, non-sticky, and allows for creating even irregular shapes, giving the doughnuts a more rustic and homemade appearance.
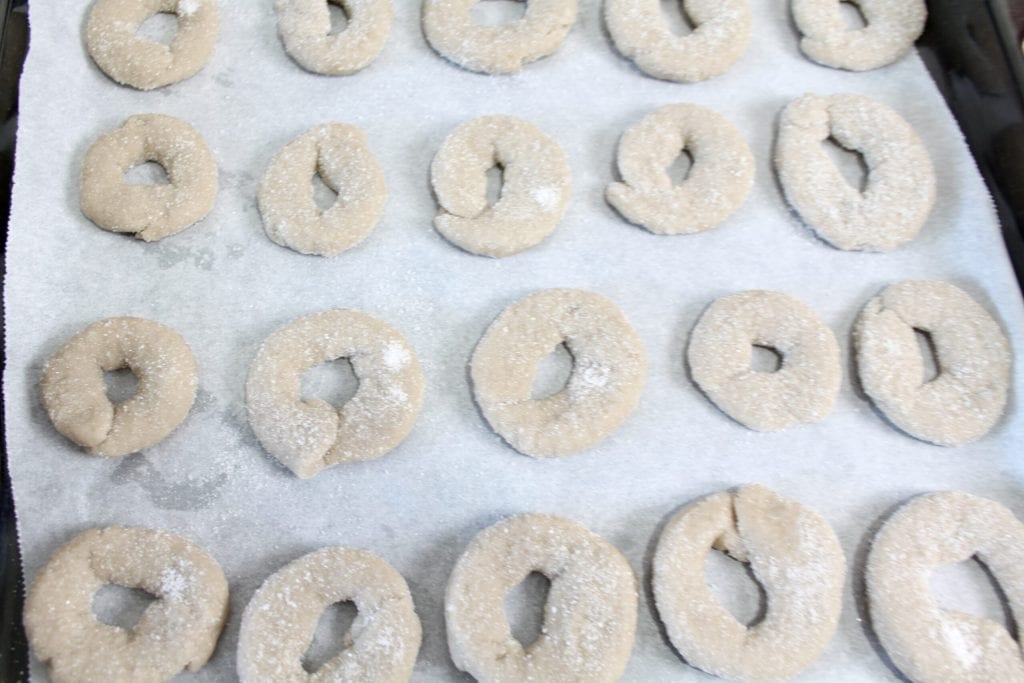
Before placing them on the baking tray, each doughnut should be generously passed in granulated sugar on one side. I recommend pressing a little to make the sugar adhere well to the surface, as during baking the doughnuts will rise and the sugar will set perfectly.
For those who love making cookies at home, I also recall other recipes
- Difficulty: Very easy
- Cost: Very economical
- Preparation time: 20 Minutes
- Portions: 36 doughnuts
- Cooking methods: Oven, Electric Oven
- Cuisine: Italian
- Energy 118.71 (Kcal)
- Carbohydrates 16.71 (g) of which sugars 6.73 (g)
- Proteins 1.55 (g)
- Fat 5.17 (g) of which saturated 0.69 (g)of which unsaturated 4.21 (g)
- Fibers 0.31 (g)
- Sodium 0.72 (mg)
Indicative values for a portion of 31 g processed in an automated way starting from the nutritional information available on the CREA* and FoodData Central** databases. It is not food and / or nutritional advice.
* CREATES Food and Nutrition Research Center: https://www.crea.gov.it/alimenti-e-nutrizione https://www.alimentinutrizione.it ** U.S. Department of Agriculture, Agricultural Research Service. FoodData Central, 2019. https://fdc.nal.usda.gov
Ingredients
- 4 cups all-purpose flour
- 1 glass sugar (200 ml glass (about 7/8 cup))
- 1 glass wine
- 1 glass vegetable oil
- 1 tsp baking powder
- to taste sugar (for the surface)
Tools
- 1 Pastry Board
- 1 Scraper
- 1 Bowl
Preparation
To facilitate the process, we prepare all the ingredients, although you can safely use just one glass. I chose to show them all three to give you a precise understanding of the quantities I used. Start by pouring the flour, baking powder, and sugar into the bowl. Mix well and gradually add the wine and oil. Continue mixing with a spoon or whisk until the dough becomes too dense. At this point, transfer it to a lightly floured work surface to continue working it.
Knead the dough with your hands until you get a compact and smooth ball. It should not stick but should remain soft, similar in texture to shortcrust pastry. Take pieces of dough and stretch them with your hands, as you would for gnocchi. Form the doughnuts in the size you prefer; I made strands about 4-5 inches long. Try to keep the doughnuts uniform so that they bake evenly.
Before arranging them on the baking sheet, which I recommend lining with parchment paper, pass each doughnut in granulated sugar, pressing a little to make the sugar adhere well to the surface.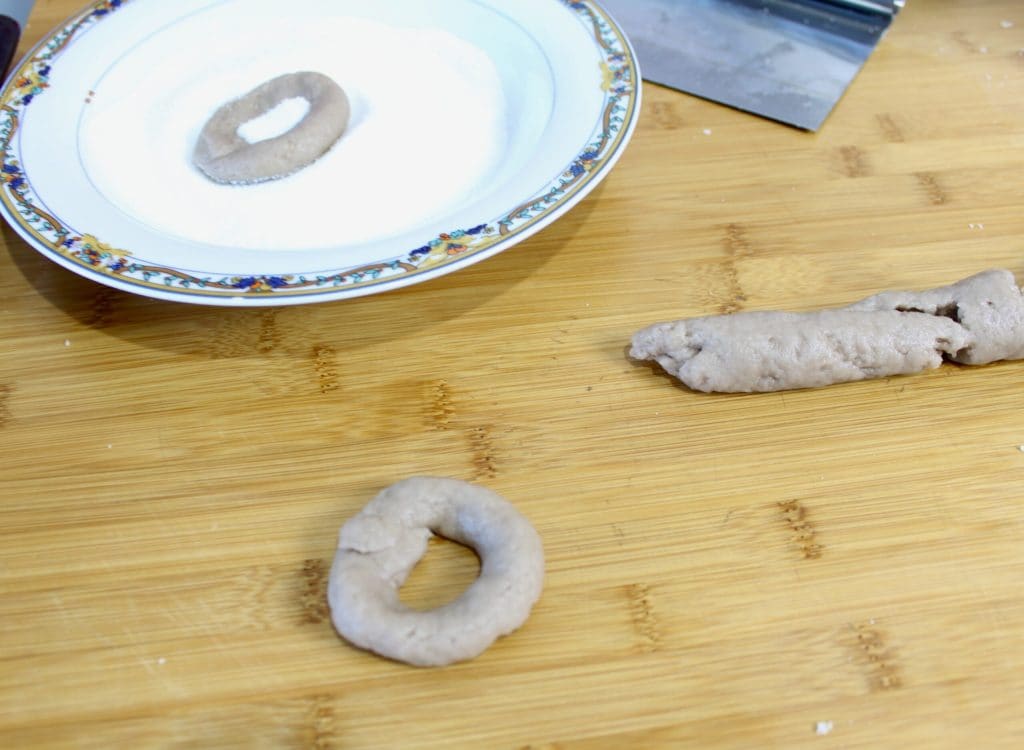
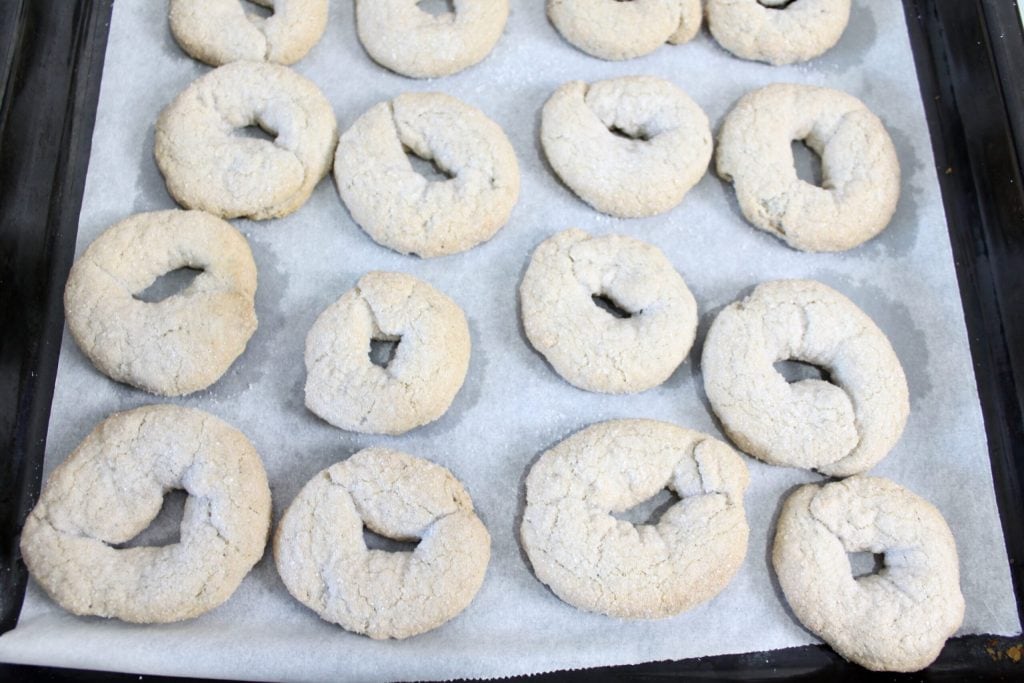
Don’t worry if the doughnuts become a little flat while you pass them in the sugar; they will puff back up during baking. Arrange them on the tray, leaving about 1-1.5 inches between each one to allow for rising. Bake them in a preheated oven and cook for about 25 minutes. They are ready when, upon lifting a doughnut, the bottom should be golden. Remove them from the oven and let them cool before serving.
As already mentioned, to check the baking, observe the bottom of the doughnuts: since they do not contain eggs, the surface will remain quite light, but when the base is slightly golden, they are ready. Let them cool before enjoying them, as they gain their characteristic crunchy and fragrant texture as they cool. When warm, they will be softer. If you can’t resist their aroma, you can eat them warm: they will still be delicious!
Wine doughnuts are a perfect dessert, ideal to serve with a glass of wine or dessert wine to dip them in for a delicious treat. However, they are also great for a snack, and it’s not necessary to dip them in wine to appreciate their flavor. They are perfect at any time of the day!
NOTES
Wine doughnuts are a simple and quick dessert to prepare with few ingredients. Some recipes also call for the addition of anise seeds, a combination that I find really perfect. You can therefore experiment with making them differently each time, maybe changing some ingredient or adding various aromas. They keep well for several days in the classic cookie tins with lids, maintaining their freshness and crunchiness.
If you enjoyed the recipe or have any questions, feel free to comment here or on social media Facebook, Pinterest, Instagram and X.