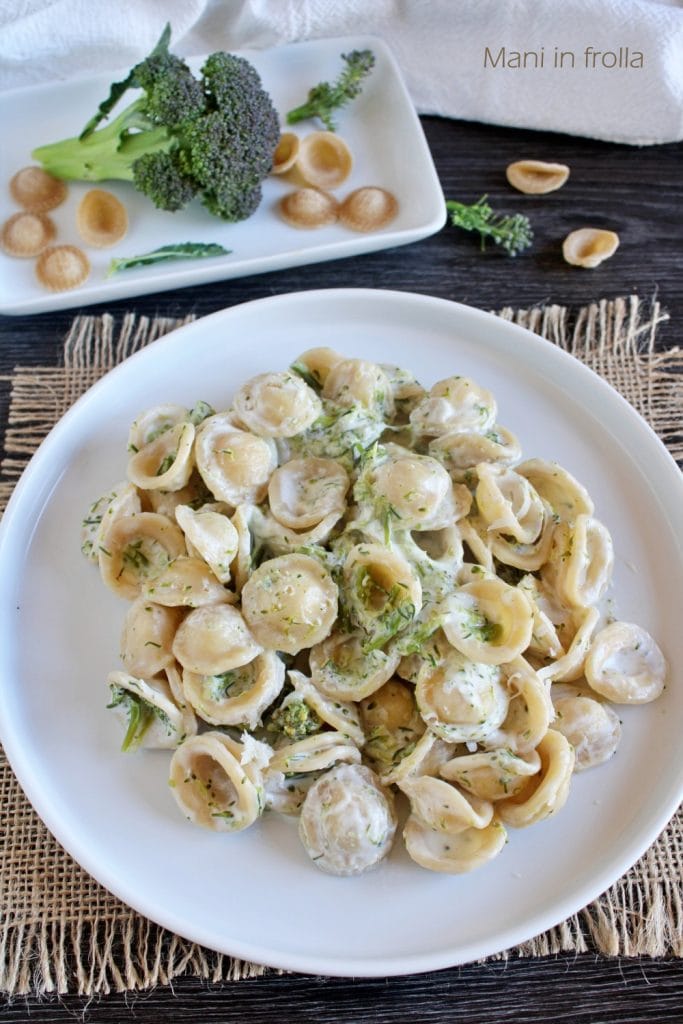
Creamy Orecchiette with Broccoli, here is the recipe for a tasty and quick first course.
With few ingredients and less than half an hour, you’ll bring to the table a delicious and flavorful first course, impossible not to love. Despite not being a fan of broccoli, I really liked this pasta. The combination with the melted cheese is perfect.
As I was saying, it’s a recipe that takes less than half an hour to prepare. Just enough time to clean the broccoli and cook them in salted boiling water, along with the pasta. Just before draining the pasta, I melted the cheese with a knob of butter and then mixed everything together, with a generous handful of grated cheese.
To make the recipe for creamy broccoli pasta, I used whole wheat orecchiette. Lately, I prefer them to classic semolina pasta: even though they contain roughly the same calories (perhaps a bit less), they have a lower glycemic index and, importantly, a higher satiety index. Moreover, they contain much more fiber and help with intestinal regularity.
However, if you prefer, you can use any pasta shape, including tagliatelle, rice, and gnocchi.
If you like broccoli, also try the Orecchiette with Broccoli and Anchovies.
Now, let’s see together how to make the Creamy Orecchiette with Broccoli. Prepare the ingredients and let’s get started.
And if you try them, don’t forget to let me know in the comments on my Facebook page HERE. I’ll be waiting for you.
Gabriella
Other tasty first courses to try:
- Difficulty: Very Easy
- Cost: Affordable
- Preparation time: 10 Minutes
- Portions: 4
- Cooking methods: Stovetop
- Cuisine: Italian
Ingredients
- 10.5 oz orecchiette (or classic)
- 1 broccoli (about 14 oz)
- 1 knob butter
- 7 oz cream cheese (like stracchino or philadelphia)
- to taste salt
- to taste Grana Padano cheese (or pecorino)
Steps
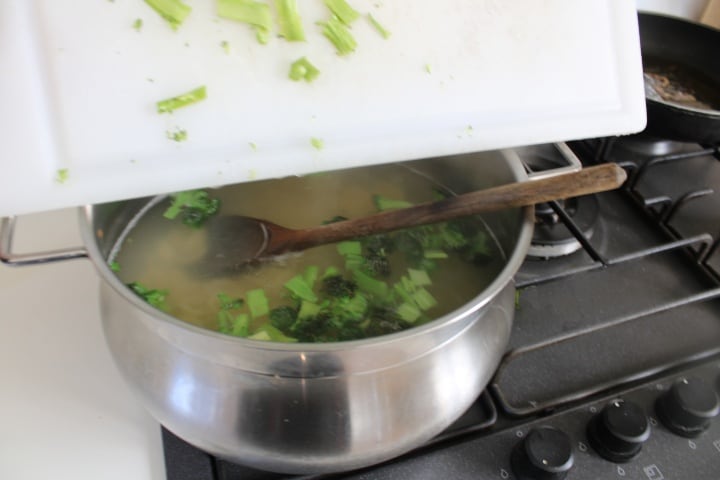
First, clean the broccoli and rinse them under cold running water. Break off the florets and thinly slice the stems; discard the woody part.

Put a pot with plenty of water on the stove and bring it to a boil.
As soon as the water boils, salt it and add the orecchiette. Check the cooking times on the package: mine require 9 minutes for al dente and 11 minutes for normal cooking.
After 4 minutes of cooking, add the broccoli pieces and cook for another 7 minutes for a total of 11 minutes of cooking. We like them more cooked, but if you prefer, drain them al dente.
Meanwhile, as the pasta and broccoli cook, put a knob of butter in a pan, add the cream cheese and melt over low heat. Just before draining the pasta, add 1 scoop of orecchiette cooking water.

Then, drain the orecchiette with a skimmer and pour them directly into the pan with the cheese. If needed, add some pasta cooking water, but don’t overdo it.

Then, let it simmer until a nice sauce forms, stirring occasionally. Finally, turn off the stove, add a generous handful of grated Grana Padano (or pecorino) and serve.
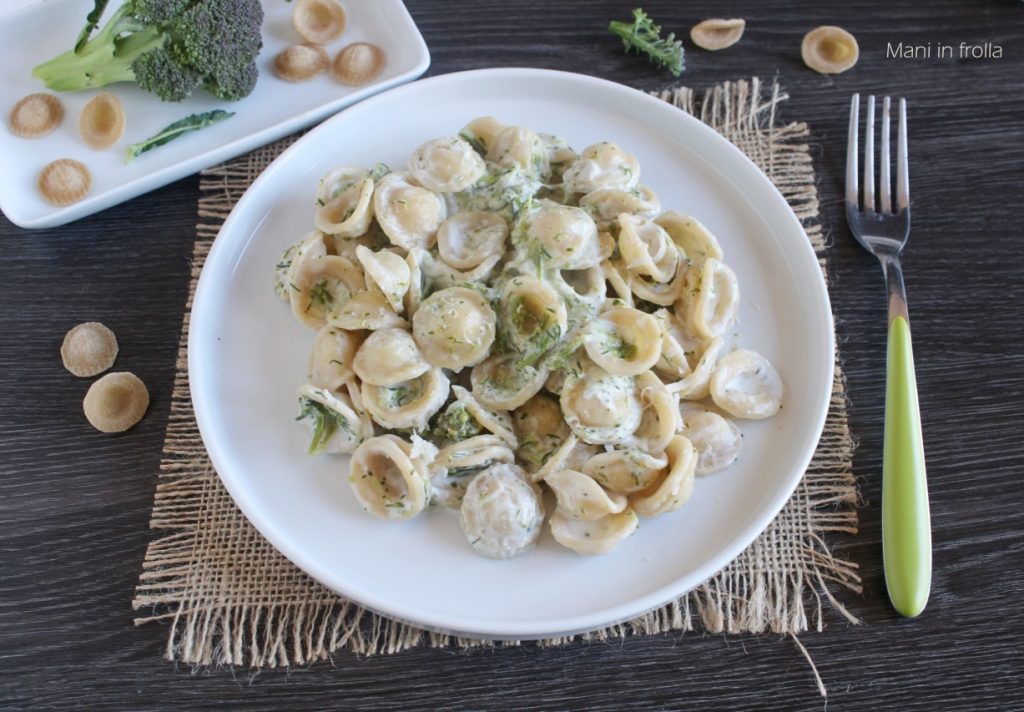
Here are the Creamy Orecchiette with Broccoli ready. Enjoy your meal!

Until the next recipe.

Storage
You can store the Orecchiette with Broccoli in the refrigerator for 1 day, in an airtight container.
Tips and Variations
– In the recipe, I used only vegetarian ingredients. If you prefer, you can add speck, sautéed in a pan with a drizzle of olive oil.
– Pasta: I used whole wheat orecchiette, but any type of pasta can be adapted to the recipe
– Pasta: I used whole wheat orecchiette, but any type of pasta can be adapted to the recipe
IF YOU LIKE MY RECIPES, YOU CAN ALSO FOLLOW ME ON MY FACEBOOK PAGE HERE OR ON PINTEREST HERE OR EVEN ON INSTAGRAM HERE
Go back to the Home Page to read all my recipes
“Sponsored links present on the page”
