Egg Reginette: simple and genuine homemade pasta, perfect for Sundays or to make any day special.
Making pasta at home is my passion: it gives me great satisfaction, not only because it is surprisingly simple and quick to make but especially because the final result is truly exceptional, superior to any store-bought product.
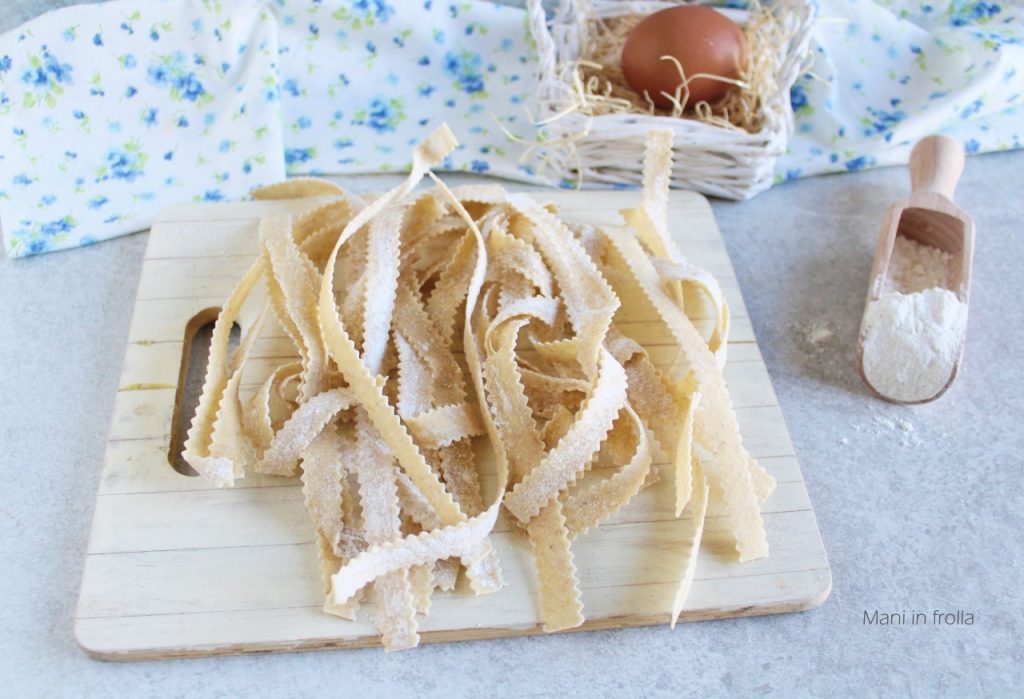
Reginette are a very simple shape to prepare. Like for tagliatelle or lasagna sheets, I use my mom’s recipe: it is well tested and never disappoints me. I used the pasta machine — the “Nonna Papera,” to be precise — which is not only convenient but also speeds up the work, resulting in a perfect sheet in minutes. In any case, you will also find the instructions to make them entirely by hand in the recipe.
Perfect with just fresh tomatoes and basil, these reginette are also divine with more hearty and rustic sauces like meat ragù or cheese sauces, which are captured and enhanced by the typical wavy edges.
But now, let’s look at how to make the recipe for Egg Reginette. Get the ingredients ready, and let’s start!
And if you try them, don’t forget to let me know in the comments on my Facebook page HERE. If you like, give a Like to the page: it would make me very happy. I’m waiting for you.
Gabriella
Other delicious recipes to try:
- Difficulty: Very Easy
- Cost: Economical
- Rest time: 30 Minutes
- Preparation time: 15 Minutes
- Portions: 4
- Cooking methods: Stovetop
- Cuisine: Italian
- Seasonality: All Seasons
Ingredients
- 2 1/2 cups flour
- 2 eggs
- 2 tbsps water (lukewarm, if needed)
Tools
- 1 Kneading board
- 1 Rolling pin
- 1 Fluted wheel
Steps
First, place the flour like a fountain on a wooden kneading board and create a deep well in the center. Break the eggs in the center of the well, lightly beat them with a fork, and start to incorporate the flour gradually from the edges towards the center.
When the dough begins to come together, start to knead it with your hands. Knead energetically for about 10-15 minutes, until you obtain a smooth, homogeneous, and elastic dough. If necessary, add a little lukewarm water (if dry) or flour (if sticky) to get the right consistency.
Form a ball with the dough, cover it with a clean cloth (or cling film) and let it rest at room temperature for at least 30 minutes. The resting is essential to relax the gluten and roll out the dough without it springing back.
After the resting time, take the dough ball and cut a piece at a time, keeping the rest covered. At this point, you can proceed by hand or with the pasta machine.
By hand: roll out the pasta with the rolling pin until it reaches a thickness of about 1/16 – 1/8 inch.
With the pasta machine: pass the dough through the rollers (one piece at a time), starting from the widest setting and gradually decreasing the thickness, passing it several times until you obtain the desired thickness. The reginetta should not be as thin as tortellini; it should have some consistency.
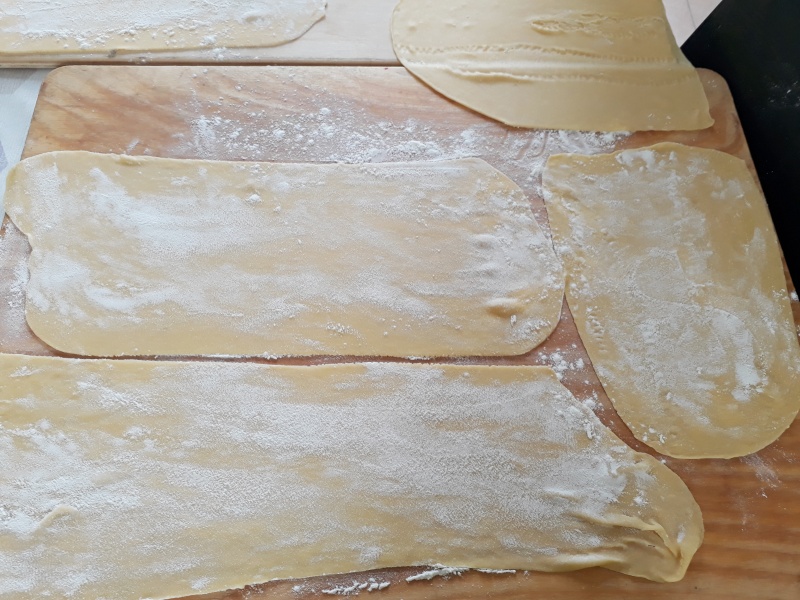
Let the dough sheet dry for 5-10 minutes (it should not be sticky) and then proceed to form your reginette, by hand or with the “nonna papera.”
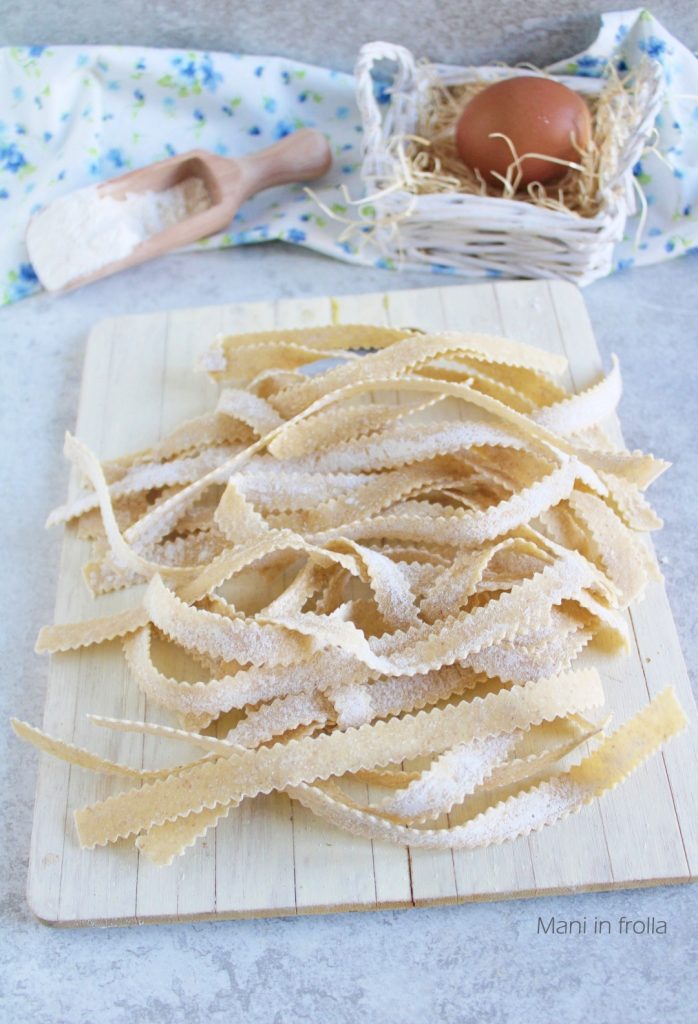
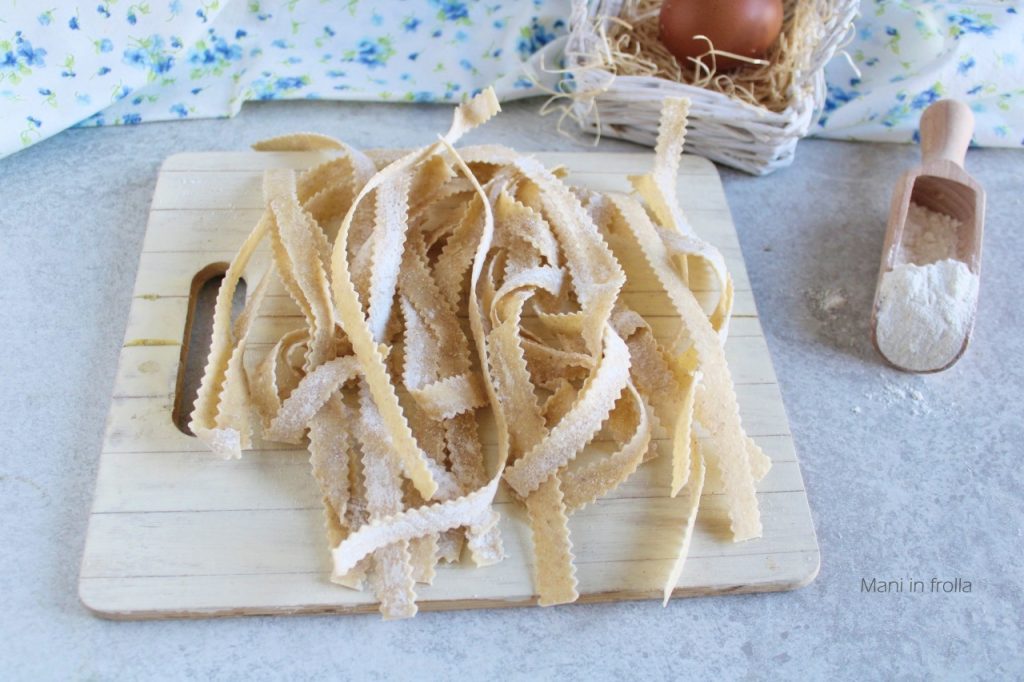
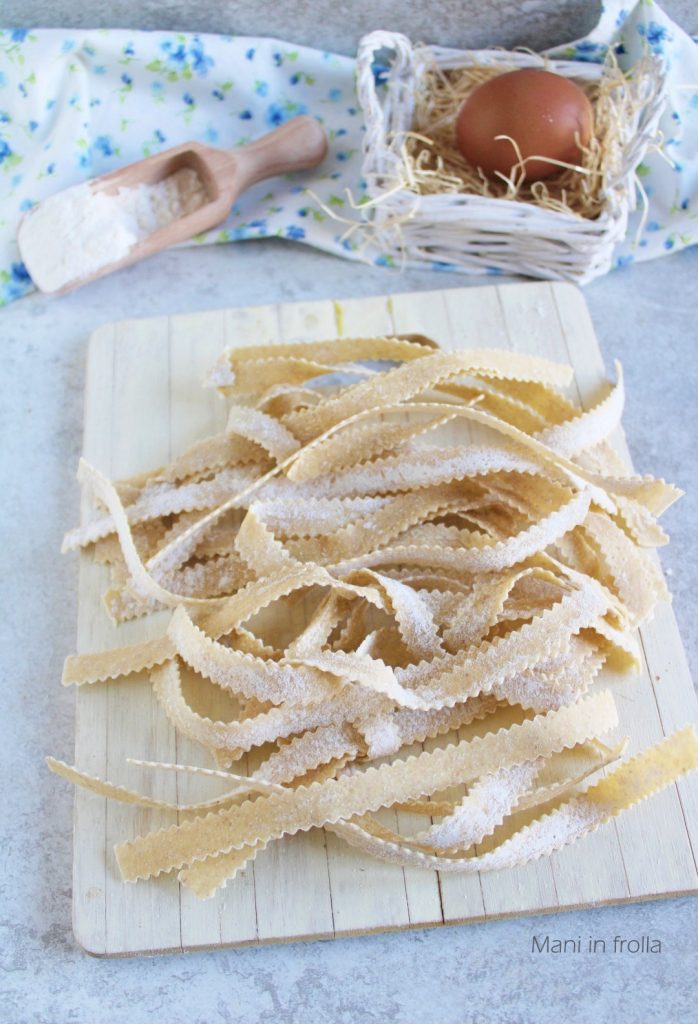
By hand: with a fluted pastry wheel (the classic one for ravioli), cut strips about 0.6 – 0.8 inches wide, trying to keep straight (use a ruler as a guide). The use of the wheel will give the reginette the typical zig-zag edge that helps hold the sauce.
As you cut the reginette, place them on a floured tray, forming nests to prevent them from sticking together.
With the “nonna papera”: pass the dough through the dedicated cutter for reginette and, as you cut them, place them on a floured tray, forming nests to prevent them from sticking together.
Here are the Egg Reginette ready. Enjoy your meal!
Until the next recipe
Storage
You can store egg reginette on a cardboard tray or a clean cloth, well dusted with semolina (which absorbs moisture better than all-purpose flour), turning them occasionally to dry evenly. Cover them with a light cloth to protect from dust.
If you’ve made plenty, you can freeze them: create reginette nests, place them on a tray in the freezer for an hour, and once hardened, transfer them to a food bag. They keep well for a month!
An extra tip: if your reginette are very moist right after cutting, use a hair dryer with cold air for a minute on the tray: it will help create that outer layer that prevents the pasta from sticking.
Tips and Suggestions
– If you cut the dough while it’s still too fresh, the scalloped edges will stick together, and you’ll lose the zig-zag effect. Conversely, if you wait too long, the dough will become brittle and break as you pass the wheel. Here’s a trick: touch the dough. It should feel like suede: if so, it’s ready to be cut.
– If you want to give your pasta a more intense color, you can replace one whole egg with two yolks. The dough will be tougher, more elastic, and a beautiful golden yellow to see.
– Fresh pasta cooks in very little time, usually 2-4 minutes in boiling salted water.
– Egg reginette tend to absorb a lot of sauce. Always remember to save a glass of cooking water before draining the pasta: it will help make the dish creamy and not dry during the pan-tossing.
– When draining the pasta, don’t shake it too much. Let some cooking water remain trapped in the wavy edges: it will help create a perfect emulsion with the sauce you choose.
Why is it called “nonna papera?”
The name “Nonna Papera” is a purely Italian nickname, which has become so famous it almost replaced the real name of the object. In reality, the machine is simply called a pasta roller or, if we refer to the most famous historical brand, Imperia.
The name comes from Grandma Duck, the famous Disney comic character. In the stories of the ’50s and ’60s, Grandma Duck was the emblem of homemade cooking, genuineness, and tradition. She was always portrayed while making cakes, bread, and homemade pasta for the duck family.
IF YOU LIKE MY RECIPES, YOU CAN ALSO FOLLOW ME ON MY FACEBOOK PAGE HERE OR ON PINTEREST HERE OR EVEN ON INSTAGRAM HERE
And to not miss the next updates, give a nice ‘Like’ to my Facebook page, it would make me very happy! Thanks a lot!
