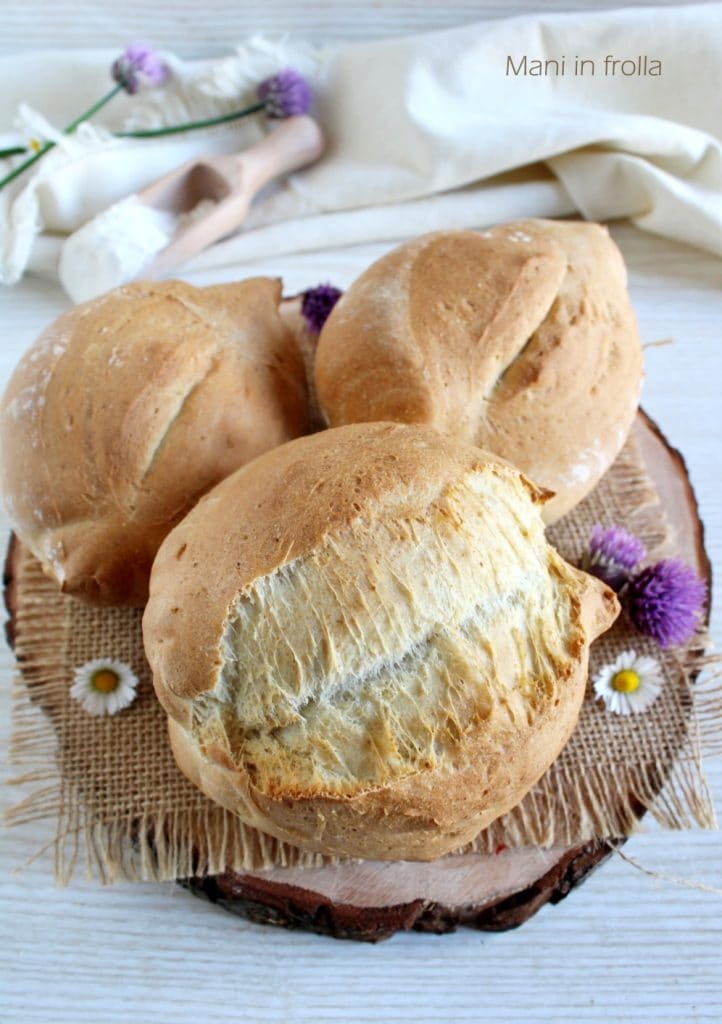
Homemade Biove-style Loaves, extremely light and fluffy, are perfect to enjoy with cold cuts and cheese, enhance the flavor of vegetables, and are also delicious on their own, perhaps with a drizzle of extra virgin olive oil.
They are excellent with jams and preserves, for a delicious breakfast or snack, with sweet or savory spreads, from hazelnut cream to hummus, to olive pâté.
The “biove” type bread is a traditional Piedmontese bread, widely spread throughout Piedmont and recognized as a Traditional Agri-food Product (PAT) of the region. In dialect, it is simply called “biòva” or in plural “biove”.
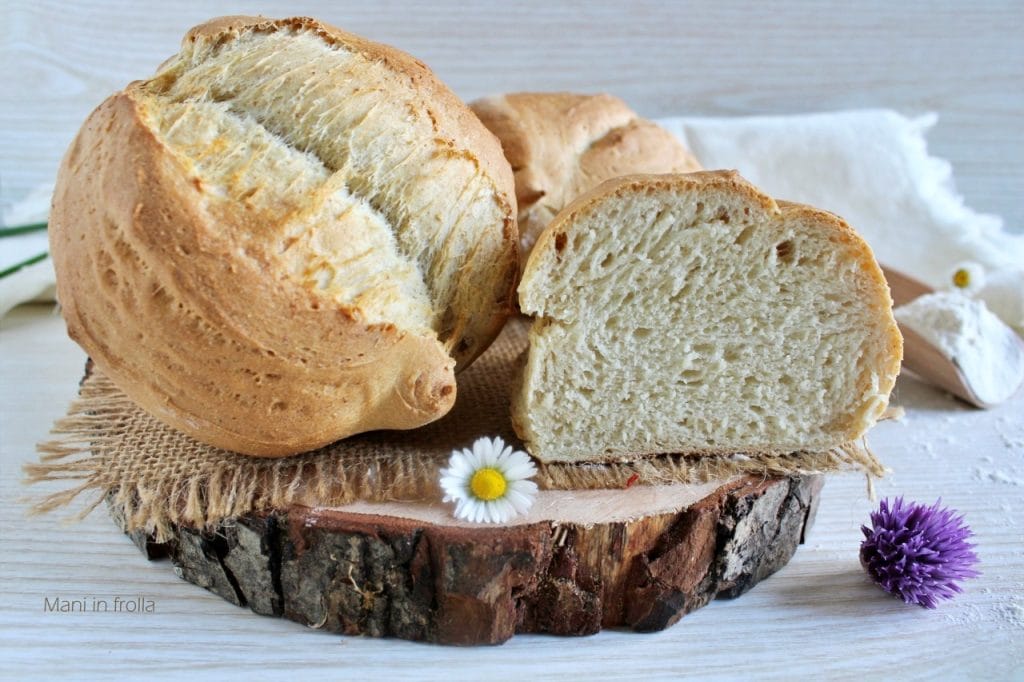
It is characterized by a crunchy crust and a very soft crumb with little alveolation. It is a hard dough bread, made with soft wheat flour, water, yeast, and salt, and sometimes with the addition of lard (for me, extra virgin olive oil) and barley malt.
I have always used the Vivalafocaccia recipe, slightly modified. It’s easy and quick: just 90 minutes of rising.
It’s really delicious and I highly recommend it.
Such a simple bread that brings great satisfaction. Making them at home is really easy, and with a few tricks, you can achieve truly exceptional results.
But now, let’s see together how to make the recipe for Homemade Biove-style Loaves. Prepare the ingredients and we’ll start.
And if you try them, don’t forget to let me know in the comments on my Facebook page HERE. I look forward to it.
Gabriella
Other bread recipes:
- Difficulty: Easy
- Cost: Cheap
- Rest time: 1 Hour 30 Minutes
- Preparation time: 15 Minutes
- Portions: 4
- Cooking methods: Oven
- Cuisine: Italian
- Seasonality: All seasons
Ingredients
- 3 1/3 cups type 1 flour (or type 0)
- 1 cup Manitoba flour
- 1 1/4 cups water (at room temperature)
- 2 tsp dry brewer's yeast
- 1 tsp barley malt (or honey – promotes leavening and browning)
- 1 1/3 tbsp extra virgin olive oil (or lard)
- 1 1/2 tsp salt
Tools
- 1 Stand Mixer
- 1 Pastry Board
- 1 Dough Scraper
- 1 Rolling Pin
- 1 Baking Tray
Steps
First, place the water, extra virgin olive oil, malt, yeast (if using lard, add it in pieces), and flour gradually into the bowl of the stand mixer and start kneading, then also add the salt and knead for about 7-8 minutes until you get a compact and well-mixed dough.

Shape the dough into a ball.

Divide the dough into two parts with a dough scraper, cover them with a bowl, and let them rest for about 30 minutes. This step promotes flour hydration and gluten development.

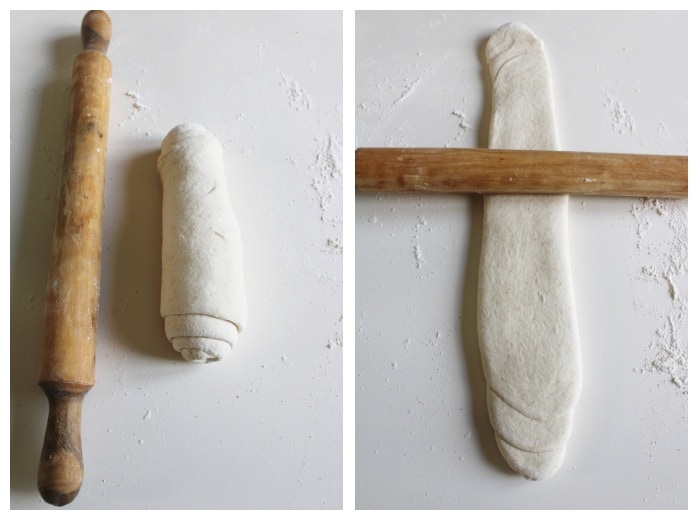
After resting, use a rolling pin to roll out the dough well into a long strip, about 3 inches wide, then roll it up on itself, trying to hold the edges with your fingers.

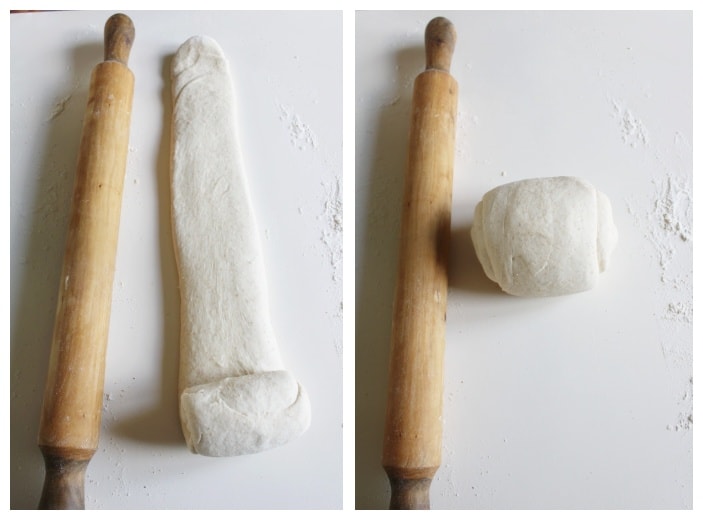
Rotate the formed cylinder 90°, and roll it out again with the rolling pin, creating a long rectangular strip.
Roll up the formed strip to obtain a nice loaf.
Repeat the operation with the second dough, then let them rise for about 1 hour, separating them with a rolling pin (this way they will tend to rise upwards). Cover with a clean cloth.
After rising time, divide each loaf in two, turn the center upwards, and gently stretch it with your hands.

Score it in the middle with a razor blade (or a sharp knife).

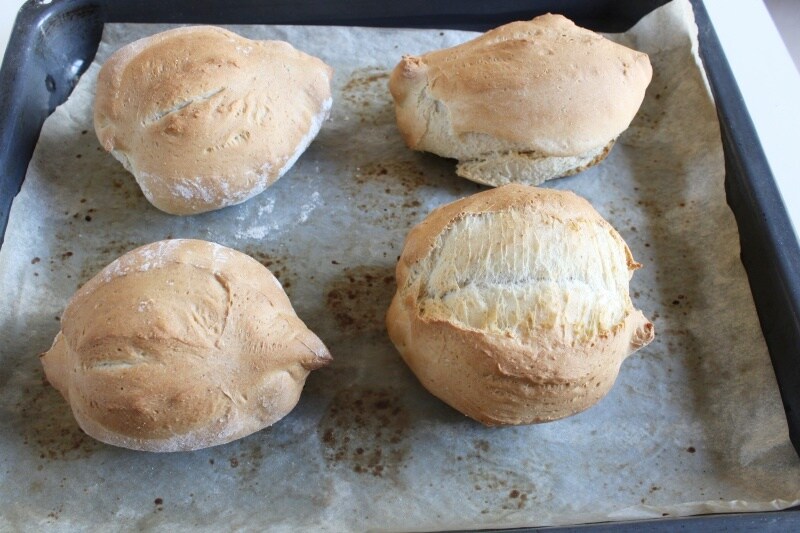
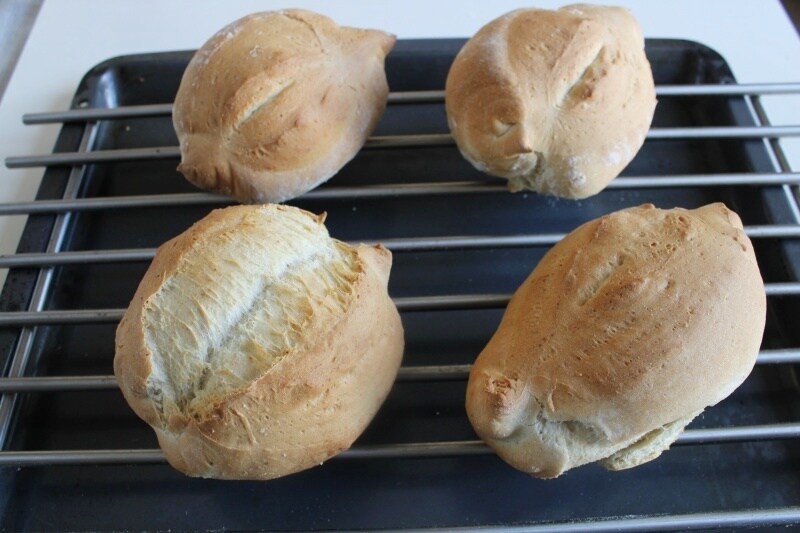
Preheat the oven to 392°F. Gently place the loaves on a baking tray lined with parchment paper and bake, in a preheated oven, for about 30-35 minutes.

Here are my loaves after baking.
At this point, place them on a wire rack to cool before cutting.
Here are the Homemade Biove-style Loaves ready. Enjoy!
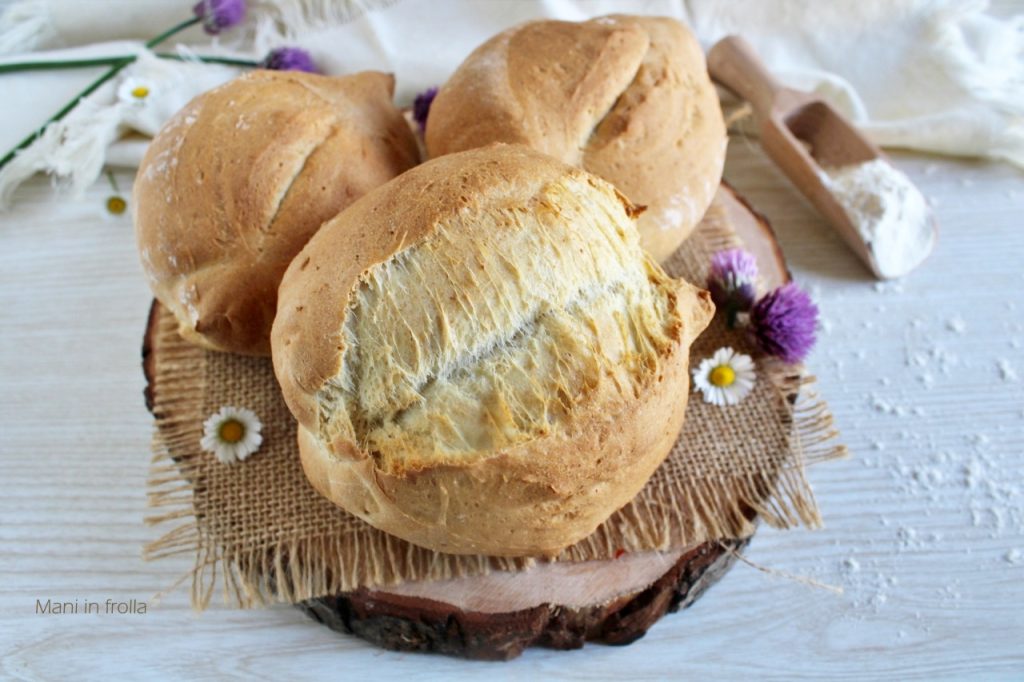
Super soft and light
Until the next recipe
Storage
You can store the Homemade Biove-style Loaves at room temperature, in a paper bag or a clean cotton cloth.
If you wish, you can also freeze them for 1 month in the freezer as follows:
– Let the biove cool completely at room temperature after baking.
If you prefer, you can cut the biove in half or slices before freezing. This will allow you to thaw only the needed amount.
– Wrap each biova (or portion) first in cling film tightly, making sure to remove as much air as possible. Then, place each wrapped piece in a freezer bag (ziplock or sealable) or wrap it further with aluminum foil. This double layer protects the bread from “freezer burn” and moisture loss.
– Labeling: Indicate the freezing date on the bag or foil.
To thaw the frozen biove, there are several options:
– At room temperature: remove the biove from the freezer the night before and let them thaw at room temperature in their wrapping.
– In the oven: you can thaw the biove directly in a preheated oven at low temperature (about 302°F) for about 15-20 minutes. This will also help revive the crust.
– In the toaster: slices can be thawed directly in the toaster.
Tips and Suggestions
– A pinch of barley malt can assist in leavening and give a nice golden color to the crust. If you don’t have it, you can replace it with the same amount of honey or sugar if needed.
– Knead vigorously for at least 10-15 minutes by hand, or about 7-8 minutes with a mixer. The dough should become smooth, elastic, and well-mixed (smooth and non-sticky surface).
– Every oven is different, so carefully monitor the baking and adjust the times if necessary.
Variations
Aromatic herbs: add finely chopped fresh herbs like rosemary, thyme, sage, or oregano to the dough. They pair beautifully with the simplicity of the biova.
Olives: incorporate pitted Taggiasca olives or sliced green olives into the dough for a Mediterranean touch.
Olives: incorporate pitted Taggiasca olives or sliced green olives into the dough for a Mediterranean touch.
IF YOU LIKE MY RECIPES, YOU CAN ALSO FOLLOW ME ON MY FACEBOOK PAGE HERE OR ON PINTEREST HERE OR EVEN ON INSTAGRAM HERE
Return to the Home Page
