Cocoa bonbons are treats made without gluten, without eggs or butter and do not require baking (we just need to warm the milk, otherwise the cocoa would not be absorbed). They are very delicious and very, very easy to prepare. Cocoa bonbons are suitable for all occasions, whether we want to treat ourselves to something tasty, or to elegantly finish an important meal, after dinner, at parties, and sweet buffets; or they can accompany coffee or tea, or become a delightful gift idea. These exquisite homemade chocolates should be prepared well in advance, to allow the aromas and flavors to blend evenly. They can be customized, enriched as we like, with dried or candied fruits, coffee, liqueur, raisins, dried apricots, cherries in spirits, and so on. If you use already sweetened cocoa, there will be no need to add powdered sugar. I always recommend tasting to decide whether or not to add more sugar.
- Difficulty: Very easy
- Cost: Very economical
- Rest time: 12 Hours
- Preparation time: 10 Minutes
- Portions: 40
- Cooking methods: No baking
- Cuisine: Italian
- Seasonality: Fall, Winter, and Spring
Ingredients
- 1.25 cups unsweetened cocoa powder (also gluten-free)
- 1.25 cups powdered sugar (also gluten-free)
- 1/2 cup boiling milk (also lactose-free)
- to taste grated orange zest (very finely)
- to taste nuts (pistachio crumbs, walnuts, almonds)
- 2 tbsp espresso coffee
- 1 tsp liqueur of choice
Steps
1) In a large bowl, sift the cocoa, add the powdered sugar, the grated zest of an orange, and the boiling milk (otherwise it would not be absorbed by the cocoa). Add the milk little by little and mix with a wooden spoon or fork until you get a firm but workable dough; be careful not to exceed the recommended liquid amounts (milk plus any coffee or liqueur) as you might end up with an unmanageable mixture.
The cocoa paste is now ready to be customized.
Below are some ideas to make them even more delicious and/or decorative.
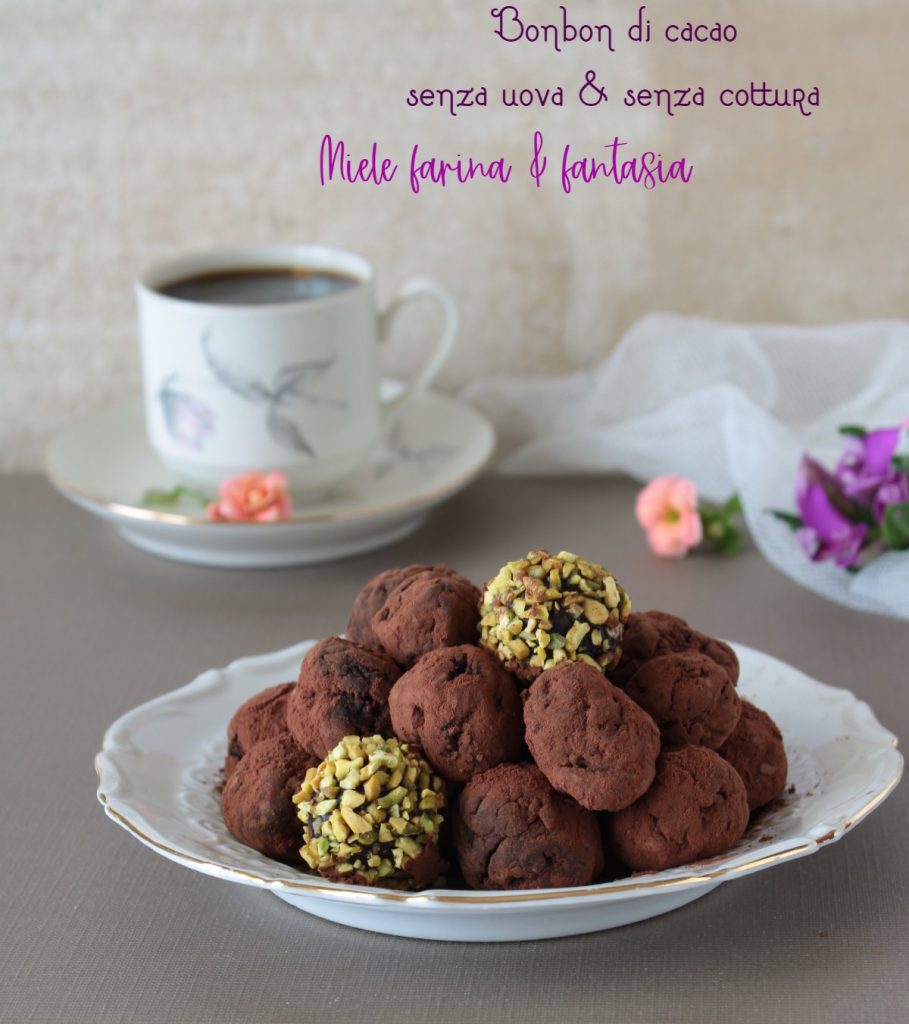
a- Nut Bonbons. Divide the dough into three parts. In one, put the walnut crumbs, in another the pistachio crumbs, and finally, in the third part, the almond crumbs. Mix well and, using a teaspoon, take a ball slightly smaller than a walnut, weighing 10 grams. Roll it on the palm of your hand and place it on a plate. The same applies if using raisins or dried apricots, which should be finely chopped with a knife before adding them to the cocoa paste.
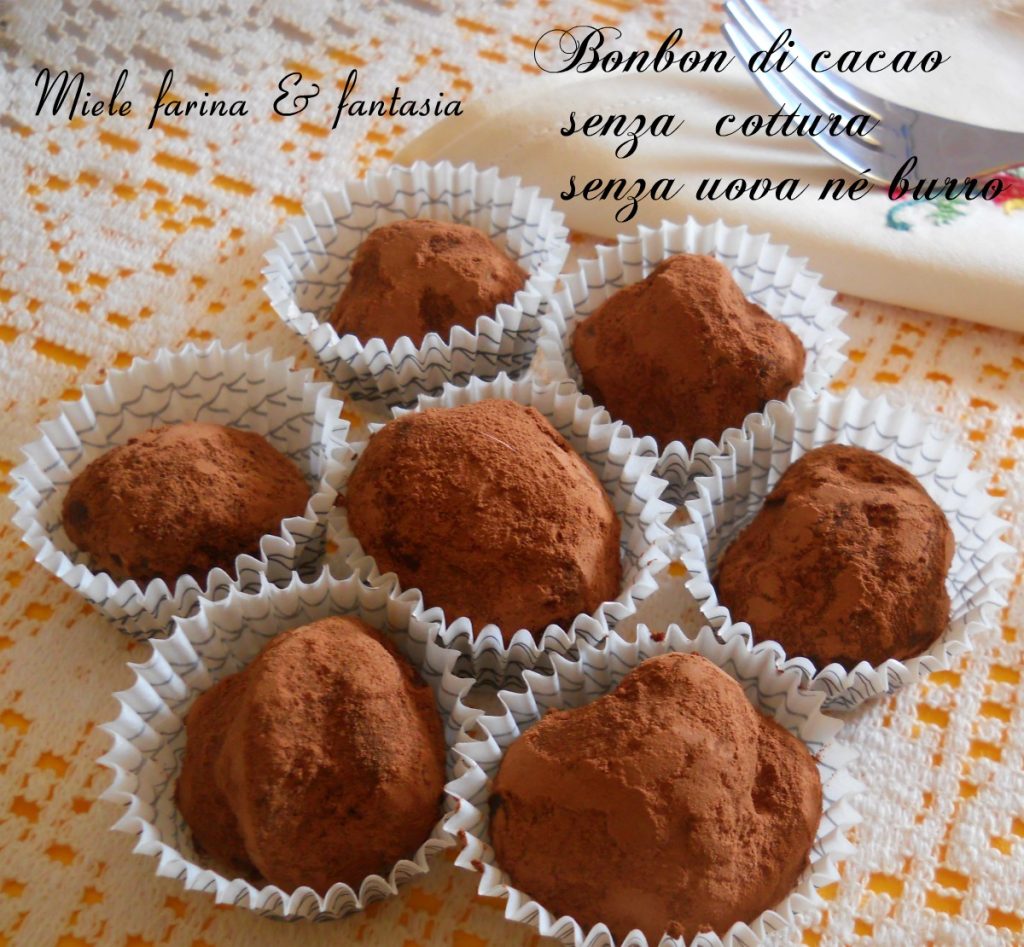
b- Continue like this until the dough is finished. Roll the bonbons in cocoa powder or in the crumbs of the respective nuts (if you want to distinguish them) and as you go, place them directly on the serving tray or in appropriate paper cups, always on a tray. The cocoa bonbons are ready, cover the tray perfectly, and store it in the fridge, in the less cold part. Let them rest in the fridge for a whole day so they become even better.
c- Coffee or Liqueur Bonbons. To flavor them with liqueur or coffee, simply replace part of the milk with the desired amount of coffee or liqueur, as long as you do not exceed 125 ml of total liquids.
d- this means that, in the case of coffee, you will use 100 ml of milk and 25 ml of strong espresso coffee.
e- in the case of liqueur, you could use, for example, 5 ml of liqueur and 120 ml of milk; or 10 ml of liqueur and 115 ml of milk.
f- mix well, form balls, roll them in cocoa, and store them as described above.
Cocoa bonbons can be stored in the fridge, well covered, for at least 3 days. Before enjoying them, it is advisable to leave them at room temperature for about 30 minutes.