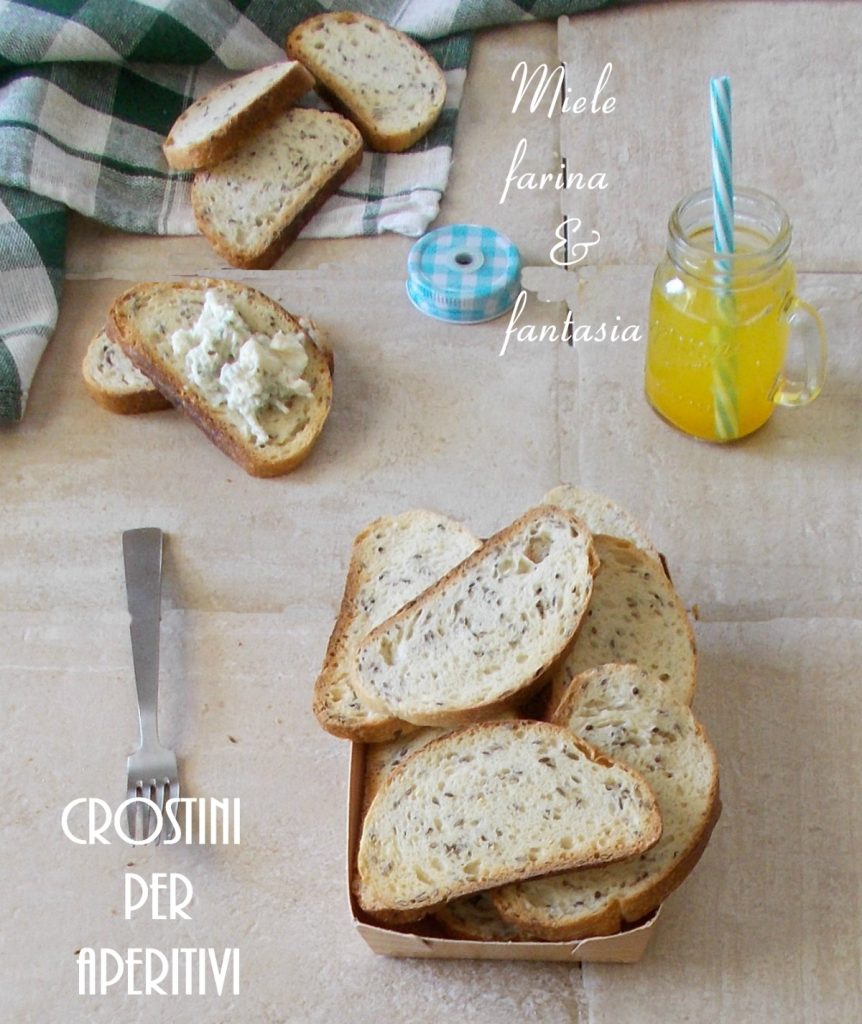
Today we’ll talk about crostini for aperitifs — those crisp and tempting thin toasted slices of bread to be topped as you like. They were made with sourdough starter, but for friends who don’t have it I’ll also describe the method with fresh baker’s yeast that you’ll find at the end of the recipe. They are very easy to make and keep well in food bags. We can pair these exquisite crostini with a wide variety of toppings and sauces to make our aperitifs and buffets more festive and inviting.
- Difficulty: Very easy
- Cost: Inexpensive
- Preparation time: 1 Day
- Portions: 25-30 crostini
- Cooking methods: Oven
- Cuisine: Italian
- Seasonality: All seasons, Christmas
Ingredients
- 2.6 oz Sourdough starter (or 0.18 oz (about 5 g) fresh baker's yeast)
- 1 cup Manitoba flour (strong bread flour)
- 1 cup 00 flour (Italian-style all-purpose flour)
- 1/2 tsp Fine salt
- 1 tbsp Sugar (level)
- 1/2 + 2 tsp cup Water (about 130 ml)
- 1 tbsp + 2 tsp Neutral oil (seed oil) (about 25 ml)
- to taste Linseed and sesame seeds
Preparation
Refresh the sourdough starter as you usually do, take 2.6 oz (75 g) of it and let it double in volume well covered.
When the starter is ready, place it in a stand mixer bowl (or a mixing bowl), add the sifted flours, three-quarters of the water called for and mix roughly. Cover and let rest for about 30 minutes for autolysis.
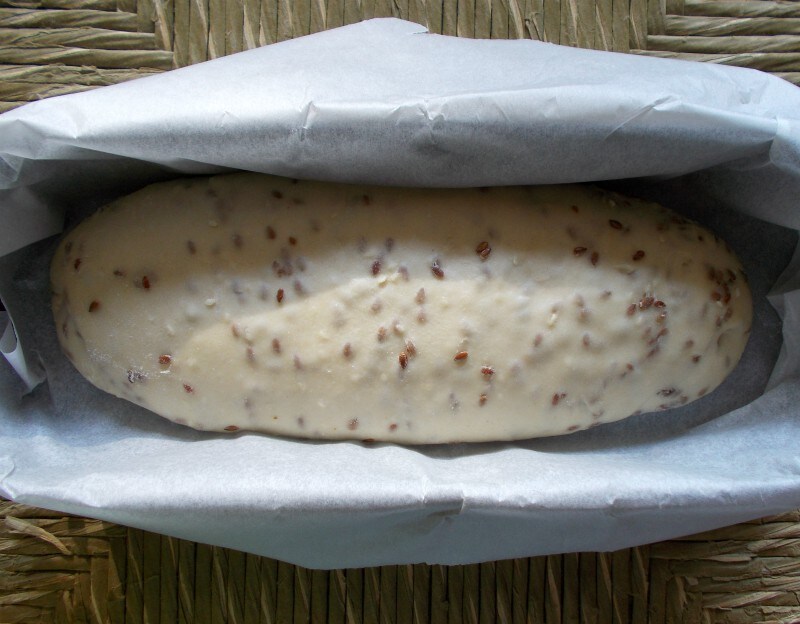
After the half hour, add the remaining water, the salt, the sugar, the linseed and sesame seeds (about 2 tablespoons each) and the seed oil. Work the dough until it is well combined (about 10 minutes by hand; a little less with a mixer). The dough should be firm and cohesive but not tough. If necessary, add another tablespoon of water. Seal with plastic wrap and let rest for 60 minutes. After an hour, gently turn the dough out onto a floured work surface. Gently flatten it until you form a sort of rectangle. Roll the sheet onto itself from the longer side of the “rectangle” to obtain a cylinder. Now position the cylinder vertically in front of you and roll it onto itself again. This operation gives strength and structure to the dough and yields a better final product. Working it lightly with your hands, lengthen it into a cylinder and place it in a loaf pan lined with parchment paper. Cover well and let it rise until doubled. When it has risen, turn the oven on to 392°F and bring it to temperature. Bake the loaf in the middle of the oven for about 60 minutes — with a gas oven and heat only from the bottom; a bit less with an electric oven and heat from bottom and top.
When the loaf is well puffed and evenly golden, remove it from the oven and let it cool for about one hour. Then you can slice it and toast the slices.
To toast: slice the log and place the slices on one or more baking trays lined with parchment paper. The ideal thickness is about 1/2 centimeter or thinner, whichever is more convenient for you. (1/2 cm ≈ 3/16 inch). Turn the oven to its lowest setting and let the slices dry for 50 minutes, turning the slices from time to time. After 50 minutes, remove the first tray and toast the second tray. In the meantime the already-toasted slices will cool and dry further, losing additional moisture and becoming perfectly crisp.
Store them in bags or containers to preserve freshness.
Method with baker’s yeast — We’ll make a direct dough without a preferment. The amounts of flours, water and all other ingredients remain the same as those indicated for the sourdough starter recipe.
In a large bowl or in the stand mixer, dissolve 0.18 oz (about 5 g) fresh baker’s yeast in one tablespoon of water. Add the sifted flours and a little more than half of the water. Mix roughly, cover, and let rest for 30 minutes. After this time, add the fine salt, the seeds, the remaining water, the sugar and the seed oil. Knead the ingredients for at least 10 minutes or until a compact, firm but workable dough has formed (if necessary, add another few tablespoons of water). Let the dough rest well covered for only 30 minutes, then proceed to give strength and structure to the dough as described above.