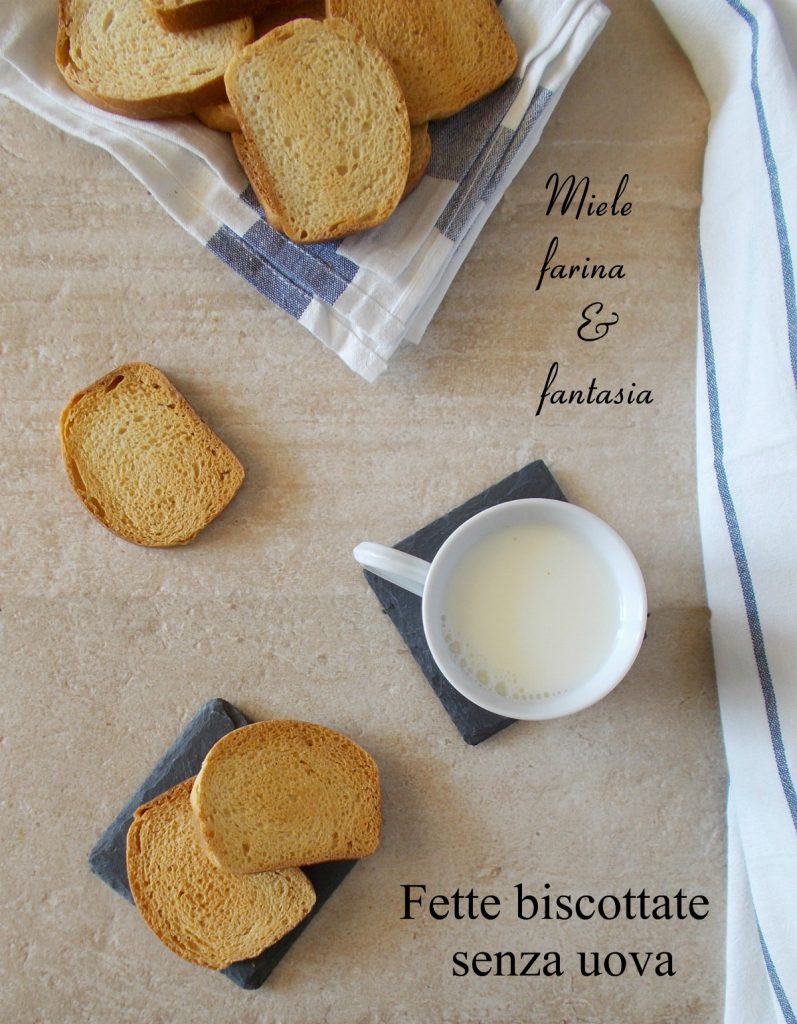
Making toasted bread slices at home is possible and very easy. We will prepare a lighter and healthier product without eggs, artificial colorings, or preservatives, and containing very little fat. They will be as good, crispy, and versatile as those available in stores, but with the satisfaction of having made them with your own hands. We can use them for breakfast, a snack, and in our free time. They can be prepared with both natural yeast and brewer’s yeast. Here, we will talk about toasted bread slices made with sourdough discard. The natural yeast can be replaced with an equal weight of “little yeast” made with 150 grams of Manitoba flour, 5 grams of fresh brewer’s yeast, and about 100 ml of water. Knead everything together and let it rise until doubled before adding it to the other ingredients. The procedure for making the toasted bread slices remains the same, but with significantly different rising times.
- Difficulty: Easy
- Cost: Cheap
- Rest time: 12 Hours
- Preparation time: 15 Minutes
- Portions: 40/42 slices
- Cooking methods: Oven
- Cuisine: Italian
- Seasonality: All seasons
Ingredients
- 8.8 oz Sourdough starter
- 8.8 oz Manitoba flour
- 8.8 oz All-purpose flour
- 3.4 tbsp Vegetable oil
- 1 cup Water
- 0.1 oz Fine salt
- 1.4 oz Honey
Preparation
We can also use a smaller amount of natural yeast if we don’t have excess to dispose of, as long as it is strong and lively.
Refresh the sourdough according to our habits. Take 250 grams and place them in a large bowl or stand mixer and let it rise until doubled.
When it has doubled in volume, add the sifted flours together, the salt, honey (or 60 grams of granulated sugar or brown sugar), and more than half of the water. Start kneading, gradually adding the remaining water until the dough reaches a rather firm but easy-to-work consistency; the dough should not be soft.
Lastly, add the vegetable oil and continue to knead for about 10 minutes until the gluten network has formed; divide it into two equal-weight dough balls and let them rise separately and well-covered for 1 hour.
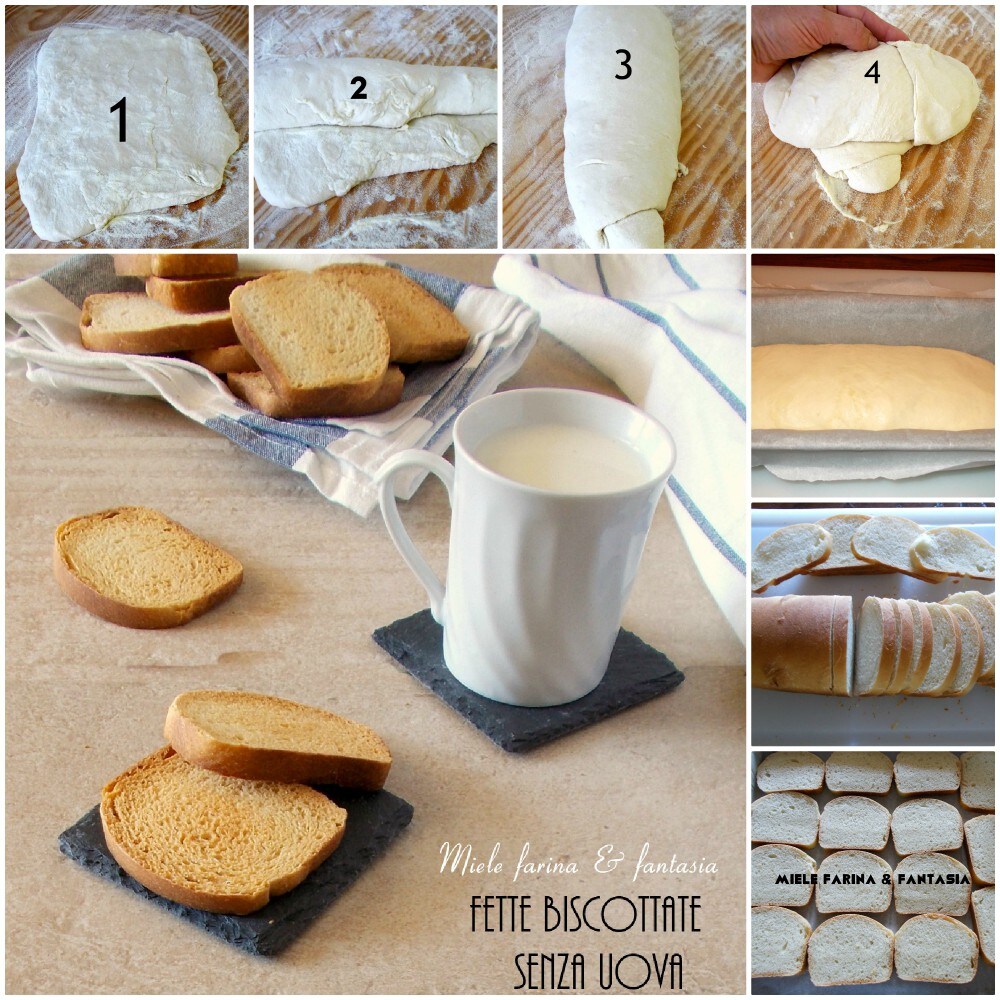
After one hour, dust a work table with a little flour and gently overturn the two dough balls onto it. Gently press one dough ball with your hands, almost making a rectangle. Roll the dough onto itself to form a cylinder that we will place vertically in front of us and roll again; repeat the same operation with the other dough ball.
Finally, let them rise in two loaf pans already lined with parchment paper. Wait until the dough reaches the edge of the pans and bake them simultaneously, halfway up at 392°F for about 50 minutes (I have a gas oven with only bottom heat and static function). Since every oven is different, check the baking often and adjust based on yours.
When the two dough balls are uniformly golden, turn off the oven, take them out, and let them cool on a wire rack. Before slicing them, the two dough balls must have cooled completely. The ideal thickness for toasted bread slices is just under a centimeter, about 7-8 millimeters. Place the slices, without overlapping, on baking sheets already lined with parchment paper.
Bake them halfway up for about an hour at the minimum temperature. The slices must toast slowly; otherwise, they will darken quickly, remaining soft inside, preventing long-term storage. Initially, the slices will remain white (for about the first 30 minutes), starting to dehydrate; then, gradually, they will brown until golden. I recommend frequently turning the slices during toasting for more uniform drying and browning. Store them in well-sealed food bags.