Today we talk about how to make brined olives at home. It’s a very easy preparation, exclusively done with freshly picked olives, allowing us to preserve this extraordinary food for a long time and enjoy it later as we like. After the brining period, in fact, we can season or stuff them according to our tastes, with garlic, bay leaves, chili pepper, oregano, lemon, etc. We can create delicious finger foods to accompany aperitifs or serve them at buffets and as an appetizer.
- Difficulty: Very easy
- Cost: Economical
- Rest time: 60 Days
- Preparation time: 30 Minutes
- Cooking methods: No cooking
- Cuisine: Italian
- Seasonality: Autumn
Ingredients
- freshly picked olives
- fine salt
- water
Tools
- Jar (with airtight lid)
- weights
Preparation
I have not provided exact quantities for olives and salt because we need to calculate 100 grams (3.5 oz) of fine salt for every liter (4.2 cups) of water used for the brine.
The number of glass jars with airtight lids and weights depends on their capacity and the amount of olives you have available.
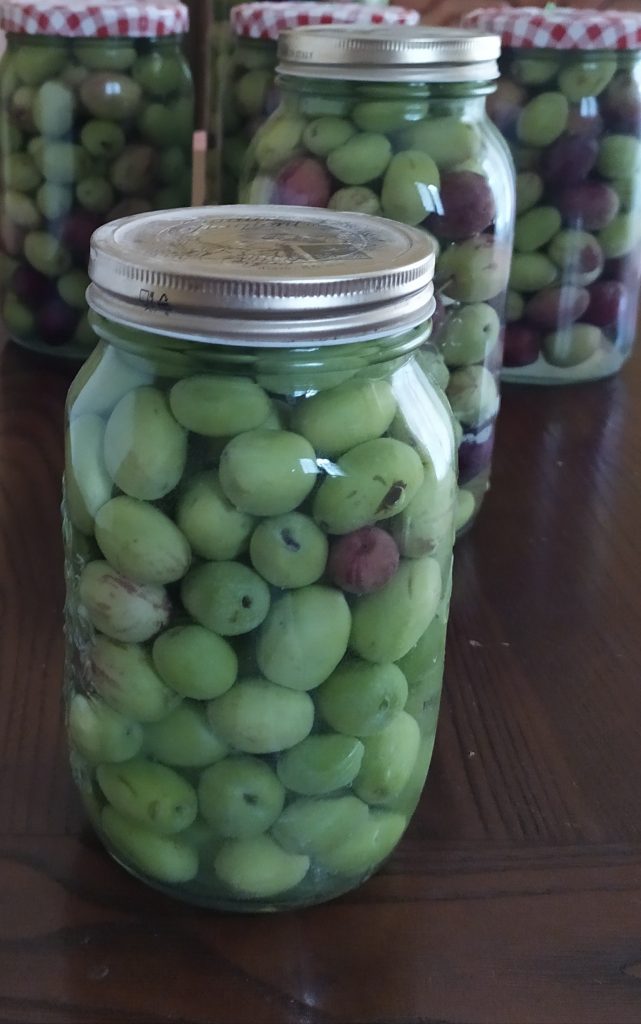
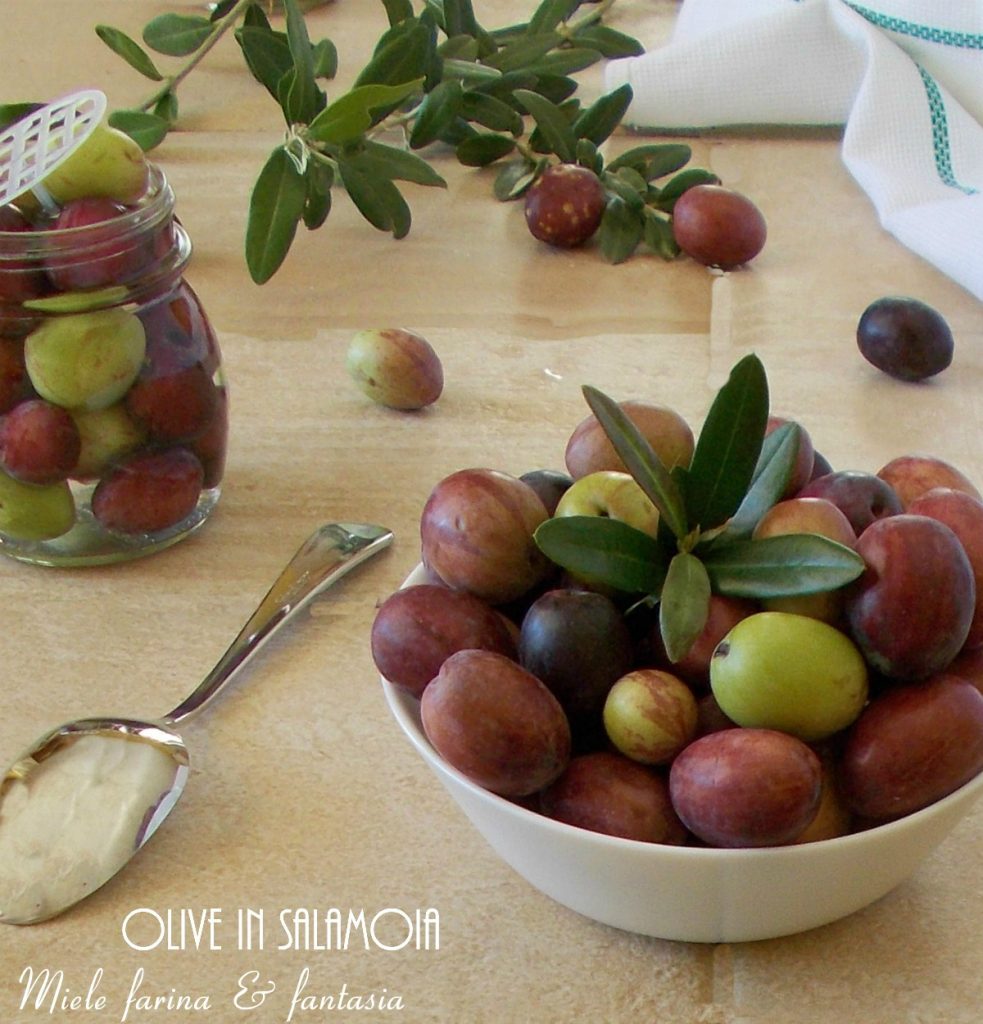
The first crucial step after picking the olives and discarding any damaged or rotten ones and various leaves is to soak them (for 24 hours if the olives are very small; or 48 hours if they are as large as those in the photo). The water should be changed every 12 hours. During this time, the olives will lose some bitterness and excess acidity, making them appetizing and flavorful in the end.
Let’s move on to the brine
1) Sterilize both the containers and lids that will be used for preserving the olives.
2) The procedure for making the brine is quick and very easy. Rinse the olives well, remove damaged ones, spoiled ones, and any leaves, as they could spoil the final taste of the olives.
3) After washing them, you can also sort them by size, separating the smaller ones from the large ones, as they have different maturation times in the brine.
Prepare the brine by dissolving (as stated above) 100 grams (3.5 oz) of fine salt for every liter (4.2 cups) of water used. It might seem like an excessive amount of salt, but I assure you it’s not; additionally, some of the absorbed salt during the brining will be lost as I will explain in the following steps.
4) Fill the containers with the olives, pour the brine to completely cover them, add the weight (to keep the olives below the brine level), and seal tightly. The brine should not touch the lid.
5) Continue until you have used all the ingredients. During the resting period, in a dark and dry place, the jars should be gently rotated at least a couple of times a day to ensure the brine is evenly distributed (in this case, the brine will touch the underside of the lid, but only for a few seconds). It will take about 2 months to enjoy our homemade brined olives.
6) After the resting period, discard the brine and for 24 hours keep the olives in fresh water, which should be changed several times, to remove excess salt. The olives are now ready to be eaten plain, seasoned or used in cooking to create tasty first courses, second courses, side dishes, tapenade, etc.