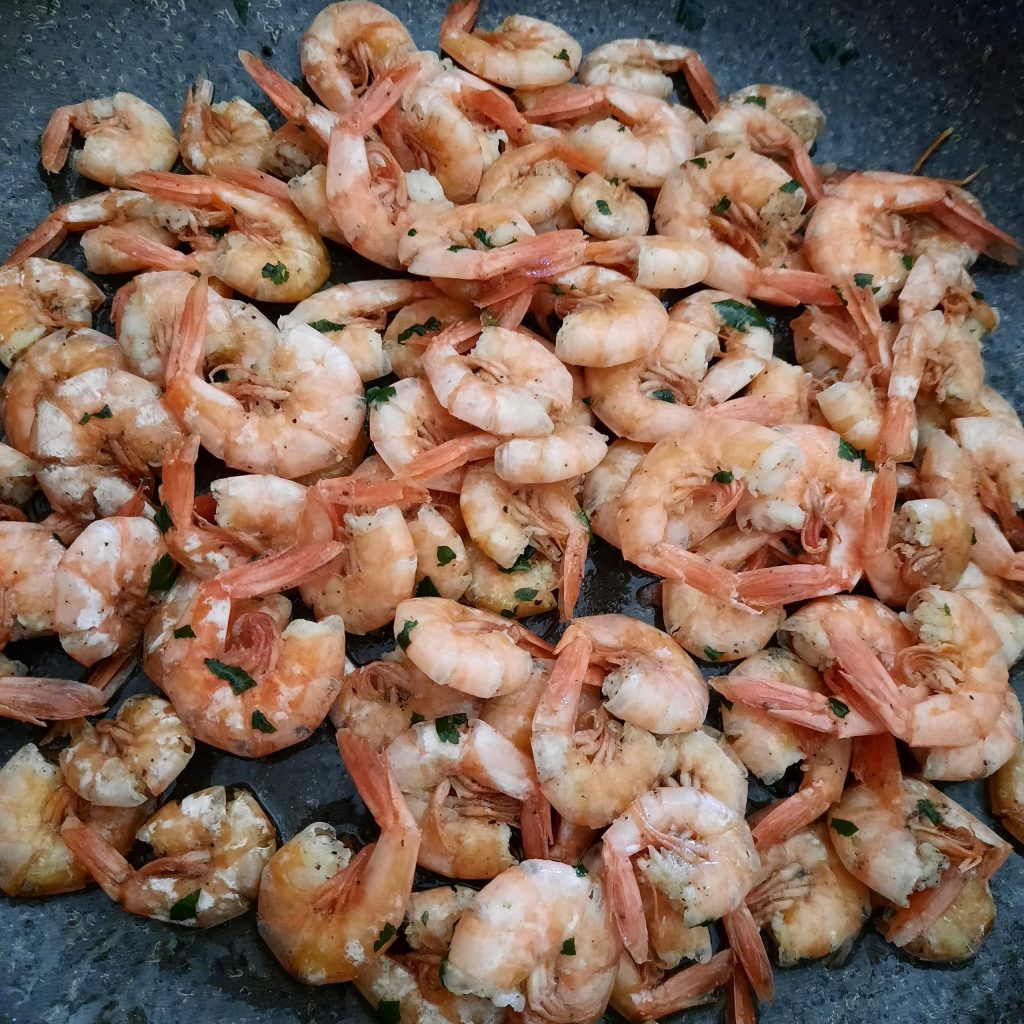
At first glance, it may seem like an elaborate dish, but it is surprisingly simple to prepare. These pan-fried shrimp cook in just a few minutes, with very few ingredients that enhance their flavor. A quick, light, and truly irresistible recipe!
- Difficulty: Easy
- Cost: Medium
- Preparation time: 5 Minutes
- Portions: 2
- Cooking methods: Slow fire
- Cuisine: Italian
- Seasonality: All seasons
- Energy 129.00 (Kcal)
- Carbohydrates 0.44 (g) of which sugars 0.08 (g)
- Proteins 21.24 (g)
- Fat 3.01 (g) of which saturated 0.46 (g)of which unsaturated 0.26 (g)
- Fibers 0.10 (g)
- Sodium 330.69 (mg)
Indicative values for a portion of 100 g processed in an automated way starting from the nutritional information available on the CREA* and FoodData Central** databases. It is not food and / or nutritional advice.
* CREATES Food and Nutrition Research Center: https://www.crea.gov.it/alimenti-e-nutrizione https://www.alimentinutrizione.it ** U.S. Department of Agriculture, Agricultural Research Service. FoodData Central, 2019. https://fdc.nal.usda.gov
Ingredients
- 14 oz shrimp (with shell)
- 1 clove garlic
- 1/4 cup white wine
- 1 bunch parsley
- to taste extra virgin olive oil
- salt
- pepper
- 1 lemon juice (optional)
Tools
- Pan
Shrimp Preparation
Place a pan over the heat and brown a garlic clove with a drizzle of extra virgin olive oil until it begins to turn golden. At this point, remove it from the pan. Add the whole shrimp, previously washed and drained for a few minutes. As soon as they start to sizzle, pour in the white wine and let the alcohol evaporate. Once the alcohol has evaporated, lower the heat, cover with a lid, and cook for about 10 minutes, stirring occasionally. After this time, add the chopped parsley and, if necessary, another drizzle of oil. Season with salt and pepper to taste. Let it infuse for a couple of minutes, then turn off the heat. Transfer the shrimp to a serving dish, drizzle with a few drops of lemon juice (if you like), and serve hot.
Tips
For this recipe, I only removed the shrimp heads, and with the help of a toothpick, I gently removed the dark intestinal filament, leaving the shell intact.
If you’re a beginner, you can also remove the shell: this will make it easier to extract the vein, and you can decide whether to leave the tail or not. It should be noted that without the shell, cooking will be much faster, less than ten minutes.
Alternatively, you can leave both the head and the shell: during cooking, they release more flavor, making the dish even tastier.
A final tip: whenever possible, always choose fresh fish. The result will be decidedly better, both for the taste and the final texture of the dish.
