The Roman Pinsa is an ancient Roman recipe that has experienced a revival in recent years thanks to its lightness and digestibility. The term “pinsa” comes from the Latin pinsere, which means to stretch, and indeed its characteristic rectangular/oval shape distinguishes it from traditional pizzas. The dough of the pinsa is unique and different from that of the classic pizza: a mix of wheat, rice, and soy flour, hydrated with a good amount of cold water, and left to rest for a long leavening time, usually 24 hours, but it can go up to 72 hours. This process makes the pinsa softer, lighter, and with an irresistible rustic flavor, with a crispy crust on the outside and a soft and airy interior.
Perfect to enjoy with a variety of toppings, from the classic tomato and mozzarella to more modern and creative combinations.
- Difficulty: Difficult
- Cost: Economical
- Rest time: 1 Day 2 Hours
- Preparation time: 20 Minutes
- Portions: 4 Pieces
- Cooking methods: Oven
- Cuisine: Italian
- Seasonality: All seasons
Ingredients
- 5 3/4 cups flour for Roman pinsa
- 1 tsp fresh yeast
- 2 1/8 cups water
- 2 tsp salt
- 2 tsp extra virgin olive oil
Tools
- Stand Mixer
- Baking Tray
Steps
To make Roman pinsa, start by sifting the flour into the bowl of the stand mixer. Then add the crumbled yeast and pour in half of the water. Turn on the mixer with the hook attachment and let it work at a low speed. As soon as the water is completely absorbed, add the oil and salt. While the mixer continues to work, slowly add the rest of the water, letting it incorporate gradually. Let it knead for about 15 more minutes, for a total of no more than 20 minutes. The dough should be well combined.
Note: The dough can also be worked by hand.
Now transfer the dough to a bowl, cover it with plastic wrap and let it rise in the fridge for at least 24 hours.After 24 hours, or a little more, divide the dough into 4 parts forming dough balls. Then transfer the balls to a floured baking tray, cover them with a cloth, and let them rest for at least 2 hours at room temperature.
After the final rising time of the dough balls, take one and place it on a work surface sprinkled with plenty of semolina. Dust the top of the dough ball with a little semolina as well.
Then proceed with the rolling. Starting from the edge closest to you, gently press with your fingers to flatten the dough forming dimples. Gradually, the air will distribute within the dough creating bubbles. Shape it as rectangular as possible. Then gently lift the dough, trying to remove excess semolina and transfer the pinsa to a baking tray lined with parchment paper, or alternatively onto a preheated pizza stone. In both cases, the pinsa should be placed in the oven at 446°F (230°C) for 8 minutes if you want a pre-bake, or 10 minutes for full baking.
After 8 minutes, you can top the pinsa as you like and put it back in the oven for another 2 minutes. If you want to consume it with a raw topping, let it bake for 10 minutes, then top and enjoy.
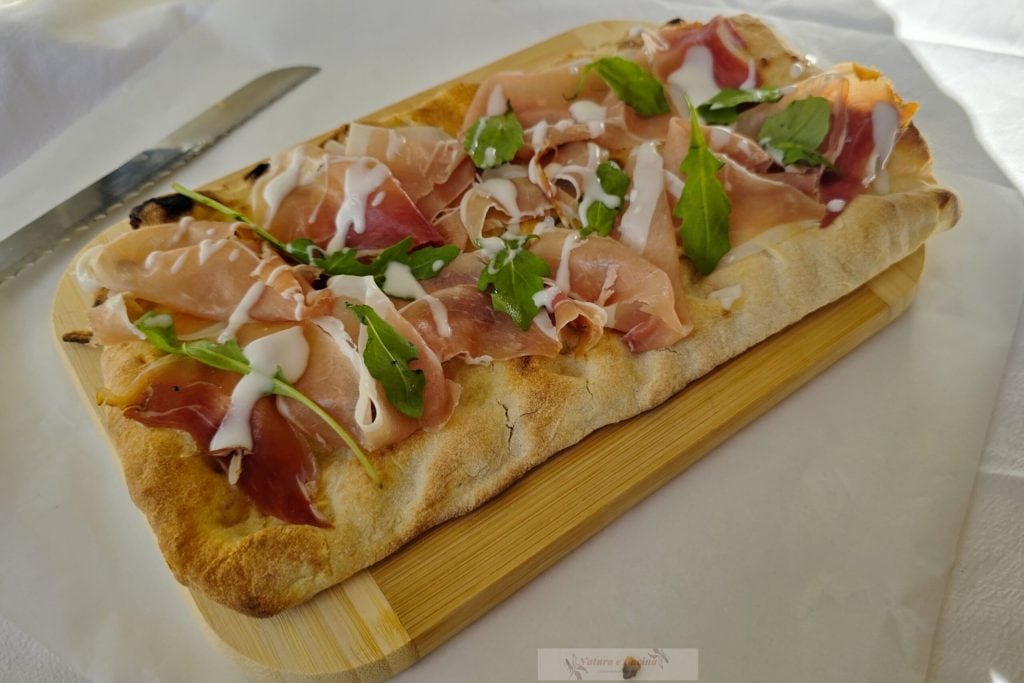
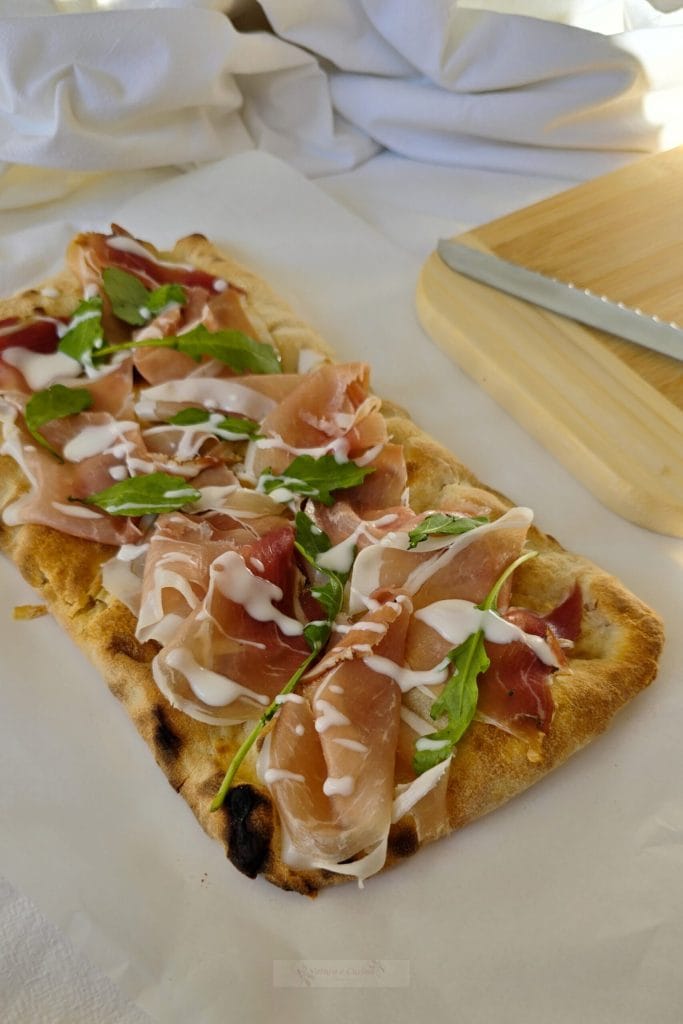
I topped it with speck, some arugula leaves, and yogurt sauce.