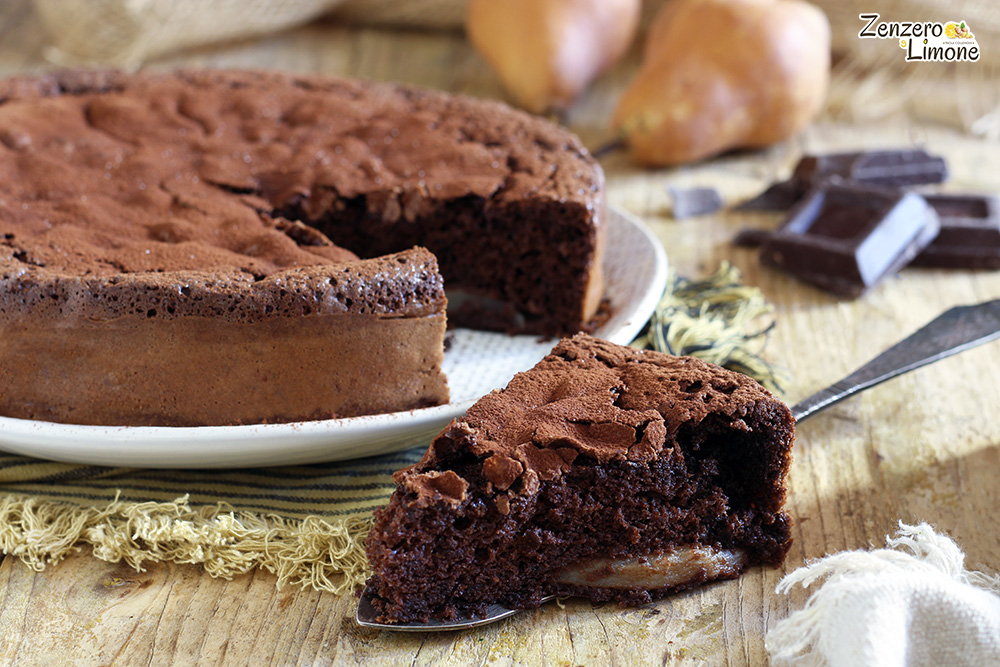
The recipe for this chocolate and pear cake comes from far away, passing from kitchen to kitchen like a little treasure kept and generously shared. A friend of mine (Barbara) gave it to me; she had received it from another friend who in turn had it from yet another friend. One of those long journeys that already hint at how special a recipe is. And indeed it is. It’s an extremely soft and moist cake inside, covered by a delicious crunchy crust that delicately crumbles under the fingers. The chocolate flavor blends with the sweetness of the pears, while that small glass of Marsala gives it a unique aroma that I adore. The ingredients are those classic “old-fashioned” cake ingredients: butter, eggs, a little flour and potato starch, the essentials to make it rise just enough… and lots of goodness. It’s a simple but extremely tasty cake, perfect for an afternoon snack with friends, a leisurely breakfast, or an after-dinner when you need something truly comforting. A recipe to share gladly: just as it arrived to me. Enjoy reading and may your kitchen smell of chocolate!
Other pear desserts you might be interested in:
- Difficulty: Easy
- Cost: Budget-friendly
- Preparation time: 20 Minutes
- Cooking time: 45 Minutes
- Portions: 10 People
- Cooking methods: Bain-marie, Oven
- Cuisine: Italian
- Seasonality: Autumn, Winter and Spring
Ingredients for the chocolate and pear cake
- 7 oz dark chocolate
- 7 tbsp butter
- 3/4 cup + 2 tbsp sugar
- 4 eggs (medium)
- 1/4 cup all-purpose flour
- 3 tbsp potato starch
- 2 1/2 tsp baking powder
- 2 tbsp Marsala (or rum)
- 1 pinch cream of tartar
- 1 Kaiser pear
- unsweetened cocoa powder (for dusting)
Tools
- 2 Bowls medium
- 1 Bowl large
- Electric beaters
- 1 Spatula
- 1 Sieve fine-mesh
- 1 Cake pan 9-inch
Preparation of the chocolate and pear cake
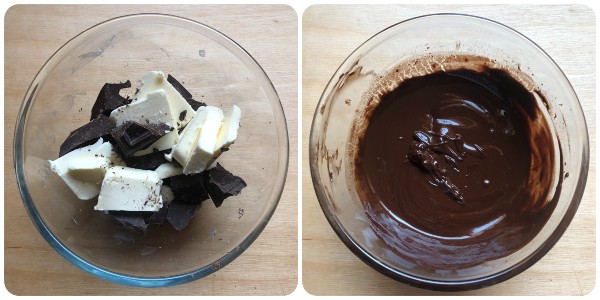
Chop the chocolate and the butter into pieces. Put them in a bowl and melt them in a bain-marie or in the microwave. Let cool until lukewarm.
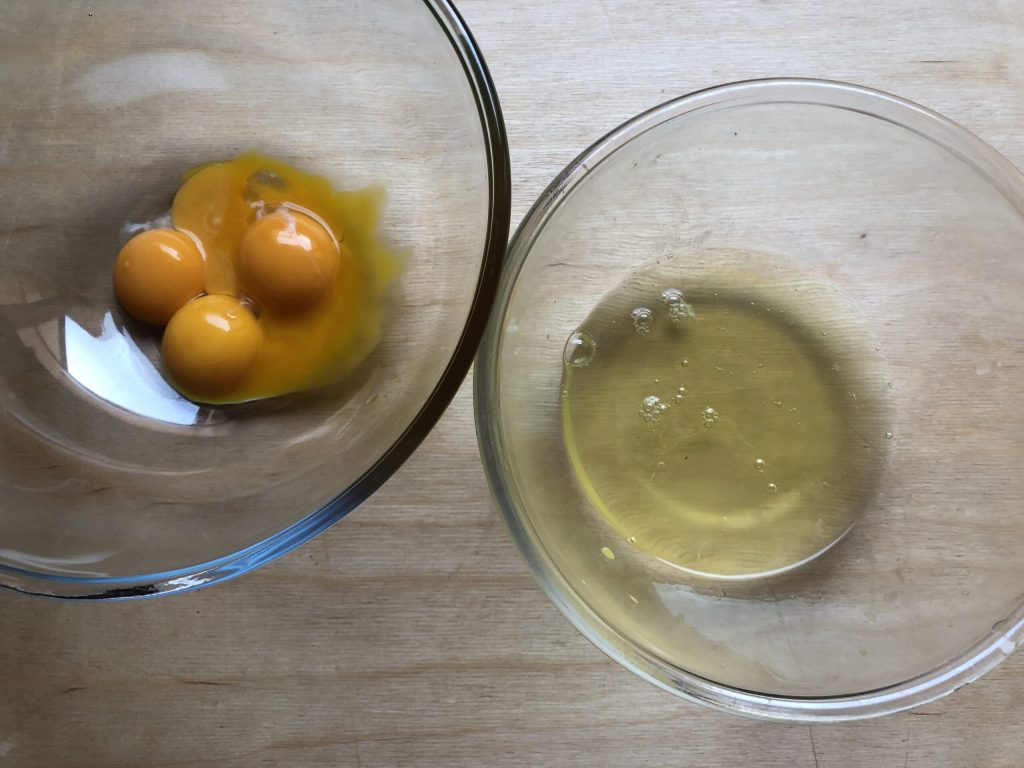
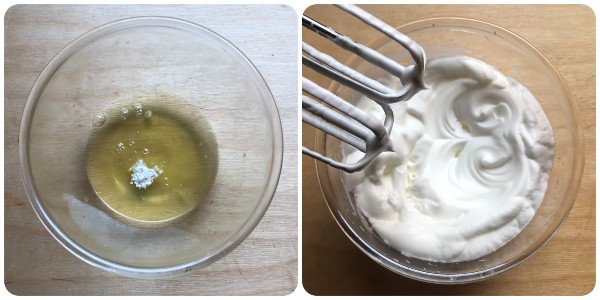
Separate the yolks from the whites, placing the yolks in a large bowl.
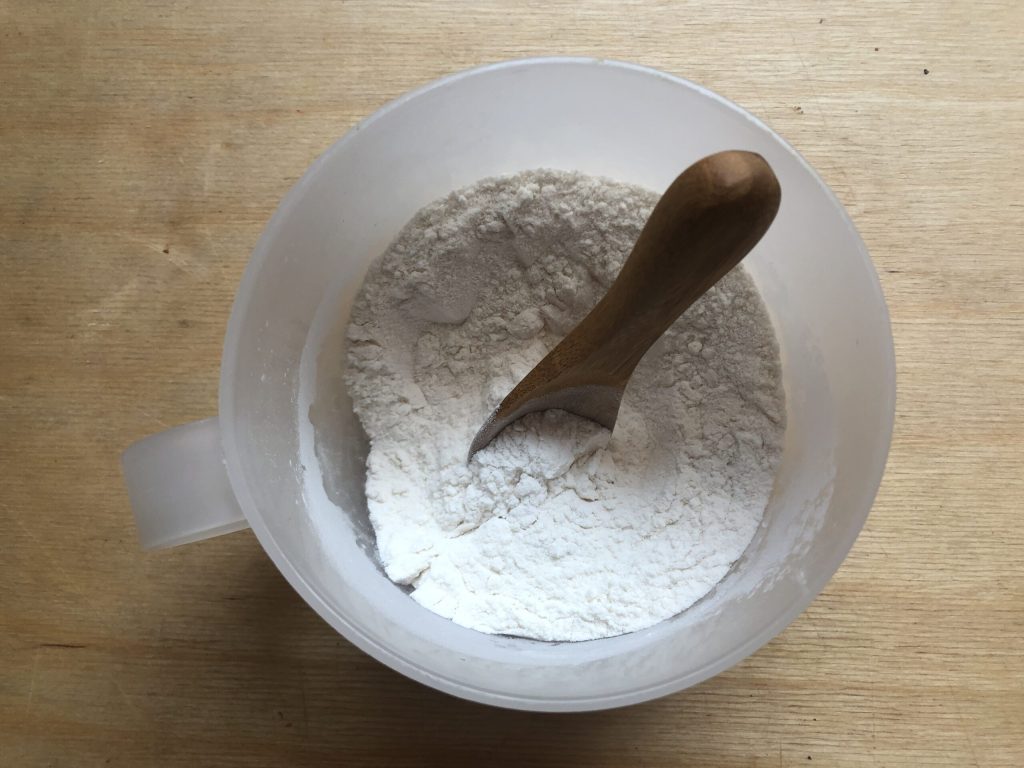
Mix the flour with the baking powder and the potato starch.
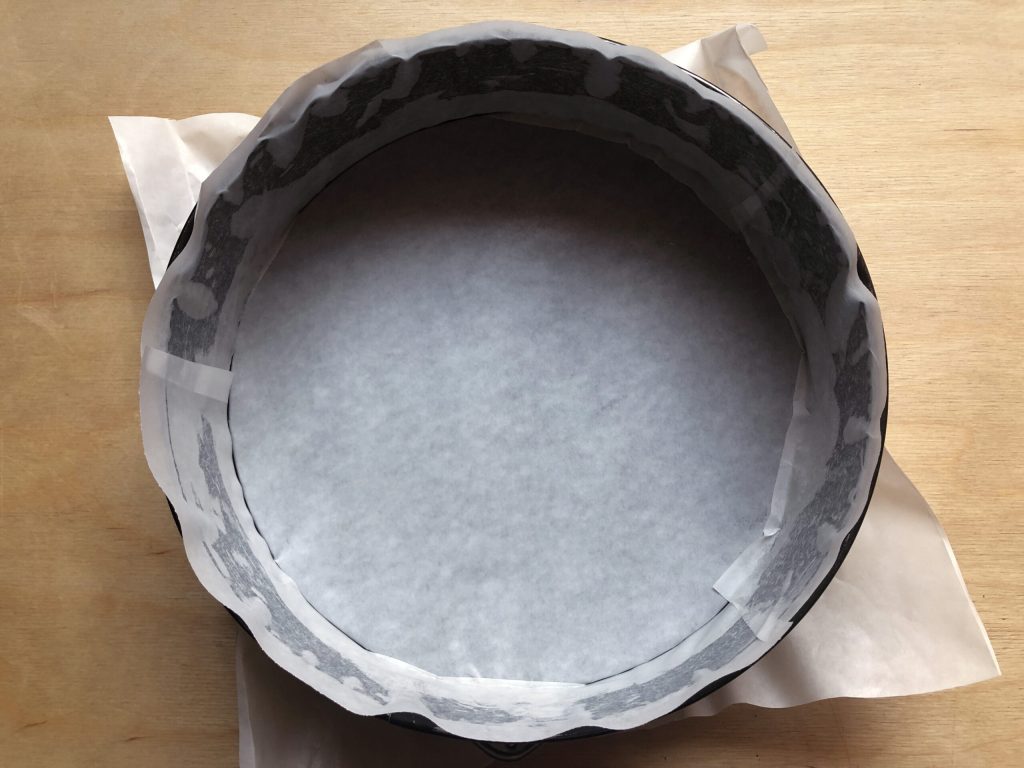
Line a 9-inch cake pan with parchment paper.
Add a pinch of cream of tartar to the egg whites and whip them to stiff peaks with the electric beaters. Set aside. Read HERE to learn how to replace cream of tartar if you cannot find it, and more importantly to understand exactly what it’s for. It is now commonly found in supermarkets, usually in the baking ingredients aisle but, if you can’t find it, you can buy it online by clicking HERE.
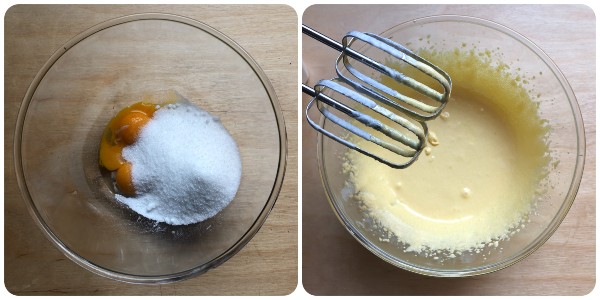
Add the sugar to the yolks and beat them very well with the electric beaters until you obtain a light and homogeneous mixture.
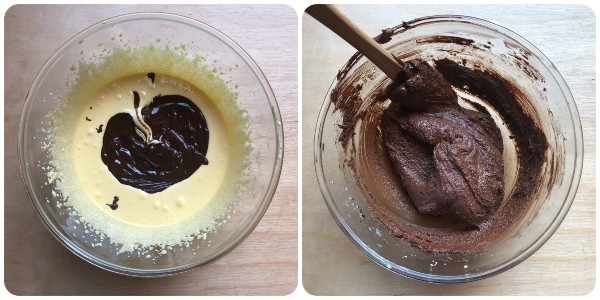
Add the lukewarm melted chocolate and mix well until it is perfectly incorporated into the mixture.
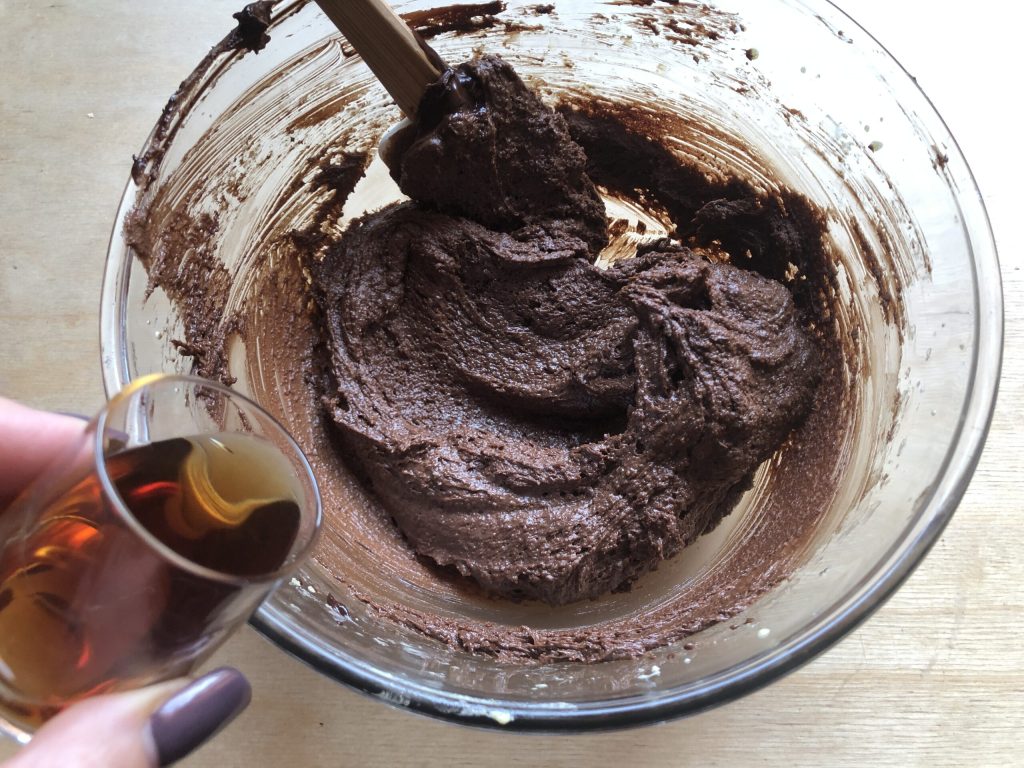
Then add the Marsala and stir again.
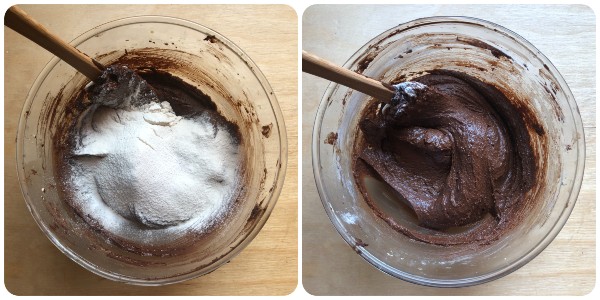
At this point, add the dry ingredients by sifting them through a fine-mesh sieve and incorporate them with a spatula.
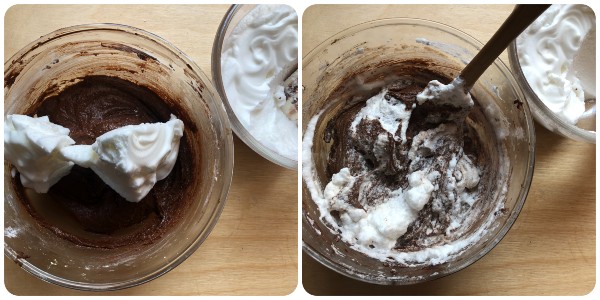
Now it’s time to add the whipped egg whites: fold them in gradually with gentle motions from the bottom up to avoid deflating the mixture.
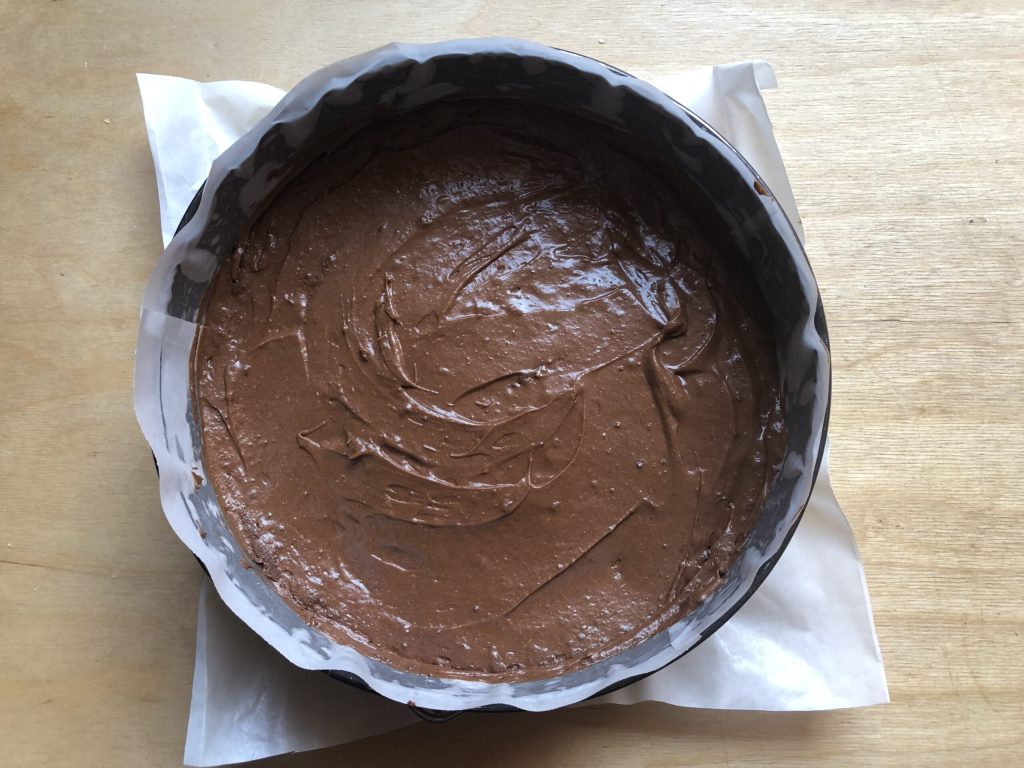
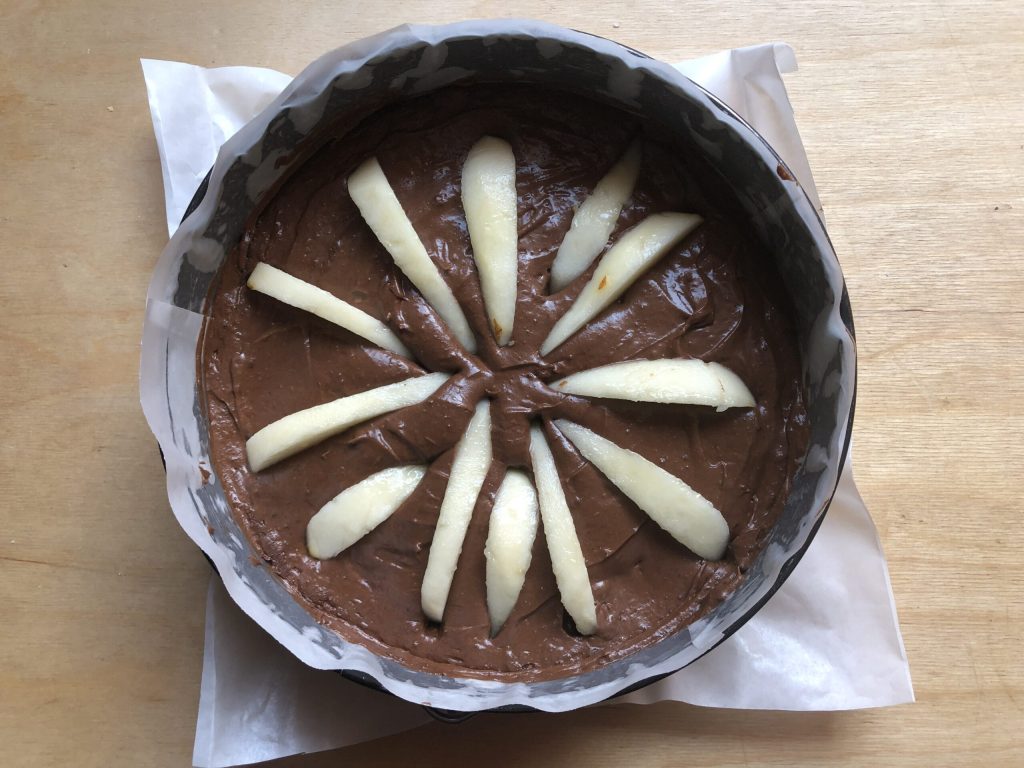
Pour the resulting batter into a 9-inch cake pan previously lined with parchment paper and level it.
Finally, arrange the pear slices in a rosette on the surface, pressing them only slightly into the batter. You can also add many more if you prefer.
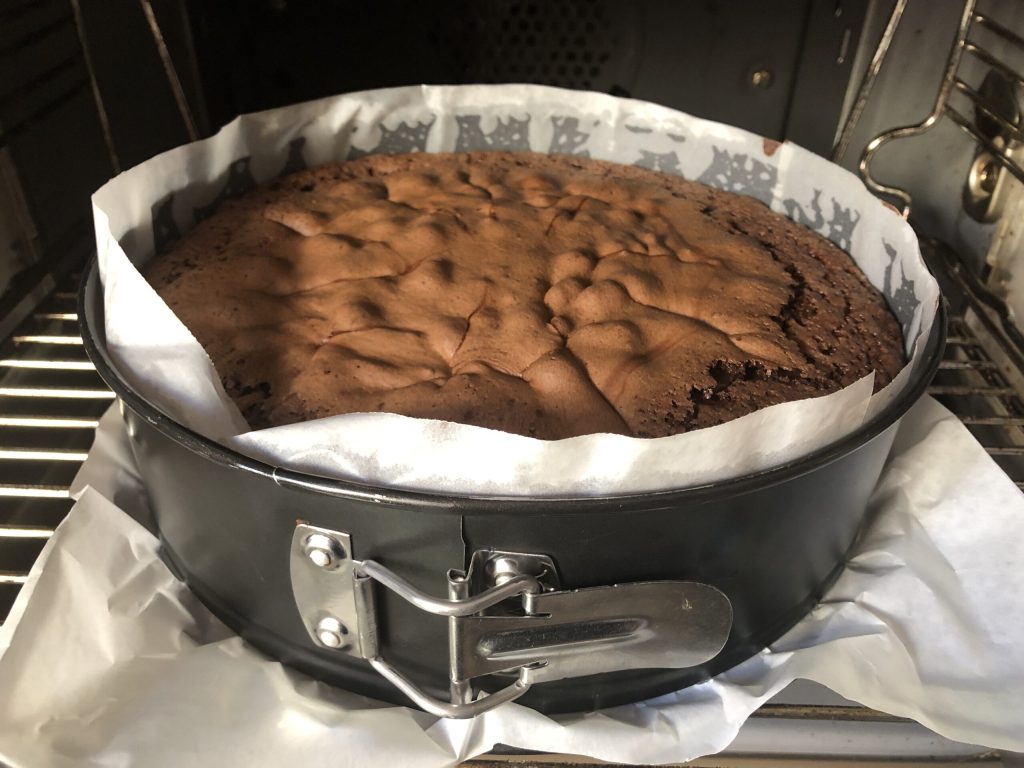
Bake the chocolate and pear cake in a preheated conventional oven at 338°F for about 45 minutes. Remove from the oven and let cool completely before removing from the pan and transferring to a serving plate. Once completely cool, sprinkle lightly with unsweetened cocoa powder. Enjoy! Paola
I take this opportunity to remind you that you can follow me on various social networks to stay updated on the new recipes I publish. Find me on Facebook (HERE), on Twitter (HERE), on Pinterest (HERE), on Instagram (HERE) and also on TikTok (@zenzero_limone). Thanks so much ♥!
