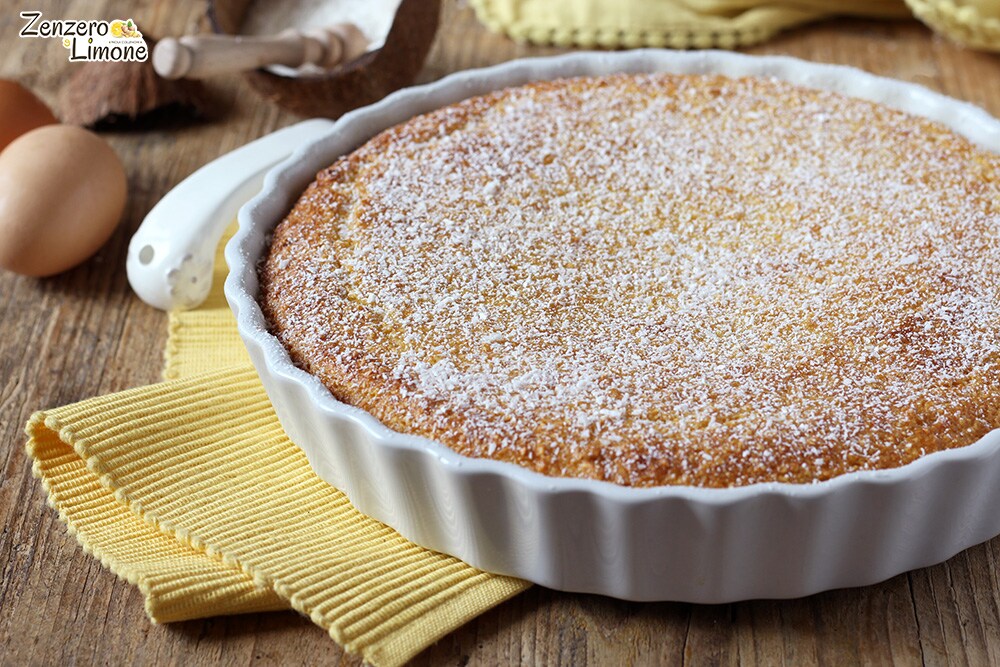
This creamy cake with coconut and corn is a truly unique dessert. It is quite moist and has a very soft texture and an extremely delicate flavor. Extending the baking time by a few minutes results in a less creamy center (something I’ve tried on this occasion. I’ve made it several times and enjoyed it in both versions. It’s also perfect for those who are gluten intolerant since it contains no flour. Plus, it’s butter-free, which I always really appreciate. Need another positive aspect? It’s super quick to prepare. You put everything in the blender, and that’s it; a few minutes and it’s ready to be baked. In short, an absolute simplicity. I hope I’ve convinced you to try it because it’s really good.
And if you love coconut, here are other desserts you might be interested in:
- Difficulty: Very Easy
- Cost: Economical
- Preparation time: 10 Minutes
- Portions: 10 People
- Cooking methods: Oven
- Cuisine: Italian
- Seasonality: All Seasons
Ingredients for the Creamy Cake with Coconut and Corn
- 14 oz condensed milk (1 full can)
- 10.5 oz sweet corn, canned, drained
- 3 eggs (medium)
- 3.5 oz grated coconut (+ extra for dusting the surface)
- 1 packet baking powder
Tools
I prepared the batter for this cake with the Bimby, but you can use any other blender/mixer.
- 1 Blender (I used the Bimby)
- 1 Strainer
- 1 Cake Pan with a diameter of 9.5 inches
Preparation of the Creamy Cake with Coconut and Corn
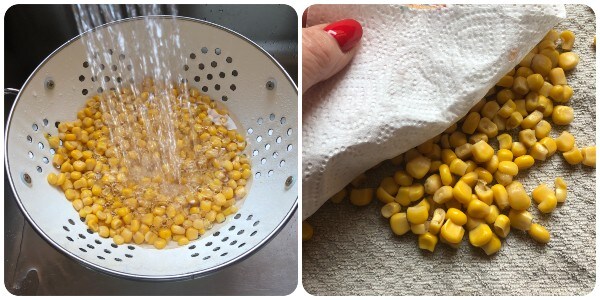
Rinse the corn under running water and pat dry with kitchen paper.
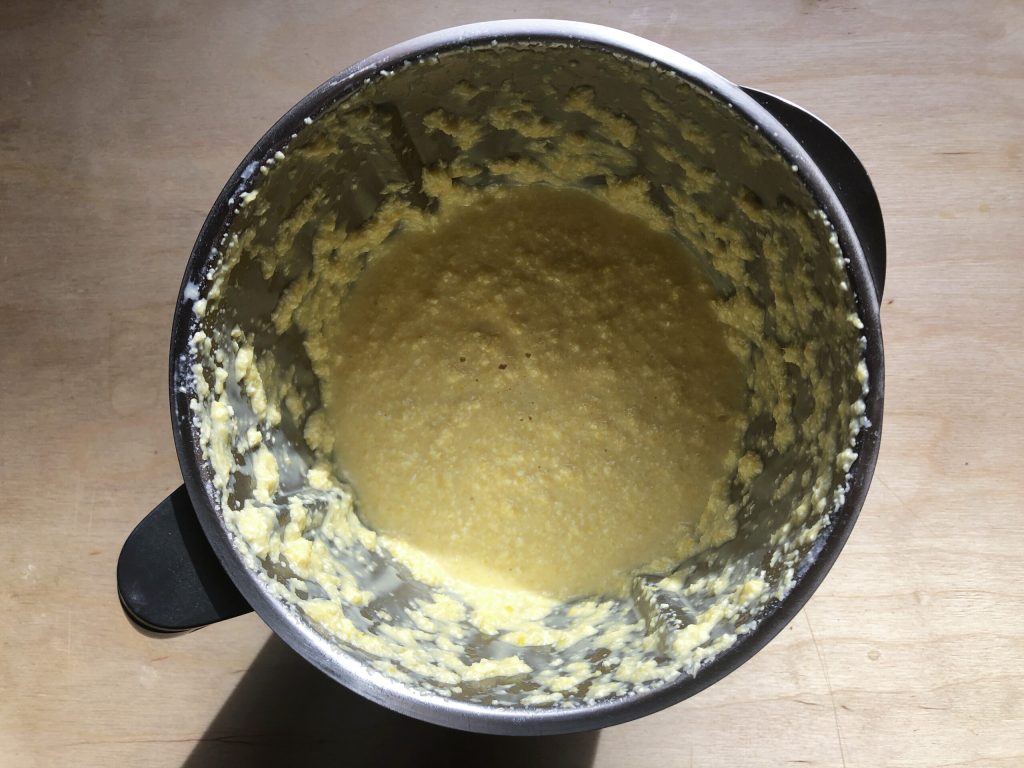
Then place it in the blender cup along with the condensed milk, eggs, and grated coconut.
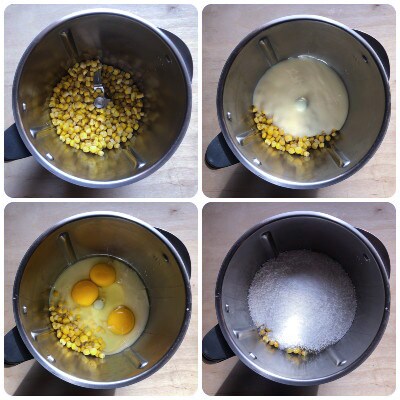
Blend everything: with the Bimby 10 sec. speed 5, then 15 sec. speed 7.
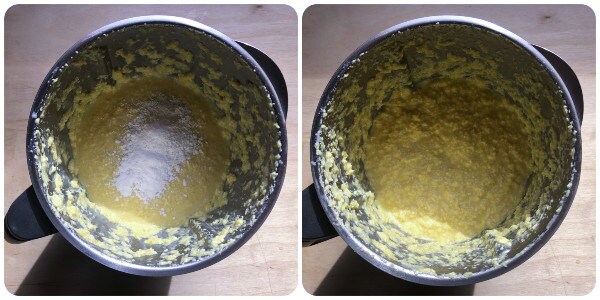
Finally, add the baking powder and mix: with the Bimby 20 sec. at speed 5/6.
Pour the obtained cream into a 9.5-inch diameter cake pan previously buttered and floured or lined with parchment paper. Level it well.

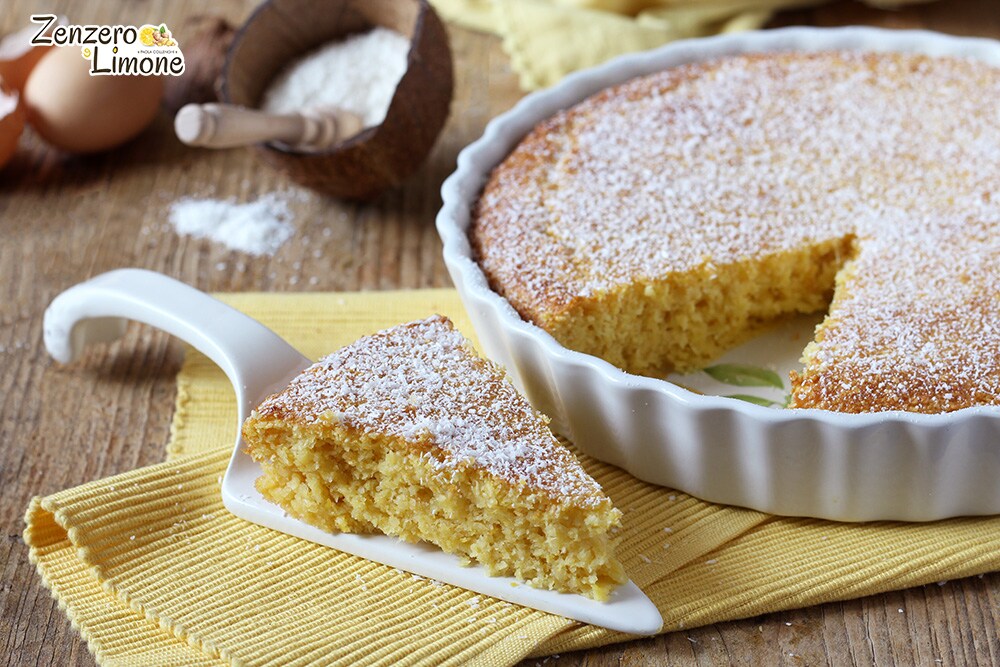
Bake the creamy cake with coconut and corn in a preheated static oven at 340°F for 30 minutes. If you prefer a less creamy interior, extend the baking time by 5 minutes as I did this time. As you can see from the photos, the texture is drier. In any case, I found it excellent in both versions.
Remove from the oven and let it cool completely.

Once cooled, sprinkle the surface with grated coconut.
I keep it in the fridge. Enjoy! Paola
I’d like to remind you that you can follow me on various social media to stay updated on the new recipes I publish. You can find me on Facebook (HERE), on Twitter (HERE), on Pinterest (HERE), on Instagram (HERE) and also on Tik Tok (@zenzero_limone). Thank you ♥!