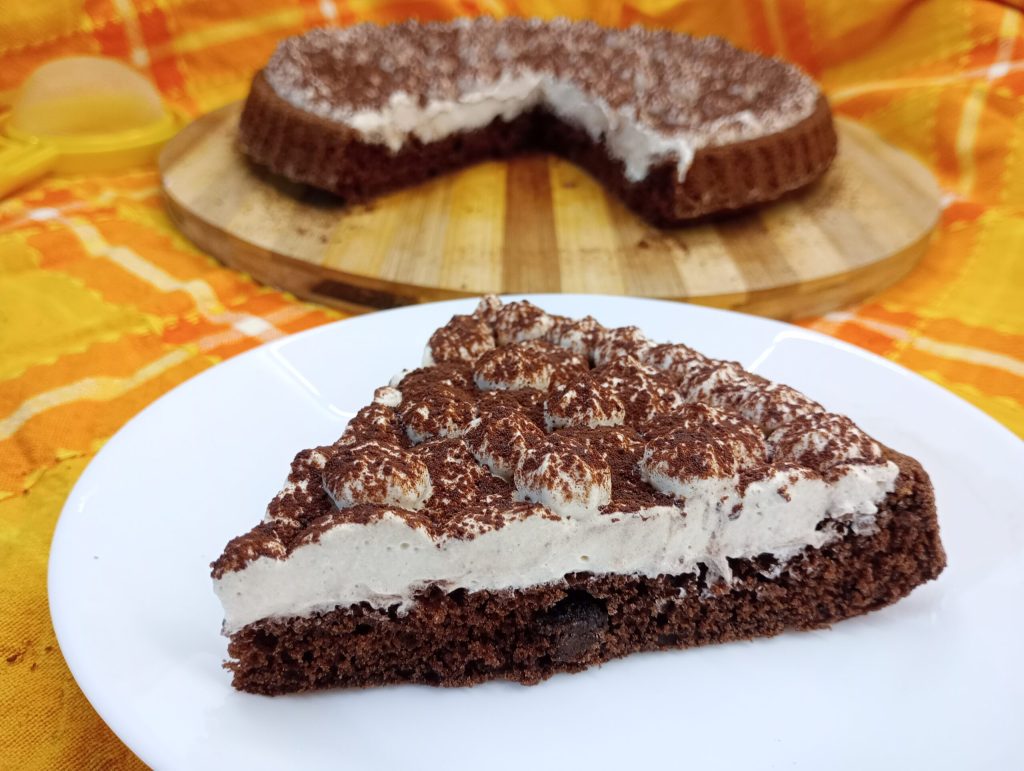
Soft Tart with Cocoa, Cream and Coffee.
I’m sharing this delight with you that takes only 45 minutes to prepare! I made it for my husband’s birthday and the effect was: “WOW”.
For the base, I used my cocoa water cake, always a true guarantee. I baked the dessert in the smart mold—that mold which, once flipped, has the perfect recess to receive the filling, making the dessert very scenic.
But don’t worry! If you don’t have that mold, you can easily fill the cake by cutting it in half.
I made it even more tempting with a very simple cream made with cream and coffee. The best thing? This cake is egg-free! So, perfect for those with intolerances.
Let’s start baking!
Happy recipe, Giusi.
You might also be interested in:
- Difficulty: Very Easy
- Cost: Inexpensive
- Preparation time: 45 Minutes
- Portions: 8 People
- Cooking methods: Oven
- Cuisine: Italian
Ingredients for the soft tart with cream and coffee
- 2 cups all-purpose flour
- 1/4 cup unsweetened cocoa powder
- 1 cup water (warm)
- 3.5 tbsp vegetable oil
- 1/2 cup granulated sugar
- 1 tbsp baking powder
- 3/4 cup sweetened vegetable whipping cream (or 3/4 cup fresh cream + 1/4 cup sugar)
- 3 tbsp coffee
Tools for the Soft Tart
- 1 Baking Pan 11 inches
Steps for the soft tart with cream and coffee
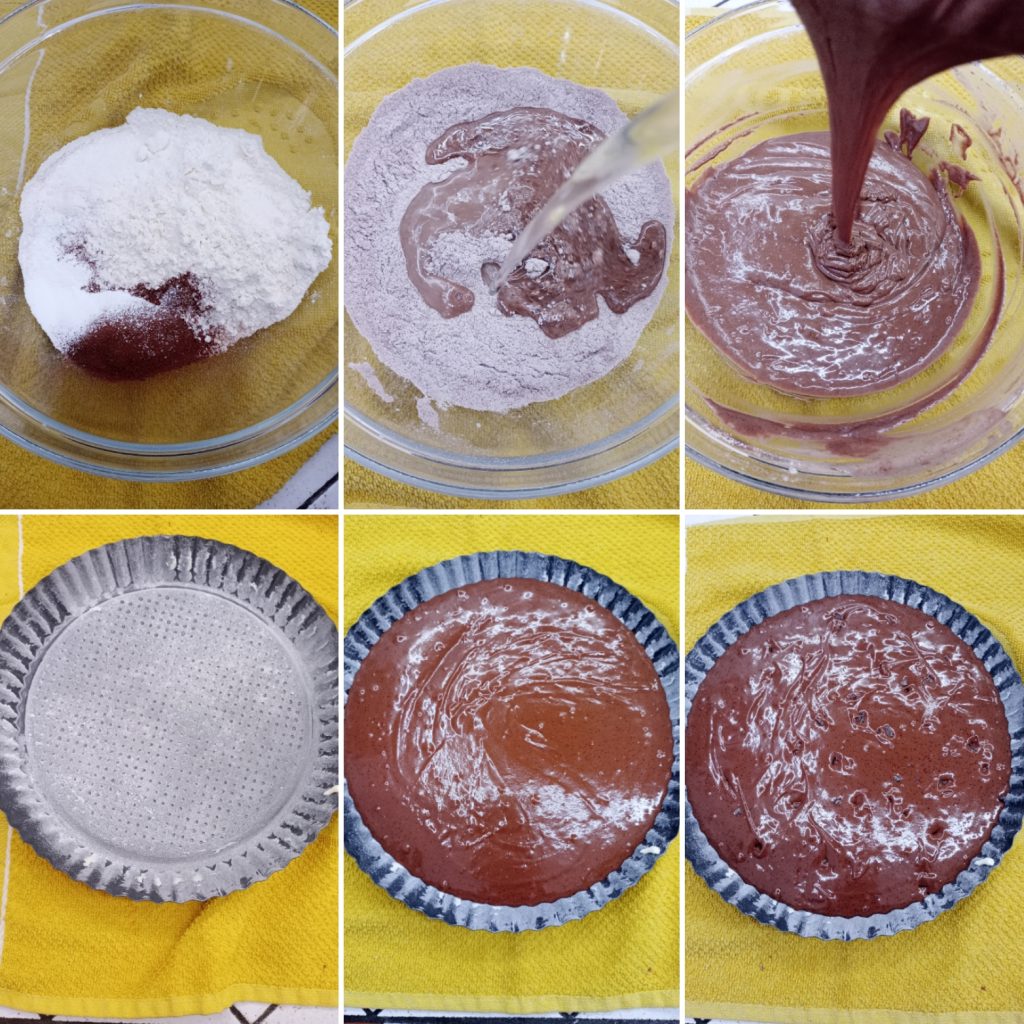
In a bowl, mix the powders: flour, sugar, cocoa, and baking powder.
Add gradually the water and oil, and mix until you get a smooth and creamy mixture.
Whether you’re using the smart mold with the recess (ideal for this tart) or a traditional mold, remember to grease and flour the edges and base well to ease removal.
Pour the smooth and creamy mixture into the mold, distributing it evenly.If you want to add a delicious touch: Add dark chocolate chips on the surface of the batter and lightly press them inward.
Bake at 350 degrees Fahrenheit in a preheated static oven, placing the mold in the middle of the oven.
Bake for 30-35 minutes.
The baking time greatly depends on the size of the mold! Since mine was large, it cooked quickly.
For safety, do the toothpick test after 30 minutes.Once removed from the oven, let the cake cool completely in the mold.
Only when it is cool, carefully flip it onto a serving plate or a cutting board. (If you used the smart mold, the recess for the cream will be ready!)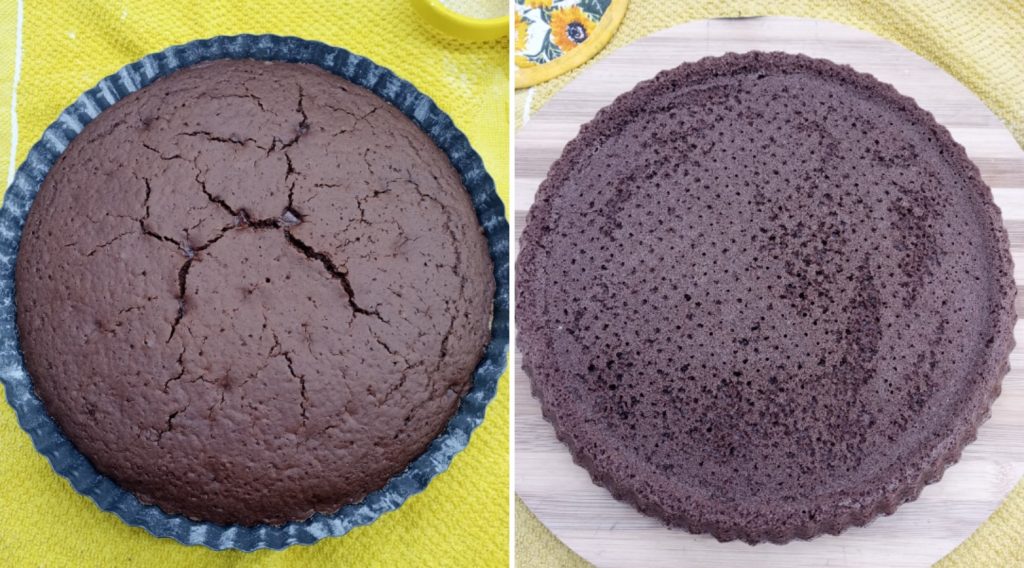
After keeping it in the fridge for several hours, whip the cream in a bowl.
When the cream is almost whipped, gradually add the cold coffee. Mix with the whisk until completely blended.
Even though the mold is already designed with a recess, I preferred to slightly carve the cake by removing some of the batter (which I then consumed for breakfast). This way, the cream will be more abundant and thicker when the cake is cut.I put the cream in a piping bag to create decorative tufts, but you can simply lay it inside the recess with the help of a spoon, or (if using a classic mold) cut the cake in half and fill it inside.
Dust generously with unsweetened cocoa before serving.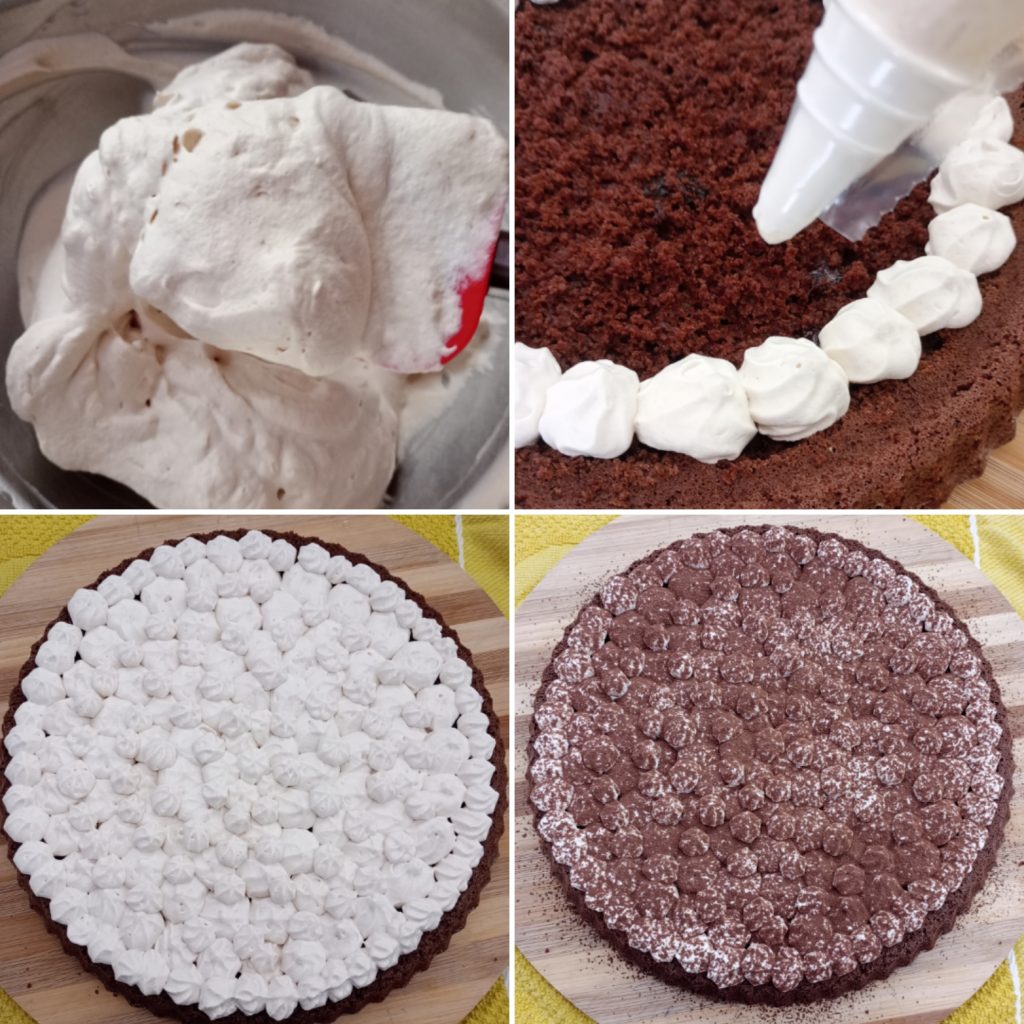
The Soft Tart with Cocoa, Cream and Coffee is ready to wow your guests! It’s the perfect dessert for special occasions.
I hope you enjoyed this recipe as much as my husband and all of us did!
See you at the next delicious creation!
Hugs, Giusi.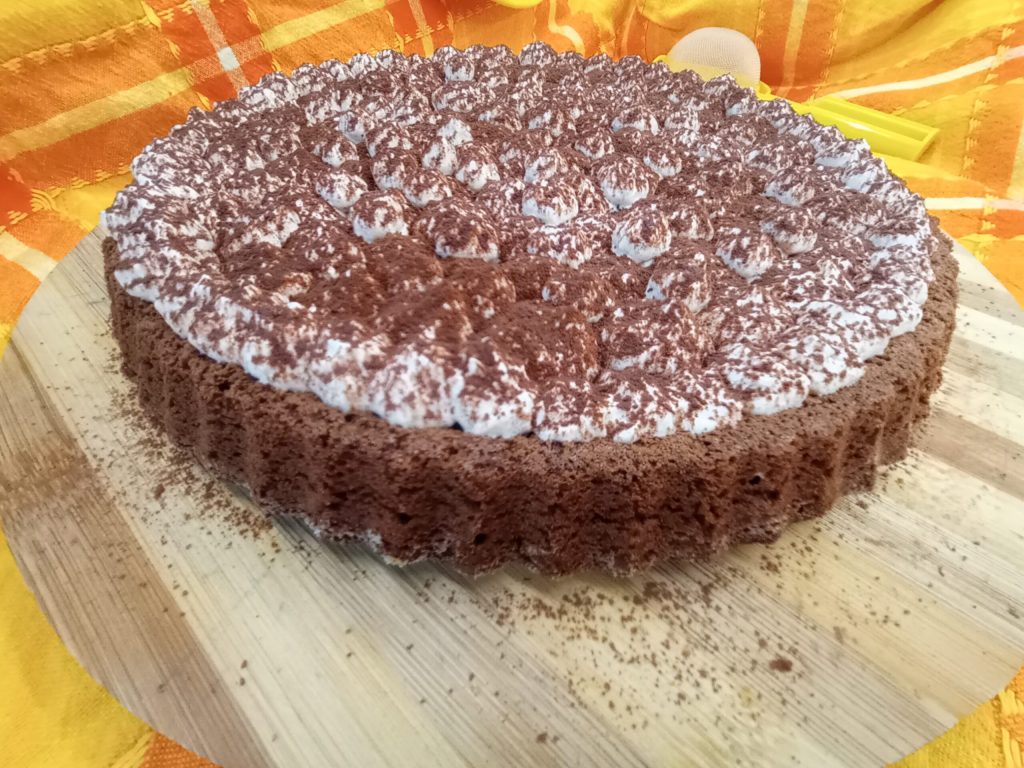
Don’t miss my recipes on my Instagram page Pasticcidigiu ➡️
If you want to see all my other recipes click here to start browsing
Storage and Tips for the Soft Tart
Keep the cream, container, and beaters in the fridge for 2-3 hours before using them. This will ensure a well-firm and stable whipped cream!
If you desire a more pronounced coffee flavor, you can prepare a coffee soak with a little sugar and lightly soak the cake (the recess or the base if you cut it) before putting the cream on top.
Store the cake in the fridge, covered with a food dome, until ready to serve.
To enjoy it best and taste all the flavors of the cream and coffee, remember to remove the cake from the fridge 10-15 minutes before serving.
