Preparing homemade brewer’s yeast for me is not just following any recipe, it is a small ritual scented with tradition and patience: mixing water and flour, waiting for the magic of fermentation to begin and seeing a fresh, alive and active brewer’s yeast being born is an experience that reconnects you to the simple gestures of the past.
Brewer’s yeast, scientifically known as Saccharomyces cerevisiae, is the beating heart of bread and pizza, and making it at home means consciously choosing what to put on the table, avoiding additives and rediscovering authentic flavors.
Not to mention the satisfaction of creating something with your own hands, the savings, the possibility of always having a ready-to-use yeast and, above all, the benefits of a more natural product: a fresh brewer’s yeast makes doughs more fragrant, soft and digestible, transforming every recipe into something genuine and healthy to share.
You might also be interested in
- Difficulty: Easy
- Cost: Very inexpensive
- Rest time: 12 Hours
- Preparation time: 5 Minutes
- Cooking methods: No-cook
- Cuisine: Italian
Ingredients for homemade brewer’s yeast
Homemade brewer’s yeast recipe
- 1/3 cup + 1 tbsp (≈50 g) Type 1 flour
- beer
- 1 tsp sugar
Tools
- 1 Jar
- 1 Bowl
- 1 Hand whisk
Steps for homemade brewer’s yeast
Pour the beer into a bowl at room temperature (around 68–72°F). If it is cold, let it rest a few minutes out of the fridge: a too-low temperature slows fermentation. Add the teaspoon of sugar and stir well until completely dissolved. The sugar serves to “activate” the microorganisms and promote the start of fermentation.
Gradually add the 1/3 cup + 1 tbsp (≈50 g) of flour, stirring with a hand whisk or a fork to avoid lumps. You should obtain a thick, smooth and homogeneous batter, similar to a compact cream.
Transfer the mixture into a clean glass jar. Cover with plastic wrap and poke some holes to allow air circulation.
Let rest at room temperature for about 24 hours.
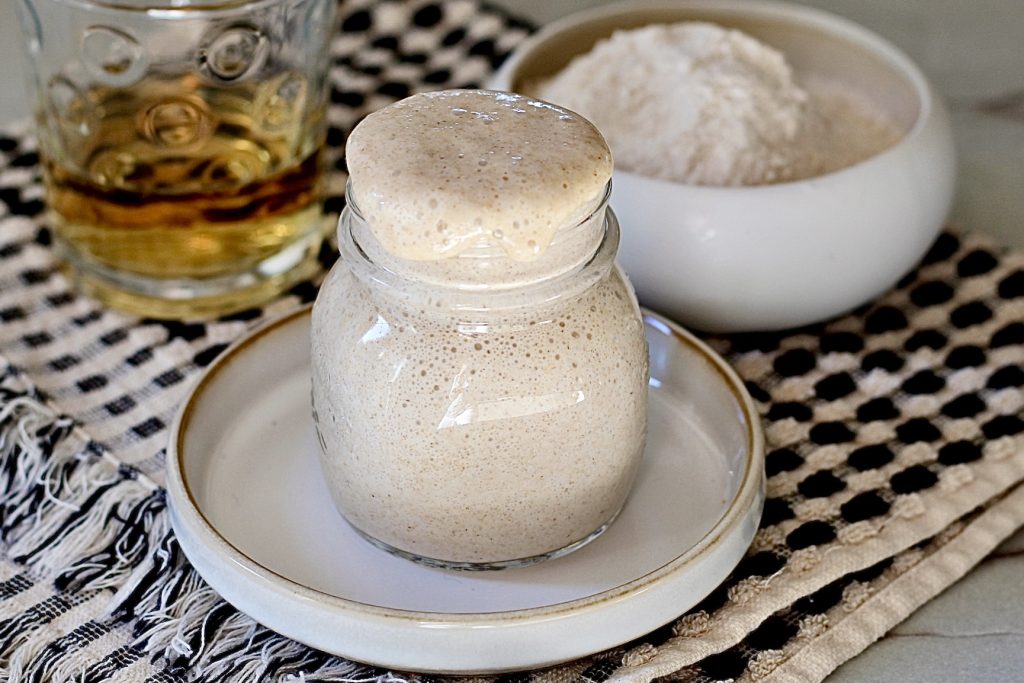
During this time you will notice small bubbles forming on the surface and inside the mixture: this is the sign that your homemade brewer’s yeast is starting to develop.
After 24 hours the mixture should be puffy, full of bubbles and have a gently fermented aroma, not sour. If activity is still weak, you can let it rest another 12–24 hours.
This artisanal fresh brewer’s yeast can be used directly in doughs. For 500 g (about 4 cups) of flour you can use the entire mixture, slightly adjusting the recipe liquids because the dough already contains beer. Rising times will be longer compared to store-bought compressed yeast, but the result will be more genuine and fragrant.
Never close the container completely airtight during the active phase: fermentation produces gas and could create pressure.
Storage of homemade brewer’s yeast
After the fresh brewer’s yeast has activated (full of bubbles and puffy), close the jar with a non-airtight lid or with plastic wrap and store it in the refrigerator at 39–43°F.
In this way you slow down fermentation and can keep it for 3–5 days.
👉 Before using it:
Take it out of the fridge at least 1–2 hours before.
If it appears a bit inactive, add 1 tablespoon of flour and 1 tablespoon of beer, stir and let rest 4–6 hours at room temperature.
IF YOU LIKE MY RECIPE RATE IT WITH MANY STARS
To not miss my recipes I WAIT FOR YOU on
INSTAGRAM over 100K followers and on
FACEBOOK over 80K followers
To always stay updated on my new recipes you have the possibility to ENABLE PUSH NOTIFICATIONS ON MY BLOG