Hello friends, today I present you this delicious red velvet cheesecake that you can make for any occasion, but especially during the summer to delight and refresh friends and family. The cheesecake version of the famous red velvet cake, really simple to make, and if you can’t find strawberries for decoration, just use raspberries or berries. Below you will find the recipe..

- Difficulty: Easy
- Cost: Economical
- Cuisine: Italian
Ingredients for the Red Velvet Cheesecake
- 4 eggs
- 1/2 cup granulated sugar
- 3 tbsp sunflower oil
- 3/4 cup all-purpose flour
- 1 tbsp unsweetened cocoa powder
- 1 tbsp red food coloring (decora)
- 1 tsp baking powder
- 1 tsp vanilla extract
- 1 pinch fine salt
- 7 oz mascarpone (Soft cheese like Philadelphia)
- 3/4 cup heavy cream
- 2 tbsp powdered sugar
- 5.3 oz strawberries (Or raspberries)
- 2 tbsp granulated sugar
- Half lemon juice
- 1 tsp cornstarch
- water
- whipped cream
- strawberries or raspberries
Tools
- 2 Bowls
- Electric whisks
- 1 Springform pan
- 1 Cake ring
- 1 Small saucepan
- 1 Immersion blender
- 1 Baking sheet
Steps for the Red Velvet Cheesecake
To make this wonderful red velvet cheesecake, first prepare the batter. In a large bowl, beat the eggs with the sugar and vanilla extract for 15 minutes until they become frothy and pale, add the red gel food coloring from the brand decora (I mainly recommend this food coloring because it’s the best at achieving the right color), also pour in the sunflower oil slowly and continue to whip. Finally, add the flour and unsweetened cocoa previously sifted with the baking powder and salt, and mix again with a spatula from the bottom up without deflating the mixture until you get a smooth and homogeneous mixture. Line a 12×16 inch rectangular pan or baking tray with dampened and squeezed parchment paper and pour the mixture, leveling it well with a smooth spatula. Bake in a preheated static oven at 356°F for about 15 minutes. Do the toothpick test, and carefully remove the parchment paper from the base and lay it on a tray.

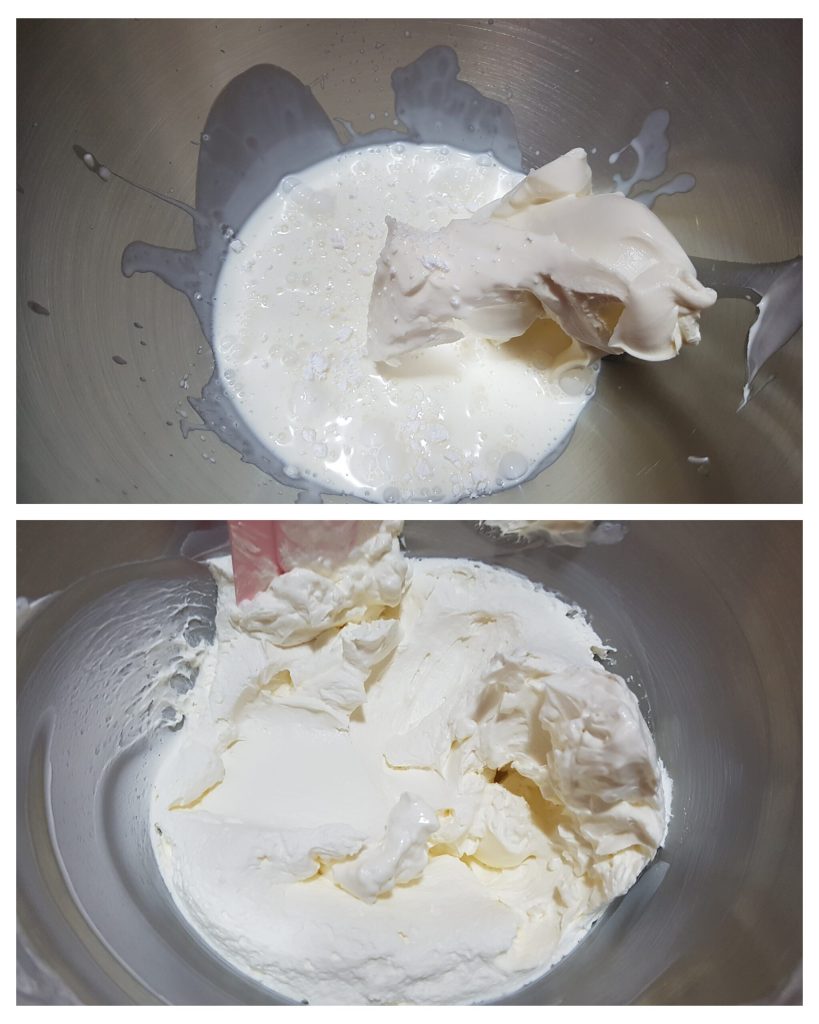
In a bowl, whip with electric whisks the well-chilled mascarpone from the fridge with the fresh cream and powdered sugar until you get a frothy cream.
When the base is now cold, use an 18-20 cm ring to cut out a disk. Use the 12 cm cake ring to cut out the other disk. Set aside.

Place the larger disk inside a springform pan. If you want, soak the base with some milk or an alcoholic soak and place the cheesecake cream. Finally, place the smaller disk in the center of the filling. Freeze to set for 2-3 hours.

In a pan, pour the strawberries previously cut into cubes and add the lemon juice, granulated sugar and mix, add a splash of water and place on low heat to cook for about ten minutes. Lastly, dissolve a teaspoon of cornstarch in a splash of water and pour into the mixture. Mix carefully, and when the strawberries are creamy and soft, turn off and let them cool completely. Finally, blend them using an immersion blender to make them creamy. If it’s not strawberry season, you can definitely use fresh raspberries or red fruits or berries.

Take the cheesecake out of the freezer and gently unmold the ring with the help of a hairdryer pass, also remove the parchment paper and place the cheesecake on a serving plate. Transfer the cheesecake to the fridge to acclimate for 1 hour. Take it out of the fridge and decorate the surface with the strawberry puree, which will be placed in the center on the small red disk and decorated with whipped cream and strawberries. And here it is ready.

I hope you like this last recipe of mine, see you next time, friends.

-
STORAGE, TIPS AND NOTES
The cheesecake can also be prepared in advance and stored in the fridge for 2 days. The strawberry puree can be replaced with strawberry jam or simply replace the strawberries with raspberries or mixed berries.
If you want to visit my Facebook page https://www.facebook.com/pasticceraPerPassione/
If you want to return to the homepage https://blog.giallozafferano.it/rosly/
