Apple chiffon cake, or rather apple juice chiffon cake, I couldn’t decide whether to make an apple pie or a chiffon cake, so I thought of combining them into one dessert. Chiffon cake is an American dessert that originated in Los Angeles in the 1920s. Its inventor was an insurance agent with a passion for baking, so he spent some time studying and perfecting this extraordinary cake until he achieved the final result we all know, with possible modifications. The chiffon clearly states how soft it is, like the silk it is named after.

- Rest time: 1 Hour
- Preparation time: 30 Minutes
- Portions: 10
- Cooking methods: Oven
- Cuisine: American
- Seasonality: All seasons
- Energy 359.28 (Kcal)
- Carbohydrates 55.42 (g) of which sugars 33.92 (g)
- Proteins 6.83 (g)
- Fat 13.75 (g) of which saturated 2.66 (g)of which unsaturated 10.54 (g)
- Fibers 0.95 (g)
- Sodium 81.11 (mg)
Indicative values for a portion of 110 g processed in an automated way starting from the nutritional information available on the CREA* and FoodData Central** databases. It is not food and / or nutritional advice.
* CREATES Food and Nutrition Research Center: https://www.crea.gov.it/alimenti-e-nutrizione https://www.alimentinutrizione.it ** U.S. Department of Agriculture, Agricultural Research Service. FoodData Central, 2019. https://fdc.nal.usda.gov
Ingredients
- 6 eggs
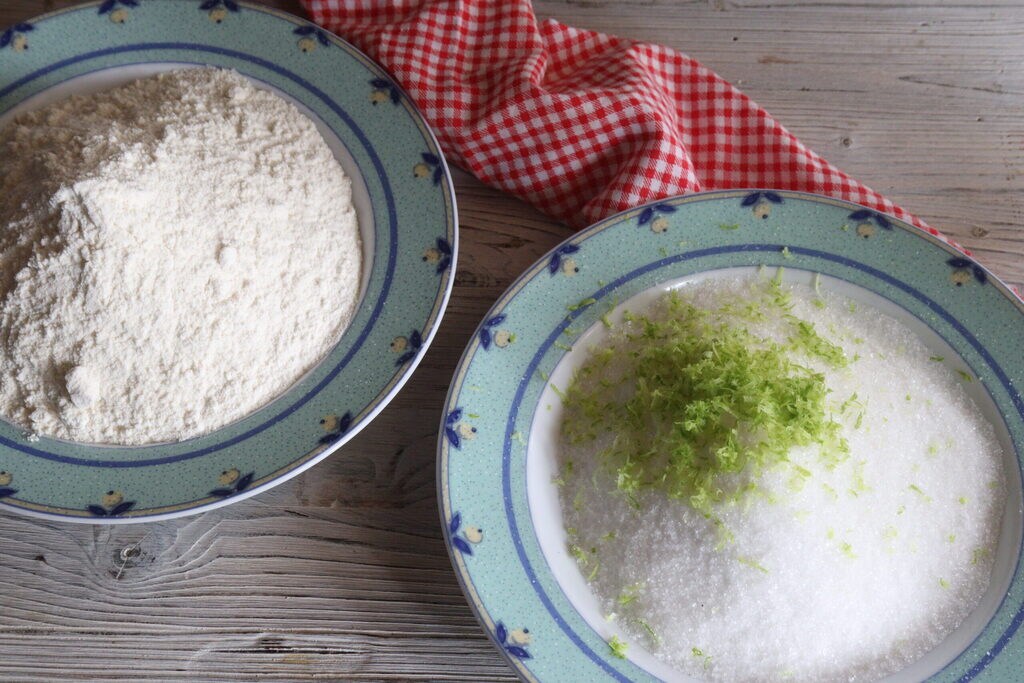
- 10.23 oz sugar
- 2.42 cups all-purpose flour
- 0.5 cup vegetable oil
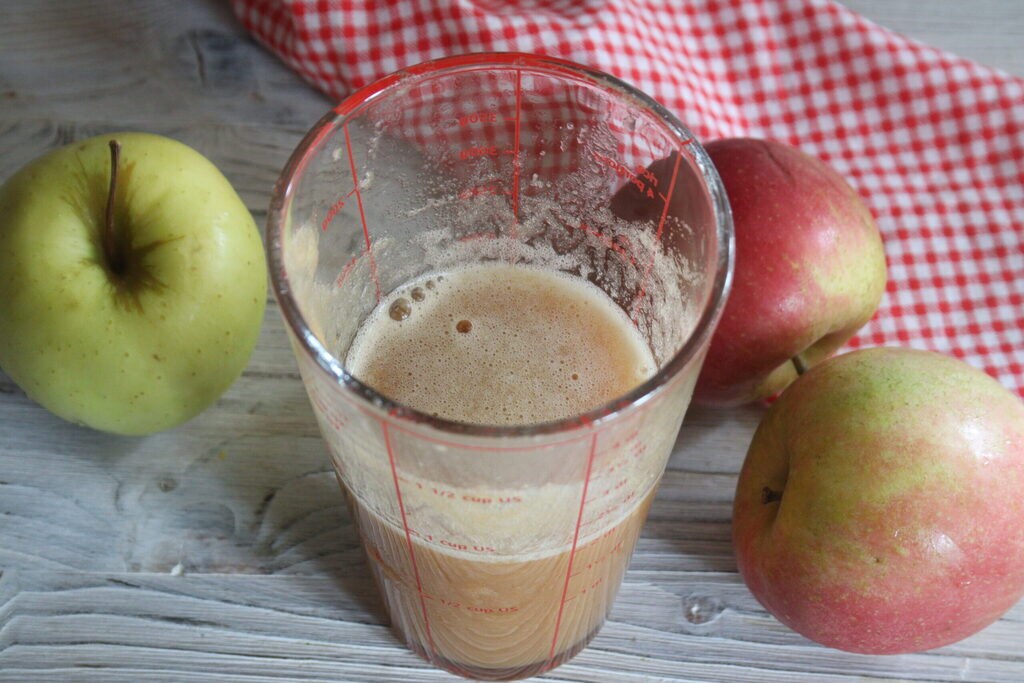
- 0.88 cup apple juice (with juicer)
- 1 lemon (zested)
- 1 packet cream of tartar
- 1 packet baking powder
- 1 pinch salt
- to taste powdered sugar
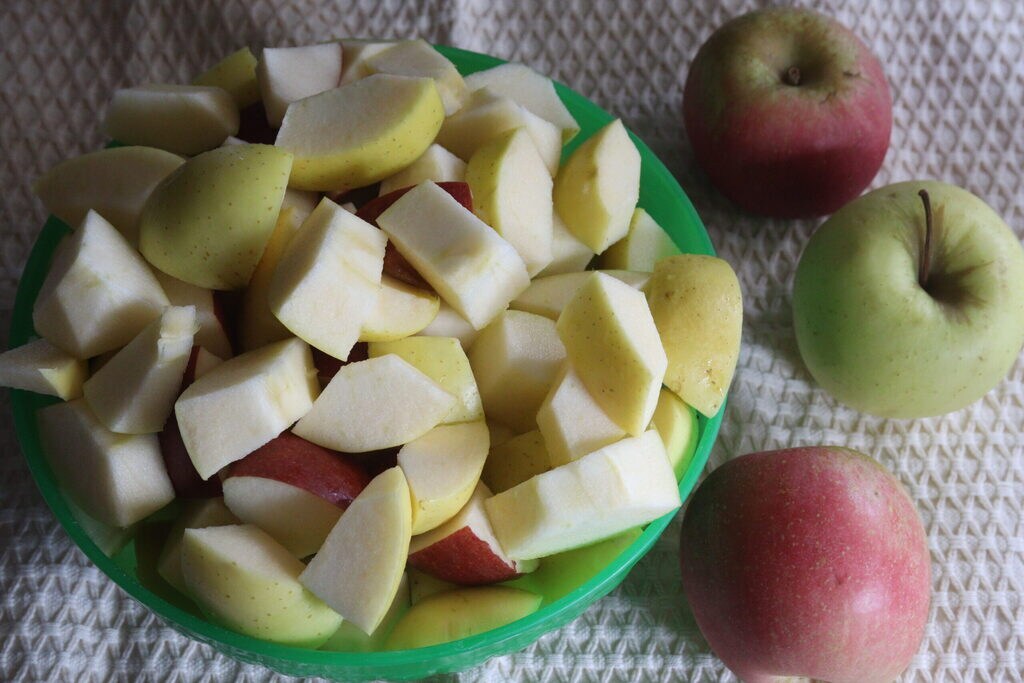
- 1 apple
Tools
- Stand Mixer
- Juicer
- Mold for chiffon cake
- Grater
- Spatula
- Bowl
- Mandoline
Steps
The first thing I usually do when making desserts is to zest the lemon over the sugar so it starts to aromatize with the lemon essential oil.
I cut the apples into pieces without peeling them; you will need at least 700 grams (25 oz).
and with the juicer I extract the juice, of course you can also use store-bought apple juice if you prefer.
In the stand mixer, I beat the egg whites with a pinch of salt and a packet of cream of tartar for at least 10 minutes until stiff peaks form. Once the egg whites are ready, remove them and without washing the mixer, put the sugar, flour, and baking powder in and mix for a few seconds to combine. Add the apple juice, oil, and eggs and mix well with the whisk for a few minutes.

With the spatula, gently fold the egg whites into the batter from the bottom up.

Preheat the oven to 320°F and in the meantime, peel an apple and slice it with the mandoline.

Pour the batter into the chiffon cake mold, no need to butter and flour. If you don’t have a chiffon cake mold at the moment, you can use a tall bundt pan.

Scatter the apple slices randomly over the chiffon cake. Bake at 320°F for 50 minutes. After the time elapses, increase the oven temperature to 340°F for another 10 minutes.

As soon as the apple chiffon cake is ready, remove it immediately from the oven and

invert it until it cools down and

then you can remove it from the mold. Use a sharp knife to loosen the edges of the chiffon cake.


And here it is, ready and delicious, the apple chiffon cake