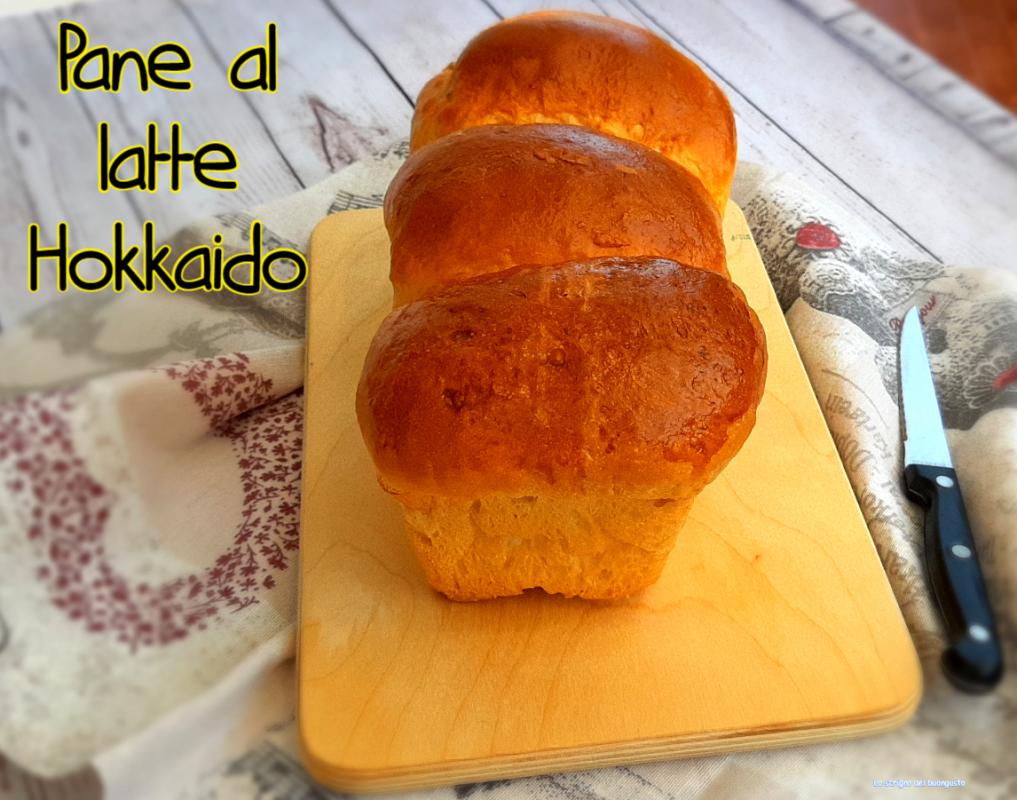
Hokkaido Milk Bread is a very soft and light bread, thanks to the method called Tang Zhong, a kind of pre-dough similar to béchamel sauce.
A semi-sweet bread, great with some good jam, but also good to accompany the table with cold cuts. It is a very versatile bread.
An Asian bread widely used there, in fact, it is easily found in their bakeries.
A really simple bread to make, and like all leavened products, it takes time to achieve the best result with the right leavening and softness.
A bread that will stay soft for a few days, but I’m sure it will be gone quickly, it’s too good to leave it in the pantry!
If you make this or any of my other recipes on my blog, feel free to send me your photos, and I’ll post them on my fb page under your name.
Approx. 1550 Kcal per bread

- Difficulty: Easy
- Cost: Economical
- Rest time: 3 Hours
- Preparation time: 20 Minutes
- Portions: 2 Pieces
- Cooking methods: Electric oven
- Cuisine: Asian
- Seasonality: All seasons
Ingredients for Hokkaido Milk Bread
- 1/3 cup manitoba or all-purpose flour
- 3/4 cup whole milk
- 4 1/2 cups Manitoba flour
- 1 1/8 cups cold whole milk
- 1 medium egg
- 1/4 cup sugar
- 2 1/2 tsp salt
- 2 tsp fresh yeast
- 1/4 cup butter at room temperature
- pre-dough
- 1 egg yolk
- 2 tbsp milk
- 1 Loaf pan loaf pan
Preparation of Hokkaido Milk Bread
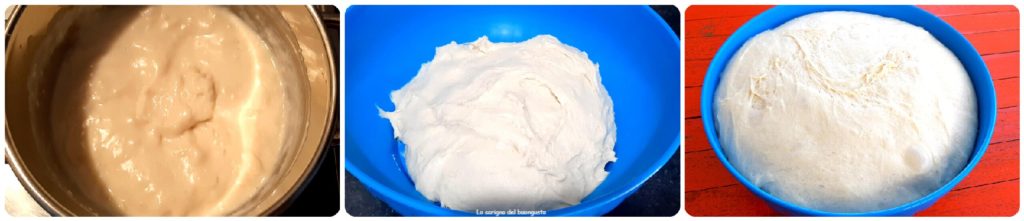
In a saucepan, place the 1/3 cup of flour and add the 3/4 cup of milk a little at a time, stirring until all the milk is incorporated without forming lumps. Then place on low heat and cook until a thick cream forms.
Remove from heat, let it cool a bit, then cover with cling film touching the cream and refrigerate.
Prepare the dough by setting up the mixer with the K-hook, add the flour, sugar, salt and mix for a few seconds. Then add the crumbled yeast, egg, milk and pre-dough.
Mix everything for a couple of minutes.
At this point, add the softened butter a little at a time, mixing after each addition. Mix well until the dough detaches from the sides.
Change the hook, replacing the K-hook with the dough hook, and work the dough starting from low speed gradually increasing to ensure it binds well.
Place the dough in a large container and let it rise covered in a warm place for about 2 hours.
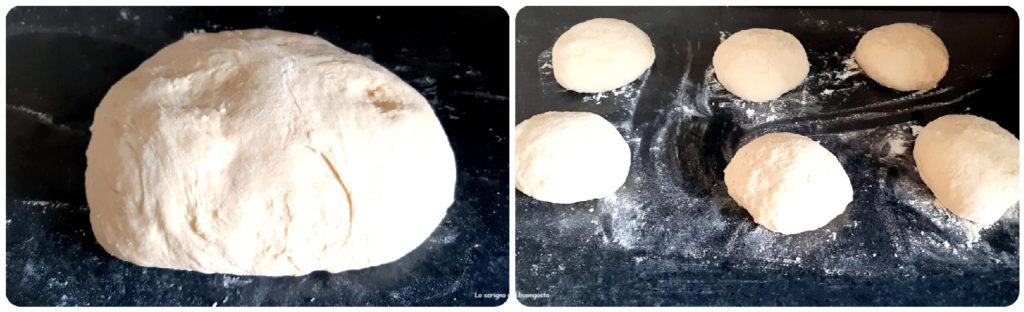
Once risen, place the dough on a lightly floured work surface, then divide it into 6 parts of 200 g each, form balls and let them rest covered for 20 minutes.
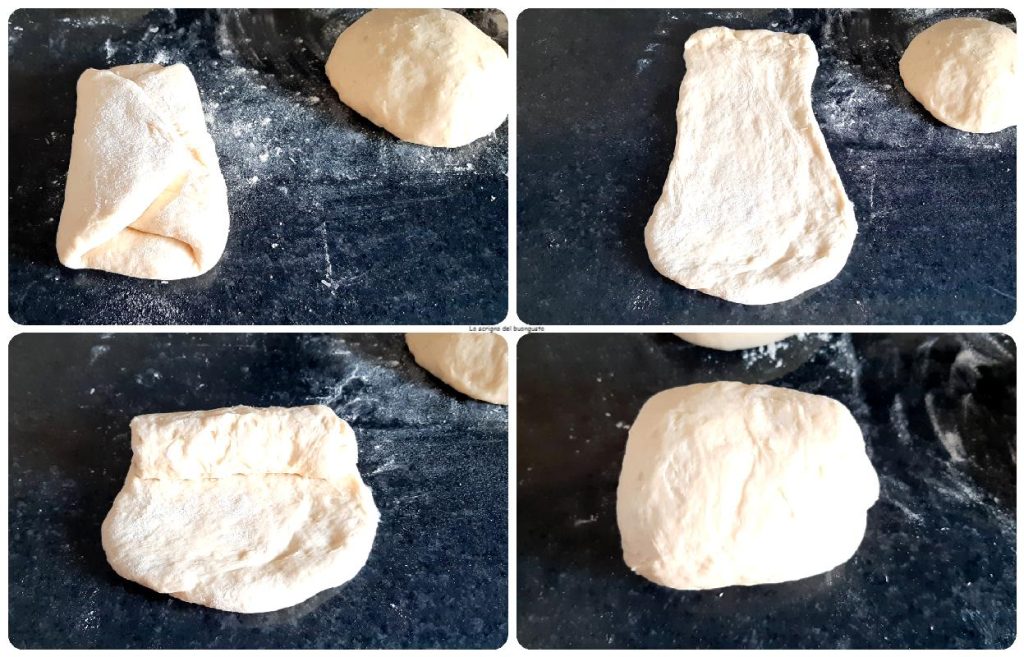
After the time has passed, extend each ball into an oval shape, bring the two ends towards the center,
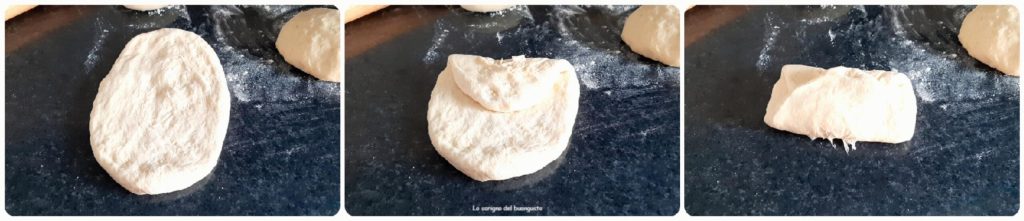
then turn the dough a quarter and extend it again creating an oval, roll it on itself sealing the roll well with your hands.
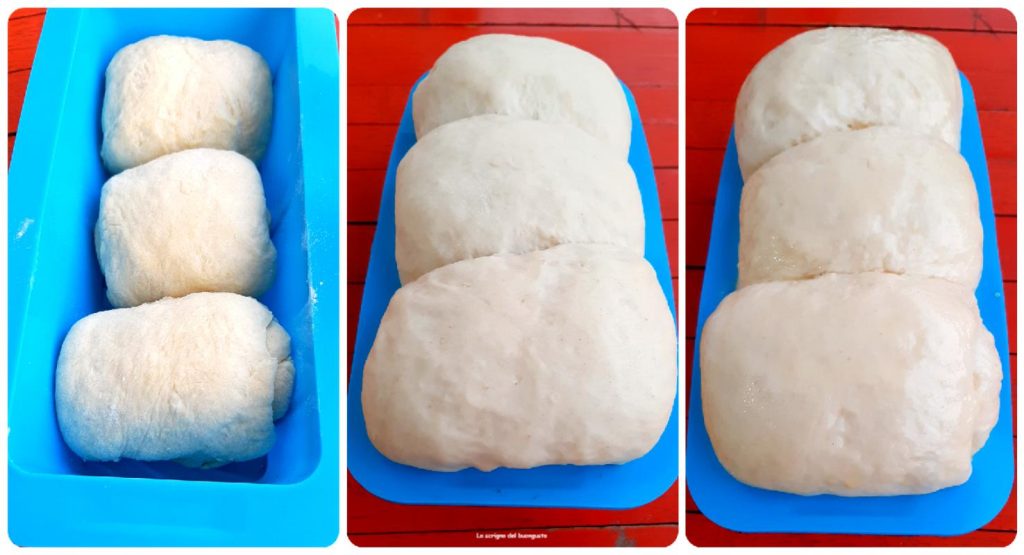
Prepare 2 loaf pans, buttered and floured, or lined with parchment paper. I used one silicone and one steel, so I adjusted accordingly.
Place 3 rolls in each pan and let them rise covered in a warm place for about 1 hour. Then prepare a beaten egg yolk with milk and brush the surface of the bread.
Preheat the oven to 338°F, place a saucepan with water in the oven, and bake the 2 loaves for 30-35 minutes, checking for doneness.
Once baking is complete, remove the bread from the oven and let them cool before removing from the pan.
Follow me on Facebook Pinterest Twitter Instagram YoutubeTelegram
If you want to stay updated, subscribe to the newsletter by clicking here