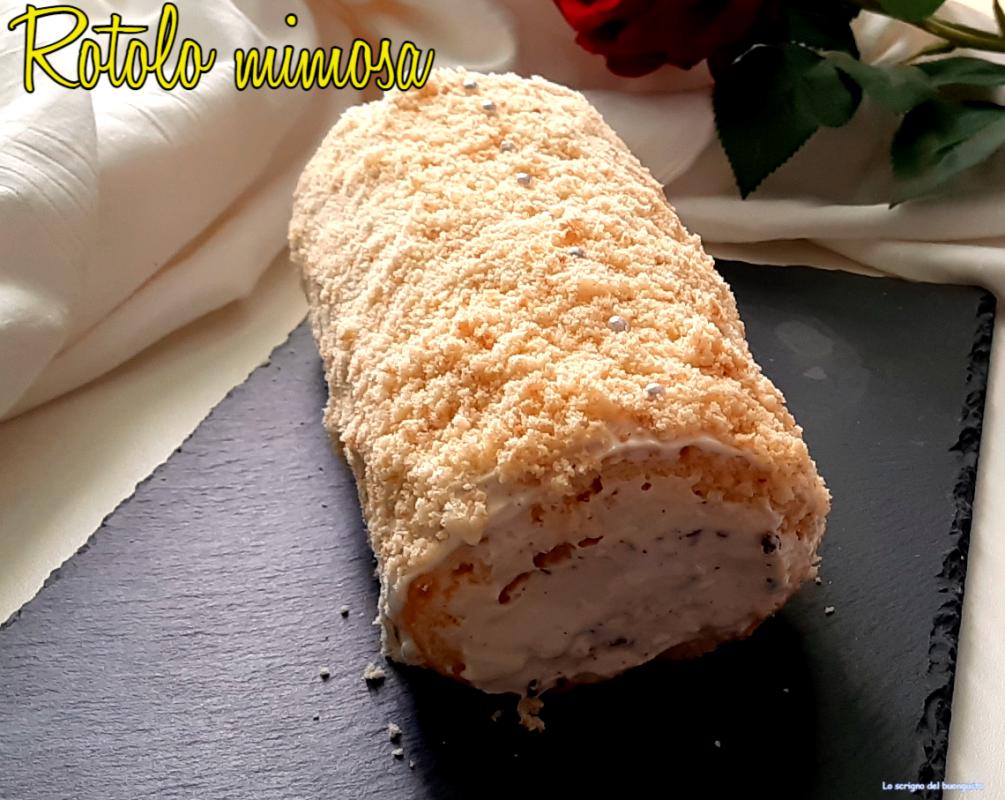
The Mimosa roll is a recipe I had been thinking of making for a while, but having seen several photos online and not wanting to do something already done, I decided to fill it differently.
Of course, inside I couldn’t miss the dark chocolate, yes, I shredded the chocolate and added it to the filling cream… too good.
Speaking of the fact that the filling has a custard base, you can keep the roll in the fridge and consume it within 3 days.
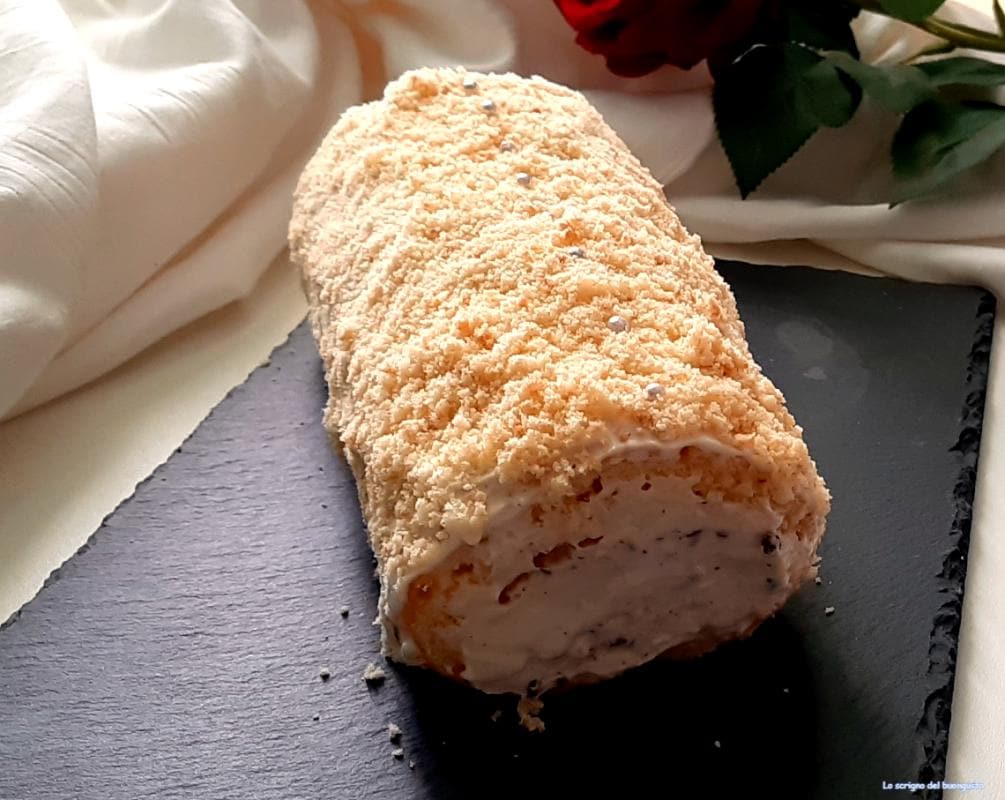
As you can see from the photos, during the various stages of processing the roll is quite long, so for the final photo, I cut and reduced it.
I believe this recipe is really a tasty idea to make for Women’s Day, so make it yourself too!!!
If you make this or any of my other recipes on my blog, feel free to send me your photos and I’ll put them on my FB page in your name.
About 295 kcal per person
- Difficulty: Medium
- Cost: Medium
- Rest time: 1 Hour 30 Minutes
- Preparation time: 20 Minutes
- Portions: 8 people
- Cooking methods: Electric oven
- Cuisine: Italian
- Seasonality: Winter, Spring, Women's Day
Ingredients for making the Mimosa Roll
Ingredients for the vanilla cream
- 0.88 oz egg yolks
- 1.42 cups whole milk
- 1 tablespoon 1/2 of sugar
- 1 tablespoon and 1/2 of cornstarch
- 1 1/2 teaspoon of liquid vanilla
- 1.06 oz 70% dark chocolate
- Vanilla cream
- 2.11 oz Hopla cream
- 6 medium eggs
- 5.29 oz sugar
- 5.29 oz flour 0
- 1 pinch baking powder for sweets
- grated peel of ½ lemon
- 1 pinch of yellow food coloring (optional)
Preparation of the Mimosa Roll
Preparation of the filling
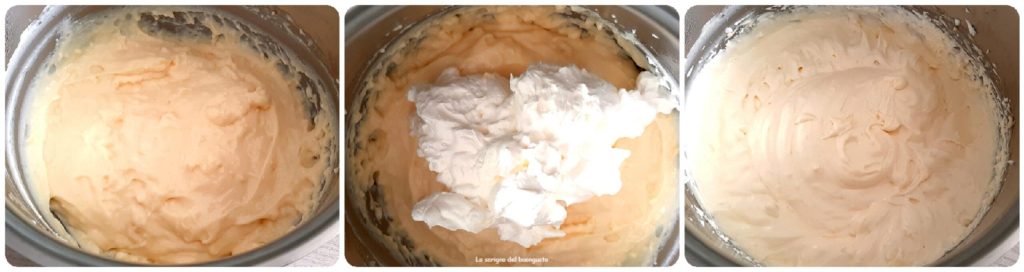
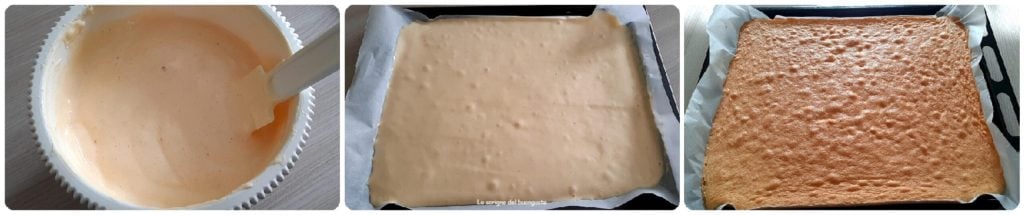
In a saucepan, put the yolks, sugar, whole milk, cornstarch, vanilla, and blend everything with the dessert mixer, then put it on medium heat and start cooking, stirring constantly.
When the cream is thick enough and you can see the bottom while stirring, it means the cream is cooked just right.
Let it cool in another container, and when it has cooled, put it in the fridge for at least an hour before adding the cream.
When our cream is cold enough, whip the cream and add it to the vanilla cream, mix well and put in the fridge.
Preparation of the base for the roll
In the dessert mixer, put the eggs and sugar and work them at high speed until you get a fluffy mixture.
At that point, we will add the baking powder, grated lemon peel, and mix well.
Add the flour little by little, mixing by hand to not deflate the mixture.
Once the dough is obtained, prepare the oven tray by lining it with parchment paper, pour the mixture, and level it.
Bake in a preheated oven at 338°F for 15-17 minutes.
While the roll is baking, cut the dark chocolate into flakes and set it aside.
Final preparation
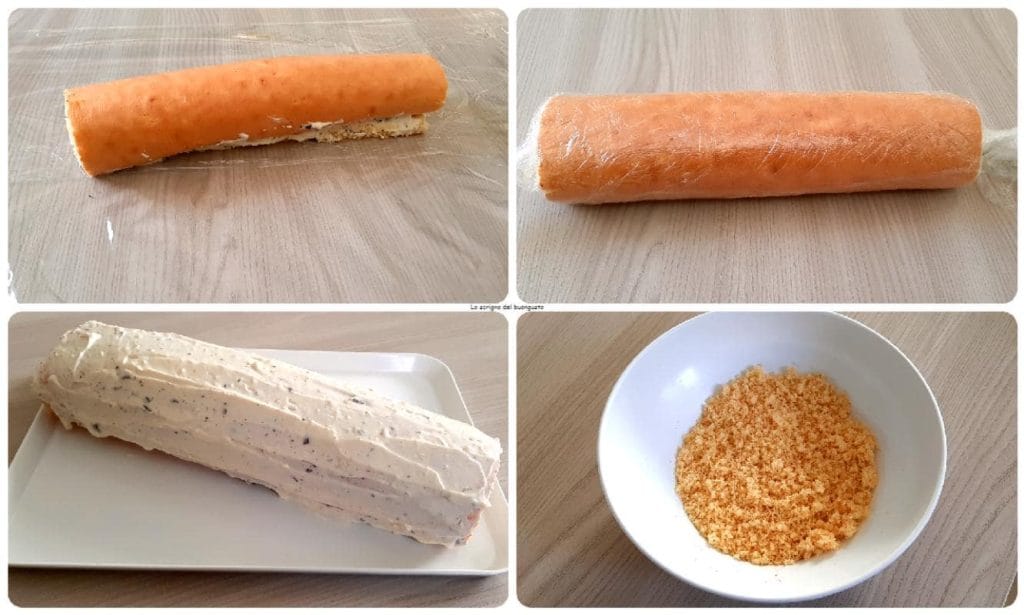
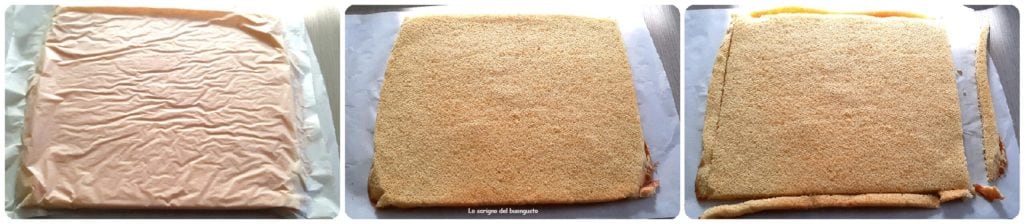
Once the roll base is baked, let it cool for a few minutes, then place a sheet of parchment paper on the worktop, flip the baked roll over it, and slowly remove the baking parchment paper.
Cut off a finger of dough from each side of the roll base and set it aside, it will serve for the final garnish.
In this case, I decided not to wet the base because it was very soft, and indeed once filled it did not feel the need to wet it, but if you want, of course, you can do it, maybe with a bit of rum and water.
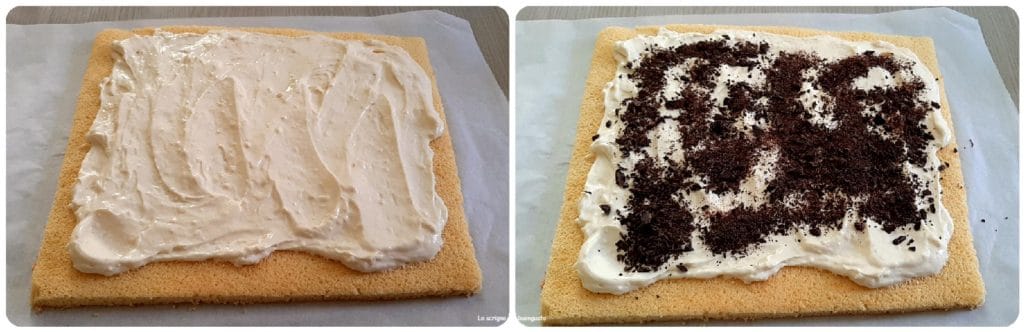
At this point, we pour the chantilly cream on the roll base, leveling well and leaving about a finger from the edge, keeping 2-3 tablespoons of cream aside for the finishing.
Sprinkle the surface with dark chocolate flakes
Roll the roll onto itself from the longest side.
Once the roll is closed well, place it on plastic wrap and wrap it well inside, put it in the fridge for at least 30 minutes before the final decoration.
After the time has passed, take the roll, spread the remaining cream on it, covering it well, then blend the dough scraps of the roll base set aside, I forgot to put a pinch of coloring on the crumbs obtained for the roll finish, I would have liked it a bit more colorful.