Solina bread from L’Aquila in the bread maker is generally a longer preparation, but I shortened the time by making it in the bread maker.
Solina bread from L’Aquila has ancient origins, and this type of bread was strictly baked in a wood-fired oven, but today we obviously have to make do with the traditional ovens we have at home.
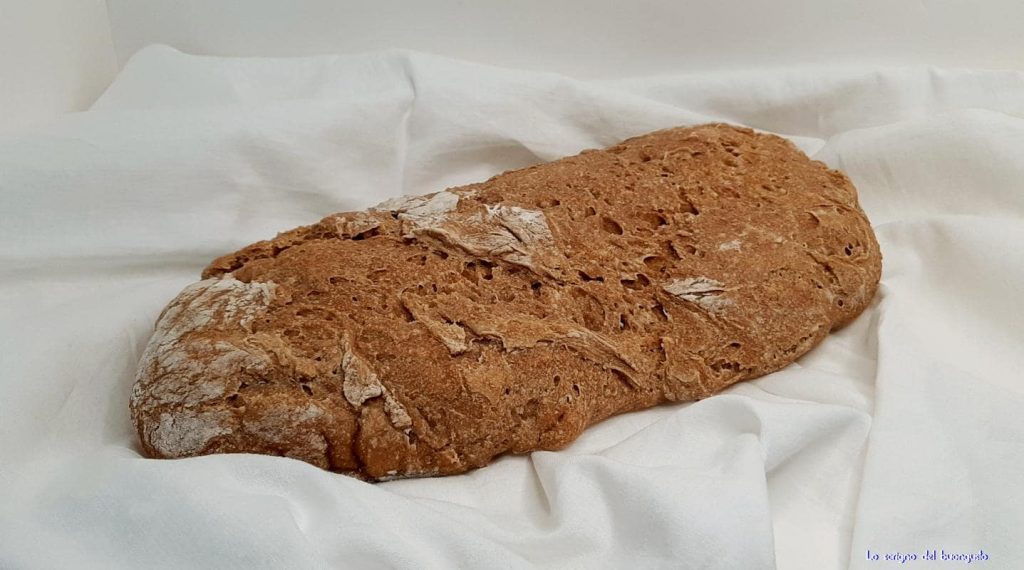
The loaves of bread were very large, and I made a batch to create a not-too-large loaf, but generally, they could reach up to 7 lbs.
Another particular aspect of this bread is the type of flour used, solina flour, obtained from grains that are produced only in some colder areas of Abruzzo, a grain that, unlike classic ones, is harvested and processed in colder months.
A grain capable of staying for a long time under the snow and at low temperatures, it can be cultivated from 2000 to 4600 feet altitude, and the higher the altitude, the better the quality.
Solina flour is very rustic and suitable for manual processes like bread and homemade pasta, but this time we gave it another way to make bread in our bread machine Croustina Panasonic.
Solina flour has a very low gluten content.
Of course, you can make the dough with any bread machine, or with a stand mixer or even by hand, adding the ingredients as described, and if you’re not using the bread maker, add the liquids with the yeast first, then some of the flour, the rest of the ingredients, and the remaining flour.
So, let’s replicate the recipe, and if you do, feel free to send me your photos, and I’ll post them on my FB page in your name!
Kcal 3207 for the whole loaf
- Difficulty: Easy
- Cost: Medium
- Rest time: 18 Hours
- Preparation time: 45 Minutes
- Portions: 1 loaf
- Cooking methods: Electric oven
- Cuisine: Italian
- Seasonality: All seasons
Ingredients to Make Solina Bread from L’Aquila with the Bread Maker
- 2 1/8 cups water (COLD)
- 0.105 oz fresh brewer's yeast
- 2.1 oz potatoes (boiled)
- 14.6 oz solina flour (available in colder areas of Abruzzo or online)
- 0.46 oz salt
- 17.6 oz all-purpose flour
Preparation of Solina Bread from L’Aquila with the Bread Maker
First, peel the potatoes, wash them, and cut into pieces; meanwhile, arrange the ingredients in the bread maker, or knead by another method.
In the bread machine’s basket, insert the kneading blade, add the cold water, crumbled brewer’s yeast, and solina flour; once the potatoes are ready, drain and mash them well before adding them to the basket.
Next, add the salt and all-purpose flour, insert the basket into the bread machine, and start the kneading program; on my machine, it’s button 17.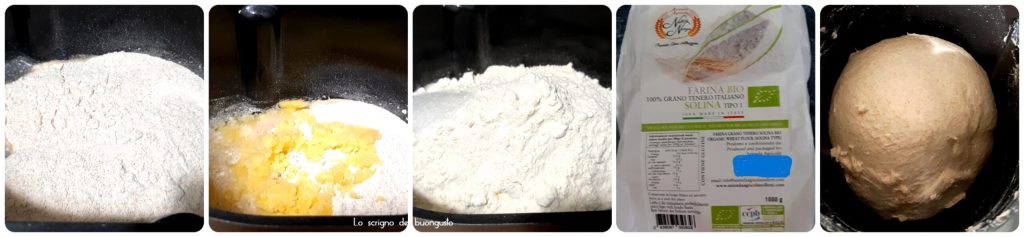
Once the processing in the machine is complete, transfer the dough to a large container, shaping it with your hands into a ball.
Cover and let rest for 1 hour, and during this hour, every 20 minutes, take the dough and try to roll it onto itself to recreate a ball.
After that, place the dough in the fridge for 12 hours; if you prepare the dough in the late afternoon, it will rest all night, and the next morning everything will be completed.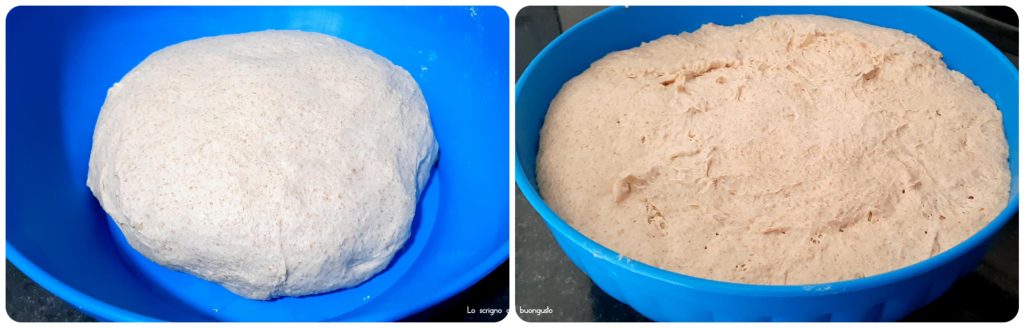
After 12 hours, take the dough and let it rise at room temperature in the bowl until it doubles, which will take about 3 hours. When the rising is complete, pour the dough onto a floured baking sheet, or on a floured work surface, and once everything is done, we will transfer it to a baking sheet.
Fold the dough onto itself as shown in the photo, then create a ball…
….flatten it and then with your hands spread it well, then take the dough and fold it towards the center, then take the other half and fold it towards you to create a loaf.
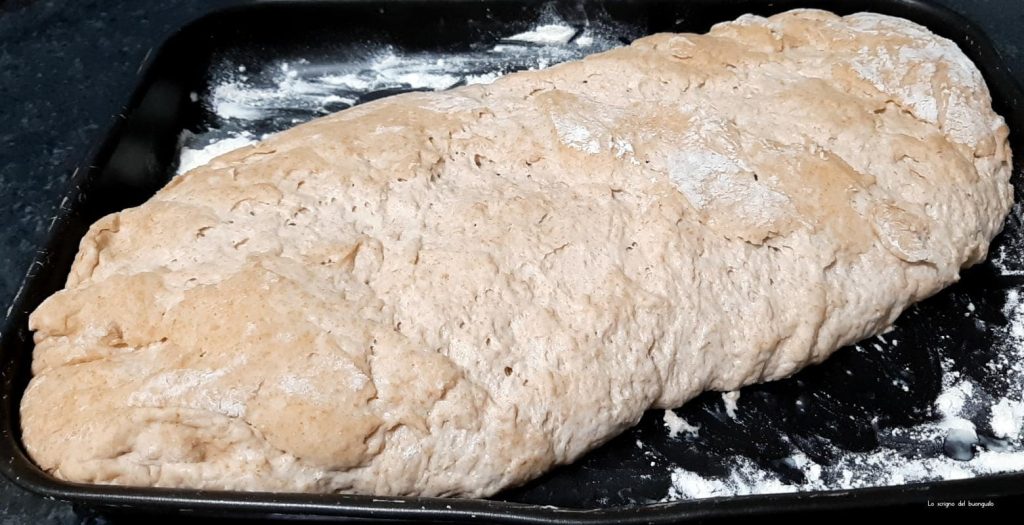
Shape the obtained loaf with your hands, I then placed it diagonally in the baking sheet to have more space in length and less in width.
If you have a long and narrow baking sheet, it will work better, so the bread will spread less and rise higher.
At this point, we can create cuts on the surface of the bread if we want and let it rise again, perhaps in the turned-off oven for about 2 hours.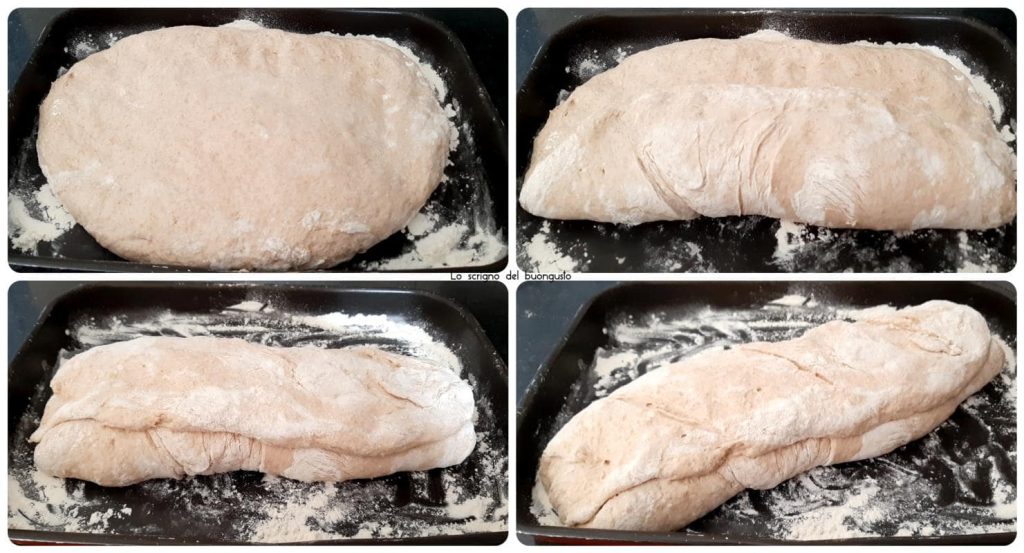
Once the rising is complete, bake in a hot oven at 392°F for about 50 minutes.
When it has finished baking, place it upright and let it cool for about 4 hours.
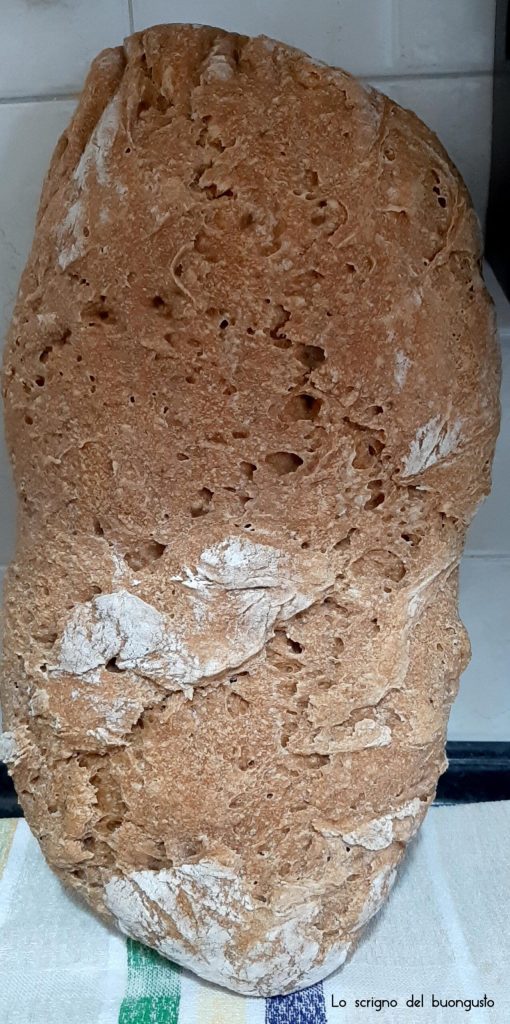
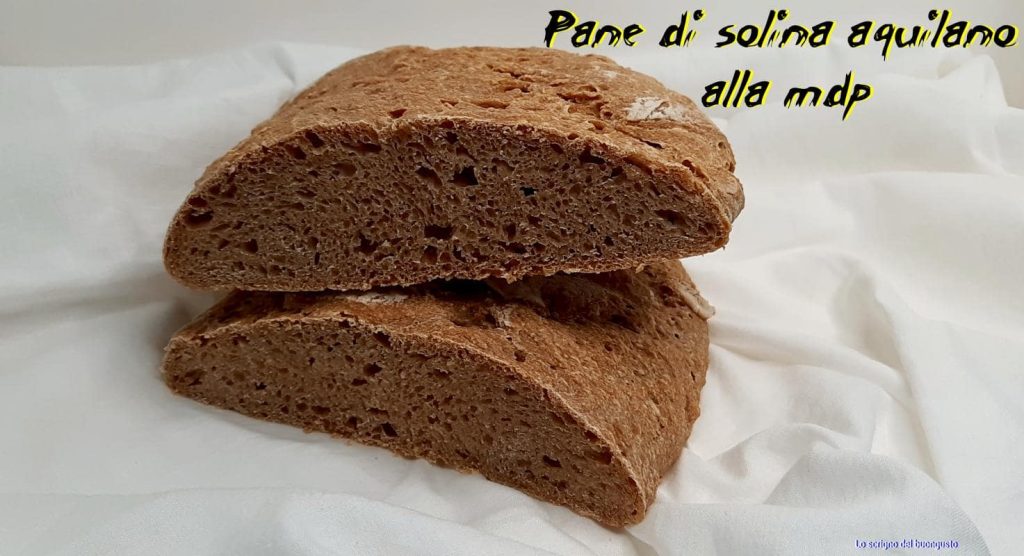
Once cooled, it will be ready to be sliced… it can be stored in a plastic or paper bag.
The result will be a soft bread inside with a more or less crispy crust outside, depending on how our oven bakes.