Making bread typically requires a stand mixer or food processor, both to make the work easier and to achieve optimal gluten development. But there’s a solution for those who can’t or don’t want to use those tools: no-knead sourdough bread. As you’ll see, a bowl and a spoon are enough to mix the dough without too much effort. It’s a method also suitable for people who may not be able to use too much “elbow grease” for physical reasons: just two folds and the dough does the rest!
If you prefer, you can also take a look at my collection of sourdough bread recipes to get inspired. I often make the no-knead bread when I’m in Tuscany for a short time and I don’t bring my mixer… because yes, on vacation I bring half my kitchen! 😁 So if you want to try shaping an easy, quick loaf, tie on your apron, prepare your tools, and let’s mix!
- Difficulty: Very easy
- Cost: Very inexpensive
- Rest time: 12 Hours
- Preparation time: 10 Minutes
- Cooking time: 1 Hour 10 Minutes
- Cooking methods: Oven
- Cuisine: Italian
- Energy 139.48 (Kcal)
- Carbohydrates 28.90 (g) of which sugars 0.14 (g)
- Proteins 4.22 (g)
- Fat 0.17 (g) of which saturated 0.00 (g)of which unsaturated 0.00 (g)
- Fibers 1.11 (g)
- Sodium 248.43 (mg)
Indicative values for a portion of 50 g processed in an automated way starting from the nutritional information available on the CREA* and FoodData Central** databases. It is not food and / or nutritional advice.
* CREATES Food and Nutrition Research Center: https://www.crea.gov.it/alimenti-e-nutrizione https://www.alimentinutrizione.it ** U.S. Department of Agriculture, Agricultural Research Service. FoodData Central, 2019. https://fdc.nal.usda.gov
Ingredients
This no-knead sourdough recipe is very versatile. You can use any flours you like, but pay attention to hydration and the strength of each flour. If you don’t know the flour’s W (an indicator of strength), choose flours with at least a decent protein content. I chose a mix of semolina (which usually has a low W) and a type 2 flour from Mugello with 12 g of protein. Type 2 flour has a high absorption capacity, so if you use more refined flours, I recommend keeping a little extra water on hand and adding it gradually.
- 2 cups semolina flour
- 1 2/3 cups type 2 flour (from Mugello)
- 1 1/2 cups water
- 1/2 cups sourdough starter (fed and doubled)
- 1 1/2 tsp diastatic barley malt
- 1 1/3 tsp salt
Tools
As I mentioned, the tools for mixing are usually found in every home. To shape the bread, if you don’t have a proofing basket you can still use a plastic colander lined with a cotton tea towel.
- 2 Bowls
- 1 Wooden spoon
- 1 Fork
- 1 Sieve
- 1 Lid
- 1 Work surface
- 1 Proofing basket
- 1 Bread lame
- 1 Baking stone
- 1 Saucepan
- 1 pizza peel
Steps
Preparing this bread is very simple. You can start in two ways: either (as I did) begin with an autolyse, or skip that step and mix the flour directly into the dissolved starter.
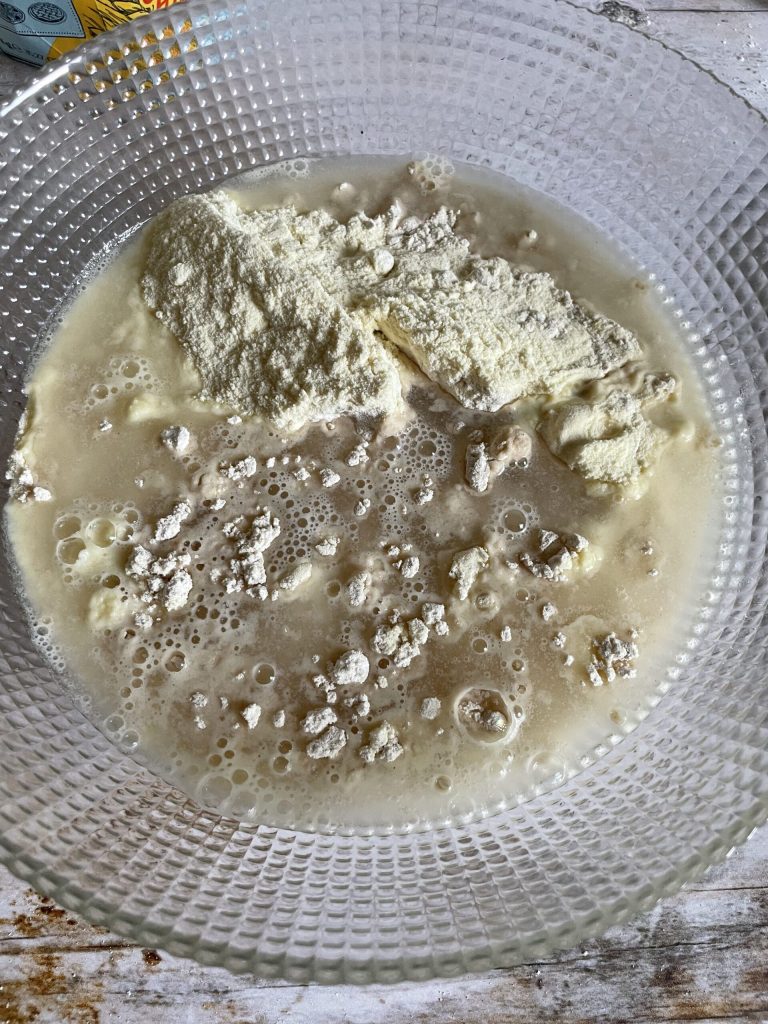
In a bowl, pour in the sifted flour mix and add 200 grams of water to start the autolyse.
Stir roughly with a spoon for two or three minutes so the flour absorbs the water, then cover. Let rest for a minimum of 30 minutes up to a maximum of two hours at room temperature.
The autolyse is a pre-mix that helps gluten development before the actual dough mixing. For breads that are not mechanically worked (as in this case), it is very useful because it helps the dough structure. As I said, you can skip it if you’re short on time, though it’s an important step.
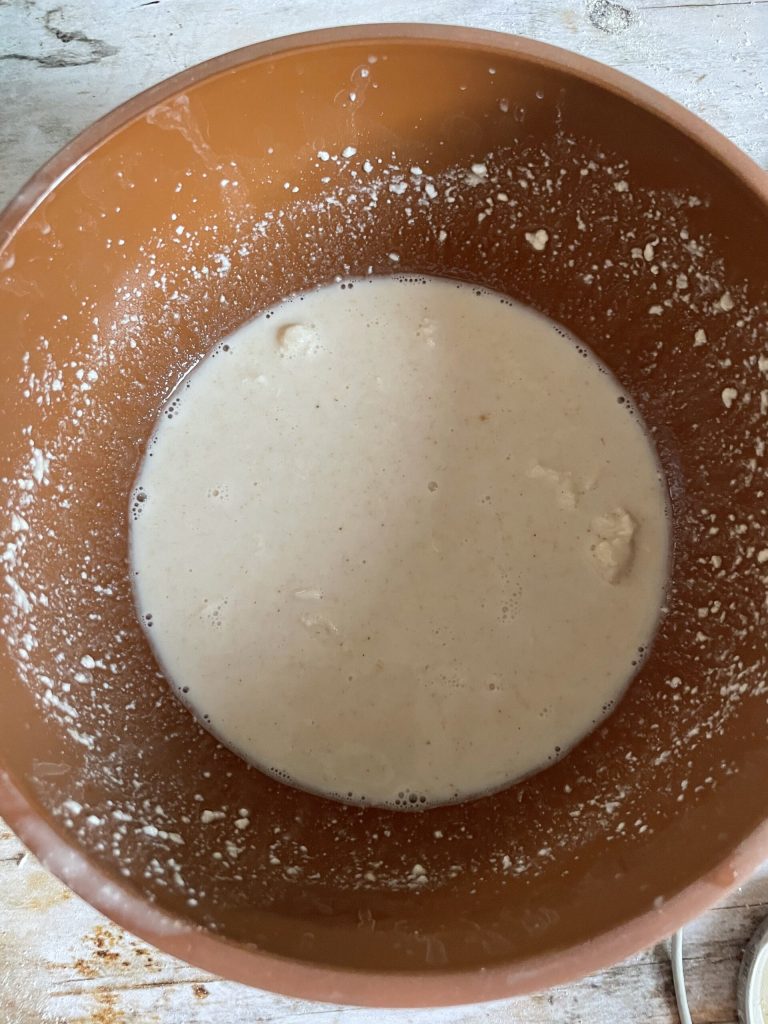
In another bowl, break up the sourdough starter and, with a fork, dissolve it in 100 grams of water, adding the malt (or sugar). It does not need to be completely dissolved.
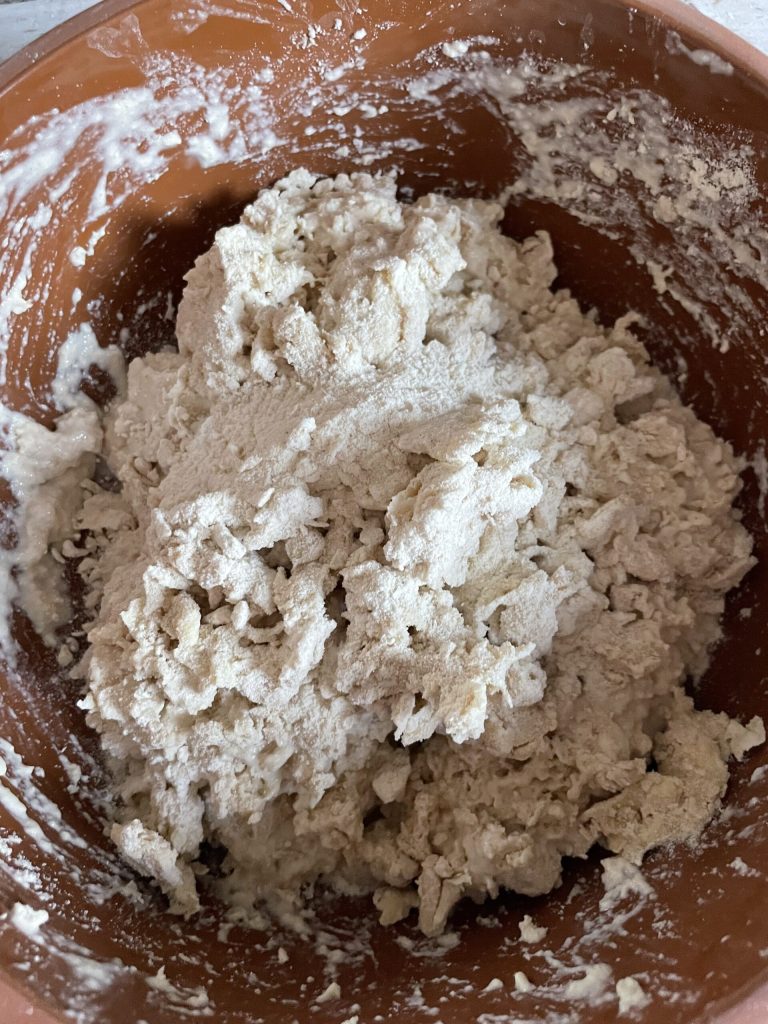
Then start incorporating the autolyse mixture in several additions, mixing with the help of the spoon.
After finishing adding the pre-ferment, add the salt and the last 50 grams of water, which will help dissolve the salt and better hydrate the dough.
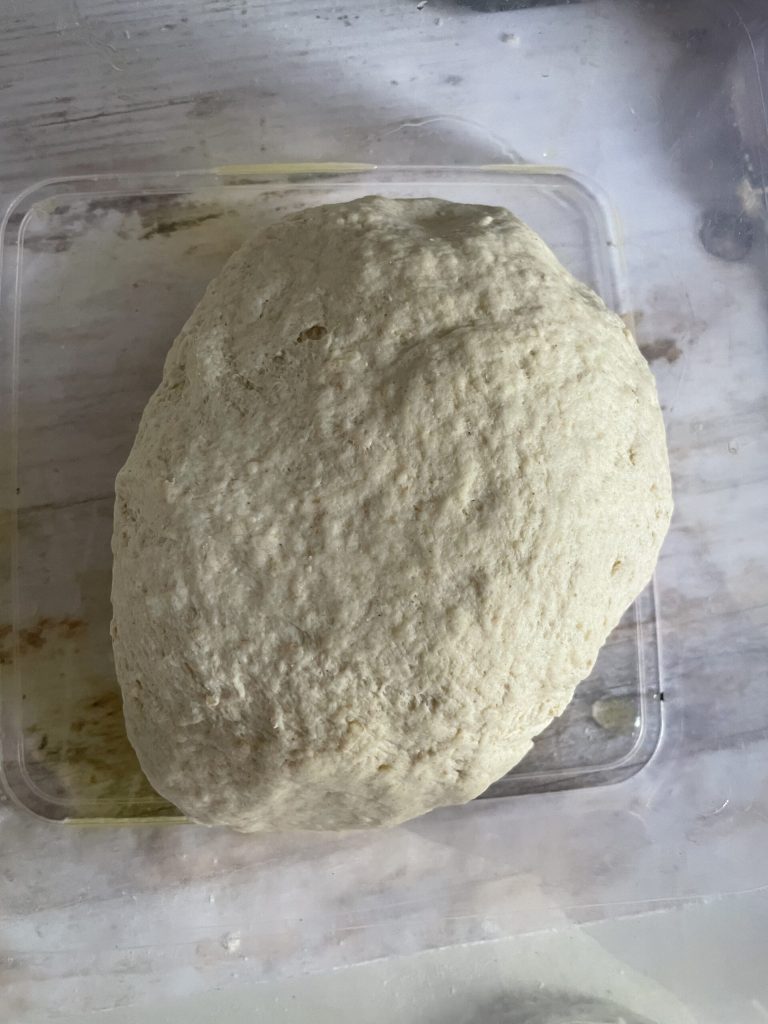
At this point it will be hard to continue working the dough in the bowl. After transferring it to a floured work surface, finish combining it and shape it into a round.
As you can see in this photo, the final dough should look rustic and lightly worked; the whole shaping process should take no more than 5 minutes. Put the mass in a lightly oiled container with a lid and place it in the refrigerator after about 1 to 1.5 hours of initial rest. Leave it cold for at least ten hours. I finished mixing at 5:00 PM, put it in the fridge at 6:30 PM, and took it out the next day at 10:00 AM.
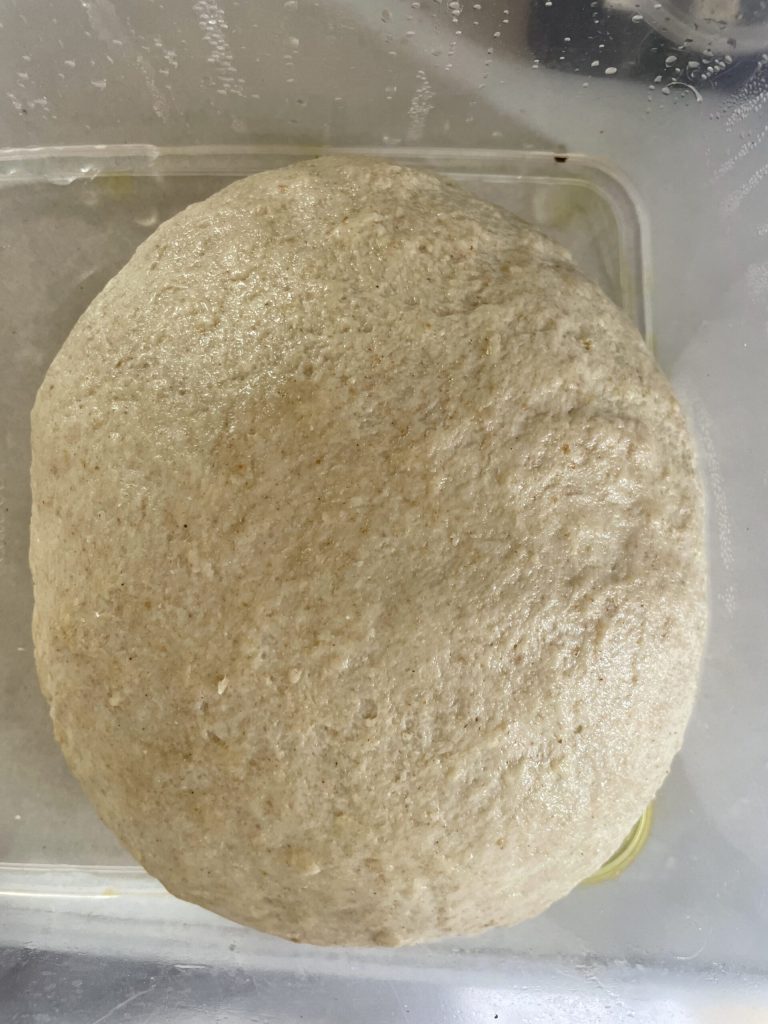
When you take the dough out of the fridge it will look like the photo: risen and more relaxed than the night before.
Let the dough come back to room temperature for about an hour (this depends on ambient temperature) before shaping it.
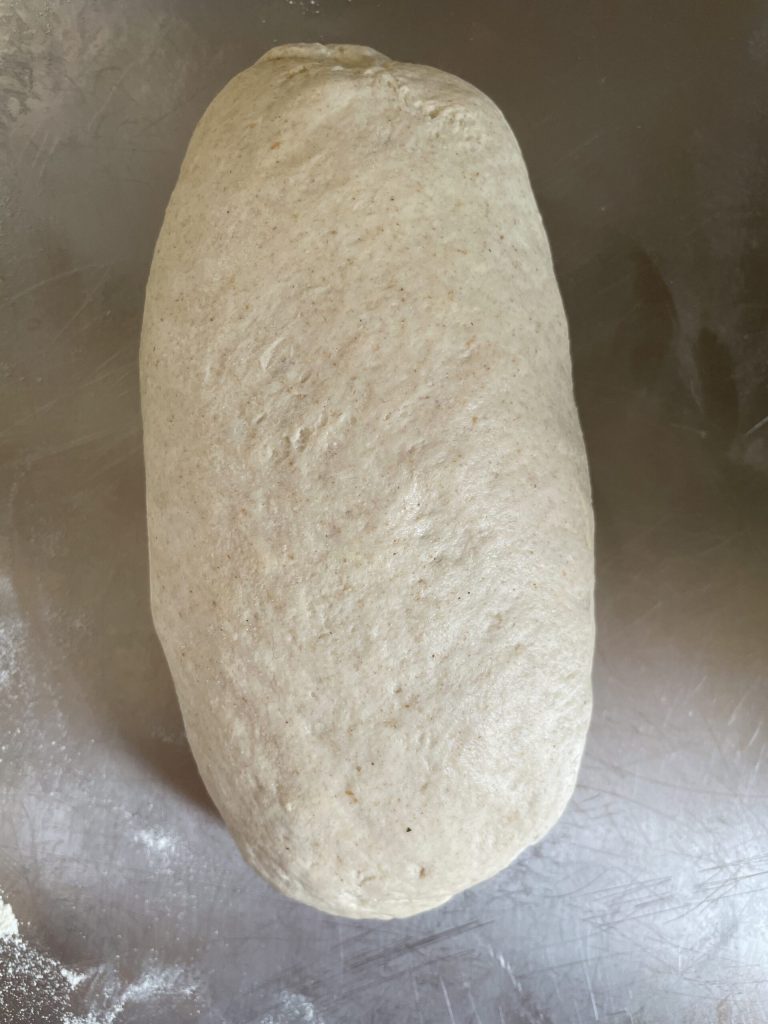
It’s time to shape the no-knead loaf. I love boules and use the technique I described here. If you have a round proofing basket or a colander, you can use the “cloth” technique I explained in the oat bread recipe. In any case, always make sure to seal the closing seams to prevent the loaf opening where you don’t want it during baking.
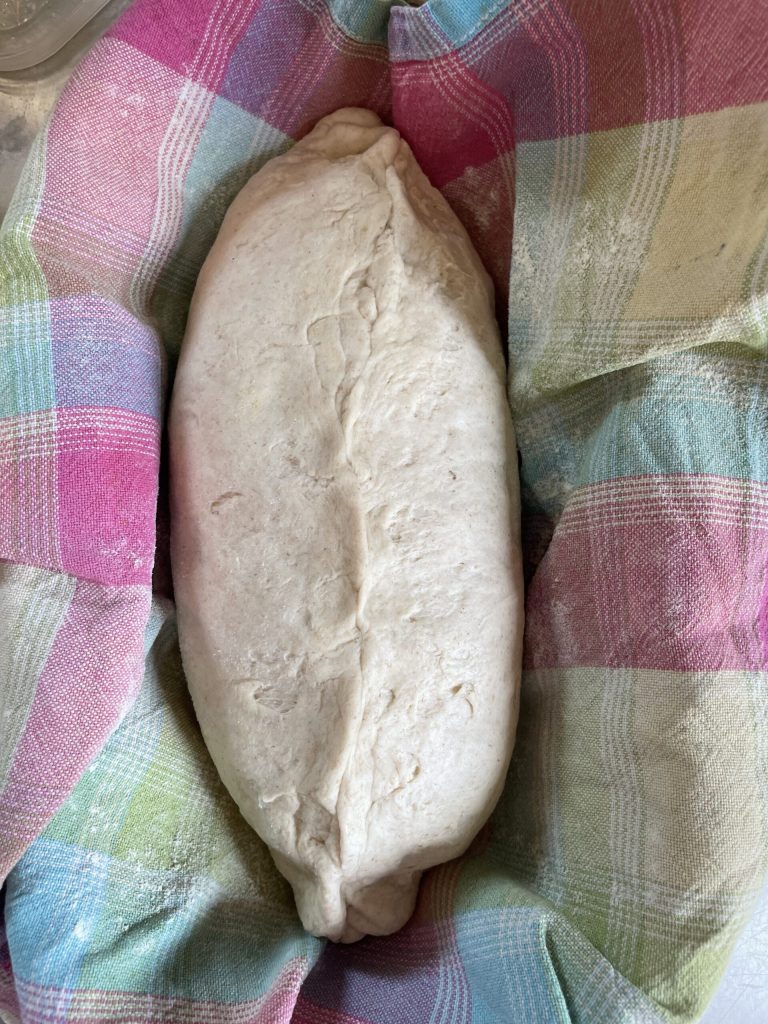
Place the shaped dough in the basket or bowl seam-side up.
Cover with a tea towel and wait for a light final rise. It should not double; if it does, it will lose the strength to expand well in the oven. I put the basket in the refrigerator when I see it’s about one and a half times in volume and then I turn on the oven. This way we use the thermal shock to help the bread rise well.
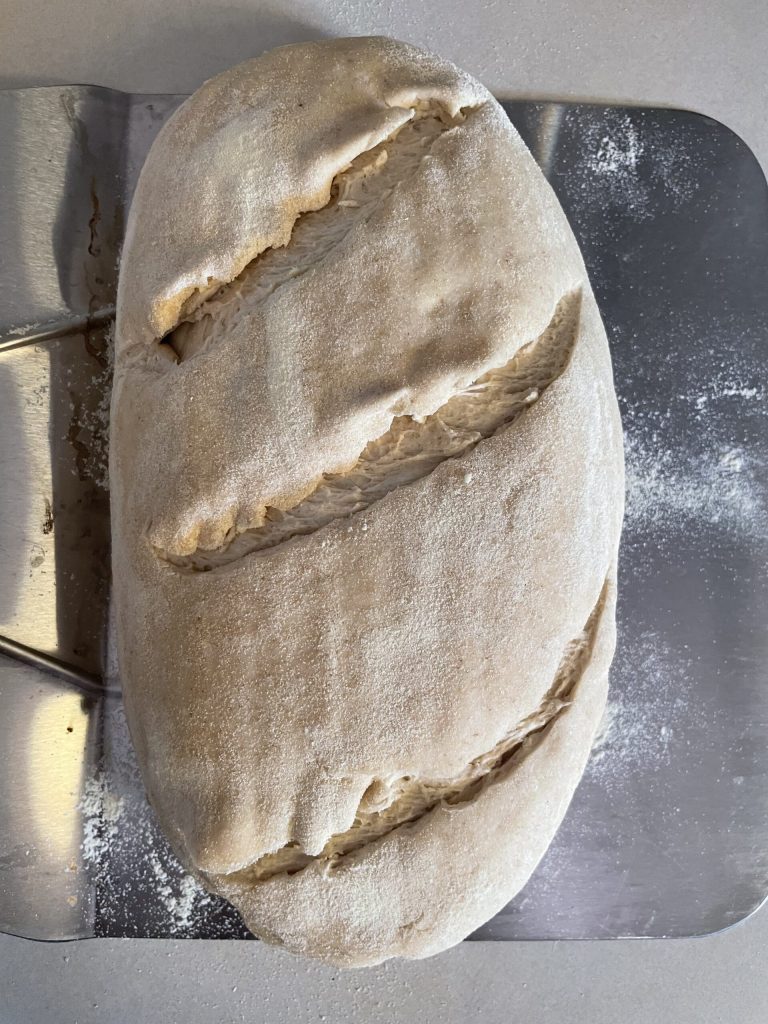
While the dough is in the refrigerator, preheat the oven to 464°F (static). Place a small saucepan of water inside the oven to create steam. When the oven reaches temperature, turn the loaf out onto a semolina-dusted peel and make the slashes to allow fermentation gases to escape.
If you don’t have a peel and baking stone, you can heat a baking sheet in the oven, remove it when hot, and flip the loaf onto it.
Bake for 20 minutes at 464°F, then lower the temperature to 392°F and bake for another 40 minutes. Remove the small saucepan, lower to 320°F using the convection/fan setting with a small vent to help dry the loaf.
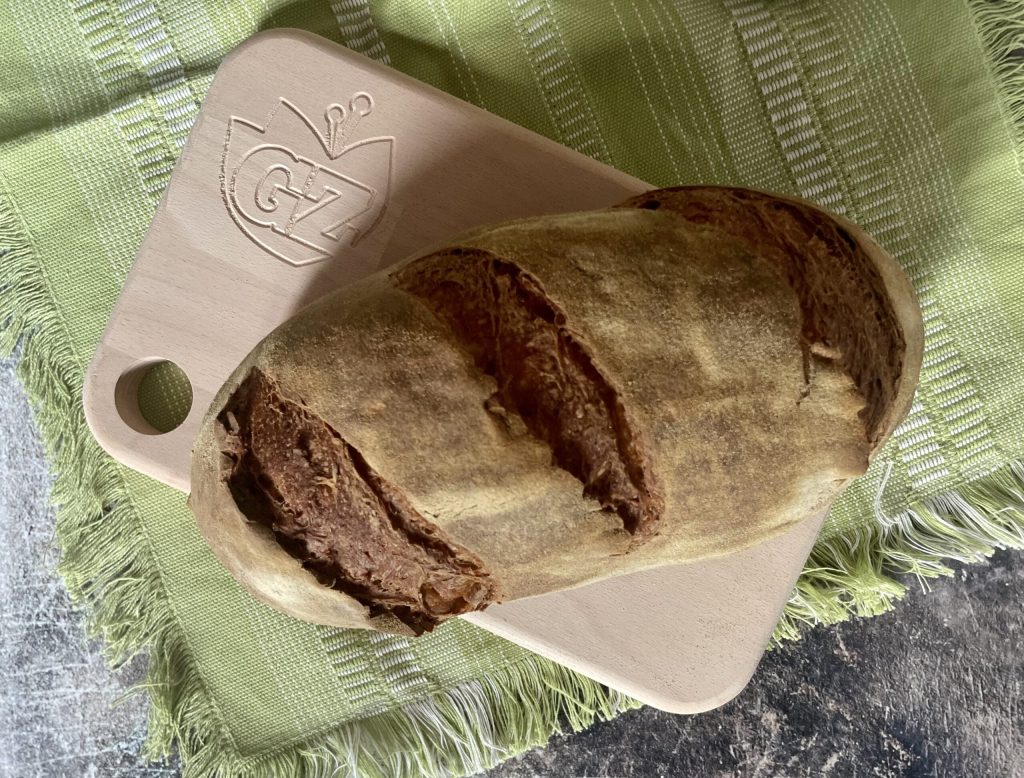
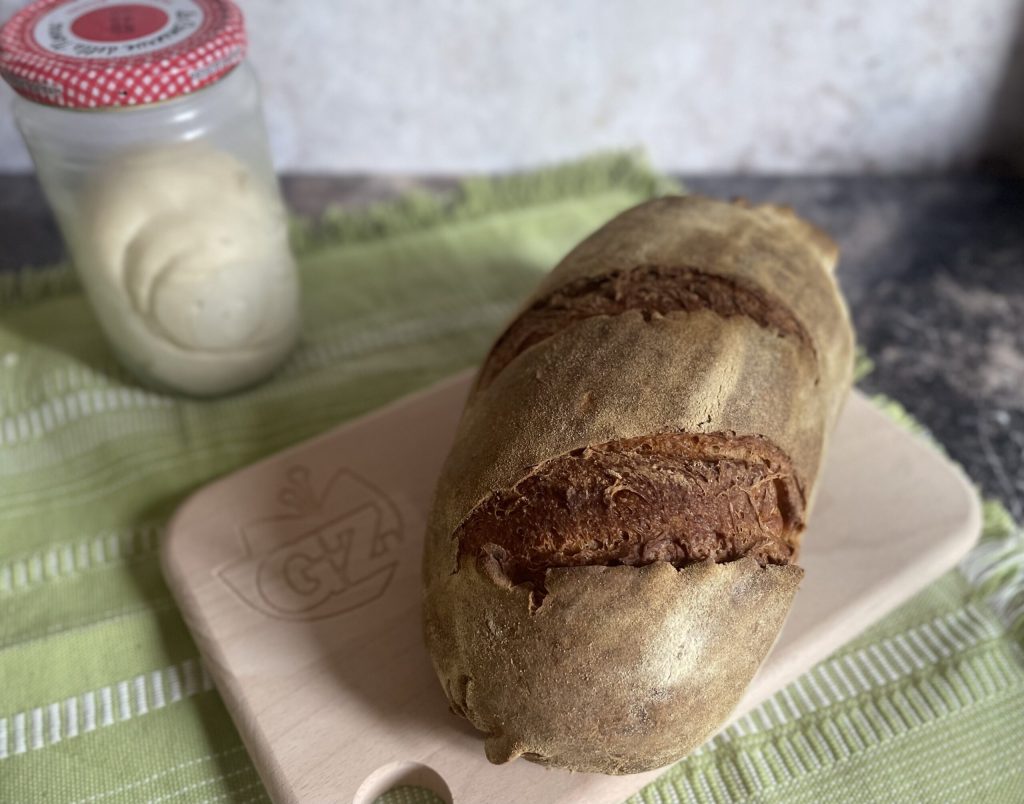
After removing from the oven, stand the loaf upright to let excess moisture escape and wait at least three hours before slicing… if you can wait that long!
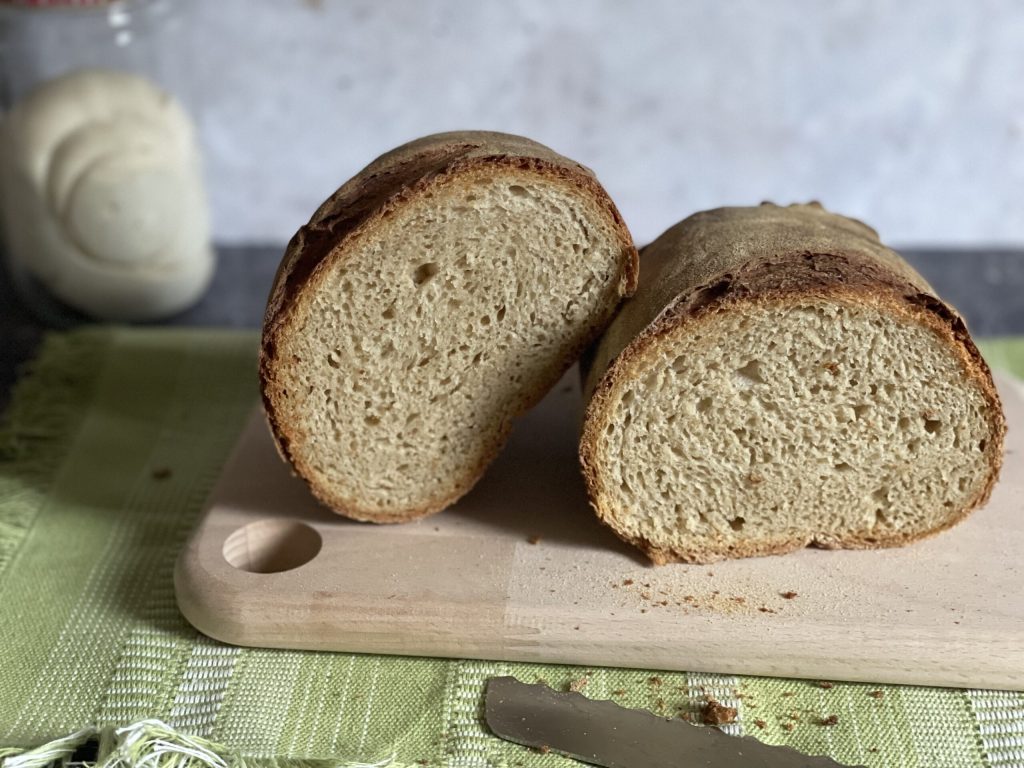
The no-knead sourdough bread will stay fresh for 5–6 days if stored in a bread box or in a paper bag. It’s excellent with cured meats, as an afternoon snack, or with a drizzle of good olive oil! How would you use it? Tell me on Instagram, I’ll be waiting!
