Making pizza at home is one of my favorite things to do: it brings the family together around the table, you can be creative with toppings, and it’s loved by both adults and children. Usually, I make it with a mixer… but what if you don’t have one? How can you still make a great pizza? That’s why I created this no-knead pizza recipe, super easy, where you only need a bowl and a spoon and the dough does all the work overnight in the fridge using the gluten-forming abilities of sourdough. It’s a recipe suitable for everyone, especially those new to sourdough. If I have piqued your interest, grab a bowl and let’s go!
For more sourdough pizza recipes, check out these links
- Difficulty: Very Easy
- Cost: Very Cheap
- Rest time: 12 Hours
- Preparation time: 15 Minutes
- Portions: 5 People
- Cooking methods: Lava Stone, Electric Oven
- Cuisine: Italian
- Seasonality: All Seasons
Ingredients
The ingredients for the no-knead sourdough pizza are the classic ones for a regular pizza. The only difference from my other recipes is that in this recipe I didn’t add oil to the dough but only in the bowl. I made the dough with a specific type 0 pizza flour, with a mix of grains inside, but you can use any flour. Always pay attention to hydration: the coarser the flour, the more “water” it will require. It’s a good idea to set aside 10/15g of water and see if the dough is too hard at the end. In that case, it’s better to add it.
- 4 3/4 cups type 0 flour (or type 1)
- 1 7/8 cups water
- 4 2/3 oz sourdough
- 1 1/2 tsp salt
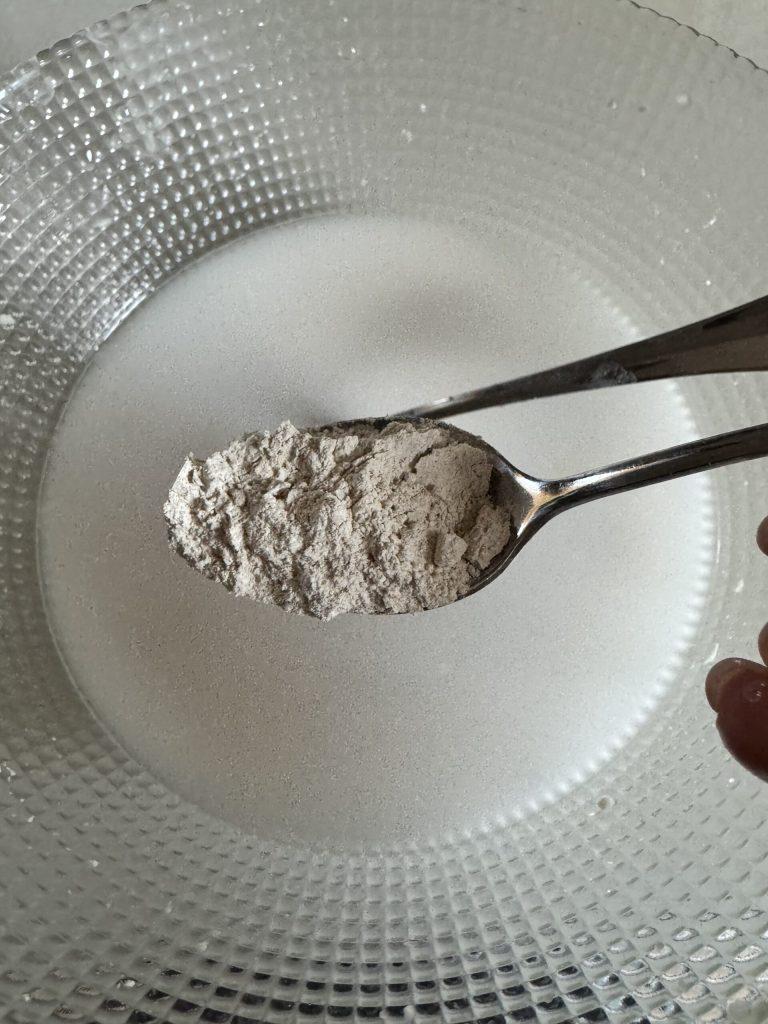
- 1 tsp malt (diastatic or sugar)
- 1 tbsp extra virgin olive oil (in the bowl)
Tools
- 1 Bowl
- 1 Spoon
- 1 Fork
- 1 Container
- 3 Containers
- 1 Parchment Paper
- 3 Baking Sheets
- 1 Pizza Peel
Steps
Making the no-knead sourdough pizza is easier to do than to explain; as you will see in the various steps, all you need is a bowl, a spoon… and time, which will transform a rough dough into a soft pizza. In the steps, I will explain how to make the recipe using the “classic” method, but if you read to the end, you’ll find out how to “shorten” the time by doing autolysis.
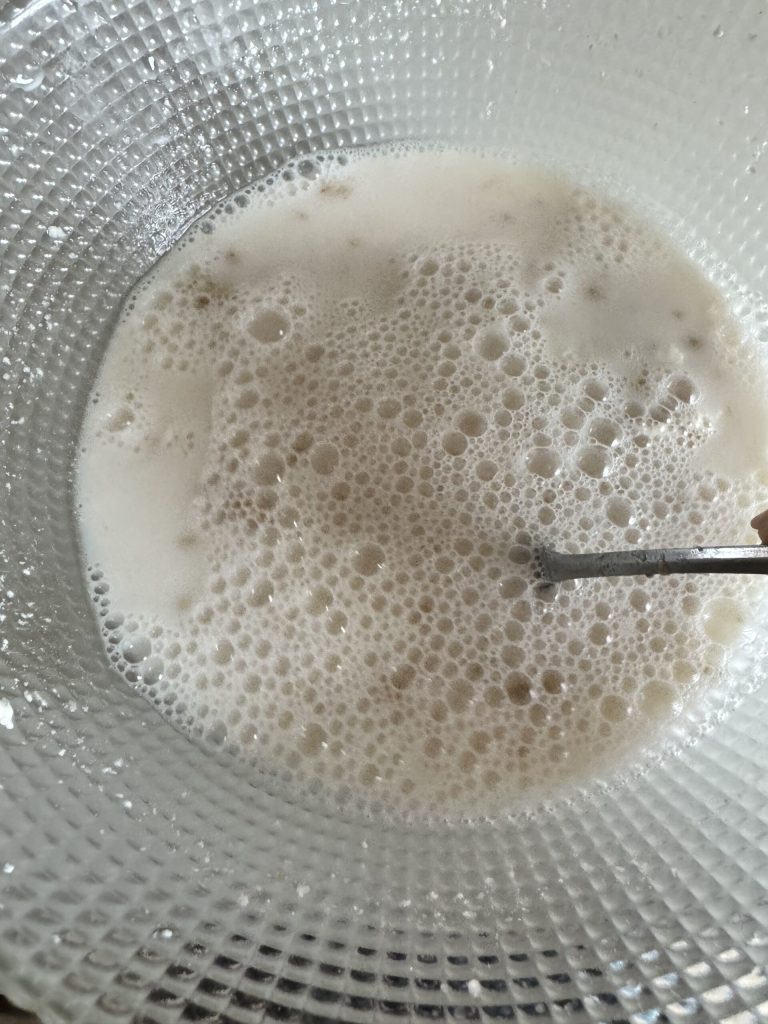
In a large bowl, break the sourdough into 1 1/4 cups of water
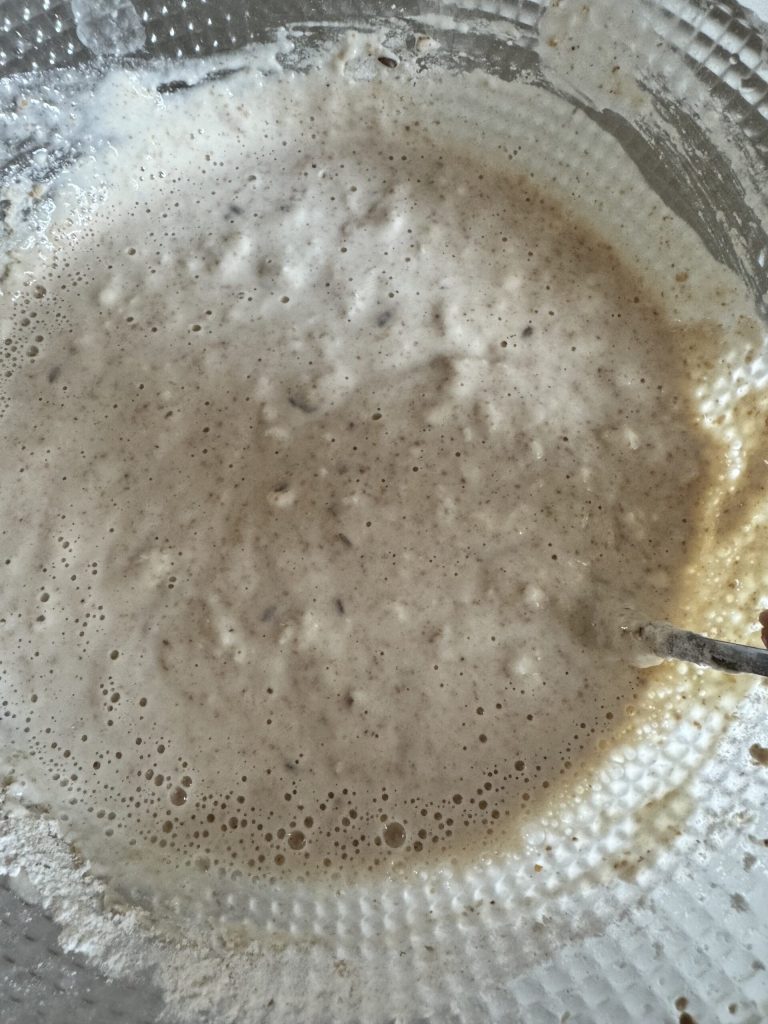
Use a fork to dissolve it very well. Add the malt (or sugar) and the first spoonfuls of previously sifted flour.
Let everything dissolve and mix perfectly. If the sourdough is in good shape, it will create all these bubbles during mixing.
Add some of the flour at this point
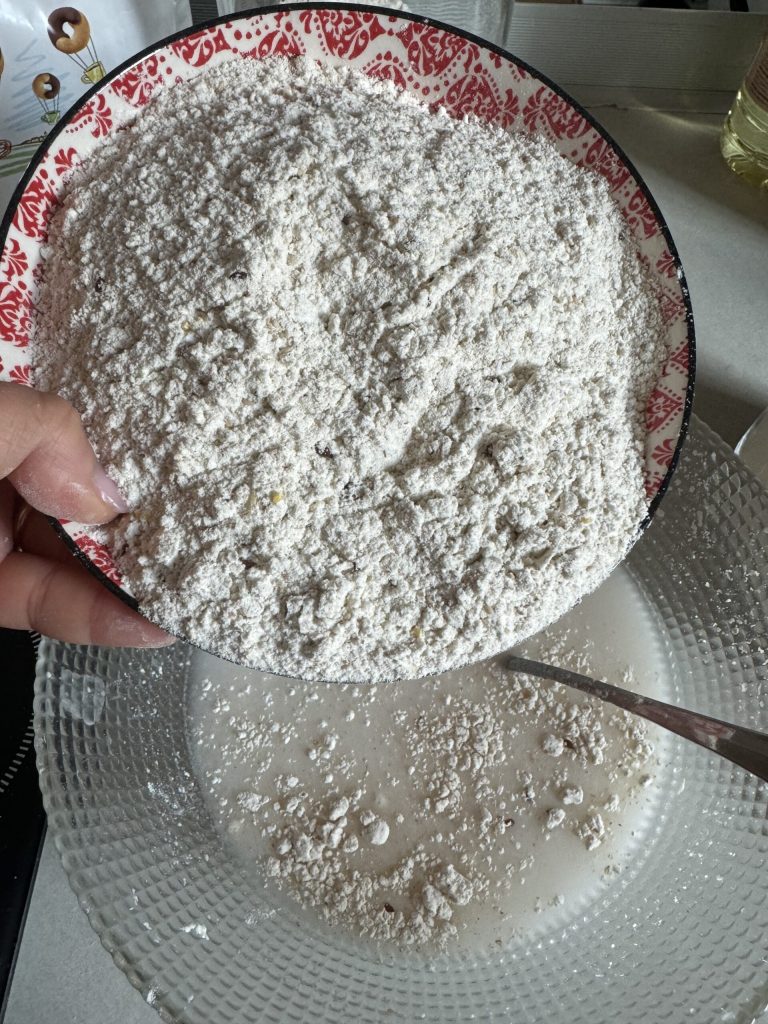
Mix it very quickly
Continue until all the flour is used.

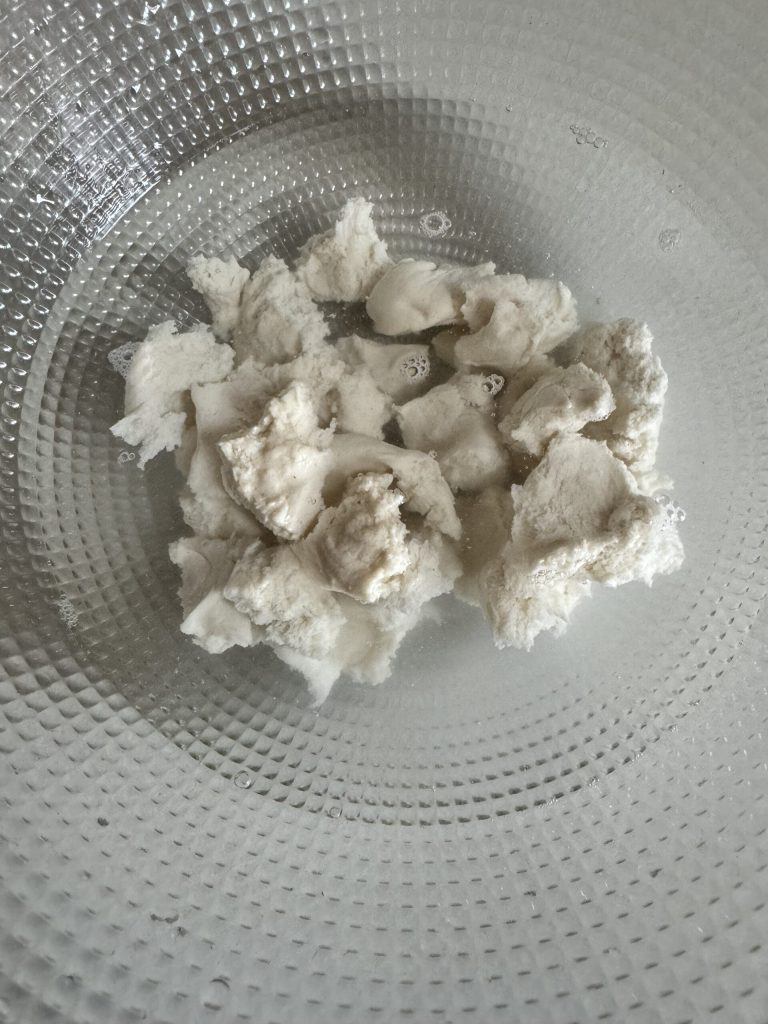
The dough will be like this, very dry.

Add the remaining water and mix with a spoon or your hands. Close with salt if desired (I didn’t add it). Typically, making a dough like this takes between 5 and 10 minutes.

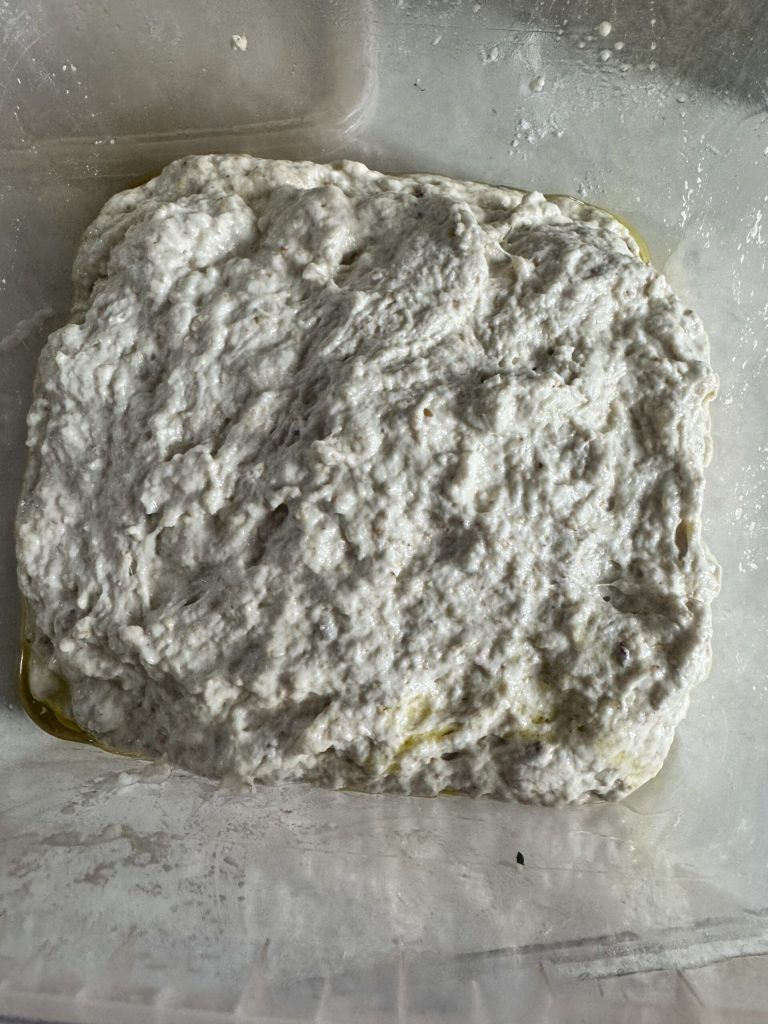
Transfer the dough, which will appear rustic, into a container where the oil has been poured.

Cover the container and let the dough rest for about an hour.
Do a round of folds every half hour in the bowl to give it some structure.
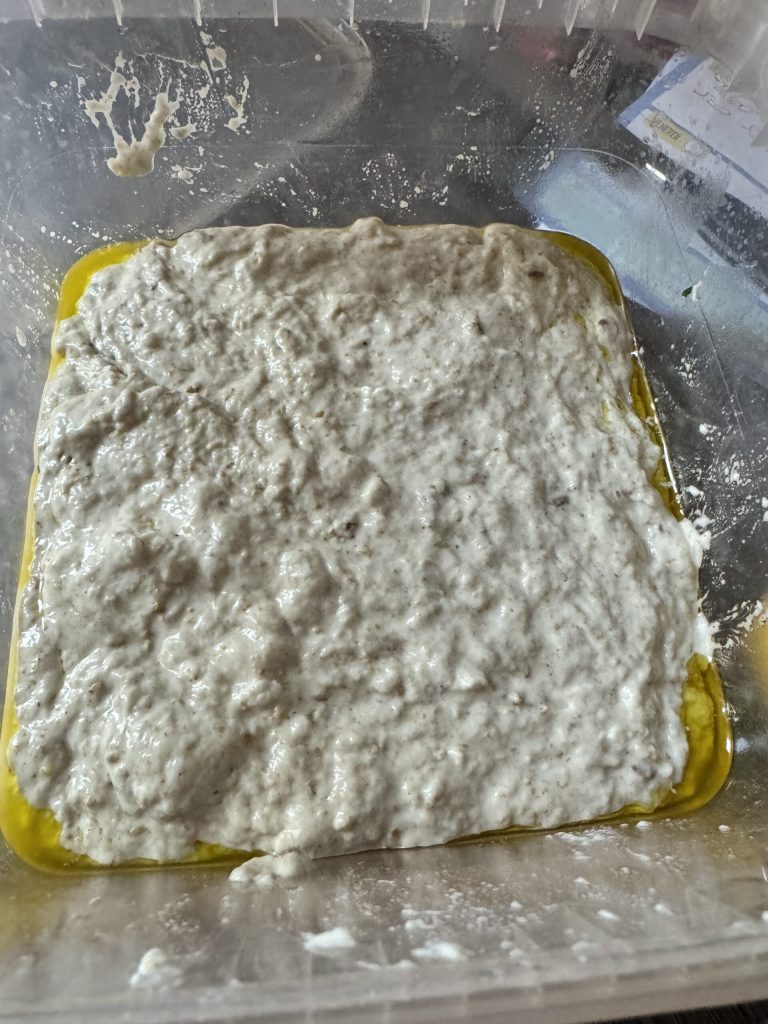
After the folds, it will already have a smoother consistency. Close the container and place it in the fridge for at least 12 hours.
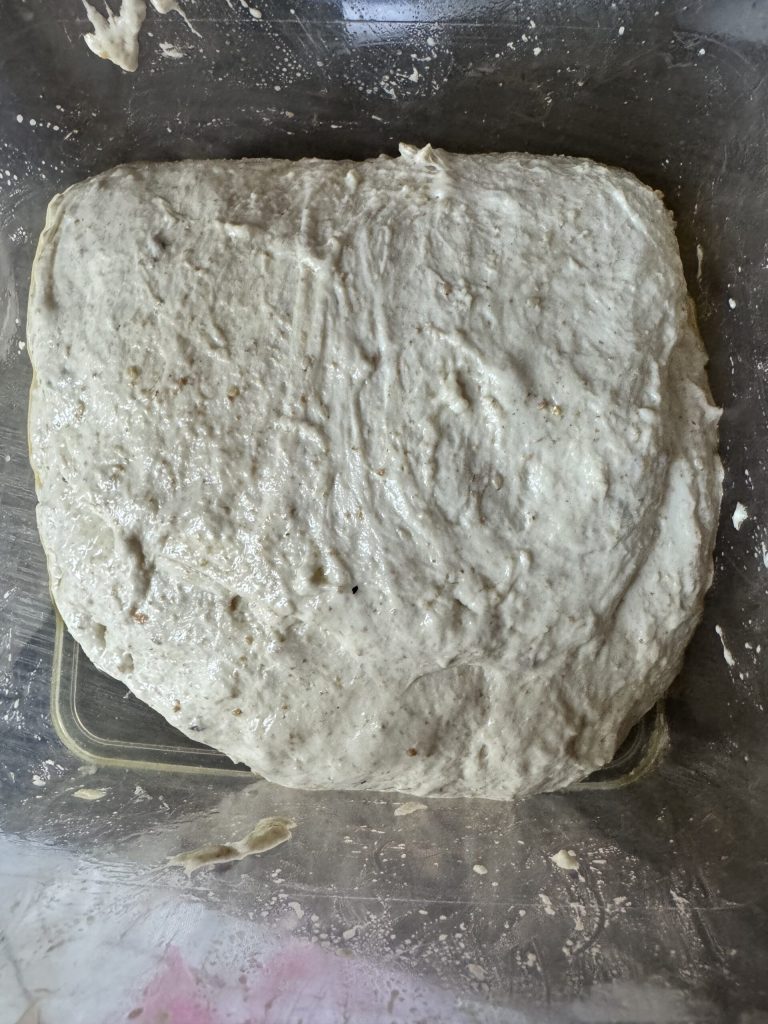
The next day (in the early afternoon if it’s winter or later if it’s summer), take the dough out of the fridge, which will have become puffed and smooth. Wait about half an hour and then cut it based on the available baking sheets with a dough cutter.

Form the balls by rounding them very well. I made one small and two larger ones

For the second rise, I put them in food containers where the balls fit “snugly.” Of course, you can do it in any other way. Wait about a couple of hours (time will vary depending on the external temperature)

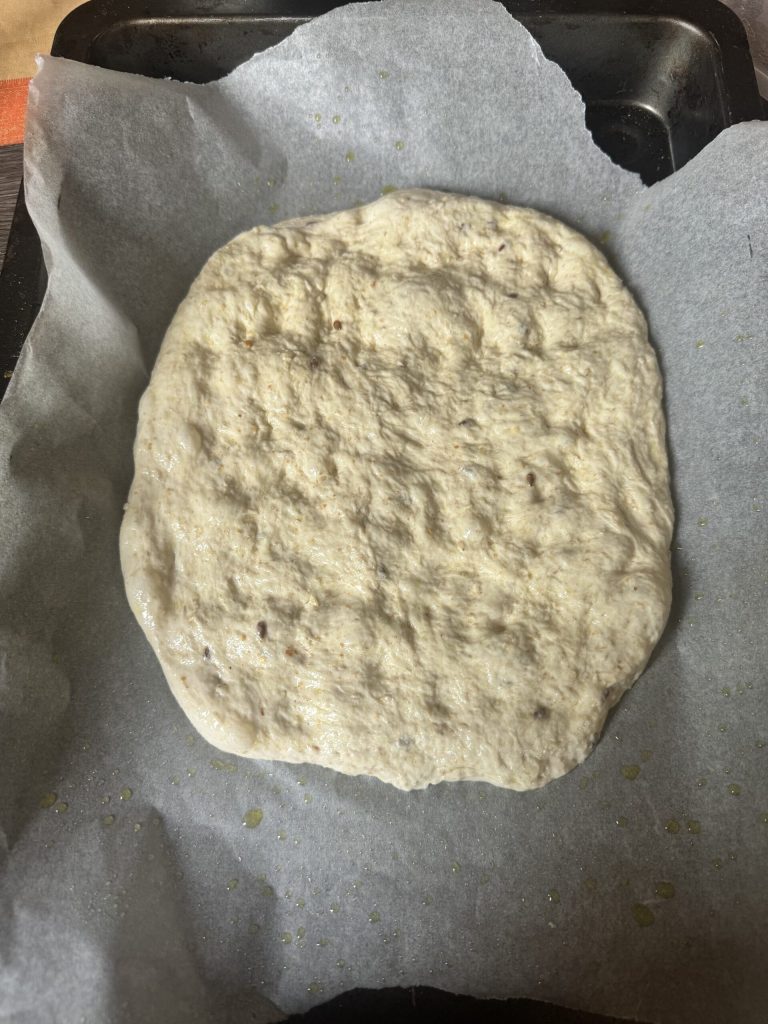
After the balls have almost doubled, gently stretch them with your hands on a baking sheet covered with parchment paper (and oiled if preferred). Stretch until the dough resists, cover it with plastic wrap and a towel, and wait for it to relax.
Finish stretching and turn the oven to the maximum temperature in static mode. I always use a baking stone to give more strength to the home oven.
Make sure the oven is very hot before baking, as it may take longer with the stone.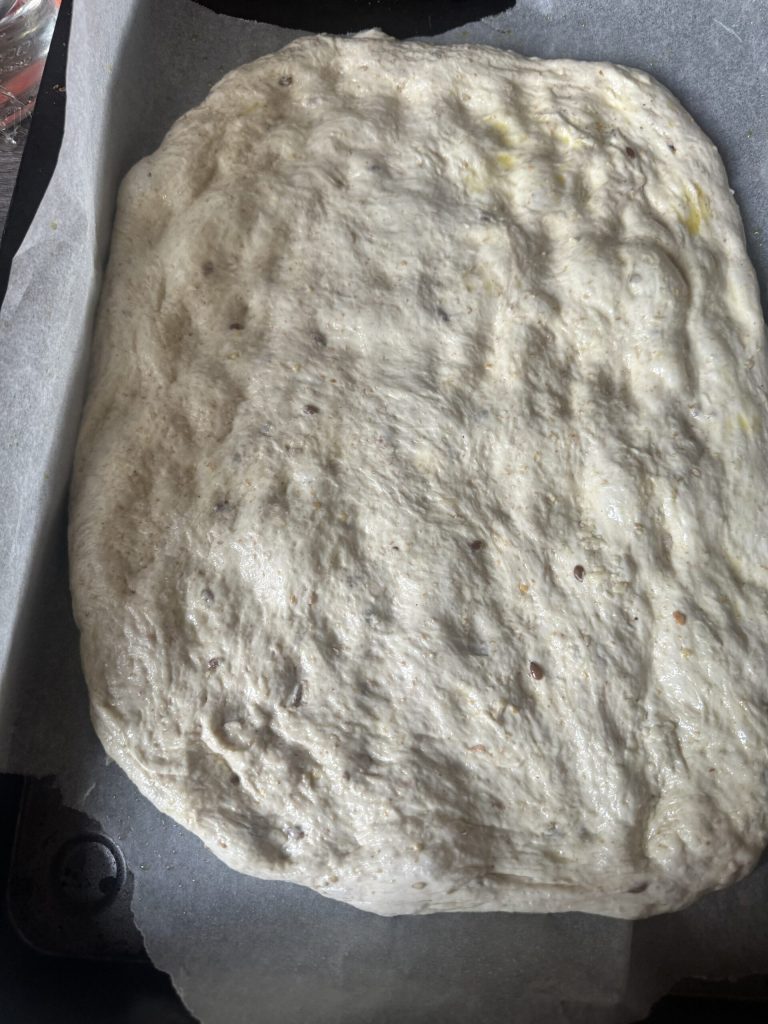
Generally, I always do a double bake: after spreading the tomato pulp, I bake the sheet as close to the bottom as possible for about ten minutes to cook the base and allow it to rise.

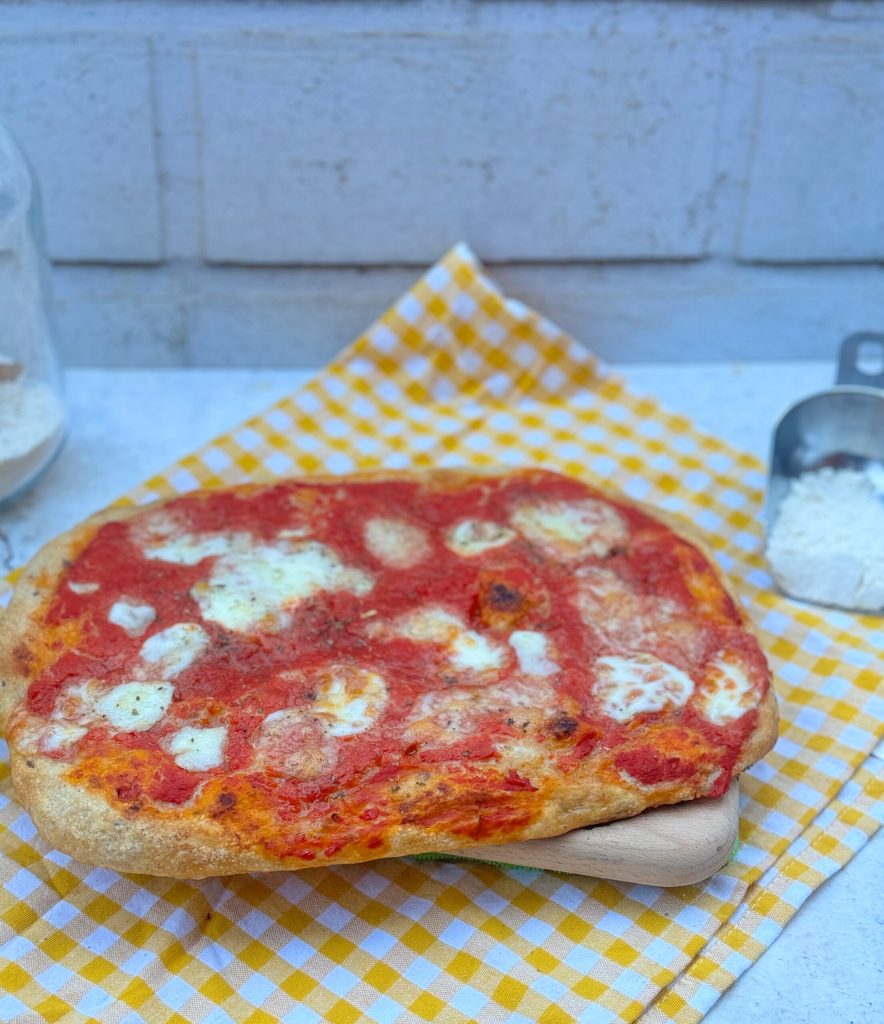
Then I add the topping (in this case, buffalo mozzarella), season with oil, salt, and oregano, and with a peel, place the pizza without the sheet on the stone as close to the top of the oven as possible.
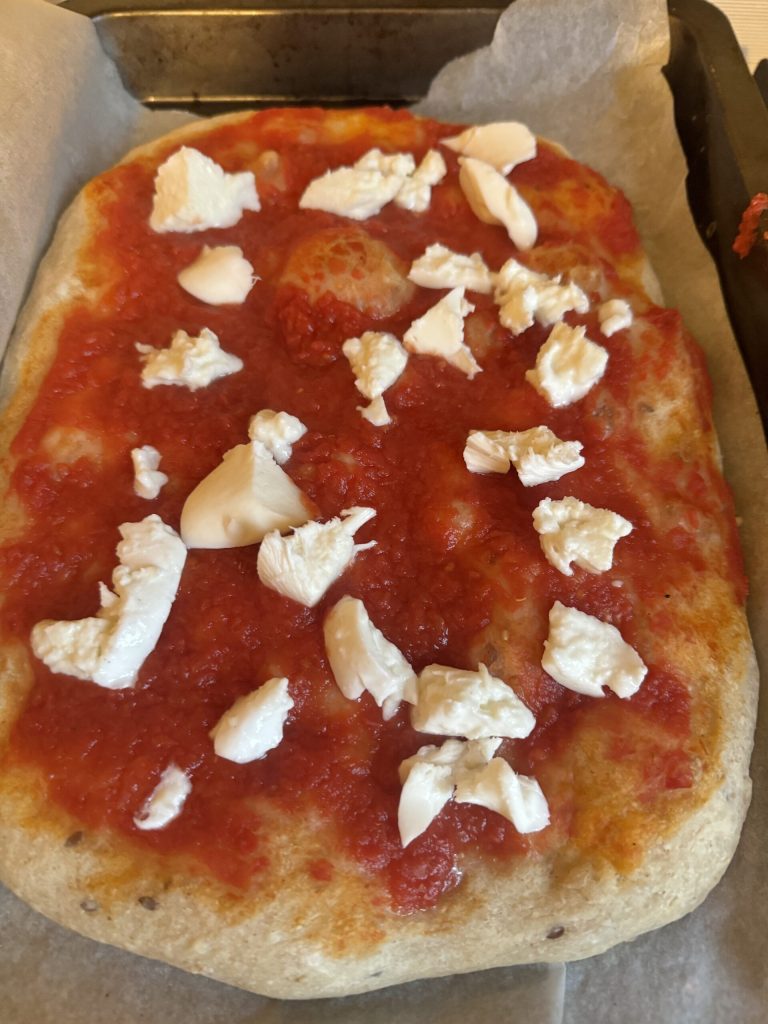
After 5/6 minutes or when the mozzarella has melted, the no-knead sourdough pizza will be ready to take out and enjoy!
This double bake method is very useful when you have guests: you can pre-bake the bases in the morning, for example, and then later, at dinner time, arrange the ingredients and finish cooking.

The no-knead sourdough pizza is very easy to make and vary, both in terms of flours used and toppings. If you liked this recipe, come tell me on Instagram
FAQ (Questions and Answers)
How do you make autolysis for this no-knead sourdough pizza?
Autolysis is made by putting all the flour in a bowl to which 1 1/4 cups of water is added. Mix, creating a rough mass, and let it rest covered. In summer, I prefer to let it rest in the fridge.
How do you bake no-knead sourdough white pizza?
To make white pizza, I bake the base without any topping on it and then before putting it on the stone, I add everything, including mozzarella.
Can I use dried sourdough?
Sure, but you need to adjust it for the rising time. To use this procedure, you can use 1%/1.5% of the flour weight.
