Sri Lankan Coconut Bread: soft, fragrant, and irresistible, a little journey among tropical flavors directly in your kitchen. The Roast Paan is a unique bread: there, leavened breads are few, most local preparations are like the Kottu.
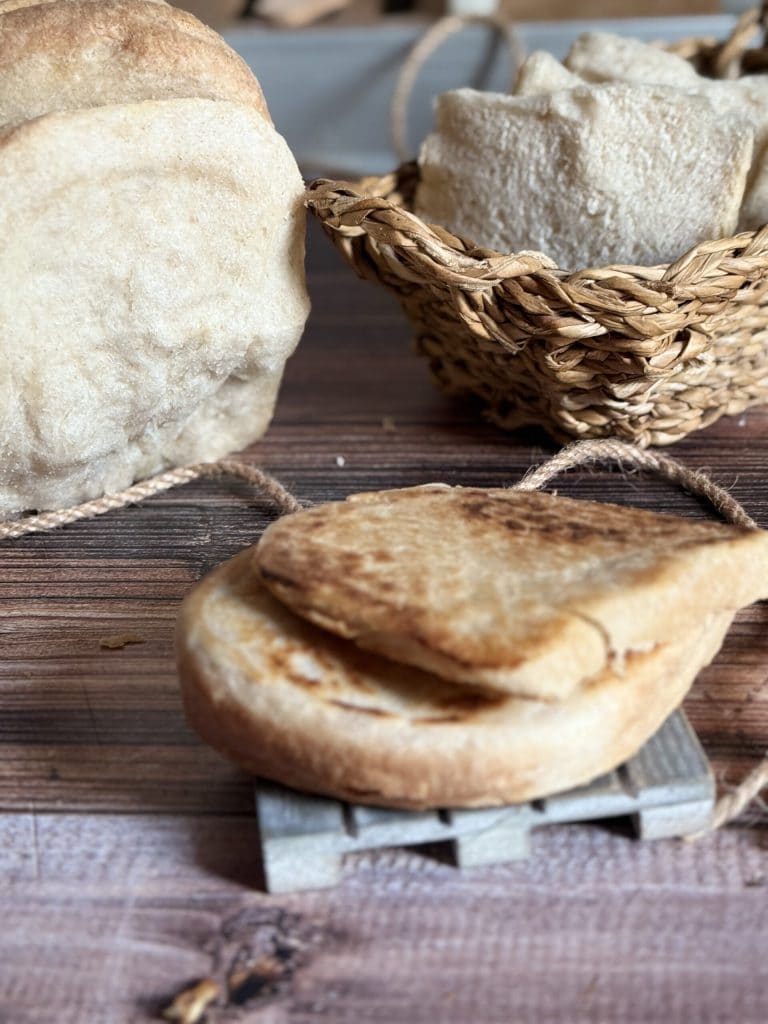
Traditionally, Roast Paan is shaped to easily detach a slice and served toasted next to savory dishes. I decided to make it with my sourdough starter and enjoy it for breakfast: the delicate taste of coconut combined with the soft fluffiness of the bread makes every bite a special treat.
If you want to experiment with exotic flavors, this Sri Lankan Coconut Bread can become the star of your breakfasts or an original accompaniment for your savory dishes. Trying to make it at home means savoring a piece of Sri Lanka!
If you want to take a look and know other foreign breads, check these links

- Difficulty: Easy
- Cost: Inexpensive
- Rest time: 8 Hours
- Preparation time: 40 Minutes
- Portions: 10People
- Cooking methods: Oven
- Cuisine: Sri Lankan
- Seasonality: All seasons
Ingredients
- 4 cups all-purpose flour
- 5.3 oz sourdough starter
- 1 cup coconut milk
- 3.5 oz water
- 1.5 tbsps sugar
- 3 tbsps coconut oil
- 1 tsp
- 2 tbsps coconut oil
- 2.5 tbsps all-purpose flour
Tools
- 1 Stand Mixer
- 1 Kitchen Scale
- 1
- 1 Workbench
- 1 Dough Scraper
- 1 Loaf Pan
- 1 Pastry Brush
- 1 Frying Pan
Steps
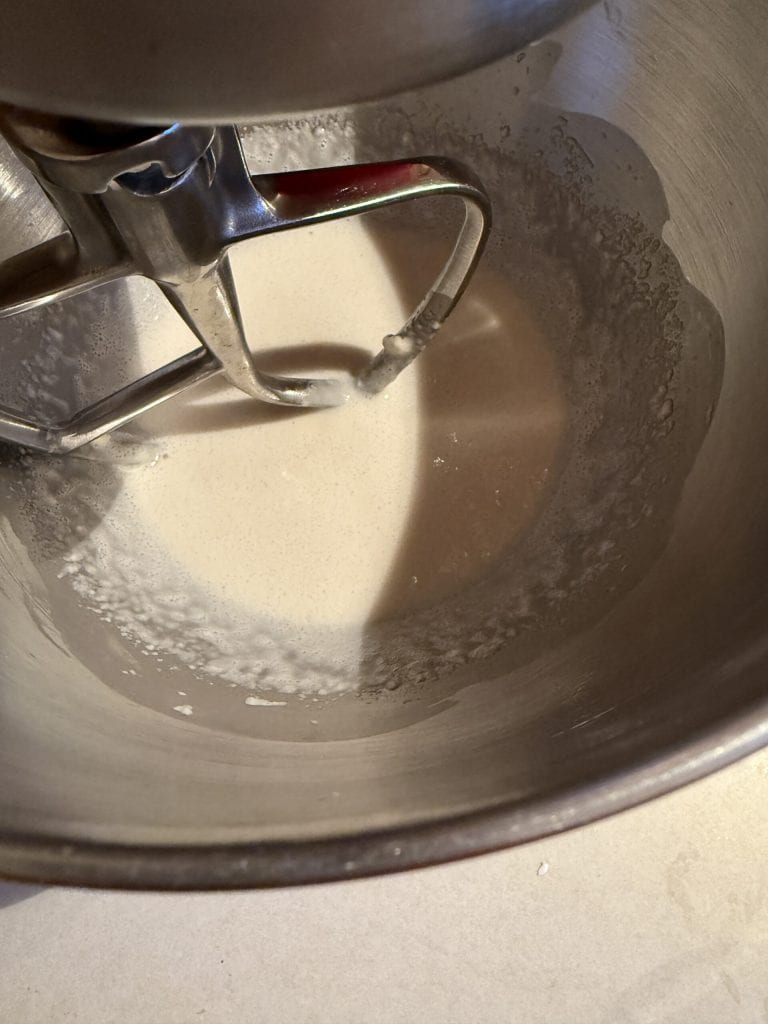
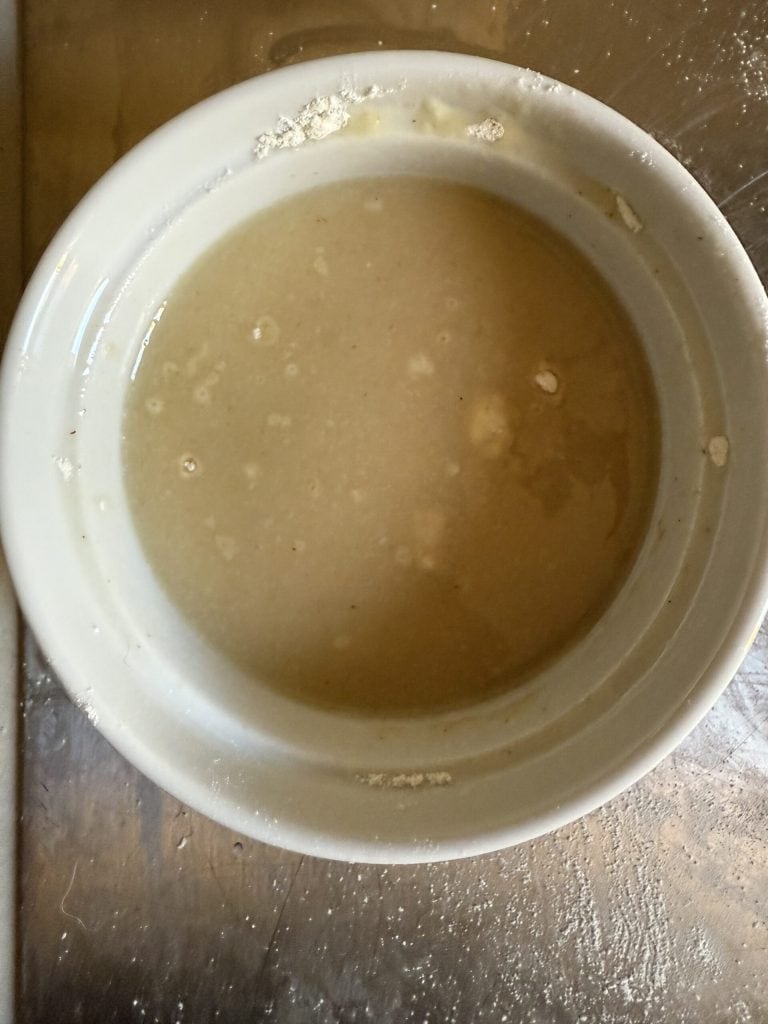
Dissolve the sourdough starter refreshed and already doubled in warm water along with the sugar, stirring until it is completely dissolved.
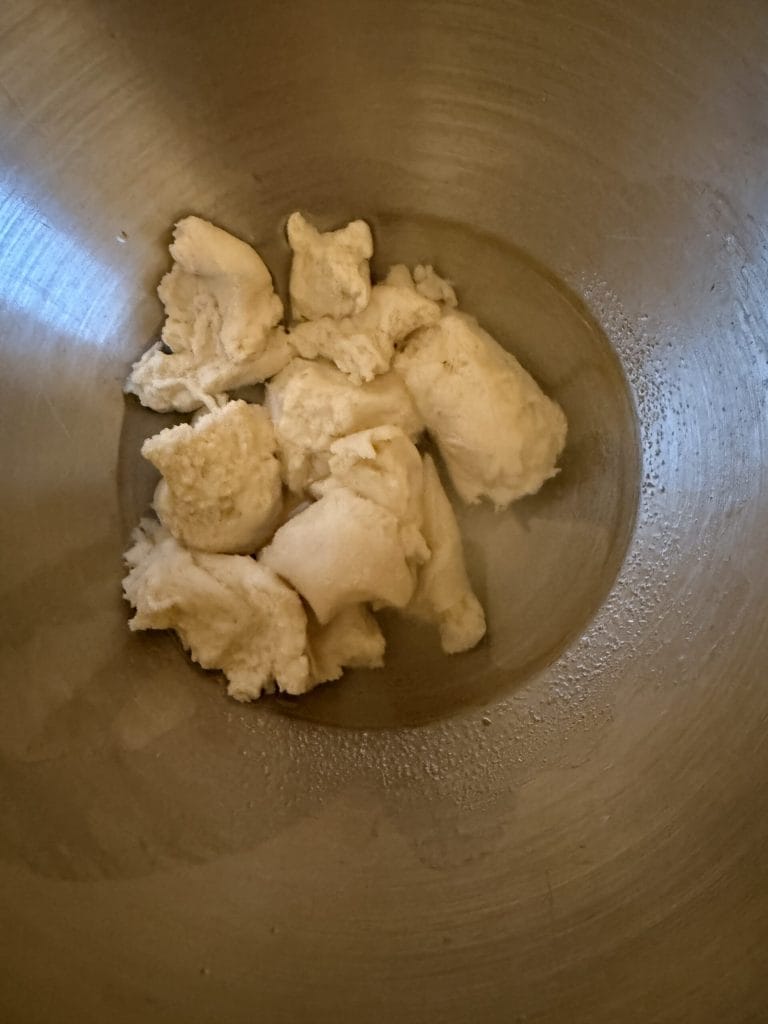
The sourdough starter will be completely dissolved when a milky and thick liquid forms, similar to yogurt, with many small bubbles on the surface.
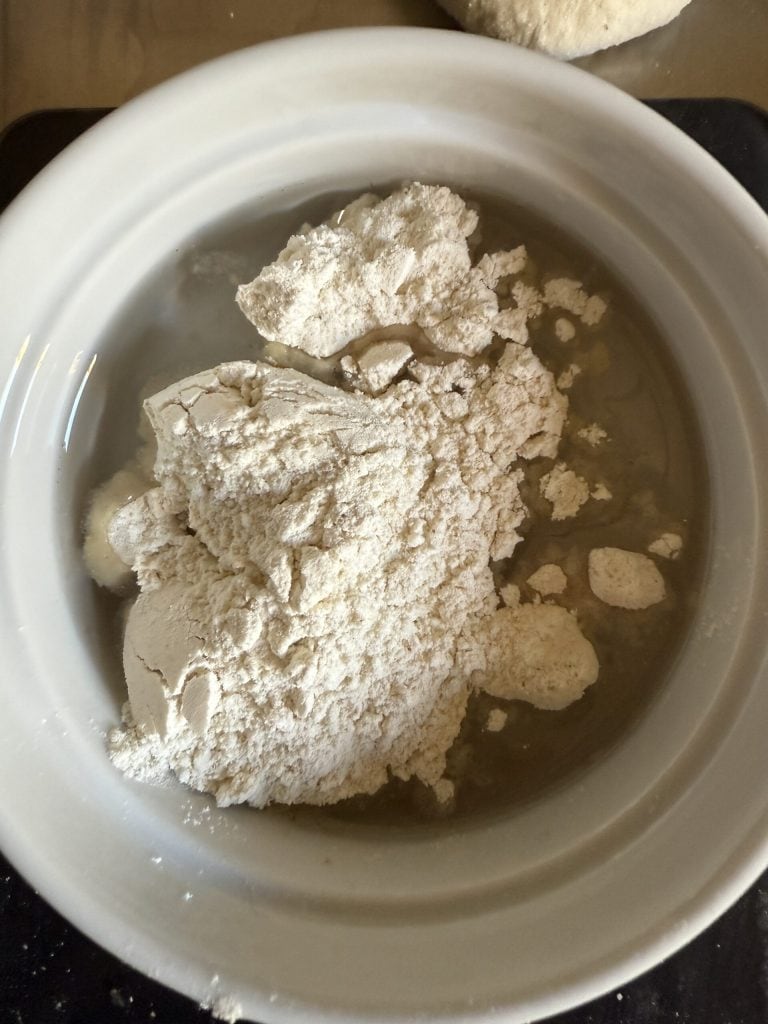
Begin adding the flour, always mixing with the paddle attachment. Do not add more flour until the previous one is fully absorbed.
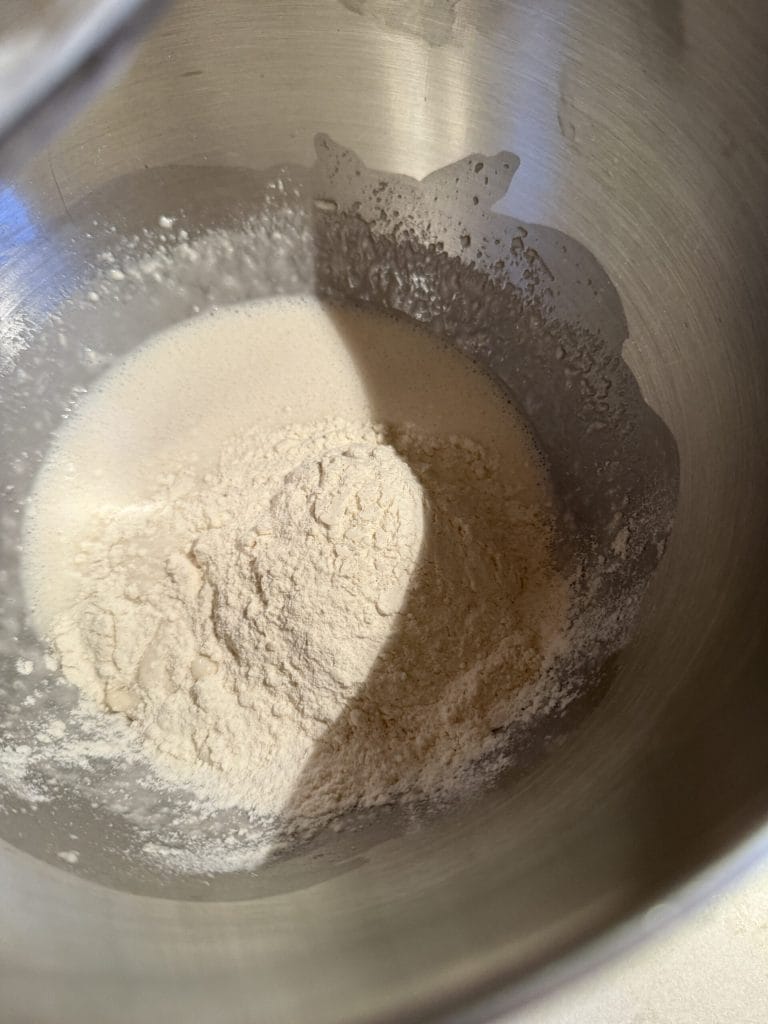
Continue adding the flour in this manner until all is used up.
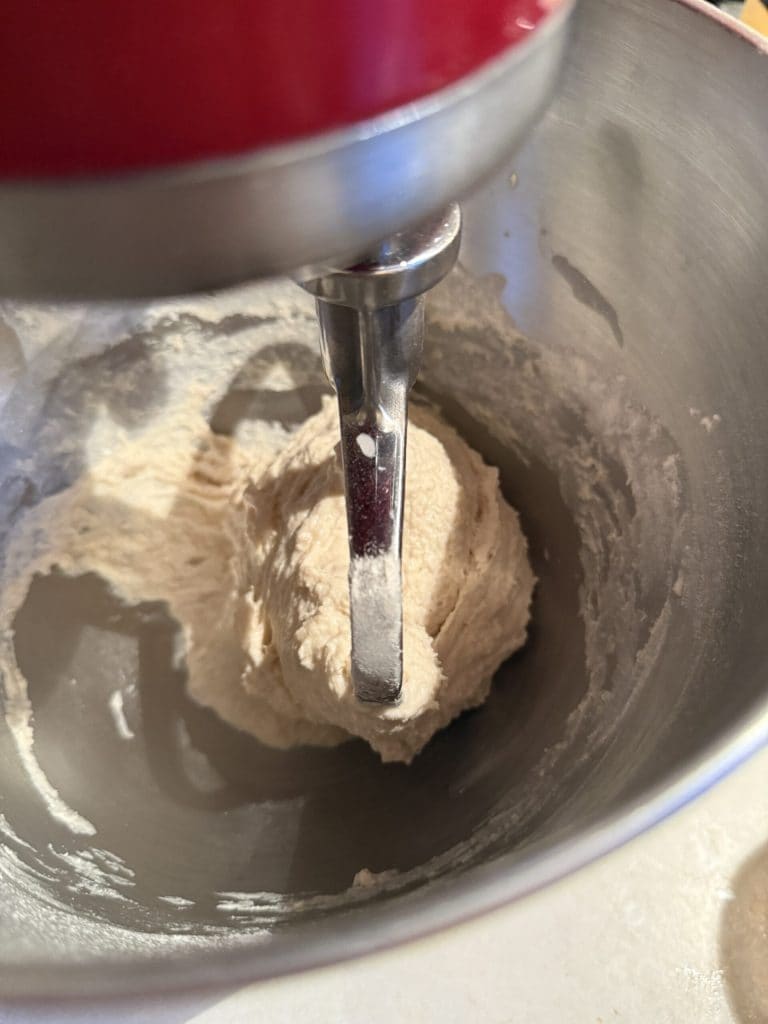
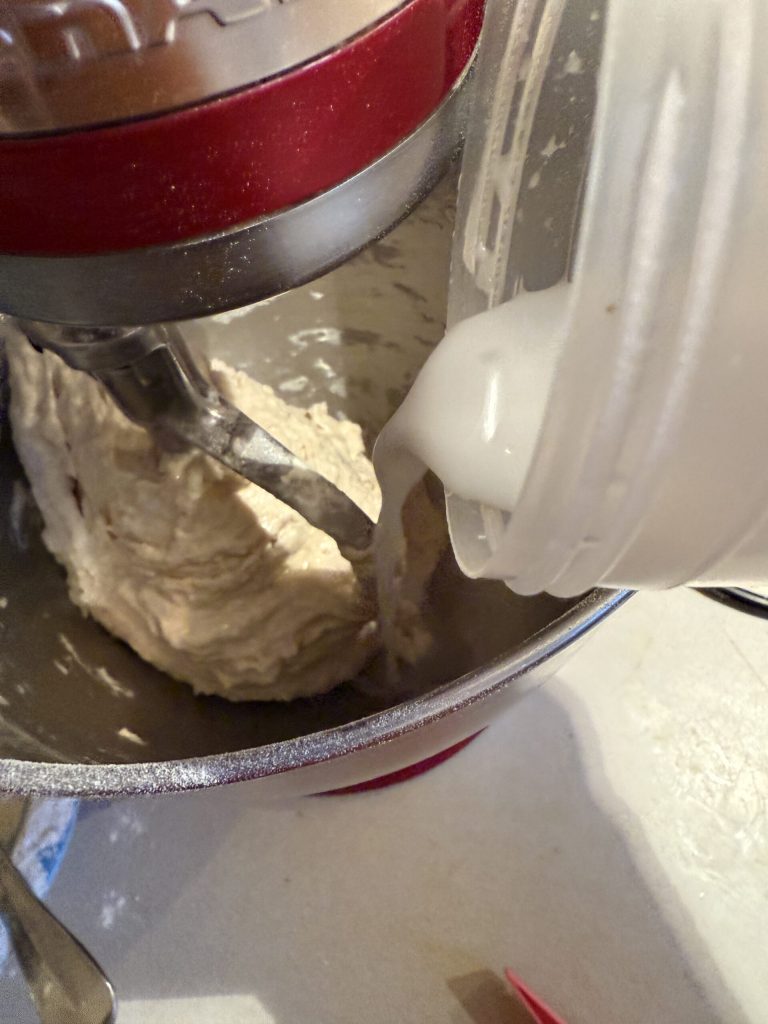
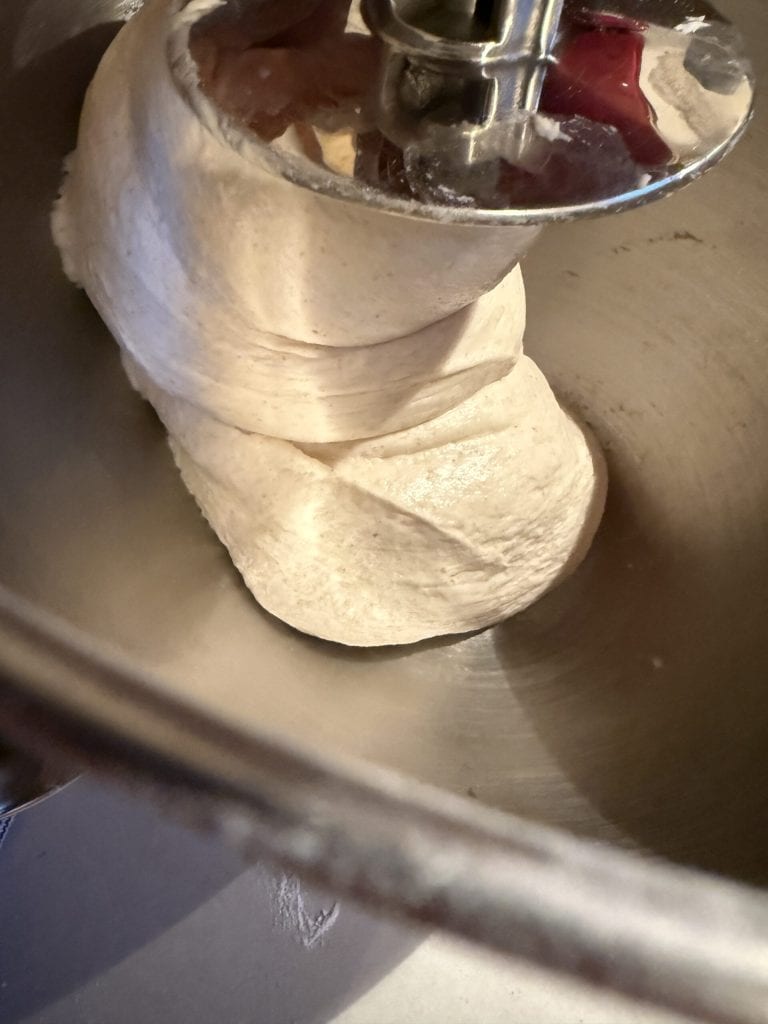
Once the flour is finished, add the coconut milk in three parts, making sure each addition is well absorbed. Work the dough until it becomes elastic: it will be ready when the sides of the bowl remain clean and the dough wraps around the paddle.
Remove the paddle attachment and fold the dough directly in the bowl. Then attach the hook to complete the dough processing.
Before preparing the dough, weigh the coconut oil. If the temperature is below 79°F, the coconut oil tends to solidify: I weighed it and put it in a bowl in a water bath to gently melt it.
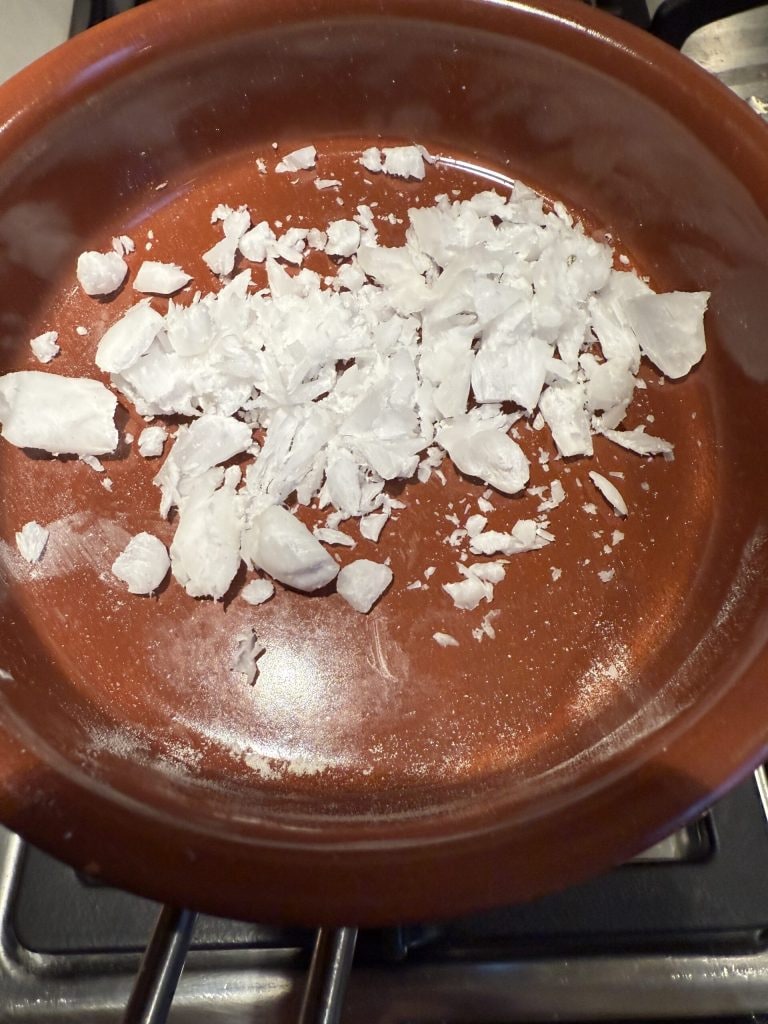
In a short time, the coconut oil will melt. Let it cool slightly (but not too much) before adding it to the dough. Remember that every dough should not exceed 75-77°F: adding a warm ingredient risks increasing the total temperature.
Add the coconut oil and work the dough until it becomes elastic. Before completing the processing, add the salt and finish the elasticity to obtain a smooth and homogeneous dough.
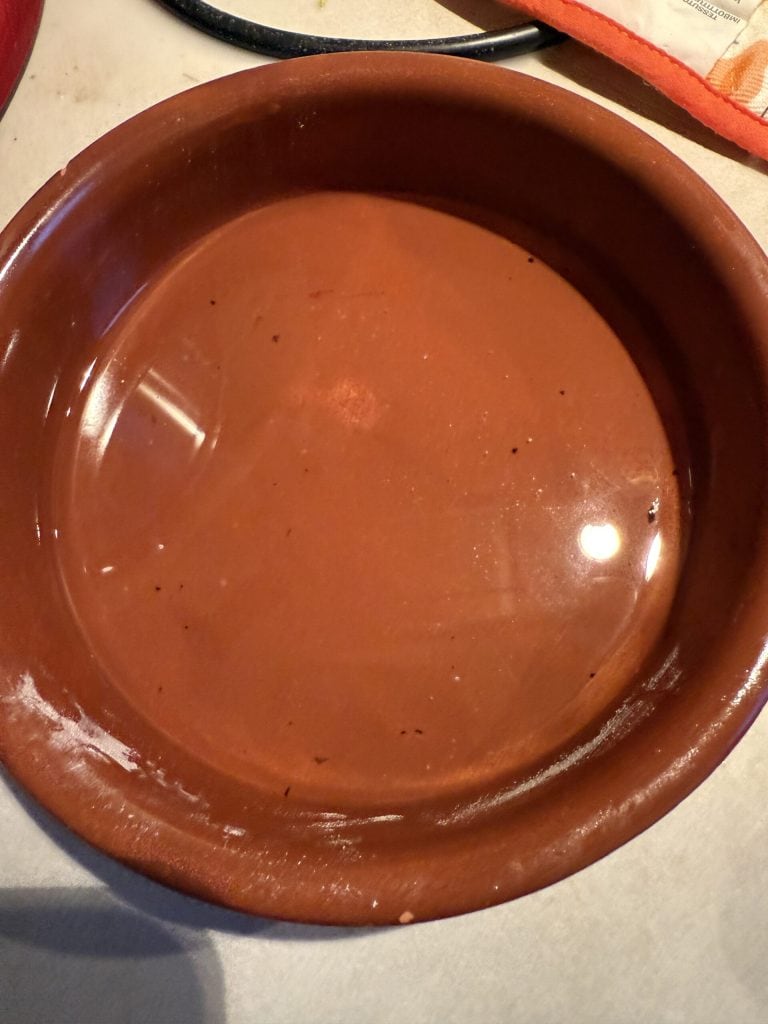
Transfer the dough into a container with a lid slightly greased: if you have leftover coconut oil, use it to grease the container; otherwise, opt for some neutral seed oil. Let it rest for half an hour and then perform three rounds of folds in the bowl. After about an hour, place the dough in the refrigerator overnight, especially if the external temperature is high.

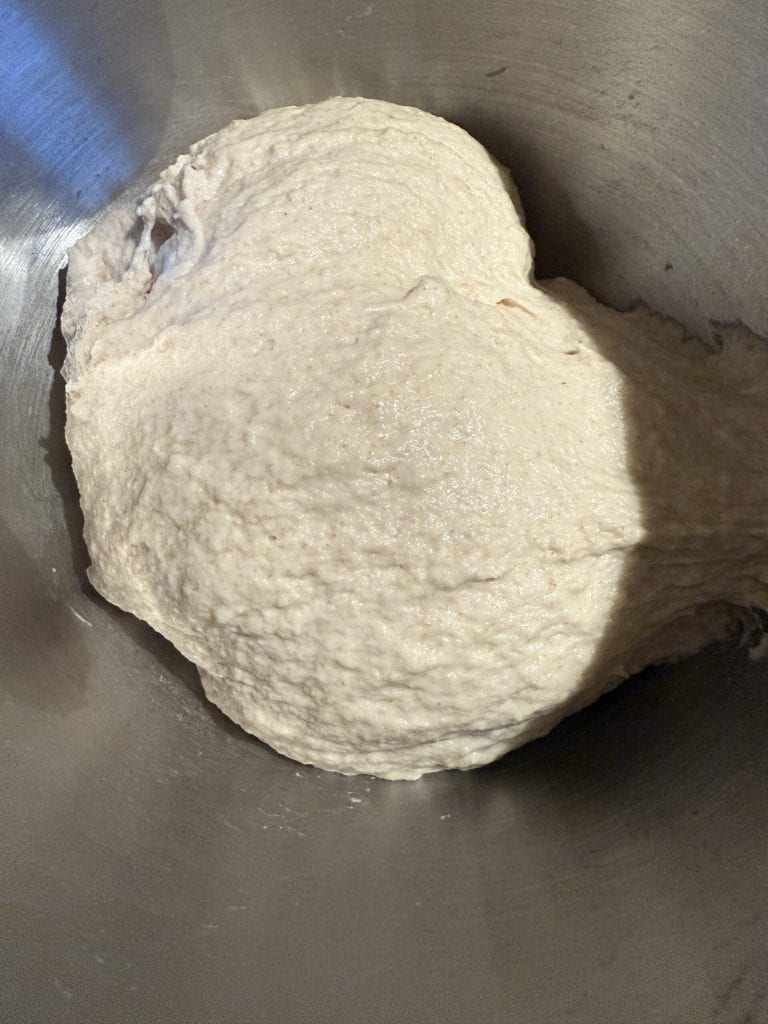
The next day, the dough will be nice and puffed up, well leavened. Transfer it onto a lightly floured workbench and form a cylinder.

While the dough is resting, prepare the mixture necessary to brush each slice of the coconut bread. Combine some flour with the coconut oil (or with some neutral seed oil).
With a fork, mix the ingredients well until they are combined. You will get a thick mixture where all the flour is completely dissolved in the oil.
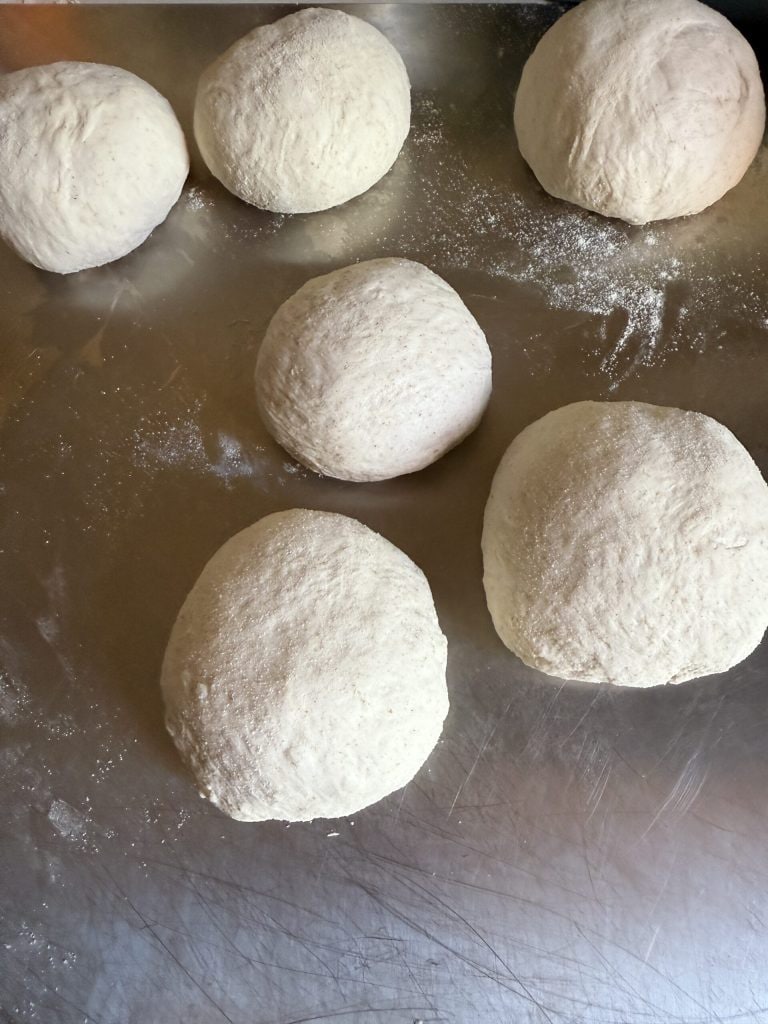
The most characteristic part of this coconut bread is its shaping. With a scraper, cut the dough into many balls. Initially, I cut them into five, but they were too large, so I ended up dividing them into seven.
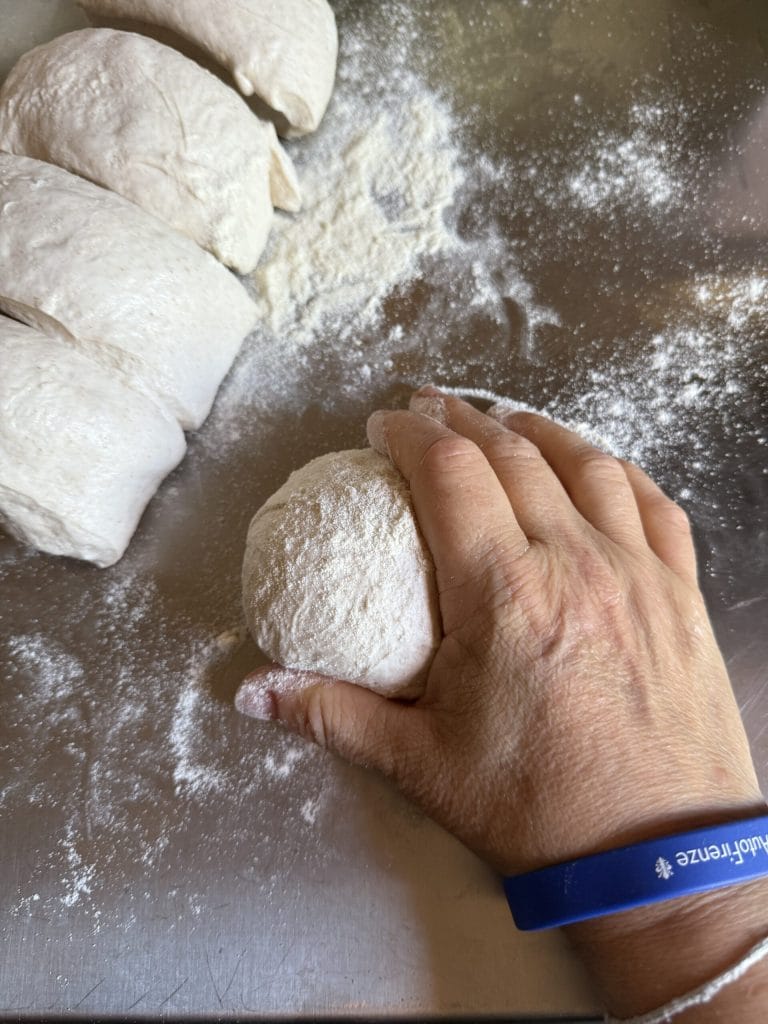
Shape each ball one at a time a couple of times (make a full rotation of the pieces and then start again). Get ready with a rolling pin, which will be useful in the next shaping phase of the coconut bread.
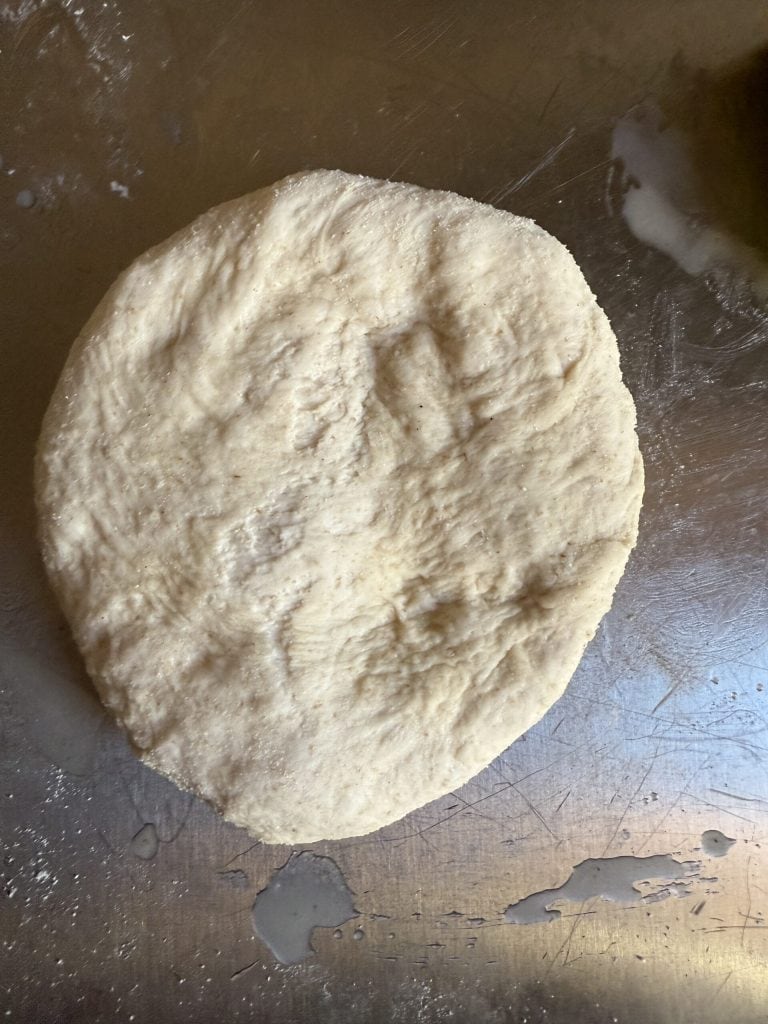
Take a ball and, with the rolling pin, roll it out to obtain a uniform disc, ready for the shaping of the coconut bread.
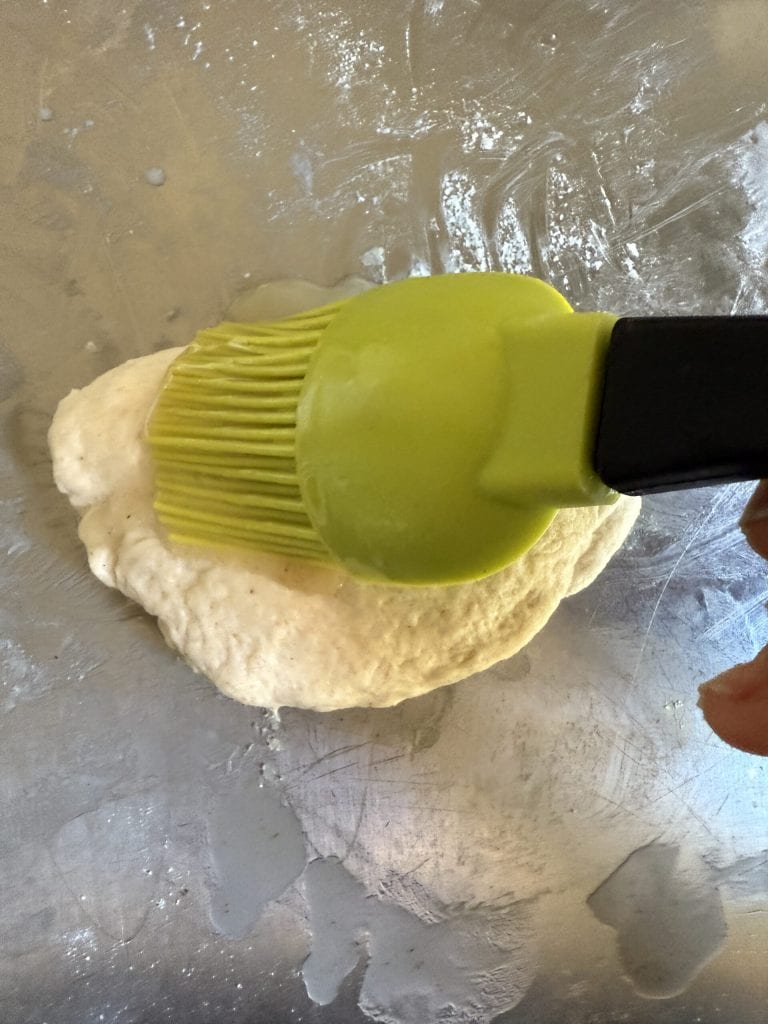
Fold the disc over itself, sealing the edges well to maintain the shape during the baking of the coconut bread.

Dip a pastry brush into the mixture and brush the edges of the crescent thus formed.
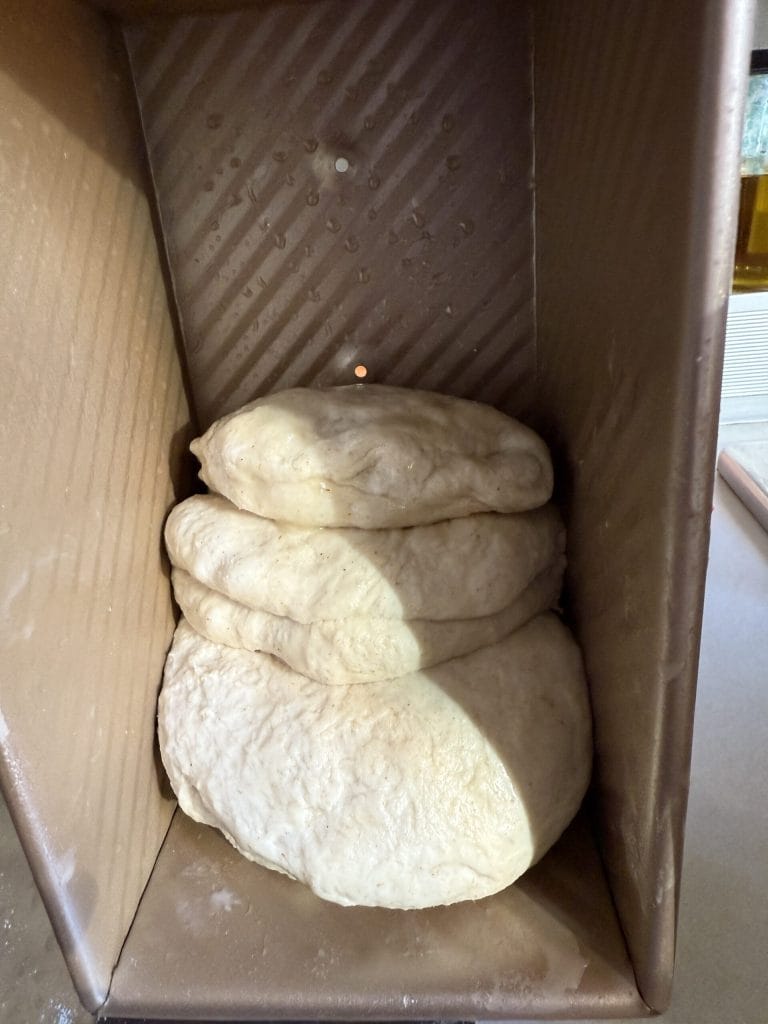
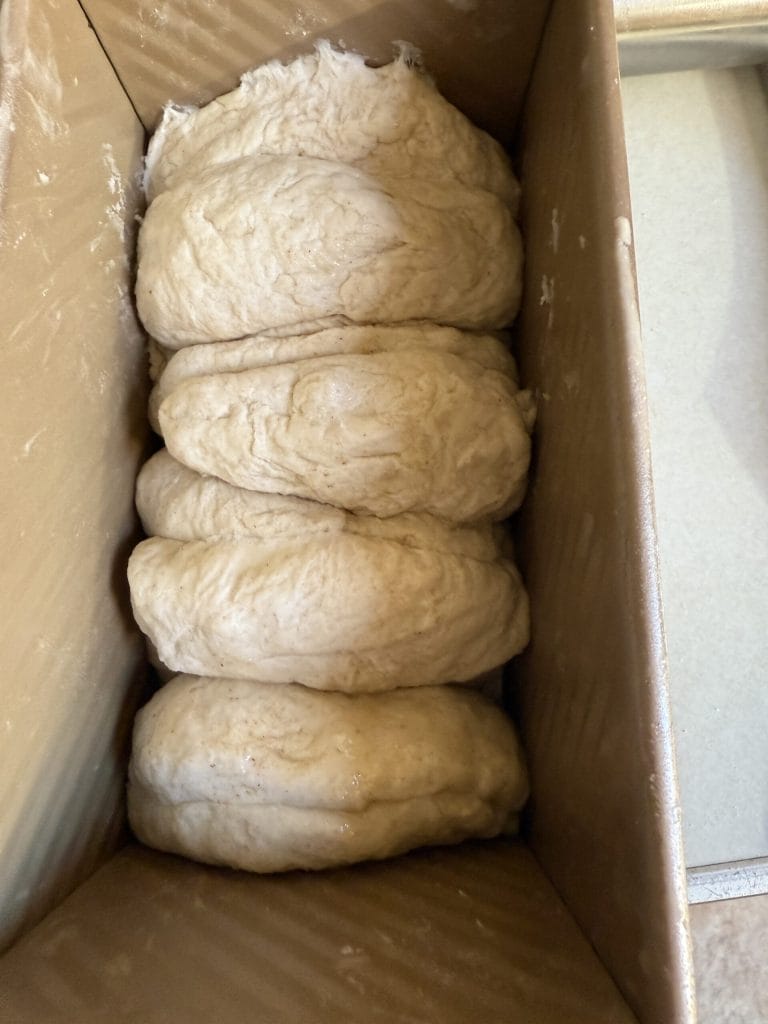
As you form the crescents, place them in the loaf pan, lightly sprayed with non-stick spray. The first pieces may slide, so it’s wise to position the pan vertically. Alternatively, you can prepare all the discs first and then transfer them to the pan.
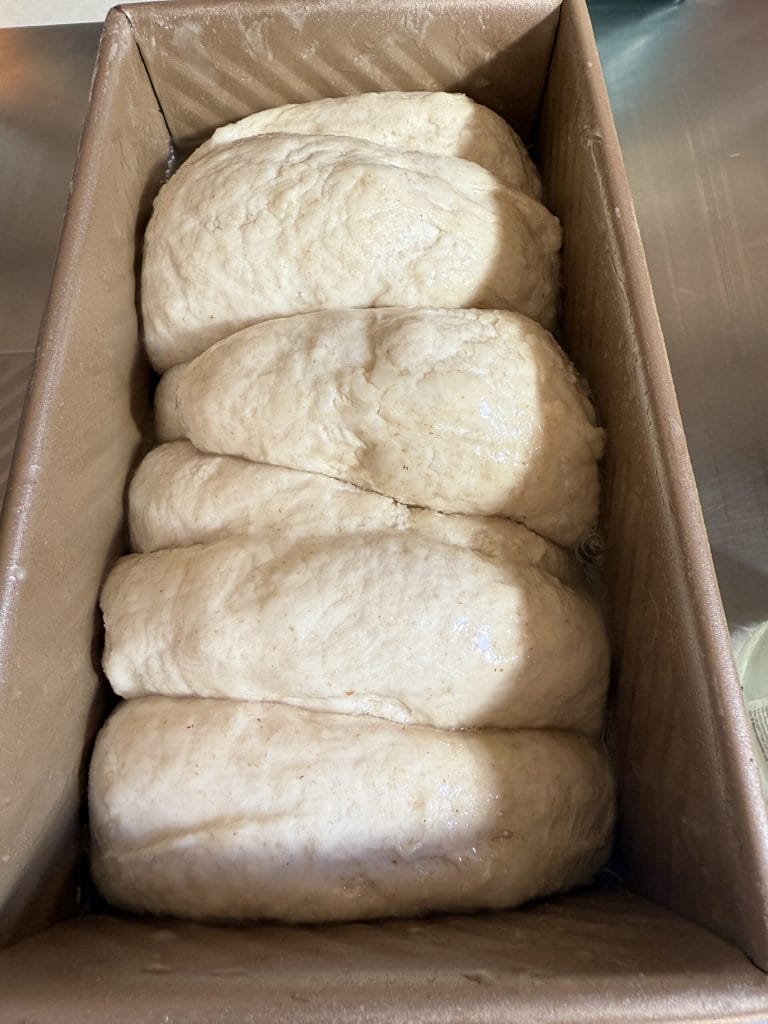
Cover the pan with plastic wrap and let the dough rise until it almost doubles in volume.
While the dough is doubling, preheat the oven to 428°F. Once the dough has reached the desired volume, remove the plastic wrap.
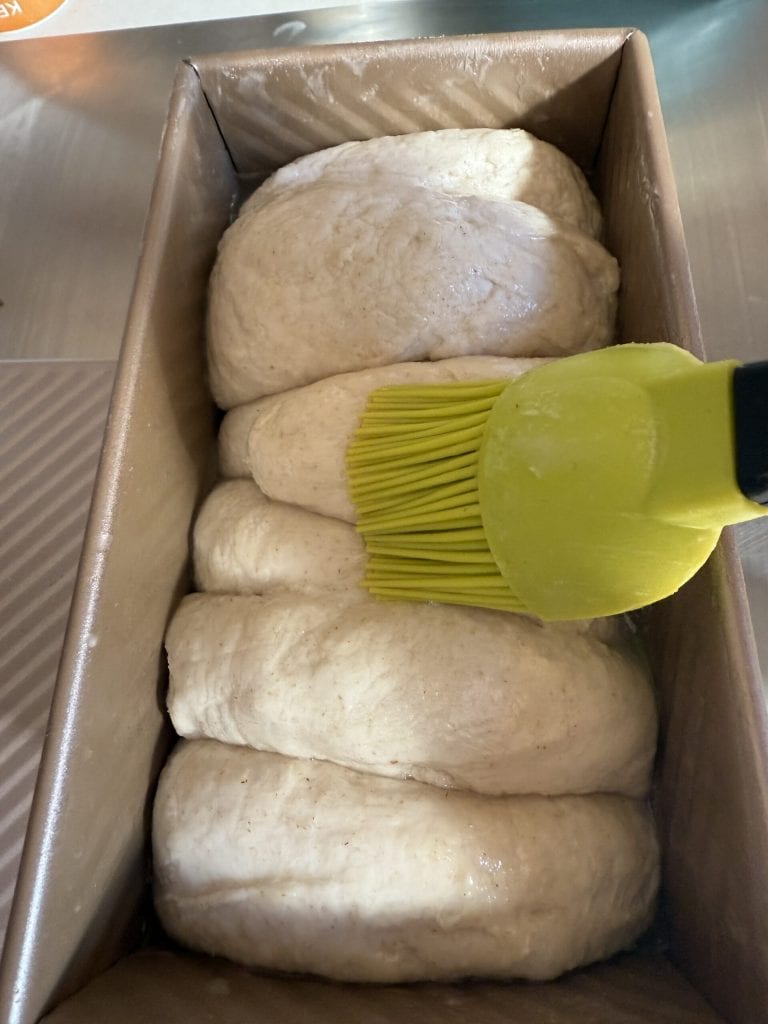
Brush the surface of the coconut bread with some coconut milk, lower the oven to 356°F, and bake.
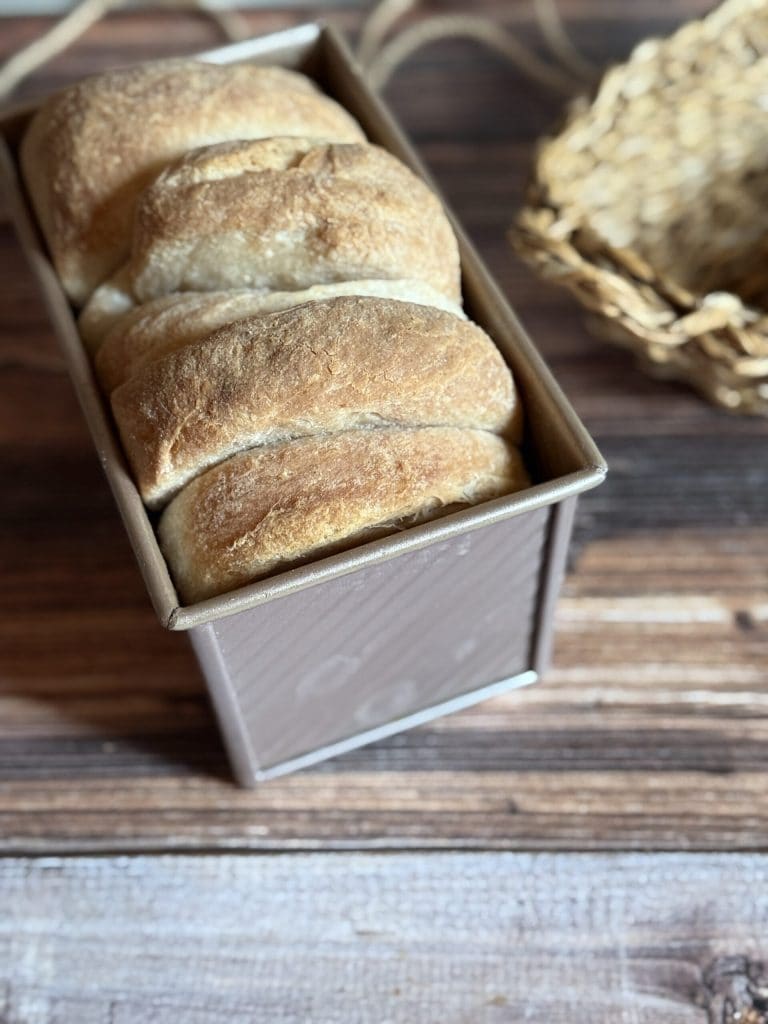
Bake the coconut bread for 35 minutes, then lower the oven to 320°F and continue baking for another 10 minutes. The timing may vary from oven to oven, so you may need to increase or shorten them: every cook knows their oven best!
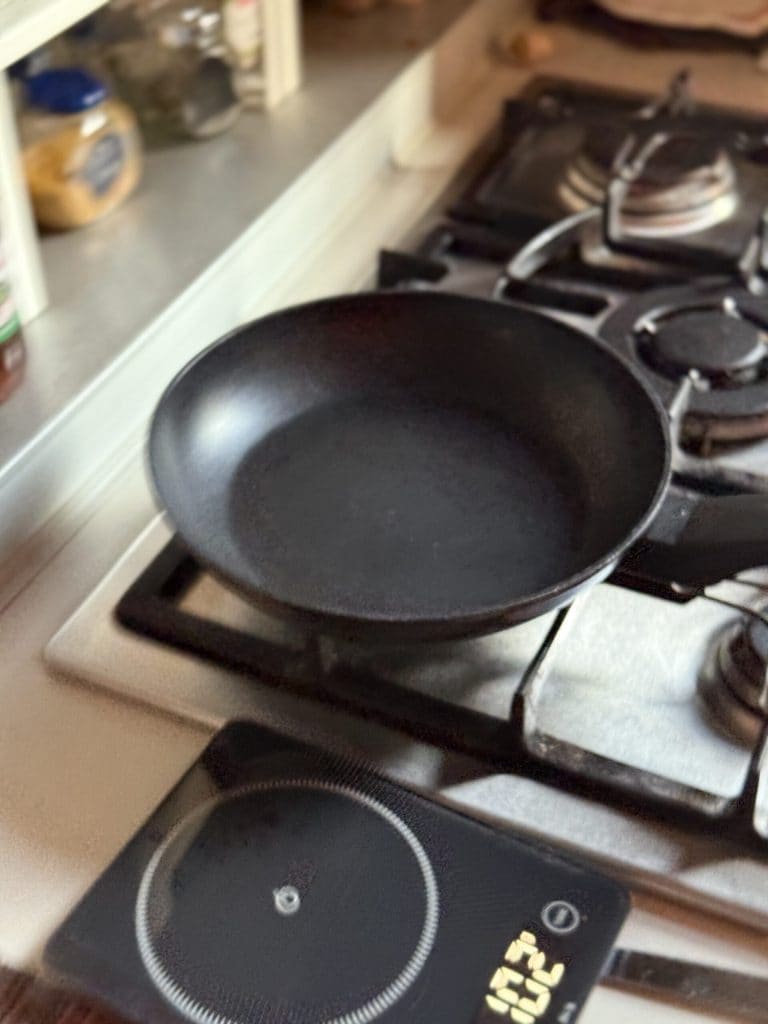
To taste the Sri Lankan Coconut Bread, it is recommended to toast it. Heat a non-stick pan and lightly grease it with some coconut oil.
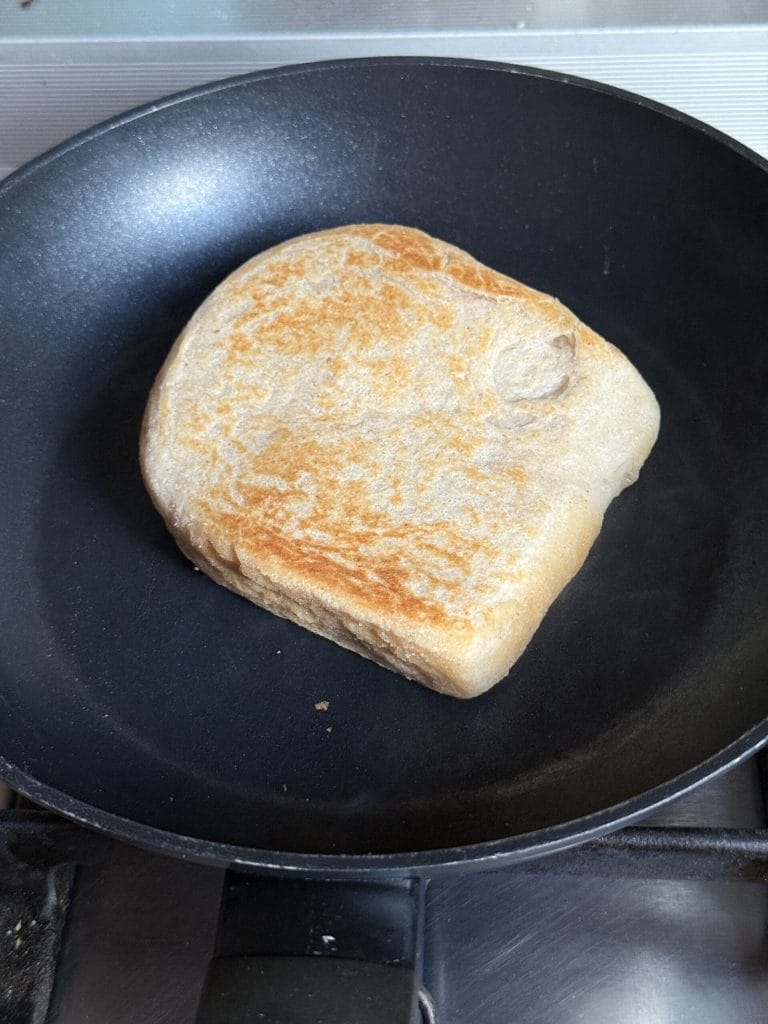
Tear off a slice of the coconut bread and toast it on both sides until golden brown.
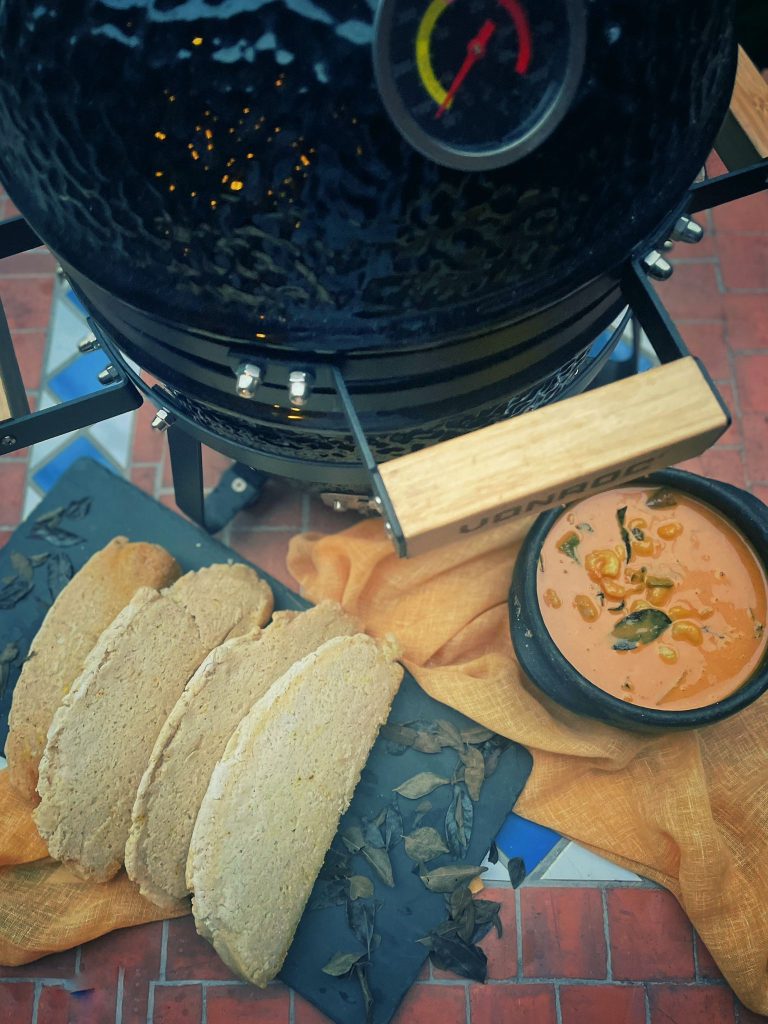
The Roast Paan is finally ready! If you want to eat it the traditional way, you can try it accompanied by Pol Sambol, the spicy condiment made from grated coconut and chili, or with a creamy and spicy Dhal Curry. Other classic options include Seeni Sambol, fried eggs, or a chicken curry: the toasted bread will absorb all the flavors, giving you an authentic Sri Lankan experience right at your table.
Certainly, my friend and colleague Selene, with whom I have a monthly collaboration precisely on the differences between leavened products with and without gluten, made one for this occasion. You can find the recipe HERE
The Roast Paan made with sourdough starter is not only more fragrant and flavorful: thanks to natural fermentation, this Sri Lankan Coconut Bread enjoys a longer shelf life, staying soft longer without losing fragrance. You can store it in a food bag at room temperature for a few days, or slice it and freeze it to always have it ready. If you want to discover more recipes and see how I make the coconut bread and many other delights, come visit me on Instagram and follow my kitchen adventures!
