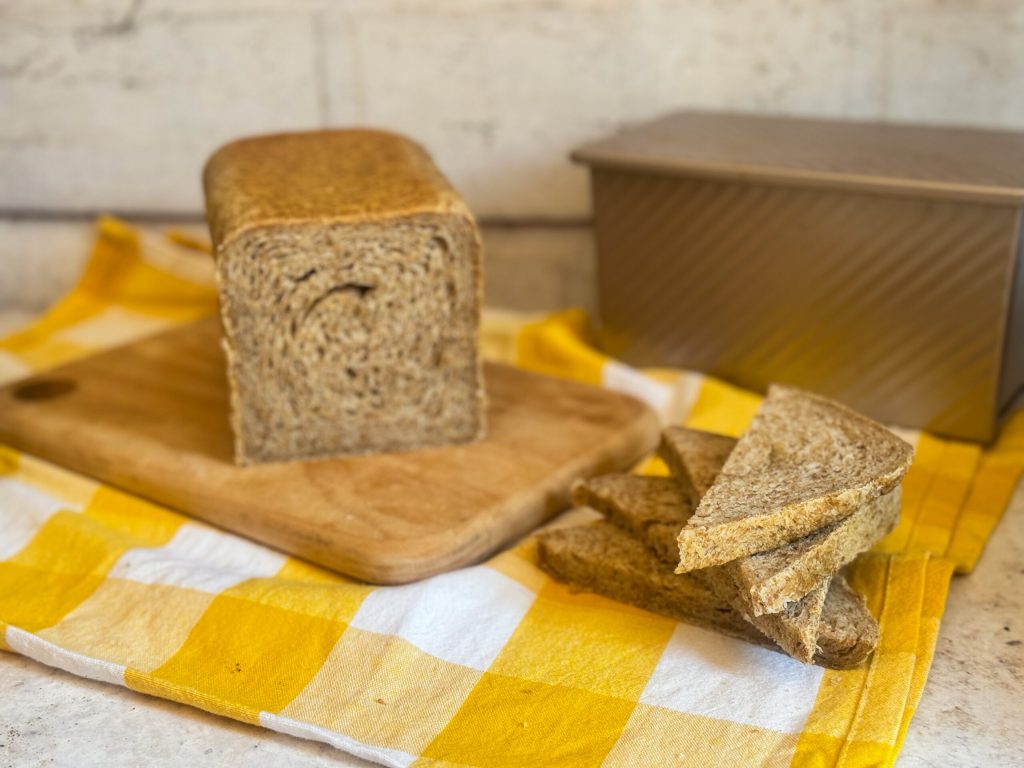
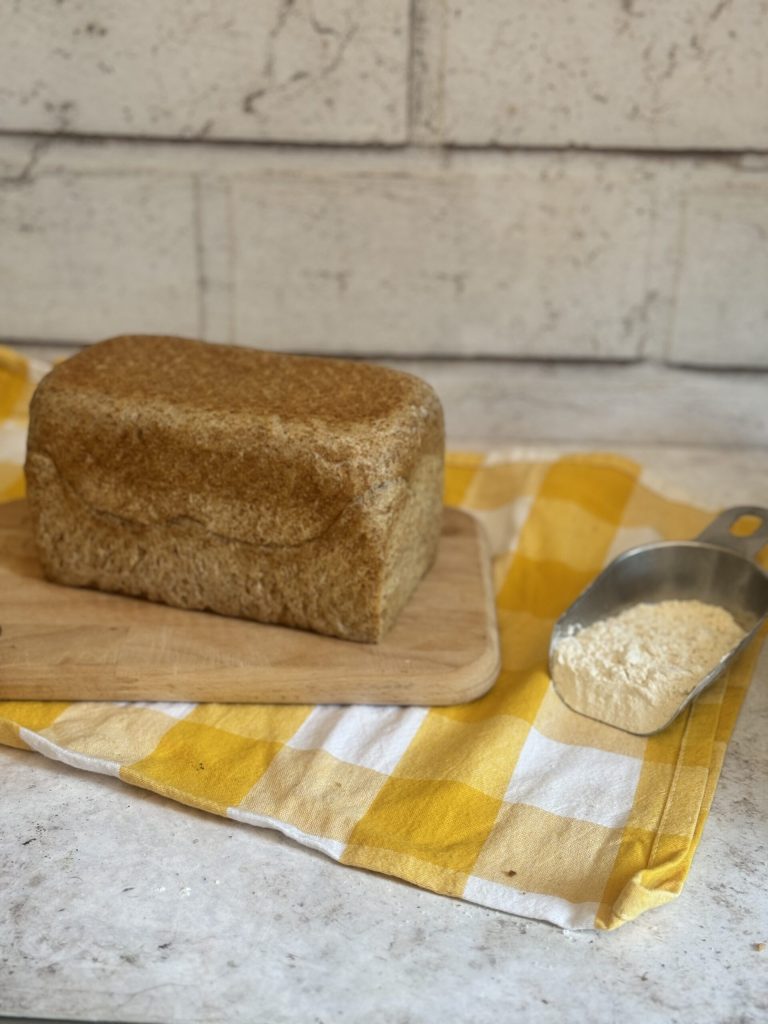
The sandwich bread is a staple in every household pantry; generally bought in large distribution, it has a long shelf life thanks to industrial preservation methods. It is also soft and perfect for making canapés, sandwiches, and toast for snacks, appetizers, and aperitifs. Making it with sourdough starter allows you to obtain a similar shelf-life due to the properties of the sourdough without industrial preservatives. Let’s make the whole wheat sandwich bread with sourdough starter together to get a convenient bread like the store-bought ones but more healthy and flavorful! This version is also suitable for those following a vegan diet or are lactose intolerant…turn on the mixer, and let’s get started!
- Difficulty: Medium
- Cost: Economical
- Rest time: 12 Hours
- Preparation time: 1 Hour
- Cooking methods: Oven
- Cuisine: Italian
- Seasonality: All seasons
Ingredients
- 120 g sourdough starter (refreshed and doubled)
- 350 g whole wheat flour
- 150 g type 1 flour
- 2 tbsp vegetable oil
- 1.5 tsp fine salt
- 5 g malt (diastatic)
- 1 1/8 cup water
- 1/2 cup almond milk (or cow's milk)
- 1 tbsp tbsp almond milk (or cow's milk for brushing)
Tools
- 1 Mixer
- 1 Bowl
- 1 Container
- 1 Loaf Pan for Sandwich Bread
- 1 Workboard
- 1 Brush
- 1 Plastic Wrap
Steps
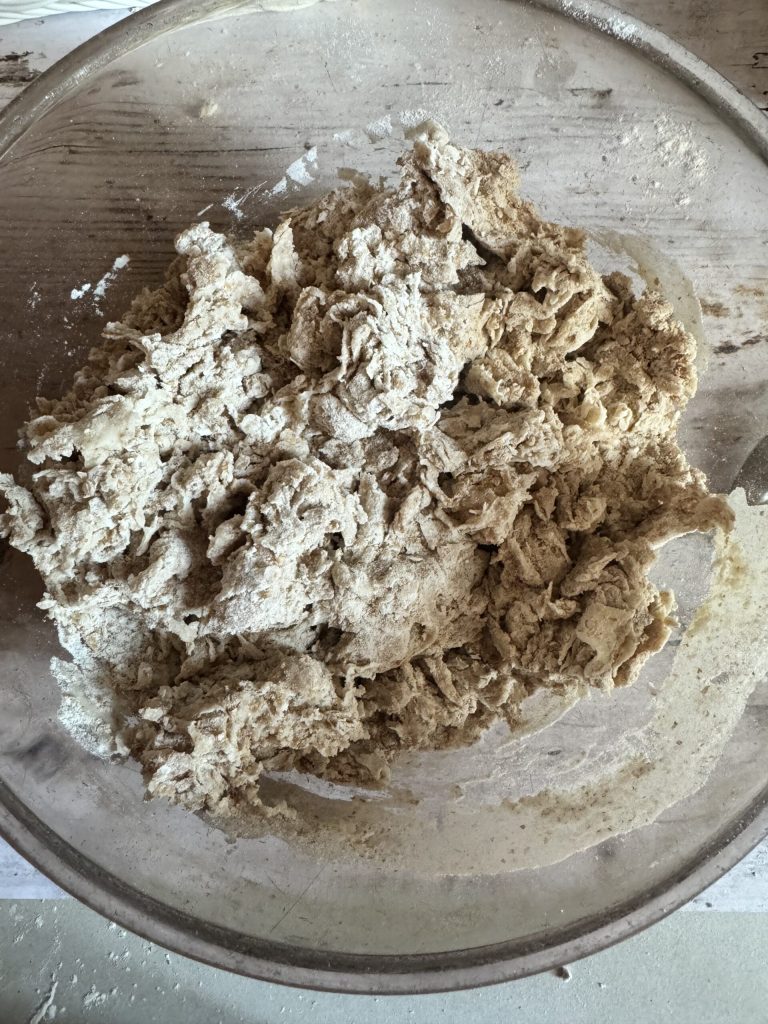
While the refreshed starter doubles, mix the two flours in a bowl (no need to sift them) and add 200 g of water. Stir coarsely with a spoon and cover with plastic wrap and a cloth. Let the flour autolyze for at least an hour. Meanwhile, mix the remaining water and milk together. This will be needed later.
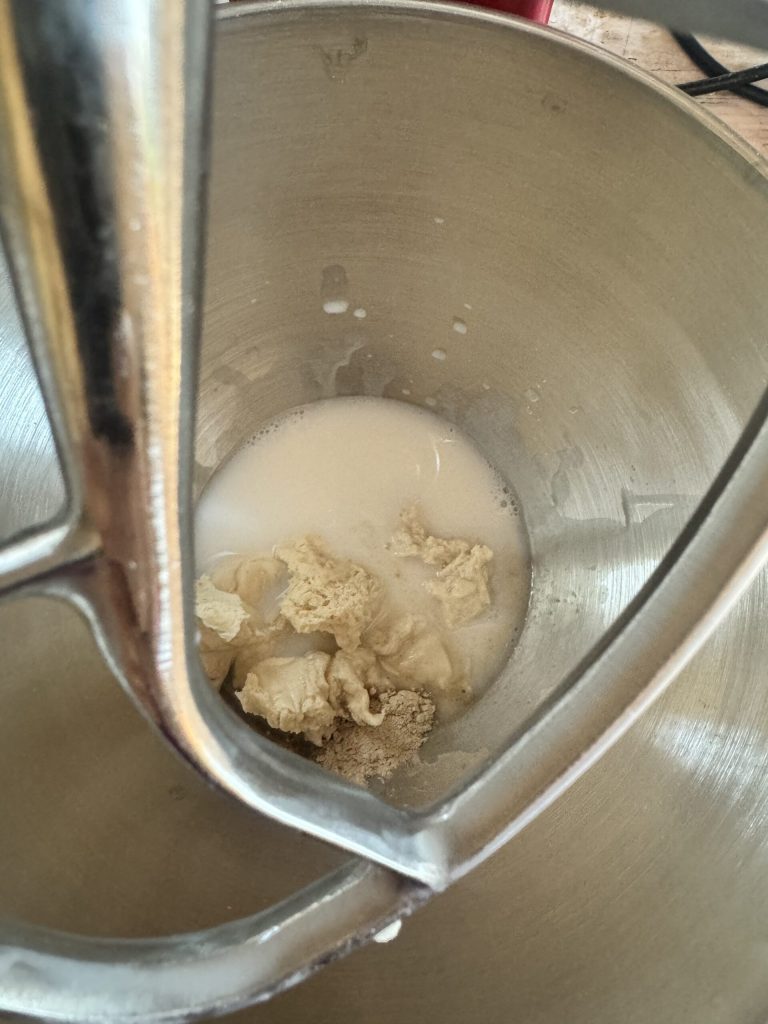
Once doubled, break the sourdough starter into 60 g of the water and milk mixture prepared earlier, adding the malt. If you don’t have malt, it can be replaced with sugar.
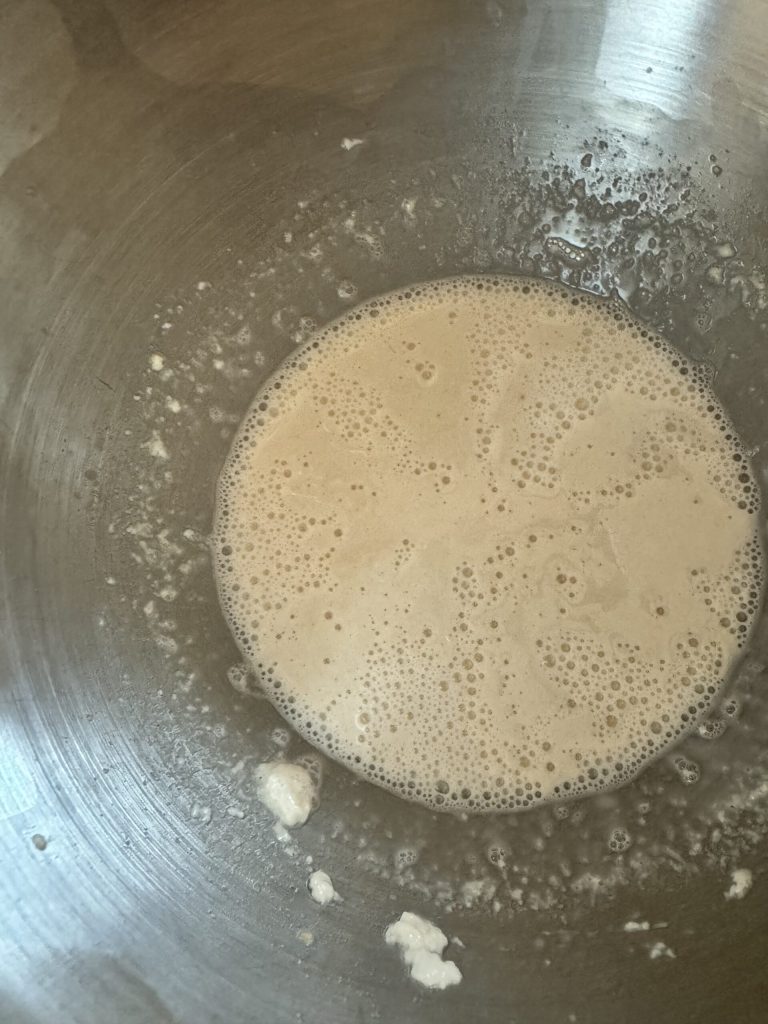
Completely dissolve the starter using the paddle attachment to have a thick, milky liquid full of bubbles, indicating the activity of the yeast.
Add the autolyzed flours in two parts and start kneading.
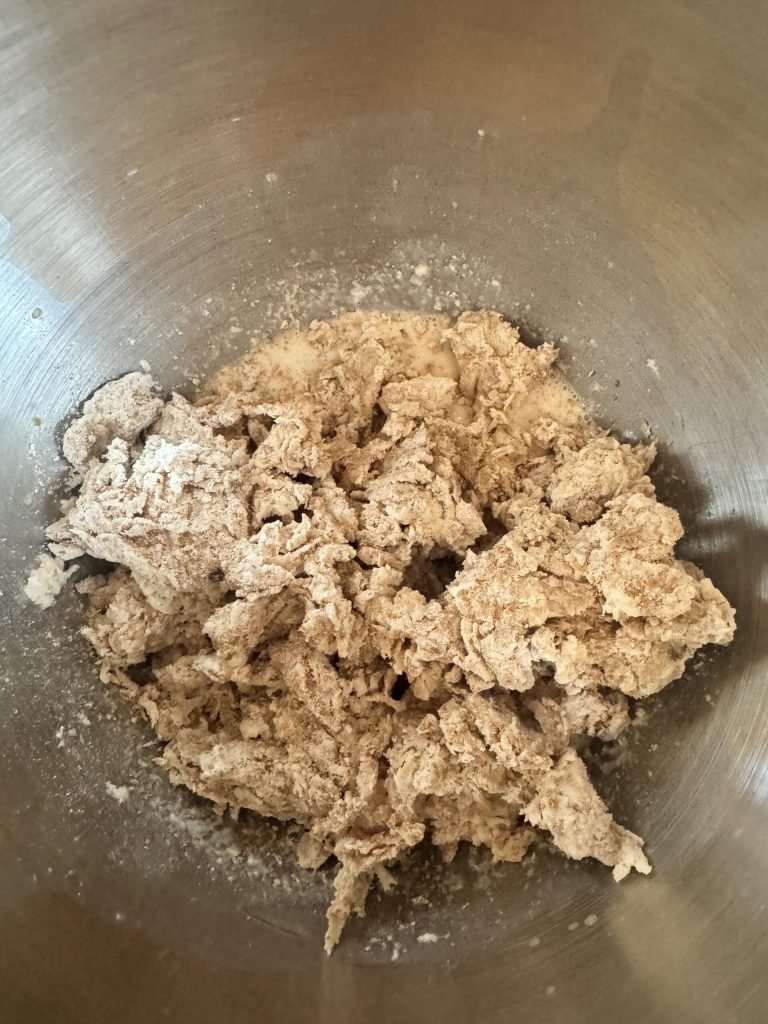
Gradually incorporate the remaining liquid to allow it to be absorbed by the dough.
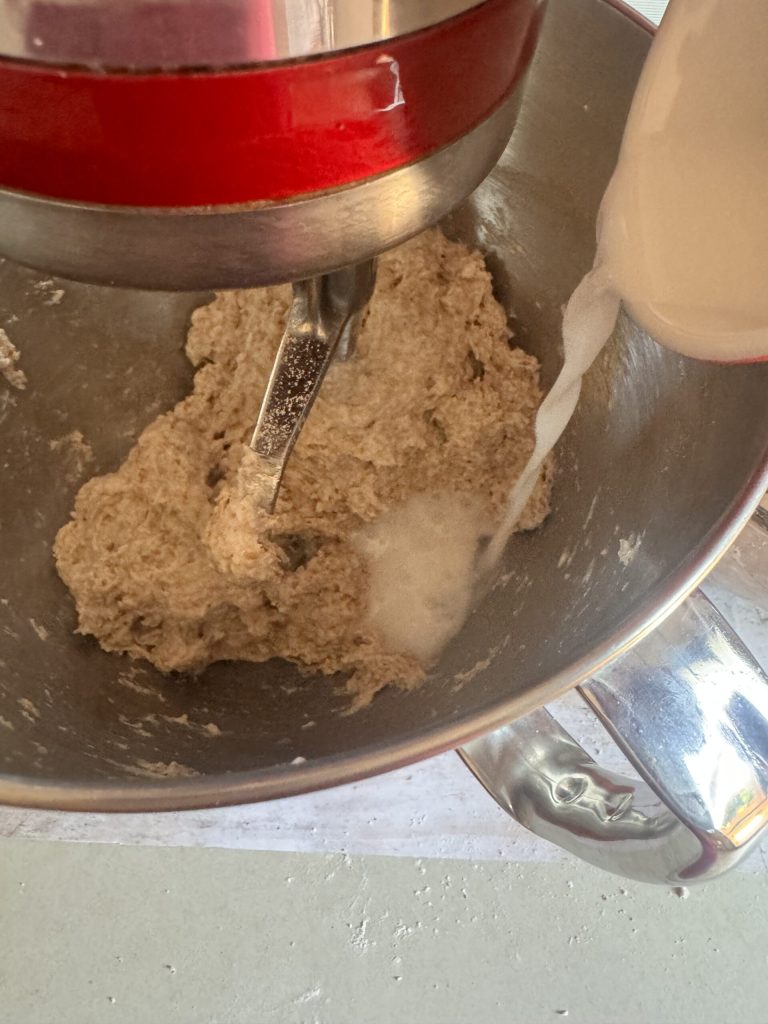
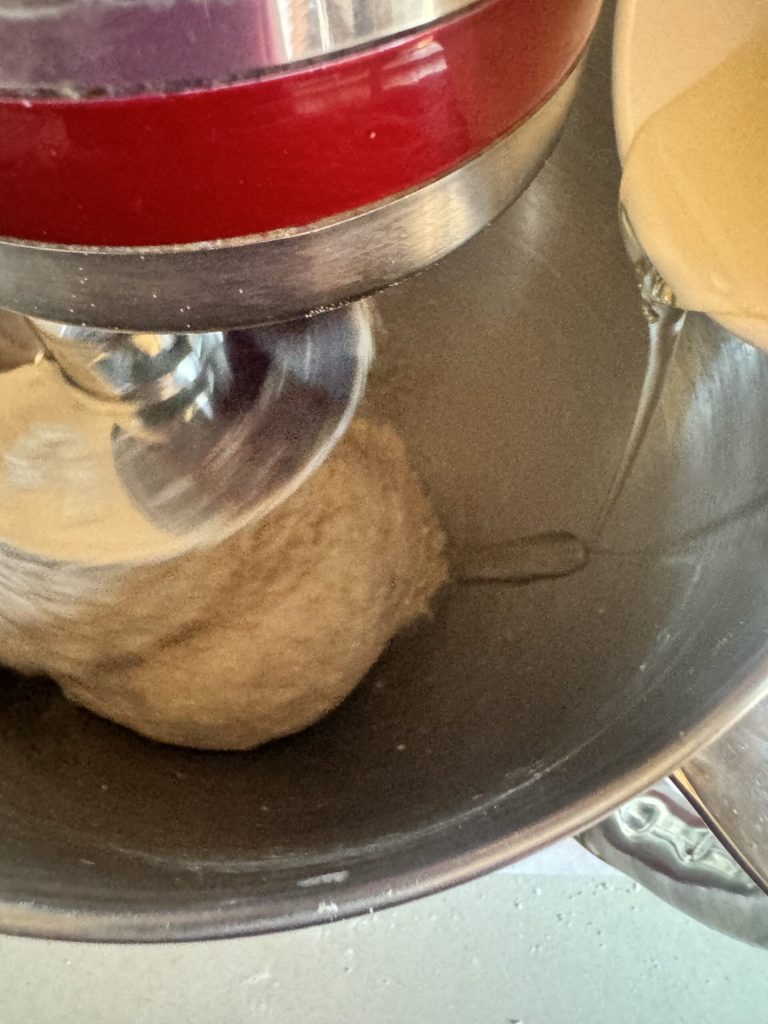
The dough will begin to clean the bowl and start forming. It’s time to switch to the hook attachment.
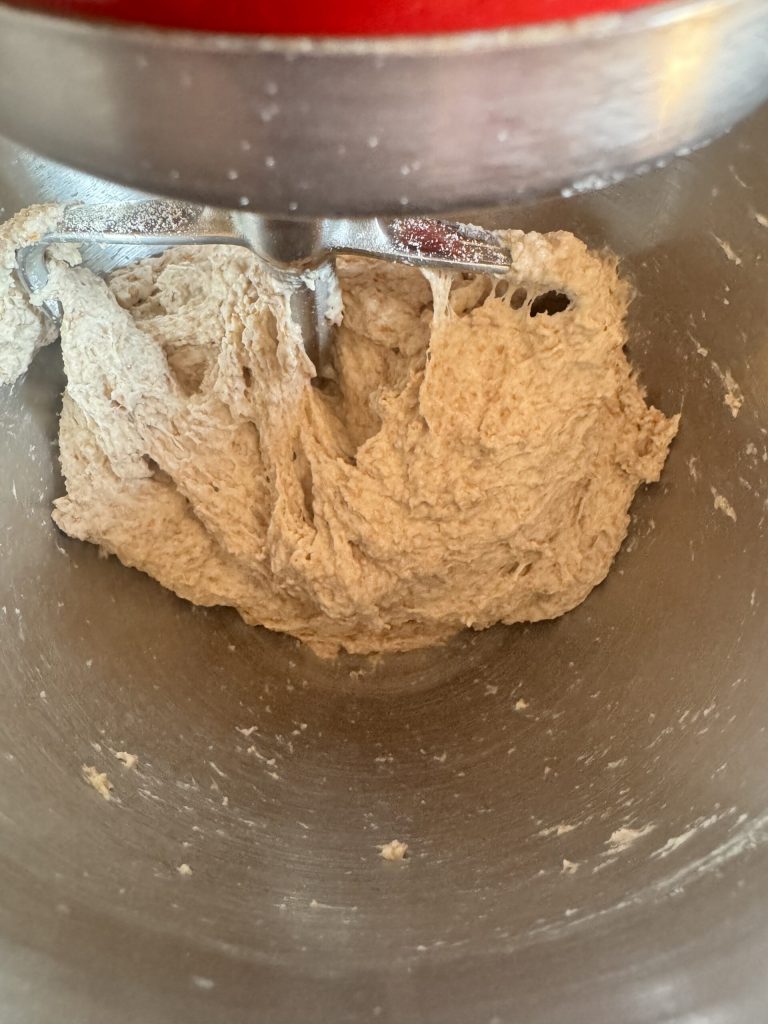
Before adding the next ingredients, the dough should look like this, already quite structured.
Slowly drizzle in the vegetable oil with the mixer running. Adding fats is always the most delicate part of the process, so it should be done gradually.
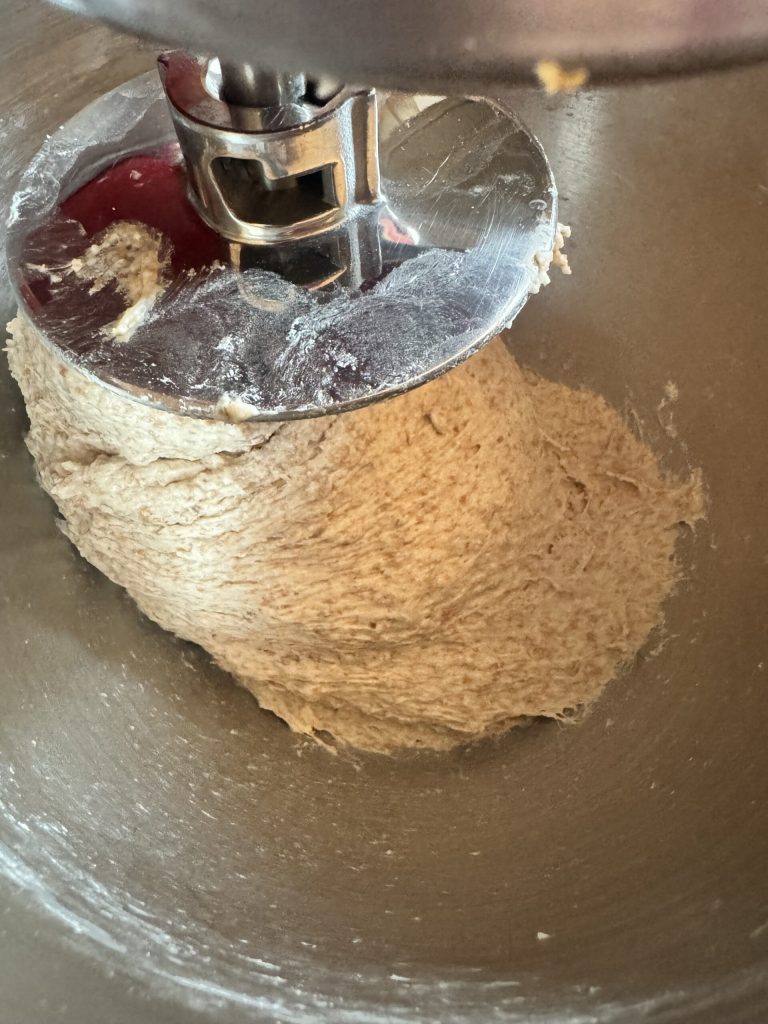
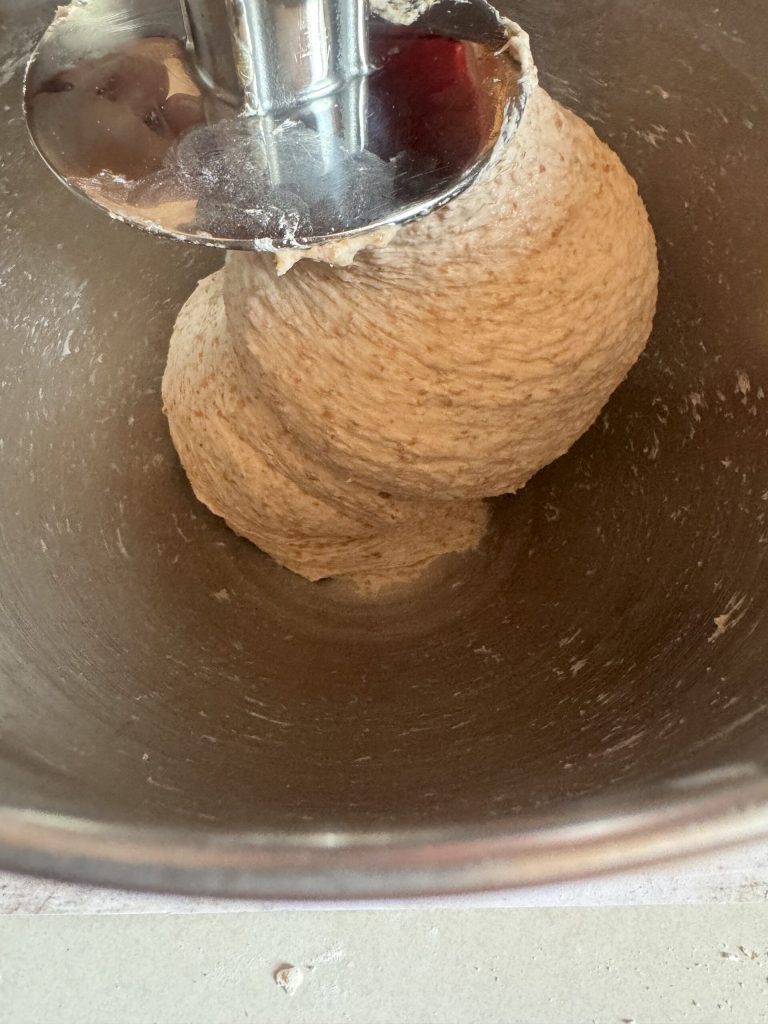
Once the oil is absorbed, finish with the salt and increase the speed to fully develop the gluten. It generally takes about fifteen to twenty minutes to make the dough.
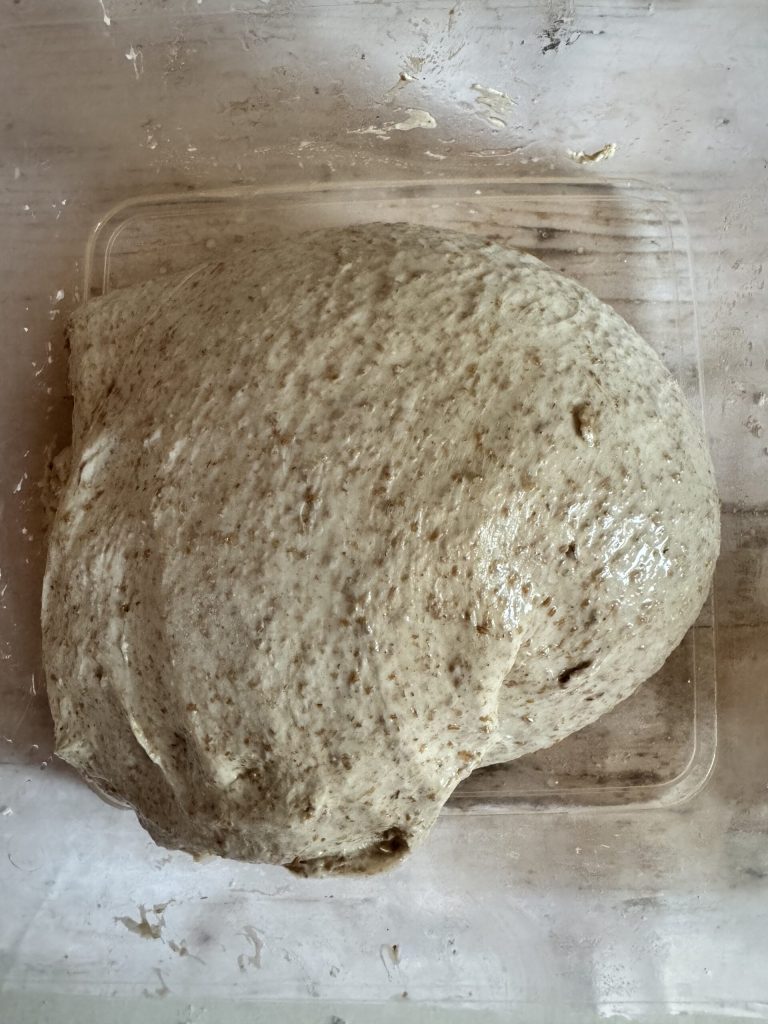
Place the dough in a lightly oiled container and cover it. Let it relax for at least half an hour.
Subsequently, perform simple folds in the bowl, three times at half-hour intervals.
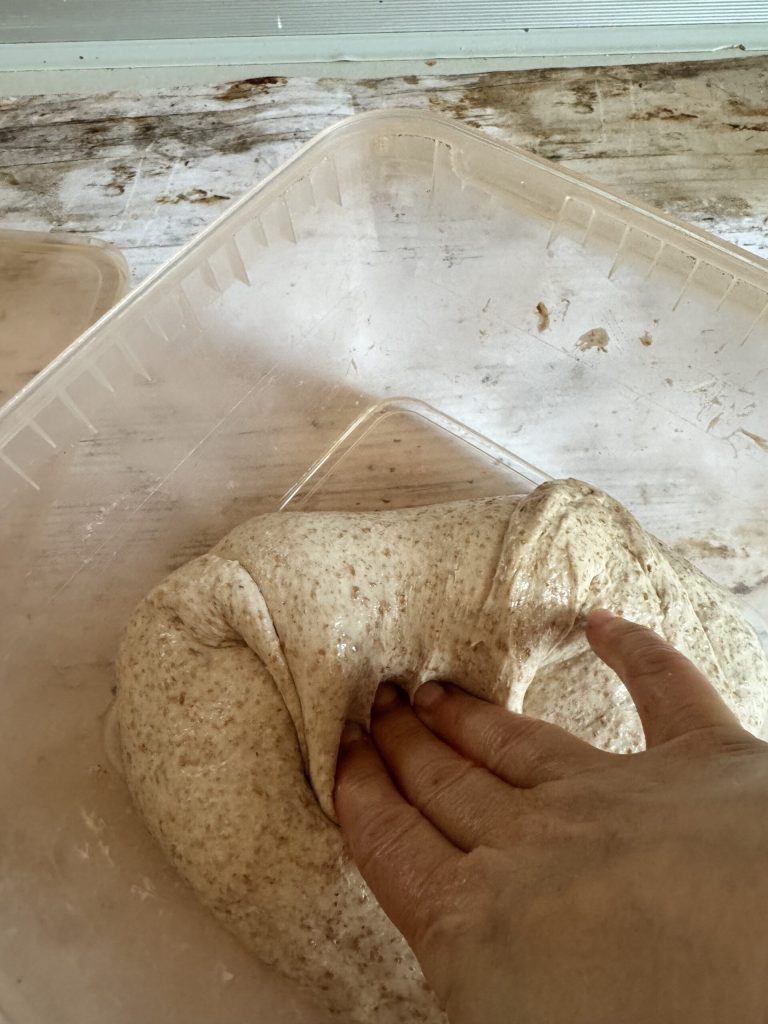
Take a corner of the dough and pull it towards the center.
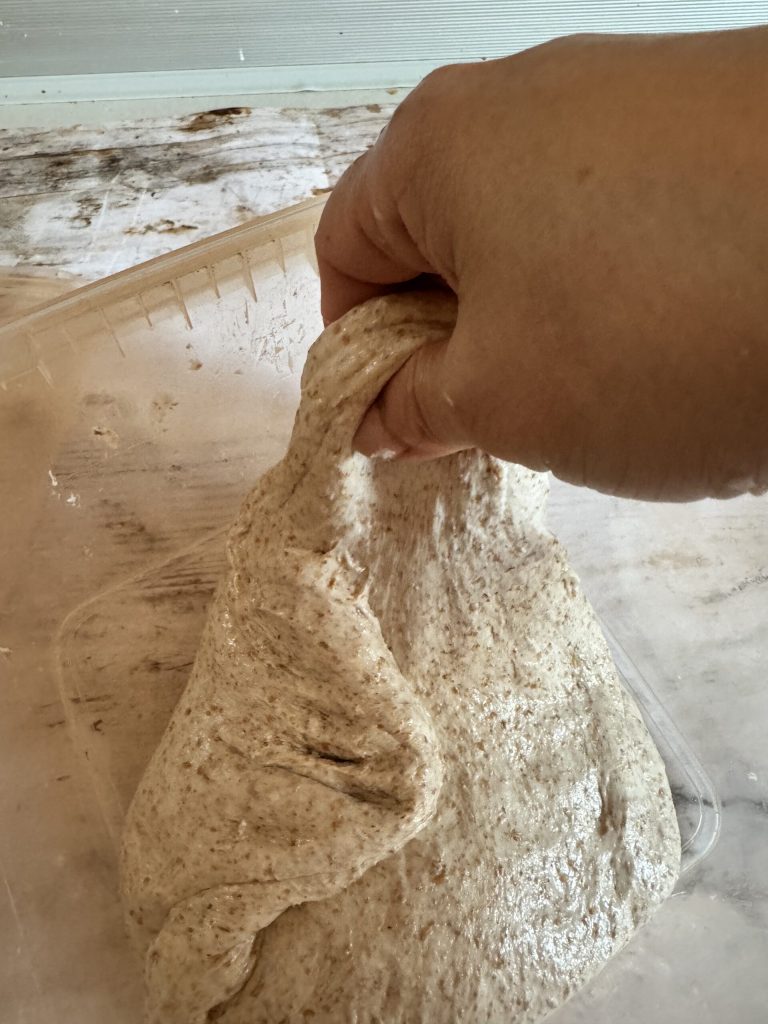
Rotate the container a quarter turn and repeat with another part. Continue until all corners have been pulled inward, as seen in the photo.
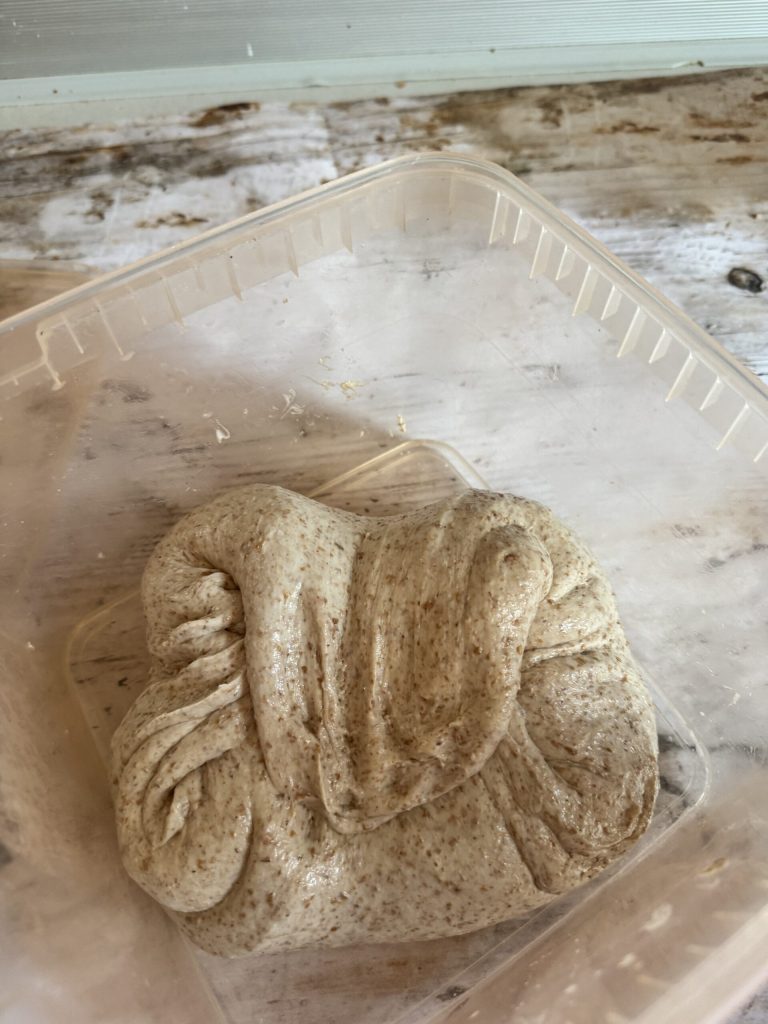
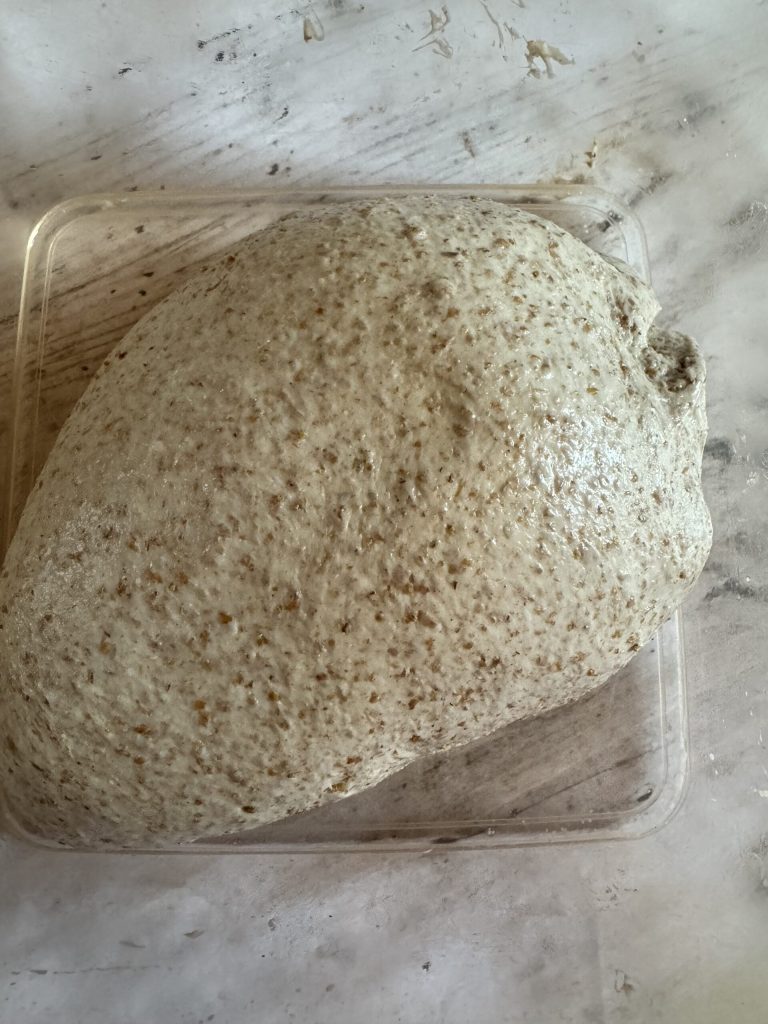
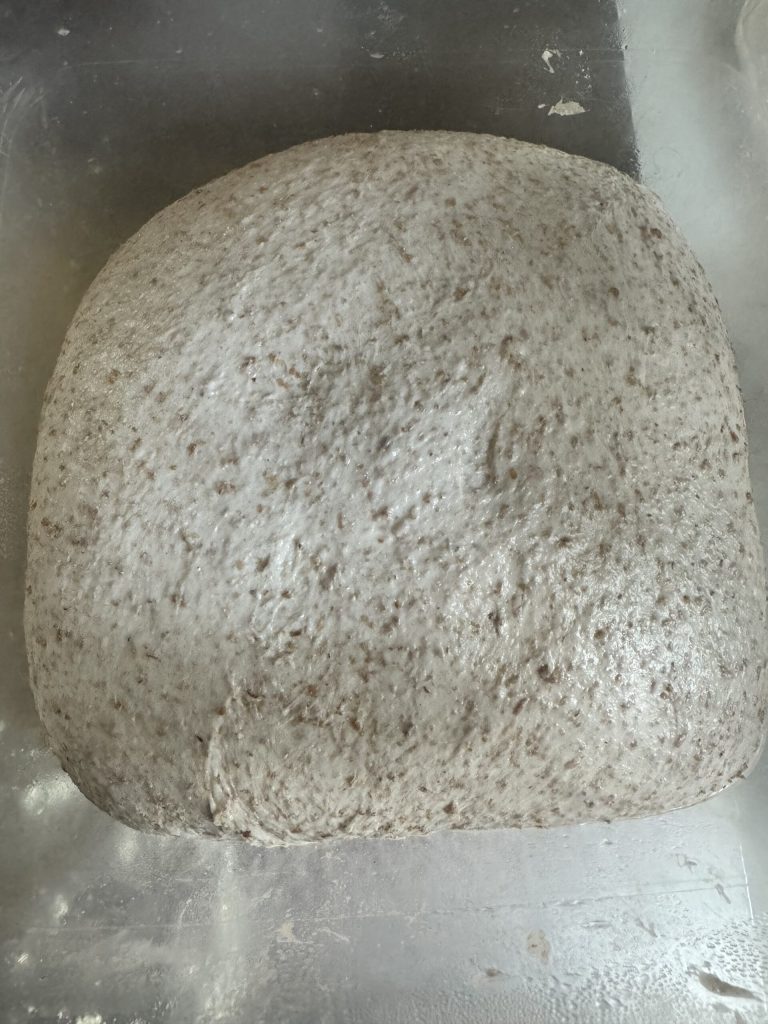
Seal the bottom and place it with the folds facing down. Let it begin to rise (about two hours) and then place it in the fridge overnight.
The next day, let the dough acclimate for an hour outside the fridge to relax it. Place it on a lightly dusted workboard.
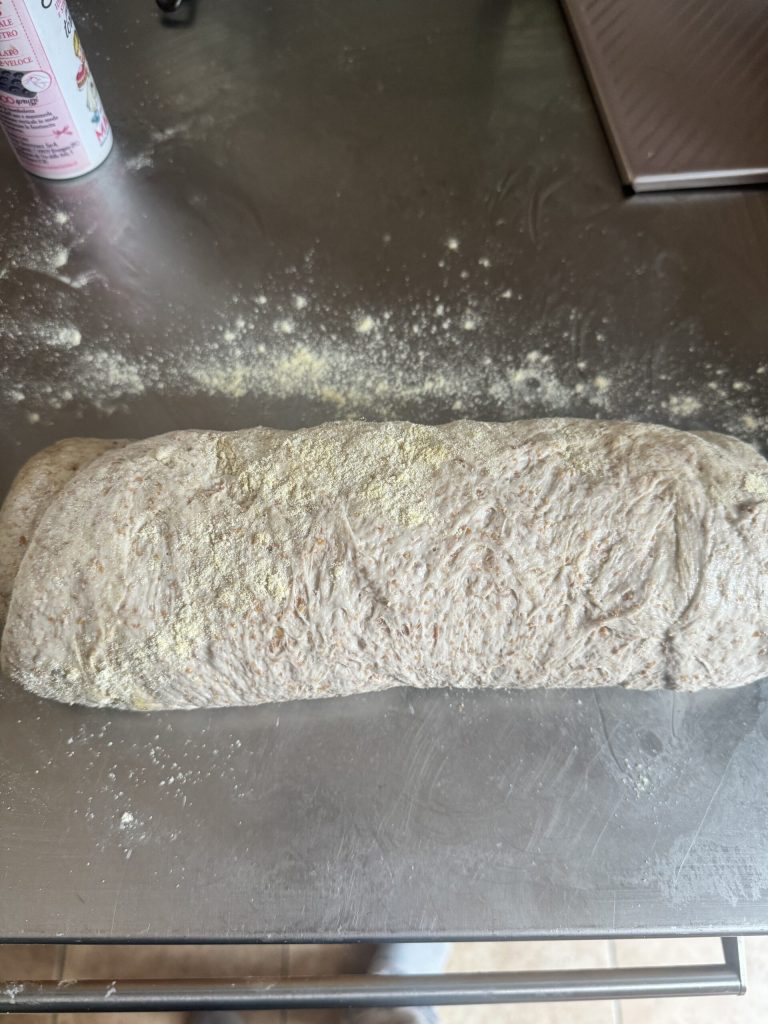
Start spreading it first with your fingers, then with a rolling pin, taking the measurements of the pan.

Roll it up lengthwise and seal the closure well on both sides and at the bottom.
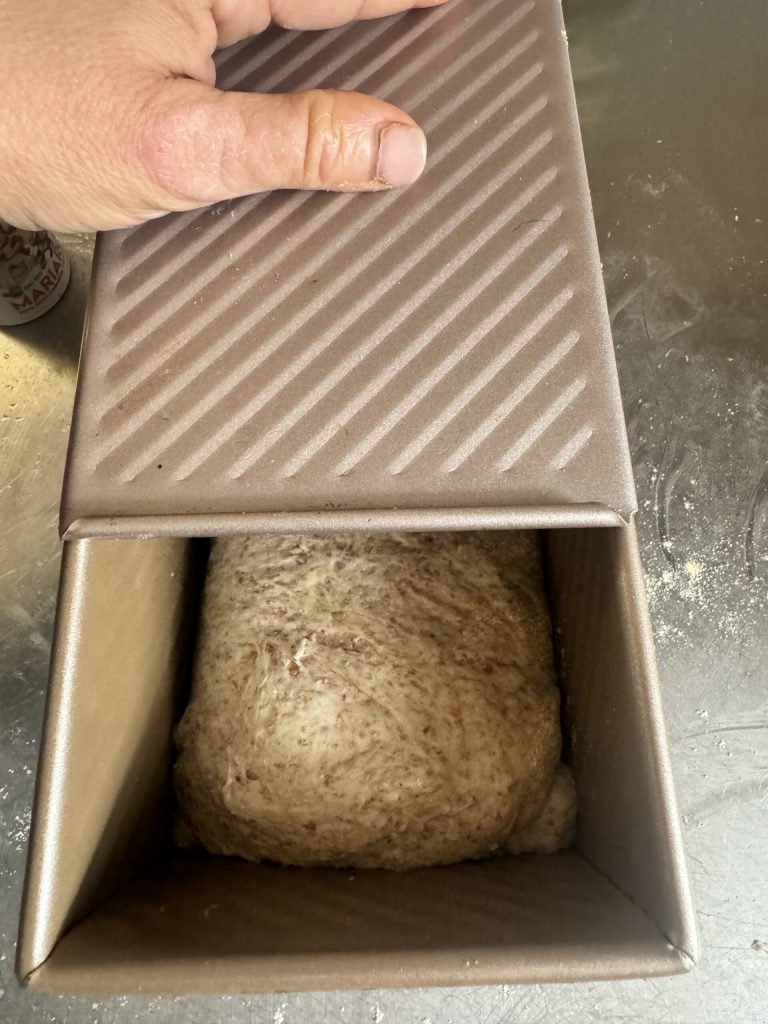
Spray the pan with release agent and place the dough in it. The pan dimensions are those provided in the tools section link (that’s the one I used).

Close the pan with its lid and place it in a warm spot (such as the oven with the light on) to rise.
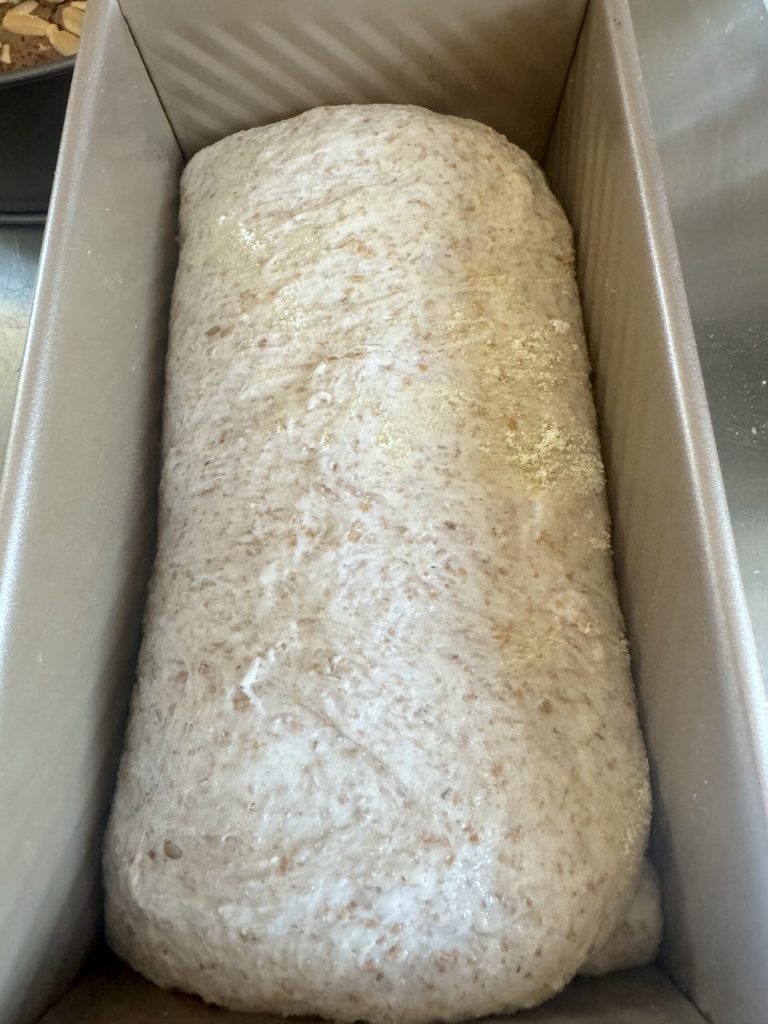
After a couple of hours (but this is indicative), the dough will have risen to 1/3 from the edge. Preheat the oven to 180 degrees Celsius (356 degrees Fahrenheit).
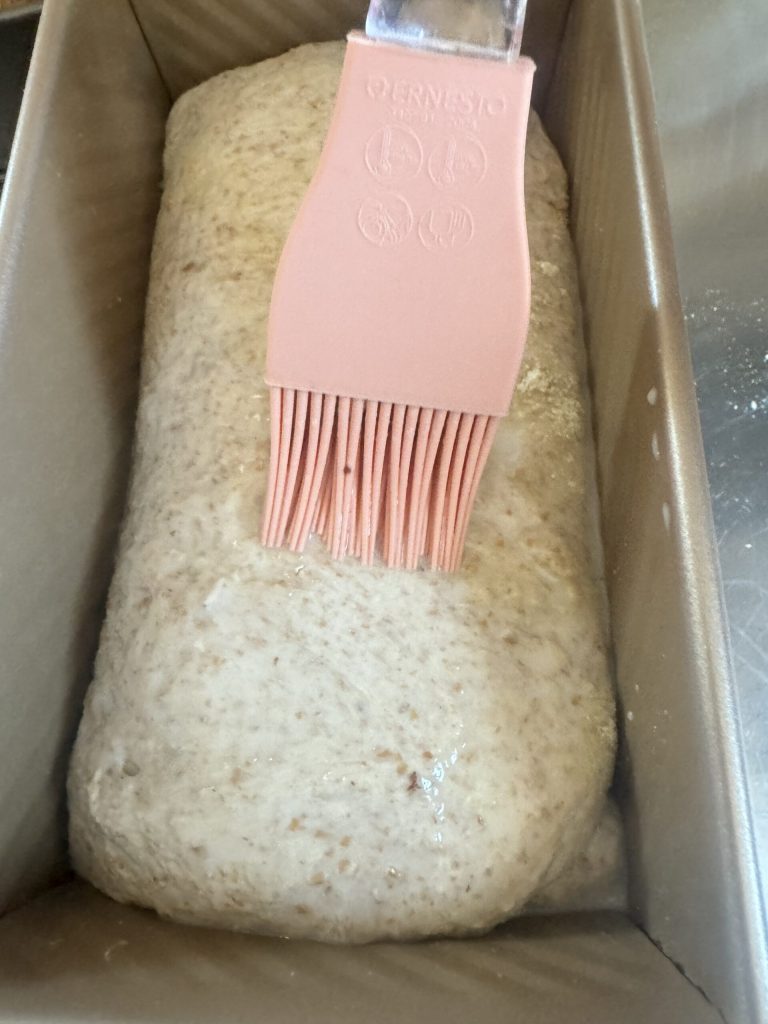
Brush the 15 g of milk or plant-based drink, close again with the lid, and once the oven is at temperature, bake.
Bake with the lid on for 40/45 minutes, depending on your oven. The presence of the lid will prevent the bread from rising too much, giving it the classic square shape. Let it cool in the oven for about twenty minutes before removing it from the pan.
After making the whole wheat sandwich bread with sourdough starter, there are many ways to use it. Of course, you can make delicious sandwiches or finger sandwiches, but I suggest an alternative use: making shrimp toast like those from a Chinese restaurant! They are very easy to make, and here are the steps to make them. These toasts can also be made with gluten-free sandwich bread as my friend Selene did. Below is her recipe with the link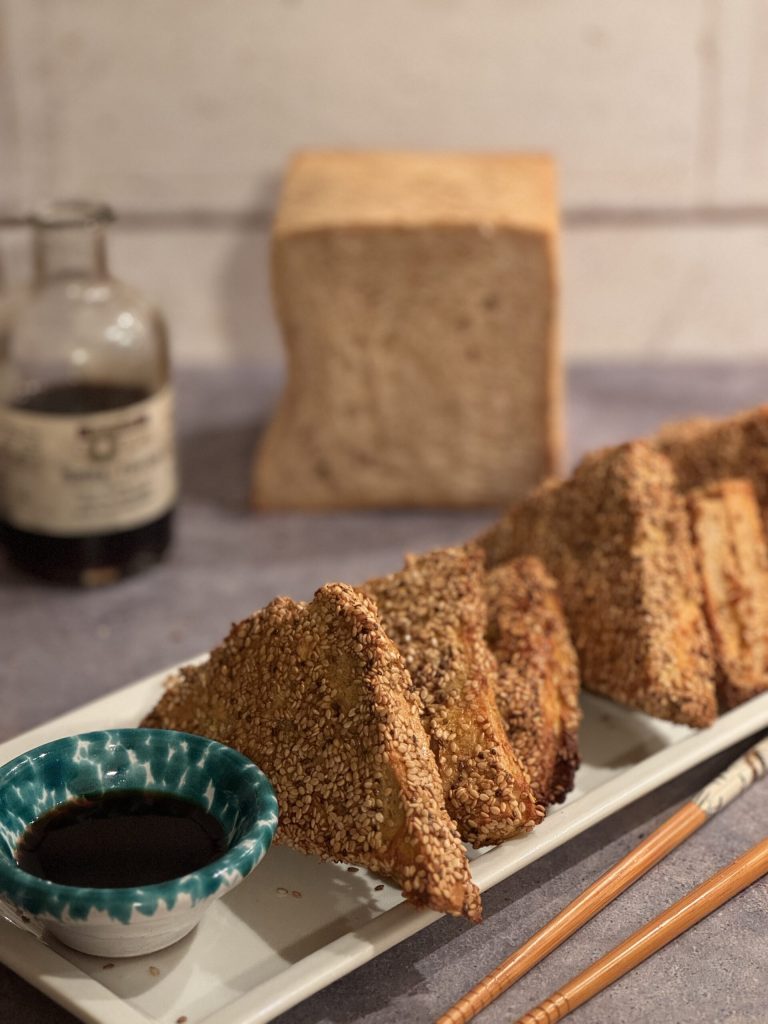
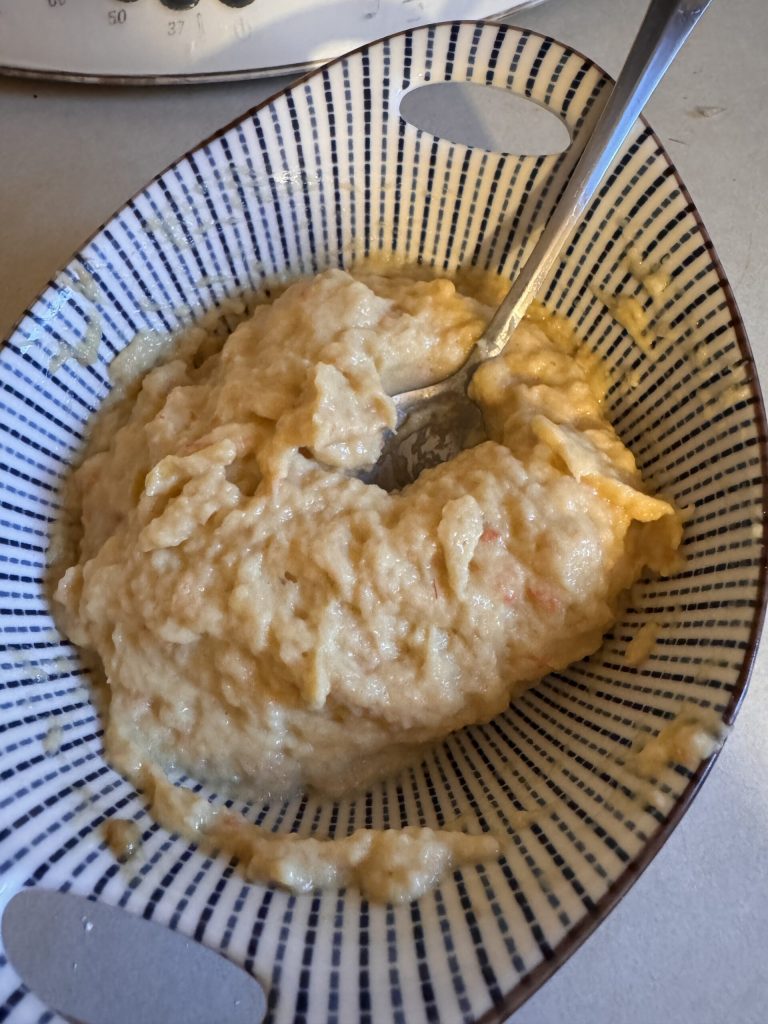
In a mixer, blend 150 g of peeled shrimp, 2 tablespoons of cornstarch, a scallion, and the zest of half a lemon, until you have a thick cream.
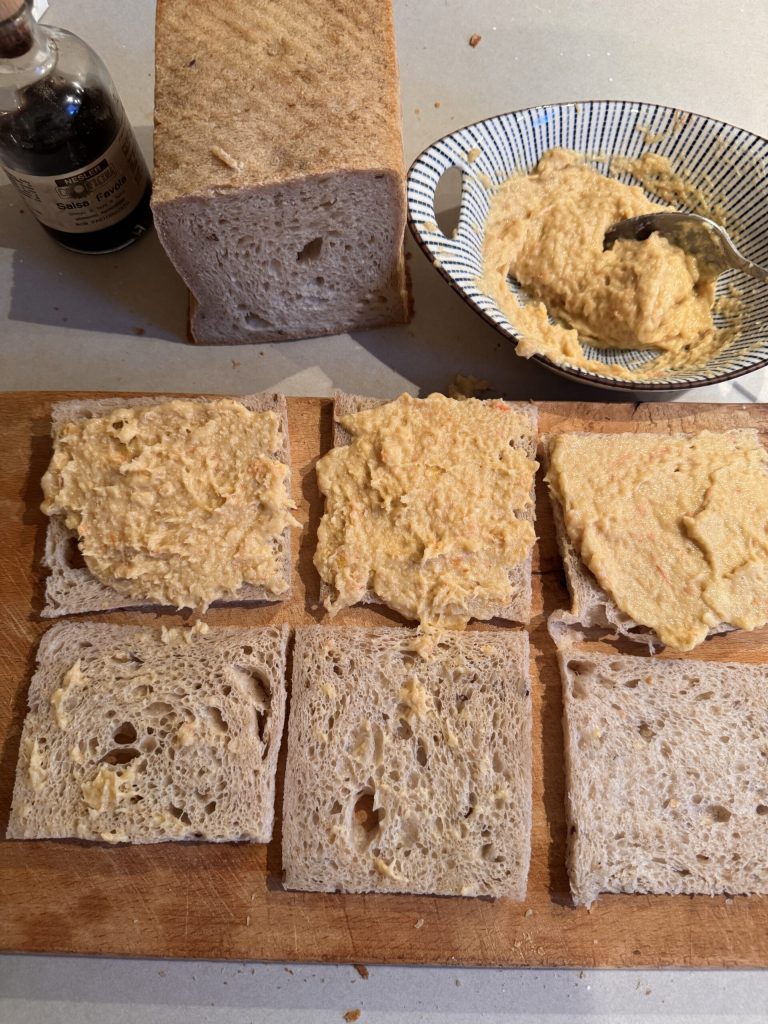
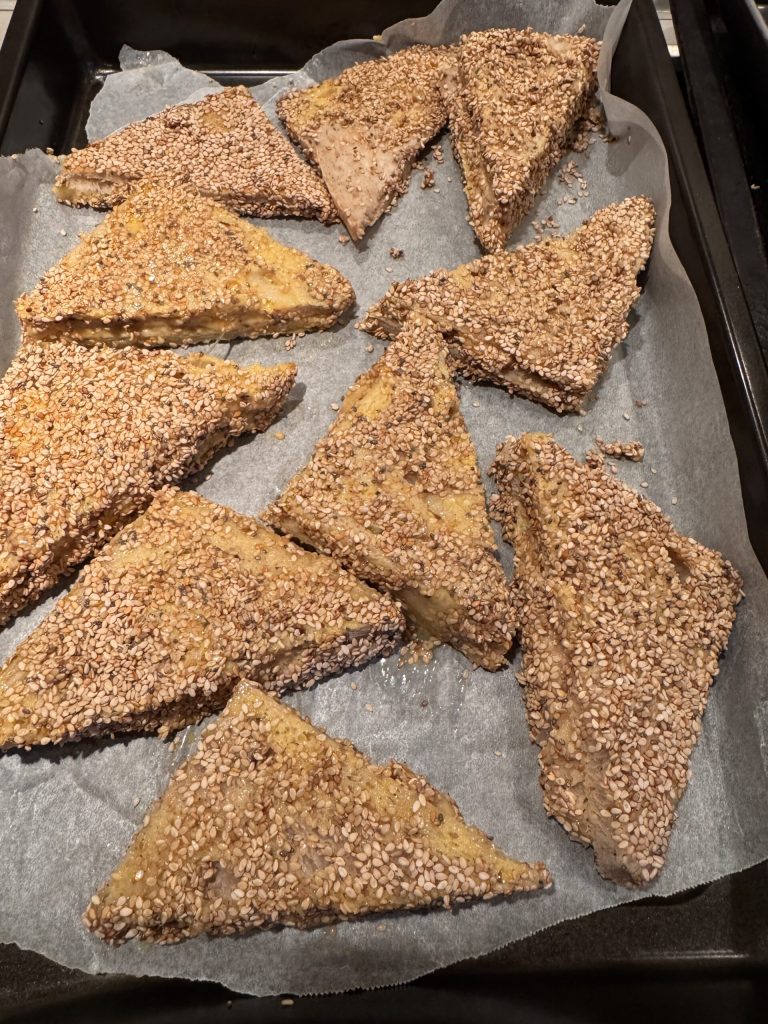
Cut the slices of sandwich bread and spread the shrimp cream on half of the slices (I made 4 whole ‘toasts’). Close them and cut diagonally. Beat an egg and coat the toast. Then pass it in a bowl with sesame seeds.
Preheat the oven to 200 degrees Celsius (392 degrees Fahrenheit). Place the toasts on a baking sheet and cook for about 20 minutes, turning them halfway through. All you need is some soy sauce or a fava bean and spelt shoyu sauce like the one I use from Nesler, to dip and enjoy them!
My friend and colleague Selene from the blog ViaggiandoMangiando, super expert in ethnic cooking and celiac, made her version with sandwich bread made with sourdough starter from rice flour. If you’re curious, here’s the link

The whole wheat sandwich bread with sourdough starter keeps for a week if stored in a cloth or paper bag. It can also be frozen already sliced and heated when needed. If you liked it, catch me on Instagram to tell me how you would fill it!
FAQ (Frequently Asked Questions)
Can I leave the lid off?
Of course! But in that case, it’s no longer called sandwich bread (which in French means square bread) but rather pan loaf…just as good!
Can I change the flours?
Yes, you can use ancient grains, type 0, or 1 flour…all are fine. The important thing is to watch the water absorption and stop if the dough can’t absorb any more. These measurements are intended for whole wheat flour, which notoriously requires more water.
