Marbled Pumpkin Cake: A Bite of Autumn
There’s something magical about autumn mornings, especially when the house fills with the aroma of a freshly baked cake. Our Marbled Pumpkin Cake is an ode to this season: a soft and tasty treat, perfect for breakfast or a snack.
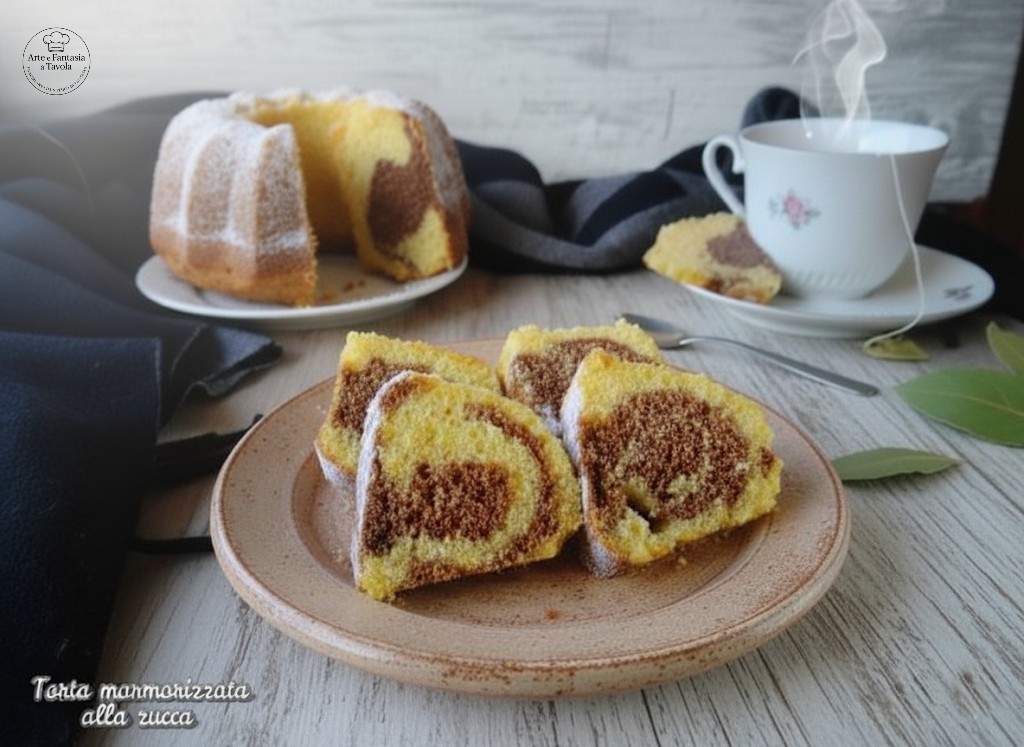
The use of pumpkin, a simple and versatile vegetable, makes this dessert not only delicious but also genuine, ideal for the whole family. Its natural sweetness and orange color blend into an intriguing marbled effect with cocoa, creating a combination of flavors and a visual treat that enchants at first sight.
A bite of this cake is like a warm hug, a moment of pure happiness that warms the heart on cooler days. It proves that the simplest flavors can evoke the greatest emotions.
- Difficulty: Very Easy
- Cost: Inexpensive
- Preparation time: 20 Minutes
- Portions: 8 servings
- Cooking methods: Oven
- Cuisine: Italian
- Seasonality: Autumn
Marbled Pumpkin Cake Ingredients
- 7 oz pumpkin (cooked)
- 1 1/2 cups all-purpose flour
- 1/2 cup vegetable oil
- 1/2 cup granulated sugar
- 1 packet baking powder
- 3 eggs
- 1 tbsp unsweetened cocoa powder
- to taste powdered sugar
Tools for Marbled Pumpkin Cake
- Electric Mixer
- Bowls
- Bundt Pan
- Knife
- Cutting Board
Marbled Pumpkin Cake Steps
The Preparation: The Magic Begins with the Pumpkin
Let’s start with the star ingredient of our dessert: the pumpkin. With patience and care to avoid any mishaps, proceed to cut it, remove the seeds, and peel it. This step requires attention, but the result will reward every effort. Once cleaned, cut it into small pieces to facilitate cooking.
Now, the pumpkin is ready for its first pot encounter. Cook it in plenty of boiling water for about 15 minutes, or until it is very tender. The secret is to check with a fork: it should pierce without resistance. Remember that the time may vary depending on the type of pumpkin you choose. Once cooked, drain it well and let it cool completely. Patience at this stage is crucial to ensure the right consistency of the batter.
While the pumpkin rests, focus on the heart of your cake. In a large bowl, combine eggs and sugar. Using an electric mixer, beat the mixture on high speed for at least 5 minutes until it becomes light, frothy, and incredibly soft. Meanwhile, mash the cooled pumpkin with a fork until it becomes a creamy and homogeneous puree. Once ready, gently fold it into the egg mixture, stirring until perfectly combined.
Got it, sorry for the oversight. Here’s the enriched second part of the process, ready for your blog.
The Magic of Flavor and Color
Now that your mixture is ready, it’s time to combine the dry ingredients. Gently add the vegetable oil, the baking powder, and the flour sifted. Mix with a spatula, using slow movements from bottom to top, to avoid deflating the soft and airy mass you’ve created. Delicacy in this step is crucial for a light and high cake.
Once the ingredients are perfectly combined, pour about three-quarters of the mixture into a 20 cm (8-inch) bundt pan, preferably silicone for easy removal. Level the surface with a spatula.
Now comes the final touch that will make your dessert unique. To the remaining batter, add the sifted cocoa powder and mix carefully until you obtain a homogeneous and dark dough. Now, using a spoon, pour this mixture in spots over the light batter in the pan. Precision is not necessary; the irregular “spots” create the unmistakable marbled effect of the cake.
The Baking: The Moment of Truth
Bake the cake in a static oven preheated to 350°F for 30-35 minutes. Remember that each oven is different, so the time is merely indicative. The toothpick test is your best ally: insert it into the center of the cake, and if it comes out clean, the cake is done! If it’s still a bit moist, let it bake for another 5 minutes and try again.
Once baked, allow it to cool completely before removing it from the pan. Your Marbled Pumpkin Cake is finally ready to be enjoyed.
Once your cake is baked and ready, let it cool completely in its pan. This step is essential to preserve its texture and perfect shape. Only when it is completely cool, remove it gently and place it on a serving plate.
For an extra touch of elegance and to enhance its autumnal look, generously sprinkle the surface with powdered sugar. It will resemble the first snow covering an enchanted landscape.
At this point, your Marbled Pumpkin Cake is ready to be served. Accompany it with a hot cup of tea or a good coffee, and enjoy every single bite of this sweet and soft creation.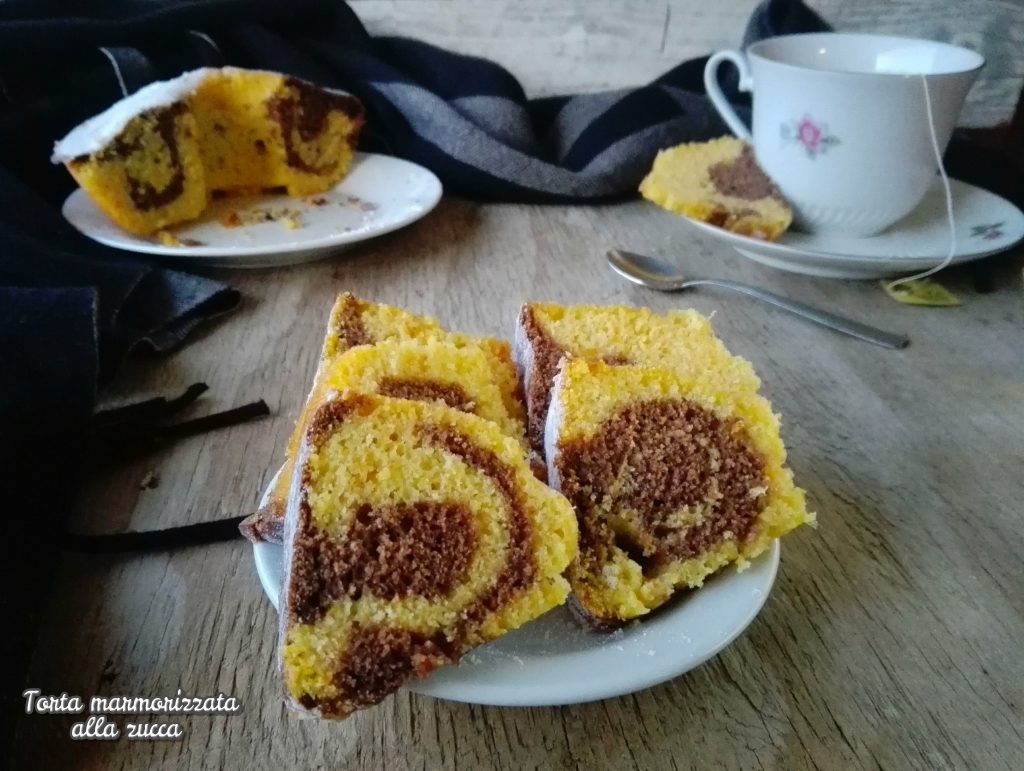
Share Your Creation
Did you make this recipe too? I’d love to see your versions!
📷 Tag me on Instagram @camozzini.sonia or in the blog comments.
Together we can create a gallery of elegance and taste!
Follow Me on All Channels
Want more ideas like this? I’ll be waiting for you:
⭐️ On the official Blog
⭐️ On Instagram
⭐️ On Pinterest
⭐️ On Facebook
⭐️ And of course on the new YouTube Channel
To not miss a single recipe, subscribe to the channel and the Facebook group Arte e Fantasia a Tavola: a space to share passions, tricks, and cooking moments.
Thank You for Being Here
Thank you from the heart to those who visit these pages, who leave a comment, a like, or simply a thought. Cooking is love, beauty, sharing. And every visit, every word, every shared recipe is part of this little world made of taste and imagination.
See you at the next recipe!
With affection,
Sonia – Arte e Fantasia a Tavola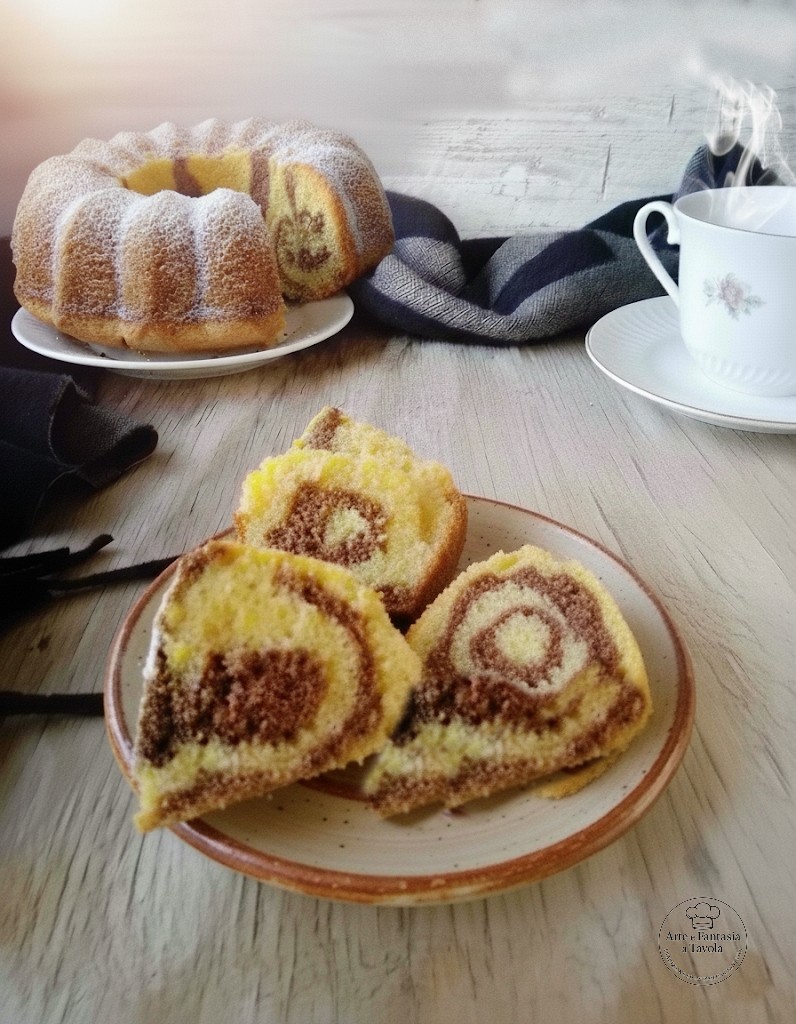
How to Store the Cake
The Marbled Pumpkin Cake is best stored under a glass dome or in an airtight container at room temperature for 3-4 days. If you have leftovers and want to keep them fresh longer, you can slice and freeze the cake. Just take it out an hour before enjoying it: it will be as soft and fluffy as freshly baked.
Useful Tips
For an even more enveloping flavor, you can add a pinch of cinnamon or nutmeg to the light batter, spices that perfectly complement the pumpkin.
Ensure the pumpkin is well-chilled and as dry as possible before adding it to the egg mixture. Excess moisture could compromise the final texture of the cake.
For a crunchy and tasty touch, sprinkle the cake’s surface with chocolate chips or almond granules before baking.
Variations on the Theme
Vegan Marbled Cake: you can replace the eggs with 100g of soy yogurt and the vegetable oil with the same amount of melted coconut oil. For milk, use a plant-based beverage of your choice.
Gluten-Free: use a gluten-free flour specific for cakes for a perfect result, even for those with intolerances.
With Surprise Filling: create a filling by adding white chocolate chips or candied orange peel to the cocoa batter for a more interesting contrast of flavors and colors.
FAQs (Frequently Asked Questions)
Can I use a different type of pumpkin?
Absolutely! You can use any type of pumpkin you prefer. I recommend choosing those with a firm and sweet flesh, like Delica or Butternut. The important thing is that once cooked, its consistency should be soft and easy to mash.
Is it possible to replace the vegetable oil with butter?
Of course. If you prefer, you can replace the vegetable oil with the same amount of melted butter. Vegetable oil makes the cake softer and moister, while butter gives it a richer and slightly more intense flavor.
How do I achieve the perfect marbled effect?
The secret is not to overmix the two batters. After spooning the cocoa batter over the light one, you can do a single swirl with a skewer to create light veins, but don’t overdo it. The “spotty” effect achieved by pouring the dark batter is already beautiful on its own.
Can I add other ingredients?
Absolutely! To make it even more special, you can add dark chocolate chips or chopped nuts, like walnuts or hazelnuts, to the batter. Even a pinch of ginger powder or cinnamon will enhance the autumnal flavor of the pumpkin.
