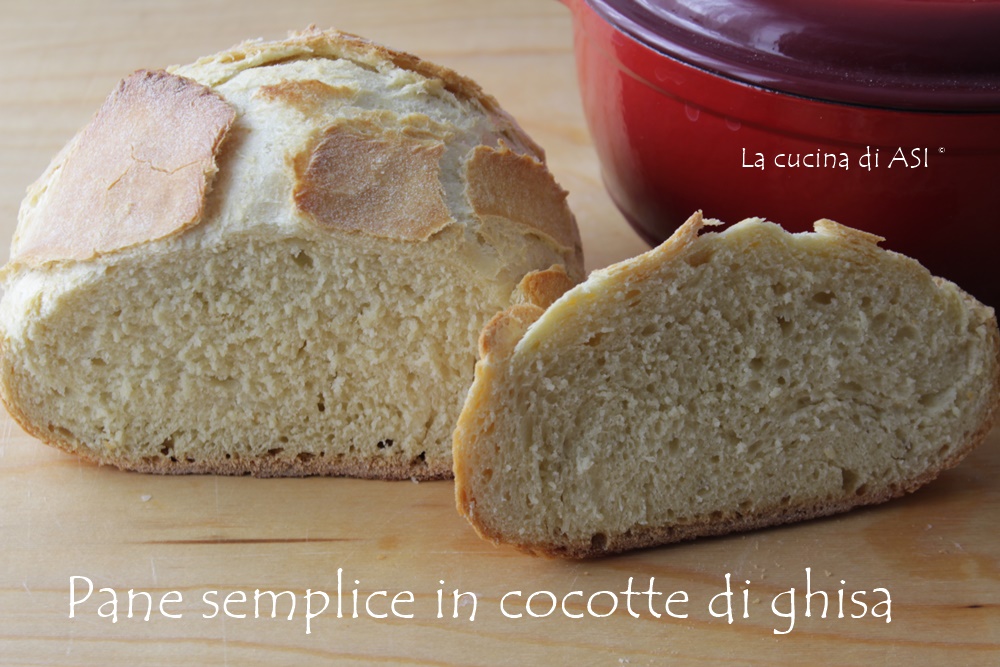
How good is this bread — I’m in love!! The simple bread in a cast-iron cocotte is a loaf that, after the initial mixing, is left overnight (at least 10–12 hours) in the refrigerator, then you do the classic folds and bake it inside this cast-iron cocotte!
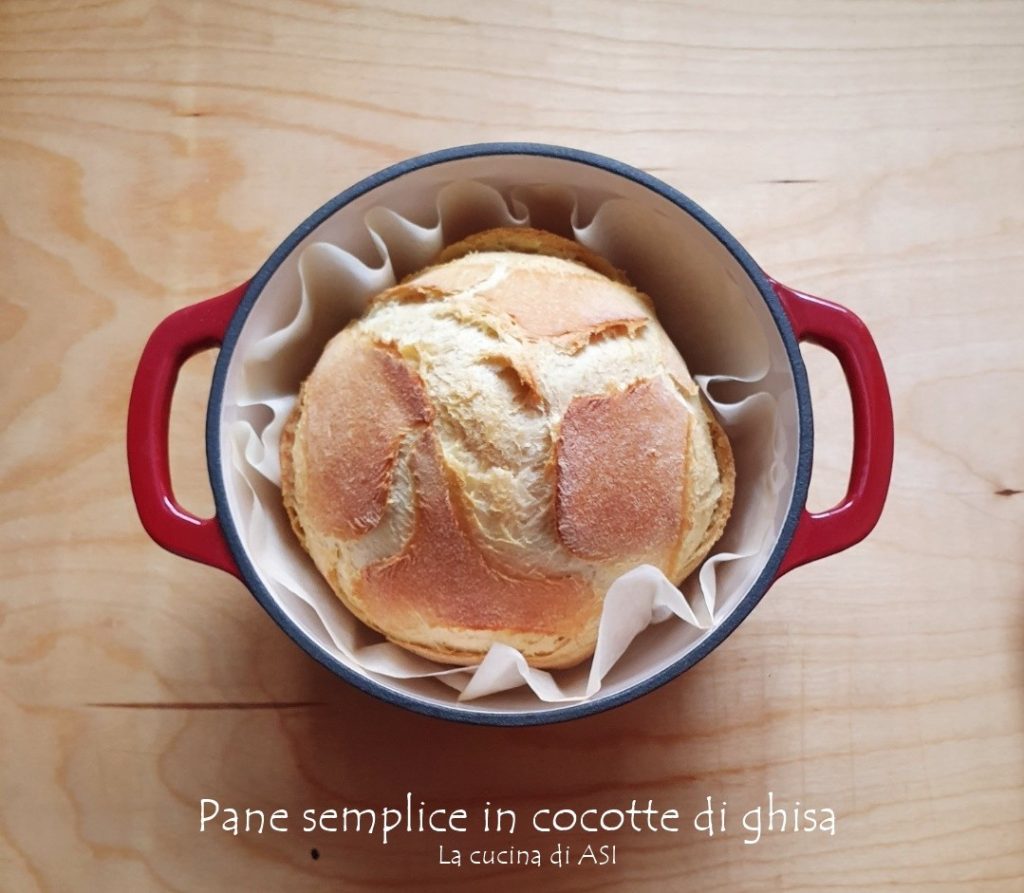
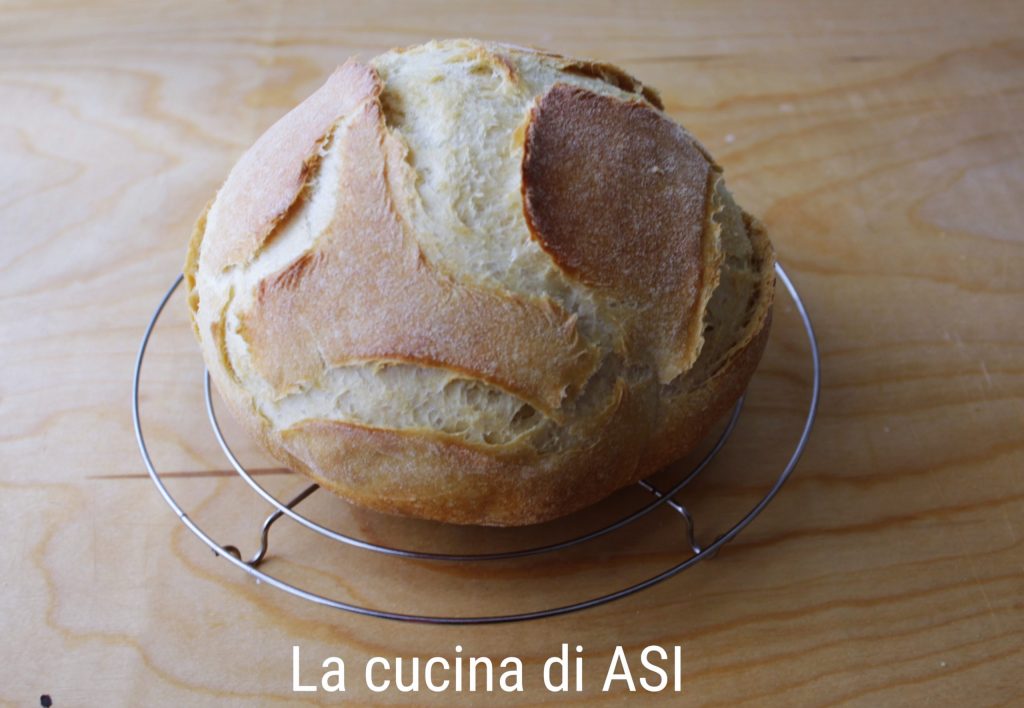
This is my bread baked in a cast-iron pot (cocotte): crunchy crust and soft interior, with cold fermentation.
I bought this pot – casserole – cocotte a few months ago at Lidl and it fit my family budget well, much, much less expensive than the more famous and certainly fantastic Staub and Le Creuset brands, and it seems to do its job very well: I recommend it!
The cast-iron cocotte I bought at Lidl is small, has a capacity of 2.8 L and is suitable for the small size of my family, that is, me and the grumpy adolescent!
Casting in cast iron (material based on iron and carbon) develops heat slowly and evenly and is suitable for recipes that require long cooking times such as meat, fish and vegetables — AND THEY ARE FANTASTIC FOR BAKING BREAD.
However… cast-iron pots are rather heavy and not exactly handy — they absorb odors and many models are not dishwasher-safe but must be cleaned with mild dish soap and dried immediately to avoid rust (mine is enameled so …).
What recipes can you cook in a cast-iron pot?
All kinds of white and red meat and even game — so go ahead with braises, stews, moist roasts, and roasts. You can also cook fish stewed, in “acqua pazza”, with rich vegetable bases and even mollusks like cuttlefish and calamari and salted cod!
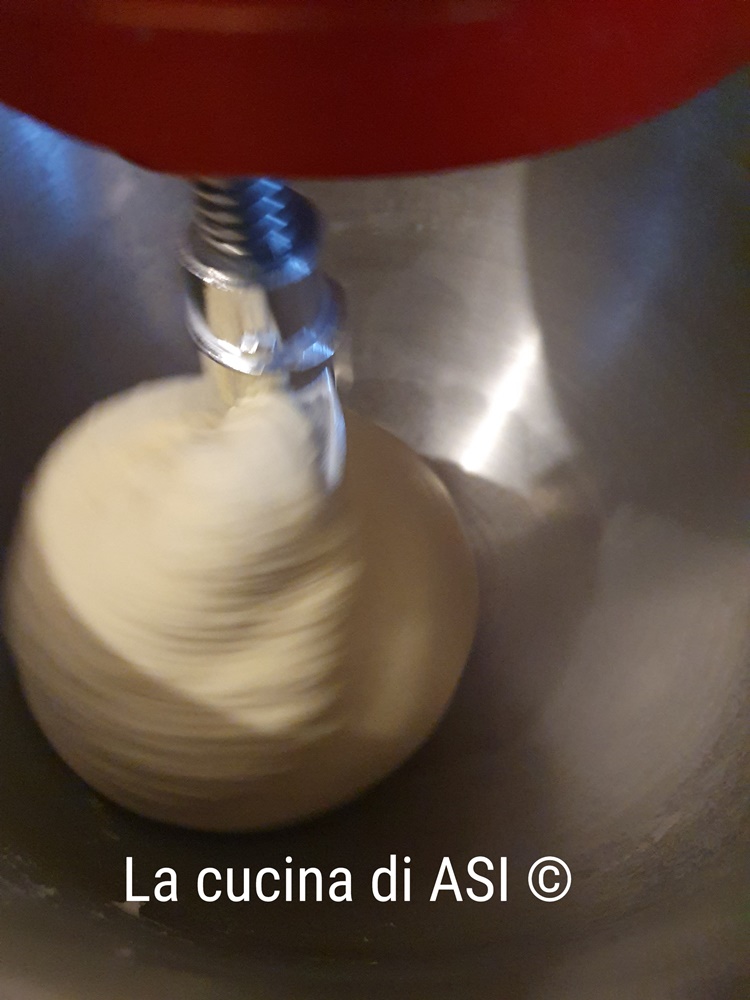
For convenience I used the stand mixer but this dough is easy and simple and can be made perfectly well in a bowl with a spoon, no problem!
If you don’t have a cast-iron cocotte you can use an enameled cast-iron casserole or an oven-safe pot with a lid.
The recipe for simple bread in a cast-iron cocotte comes from this blog and it seems perfect to me (thanks Silvia!)
Every now and then I make bread and I leave you other recipes that satisfied me, such as: SEMOLINA BREAD
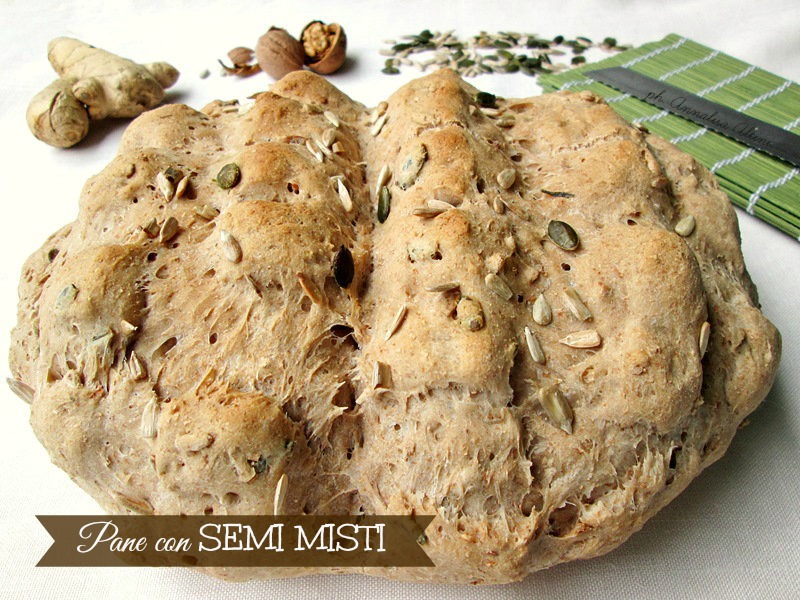 BREAD WITH MIXED SEEDS
SIMPLE BREAD IN A CAST-IRON COCOTTE
The kitchen of ASI
- Difficulty: Very easy
- Cost: Very inexpensive
- Rest time: 14 Hours
- Preparation time: 20 Minutes
- Cooking time: 35 Minutes
- Portions: 6 People
- Cooking methods: Oven
- Cuisine: Italian
- Seasonality: All seasons
Ingredients
- 1 2/3 cups (about 200 g / 7 oz) type 1 wheat flour
- 1 2/3 cups (about 200 g / 7 oz) type 0 wheat flour
- 2/3 cup (about 100 g / 3.5 oz) stone-milled fine semolina
- 3/4 tsp (about 2 g) active dry yeast (I use Mastro Fornaio)
- 1 tsp sugar
- 1 2/3 tsp (about 10 g) salt
- 1 1/4 cups (about 300 g / 10 fl oz) water
- 2 tsp (about 10 g / 0.35 oz) extra virgin olive oil (+ one teaspoon for the container)
Tools
- Stand mixer
- Spoons
- Bowl
- Kitchen scale
Preparation
For the simple bread baked in a cast-iron cocotte I poured the three flours into the stand mixer (or a bowl) and mixed them well together.
I pour half the water (150 g — about 5 fl oz / 5/8 cup to be precise) and mix; this creates a granular, not-homogeneous dough, a bit crumbly rather than a dough.
I let it rest for 30 minutes, but if it’s longer don’t worry!
In a glass I pour the active dry yeast, add a couple of tablespoons of water and a teaspoon of sugar and wait for the little foam that indicates yeast activation.
After the 30 minutes, to the crumbly mix I add the EVO oil, the rest of the water (150 g — about 5 fl oz / 5/8 cup) and the dissolved dry yeast.
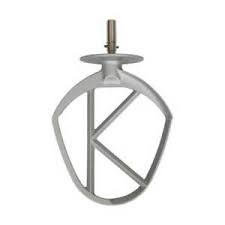
I mix with the K-beater if I have the stand mixer or with a simple spoon. The sticky mixture will gradually become homogeneous and I also add the salt.
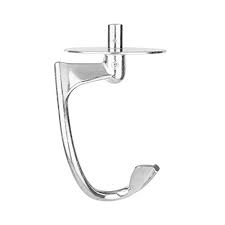
I change to the dough hook or continue kneading to make the dough homogeneous and well developed.
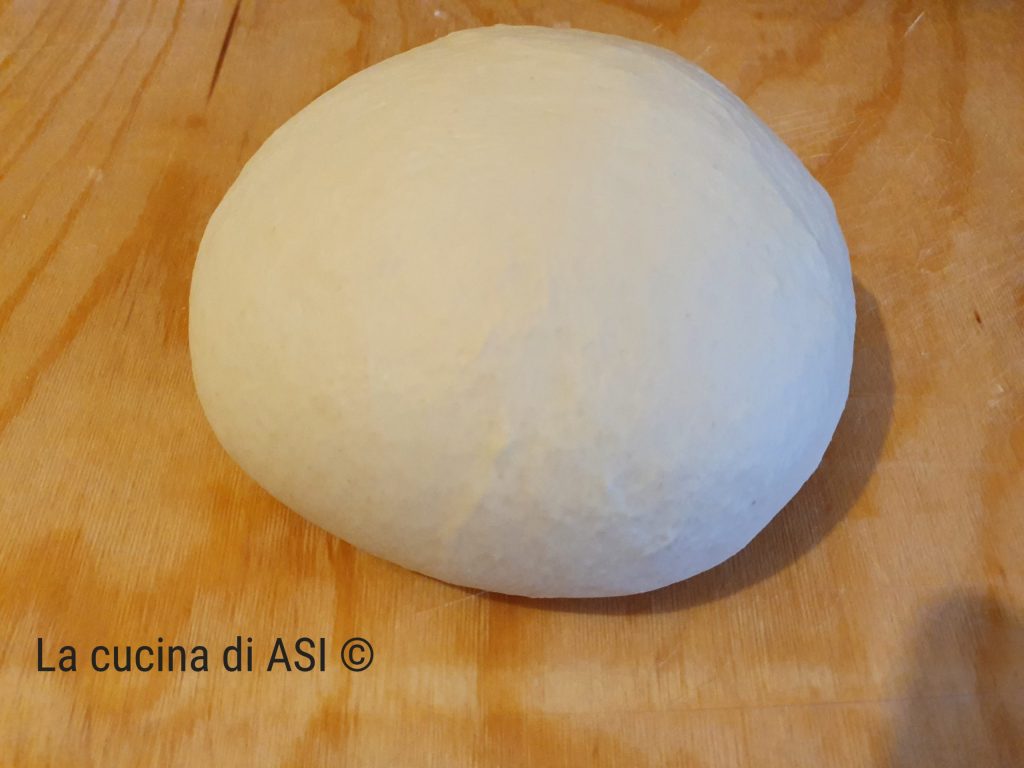
I lightly oil a container, preferably rectangular, put the dough ball inside and close the lid.
I leave it at room temperature for a couple of hours then place it in the refrigerator for 10–12 hours. If it stays longer don’t worry …
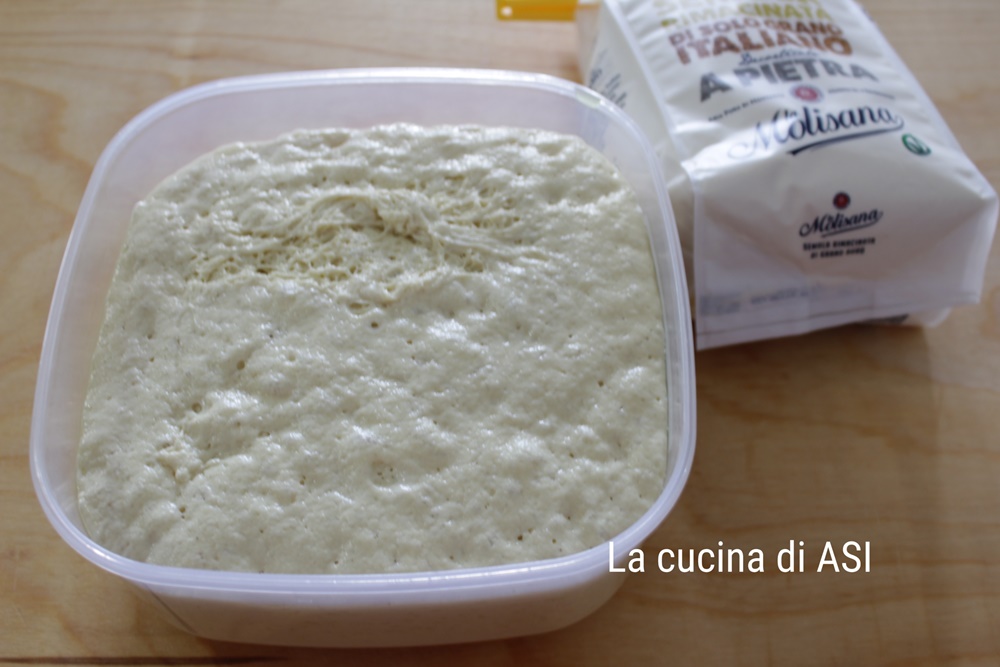
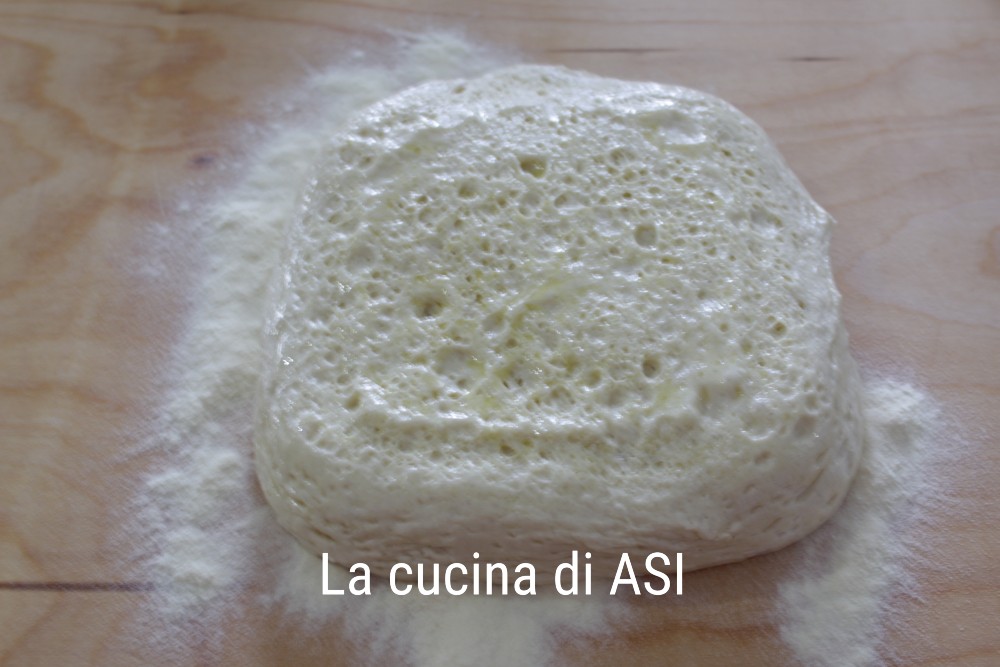
The next day take the container and our dough will have risen — it will have tripled in volume!
We let it come to room temperature for a couple of hours, leaving it in the bowl but out of the fridge.
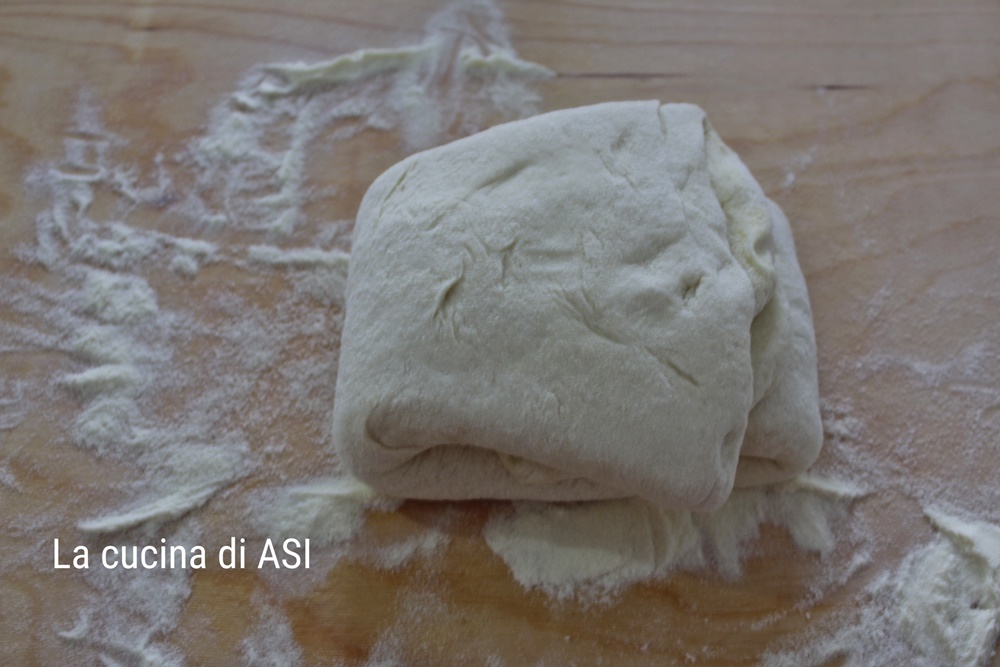
After this time dust the work surface with semolina and tip the risen dough onto it.
We stretch it into a rectangle and make the folds as you can see in the photos below.
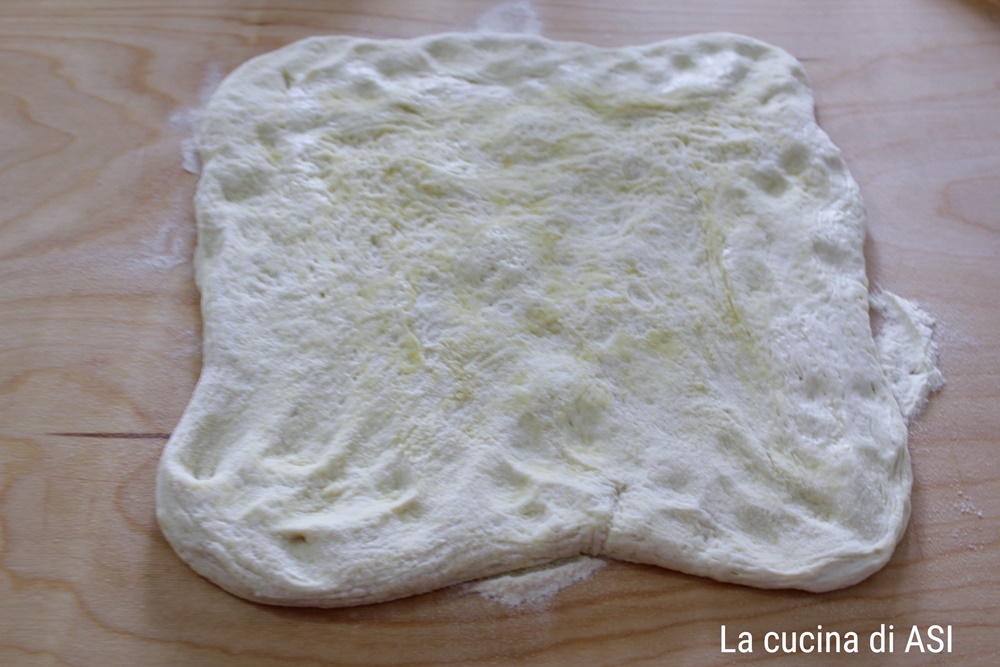
The tri-fold (fold in thirds) helps develop the gluten network, promotes the leavening process and strengthens the dough and its crumb structure.
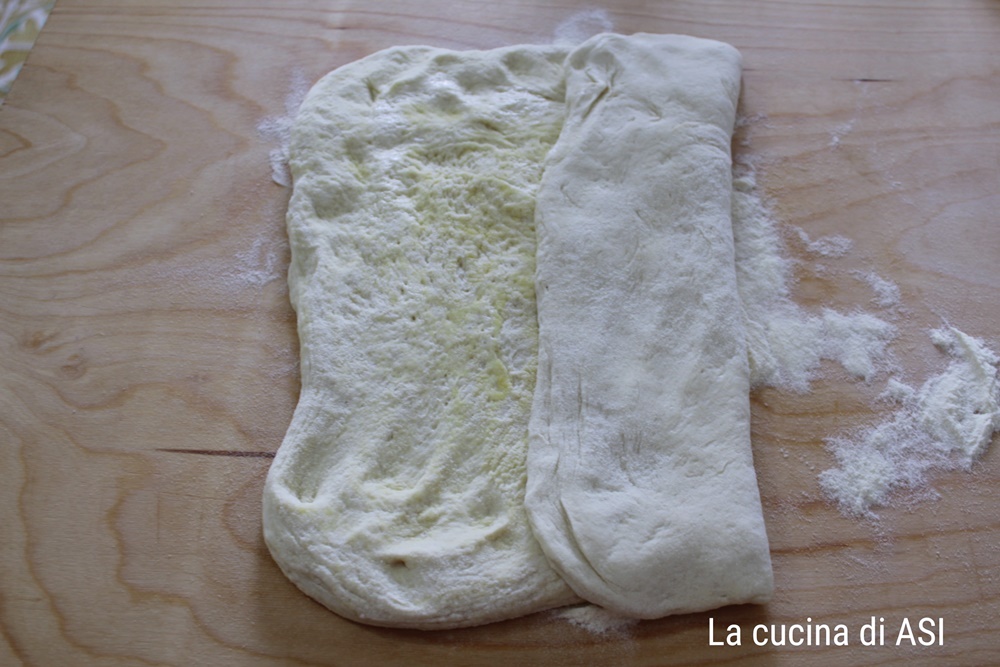
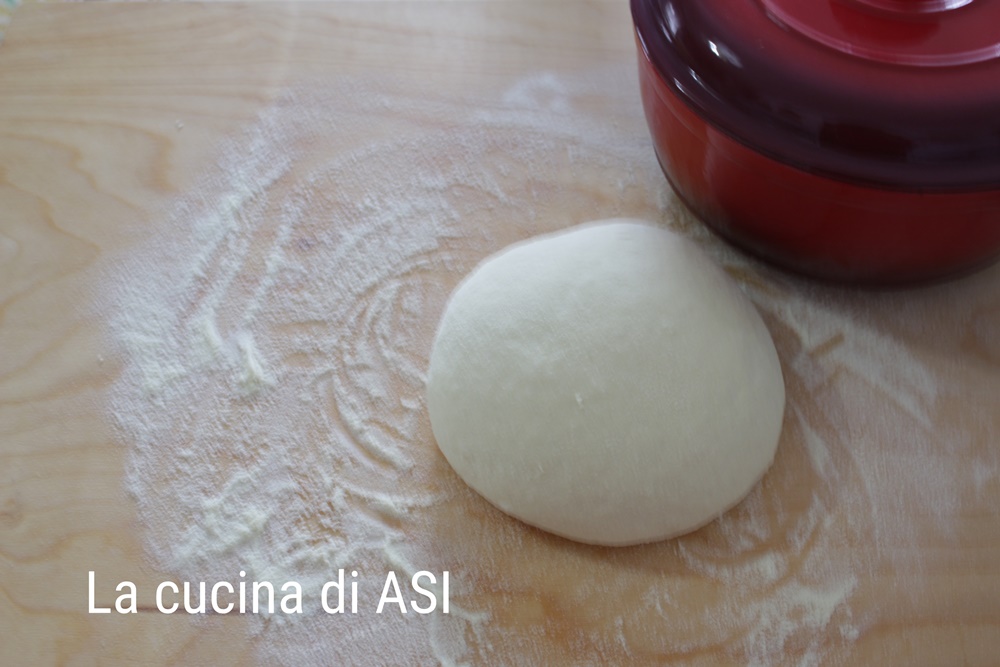
After the first round of folds we slightly flatten the dough, turn it 90° leaving the closure of the folds underneath and “pirliamo” (from pirlatura) — that is, we round the ball with the palms of our hands and press the edges downward. You will get a dome-shaped ball, well sealed and homogeneous.
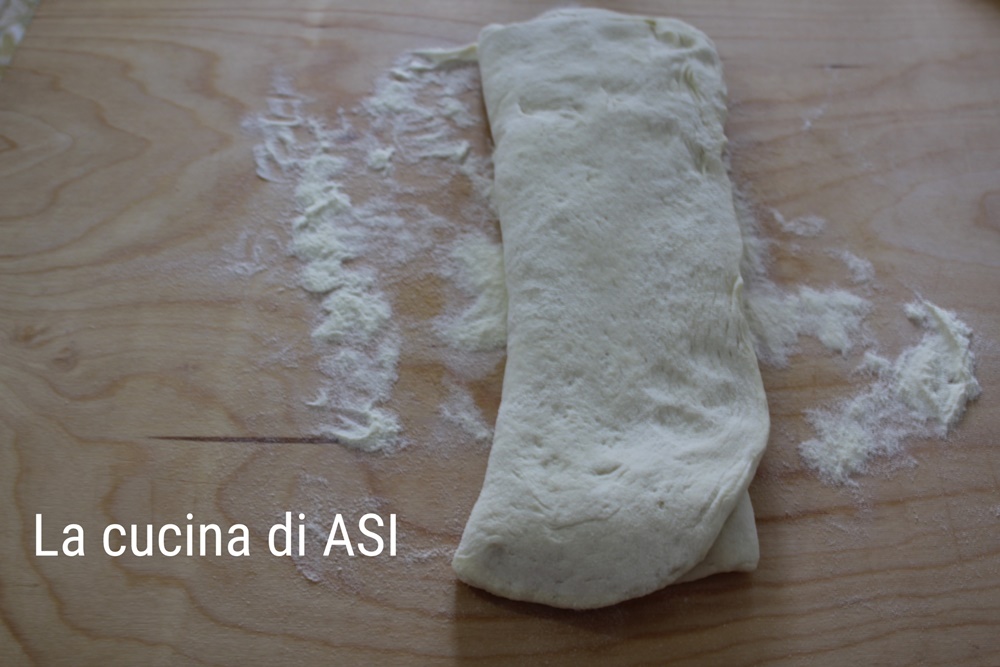
Tri-folds are used for bread, pizza, sandwich loaves, etc.
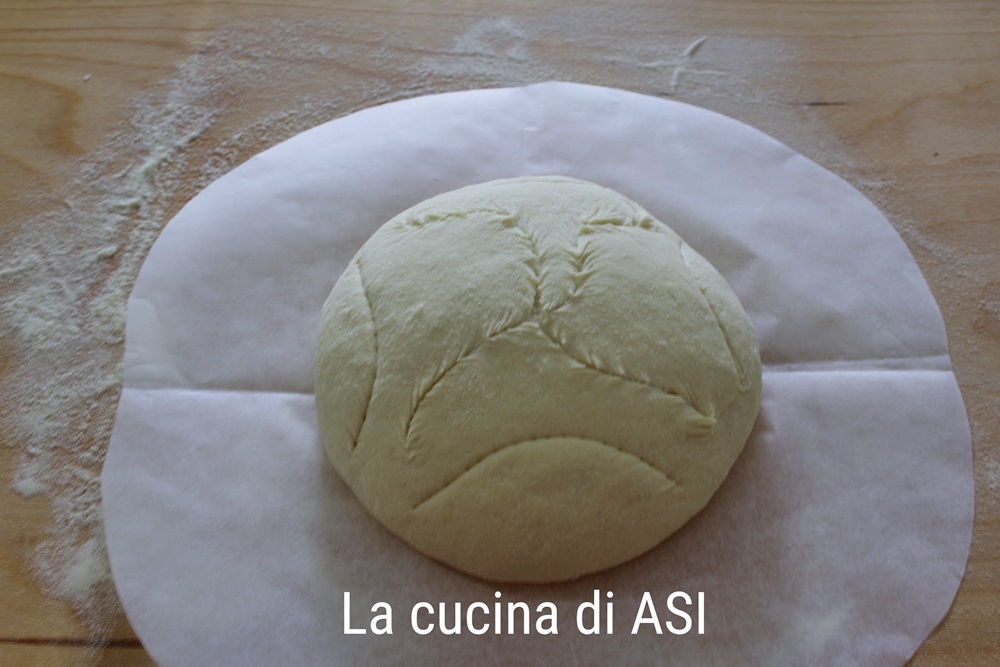
Repeat everything 2–3 times then put the dough ball on a sheet of parchment paper and let it proof again.
When it’s time, preheat the oven to 482°F (250°C) and place the cast-iron cocotte with its lid inside. (Same temperature also for classic baking without cast iron)
If you have a lame for scoring the bread, trace flowers, leaves or other shapes… I don’t have one and clumsily tried to make a few little drawings …
After the half hour I place the dough ball with the parchment into the cast-iron cocotte and bake at 482°F (250°C) for 30 minutes.
Then, using many oven mitts, towels and so on, I take out the cast-iron pot and remove the lid — it will be extremely hot so be very careful!!!!
I leave it to bake a bit longer by lowering the temperature to 464°F (240°C) for another 10 minutes.
If we do a traditional oven bake, bake the bread at 446°F (230°C) and then immediately lower to 410°F (210°C), leaving to bake for about 40 minutes.
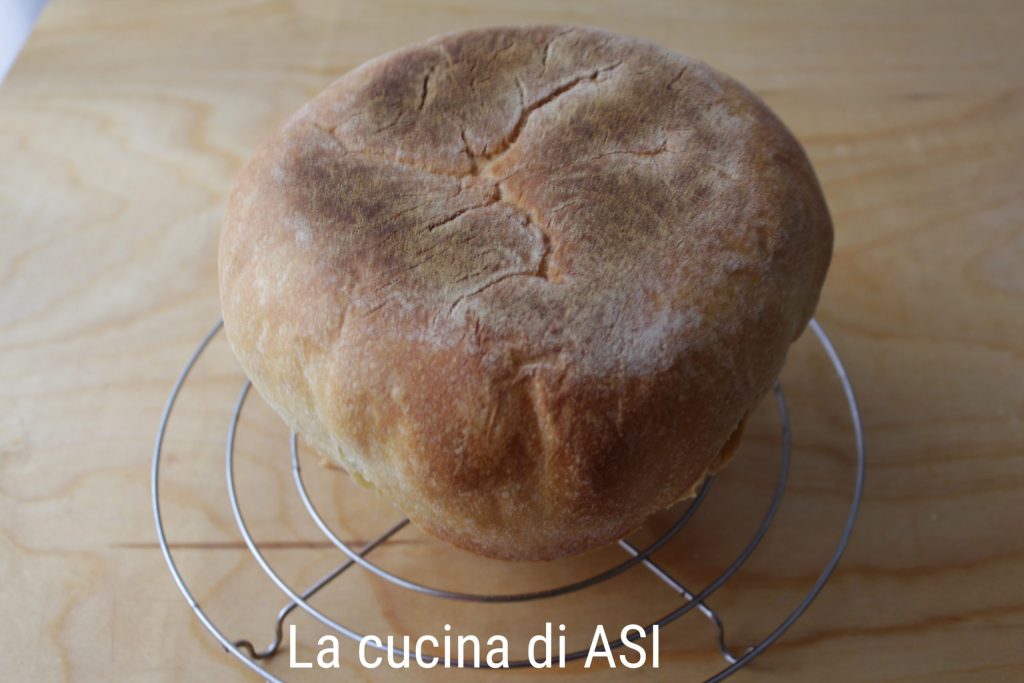
As you can see from the photos, the simple bread in the cast-iron cocotte turned out well and it’s so delicious that by evening there wasn’t a single crumb left!!!!!!
Enjoy your meal!
Annalisa