This is a wonderful leftover recipe, and I’m talking about crispy rice! It’s a great idea when you have leftover risotto, saving you from the waste of throwing it away. Plus, besides avoiding a sacrilege, you’ll get a wonderful recipe!
How is it done? It’s very simple since you just need to take a pan, melt some butter, and add the leftover risotto until all the parts in contact with the pan create an irresistible crust.
In this case, I reused a pumpkin risotto I had prepared the day before and kept in the fridge until the moment I prepared the crispy rice. Of course, you can use any type of leftover risotto except those made with fish and seafood.
Related recipes:

- Difficulty: Very Easy
- Cost: Very Cheap
- Preparation time: 10 Minutes
- Portions: Variable
- Cooking methods: Other
- Cuisine: Italian
- Seasonality: All Seasons
Ingredients
For the Crispy Rice
- as needed Leftover Risotto
- 2 knobs butter
Tools
- Pan
- Plate
Steps
To make the Crispy Rice
First, melt a knob of butter in a large pan, and once ready, place all your leftover risotto from the fridge.
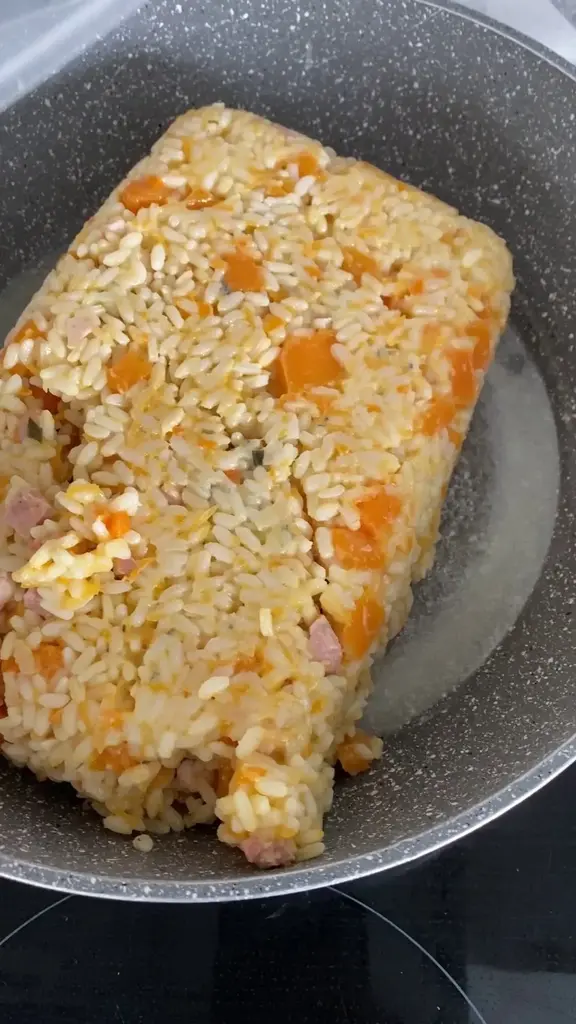
Next, flatten the risotto with the help of a spatula, leveling it well almost to form a cake. Cook over medium heat for about 5 minutes, ensuring it doesn’t stick to the bottom.

After the time has passed, flip the rice like an omelet. Then take a plate slightly smaller in diameter than the pan and place it in contact with the risotto. Flip it and momentarily leave the rice on the plate.
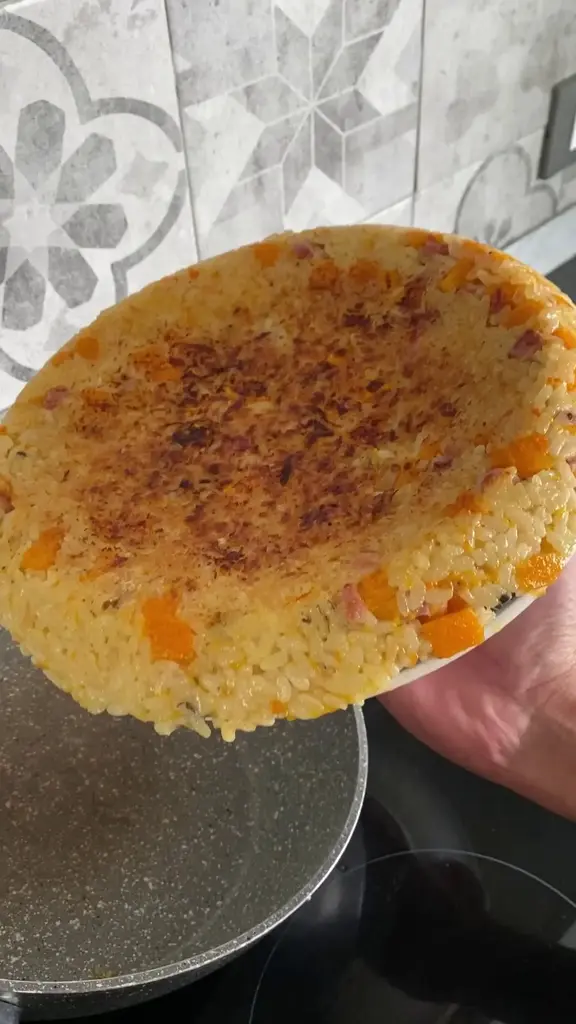
To continue, melt the second knob of butter in the pan and slide the risotto on the opposite side back into the pan, letting it cook for another 5 minutes. This way, you’ll cook the risotto on both sides.
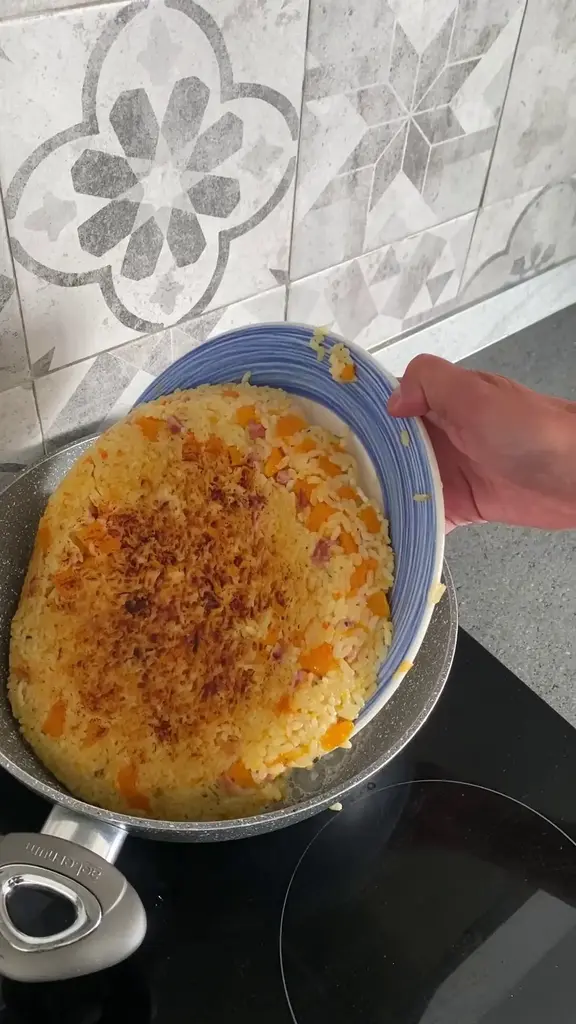
Finally, make the final flip leaving the rice on the final plate to serve it at the table!

Tip!
Store the risotto in the fridge at least the day before preparing the crispy rice.
FAQs
Can I use oil instead of butter?
Yes, it’s a great alternative.
